

Essential Supplies for Beginner English Paper Piecing
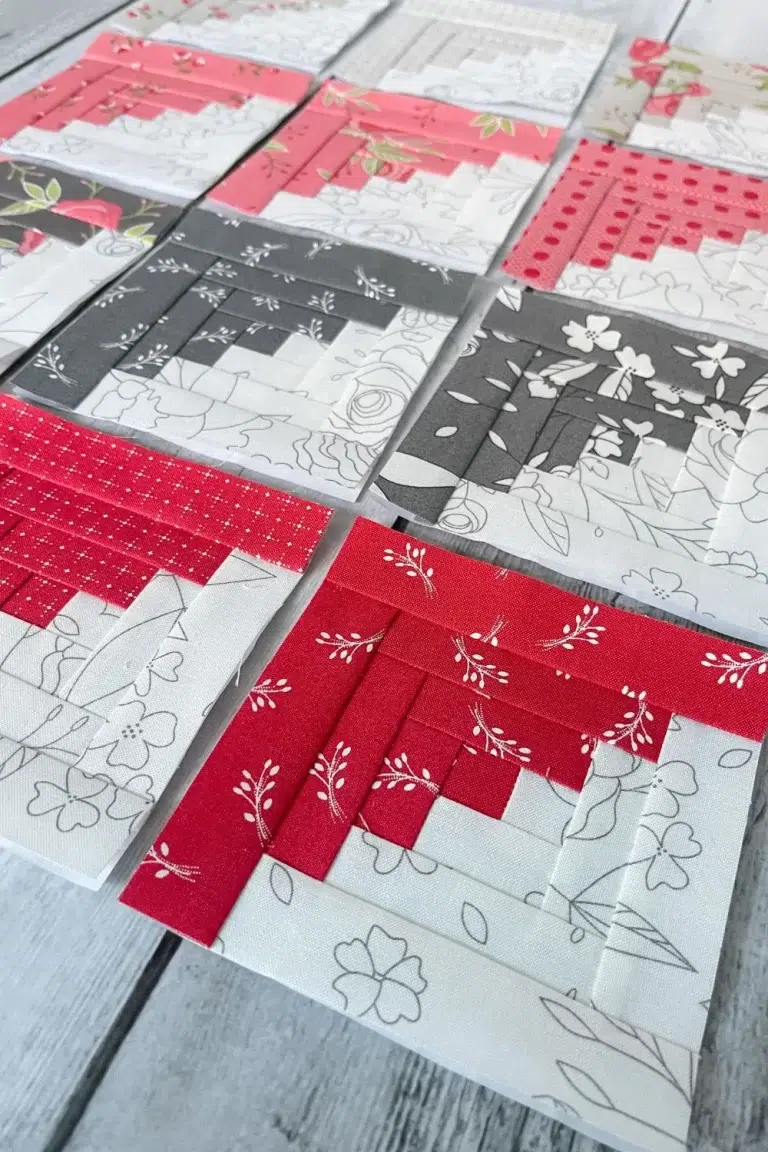
Beginner English Paper Piecing (EPP) can be a breeze with a few helpful tools. EPP can be used to add dimension to a quilt block, or can be a stand alone project for a small or large quilt piece. Hexagons, diamonds, and triangle pieces can be combined to make a variety of shapes and projects.
When purchasing through links on this site, I may earn an affiliate commission at no cost to you.
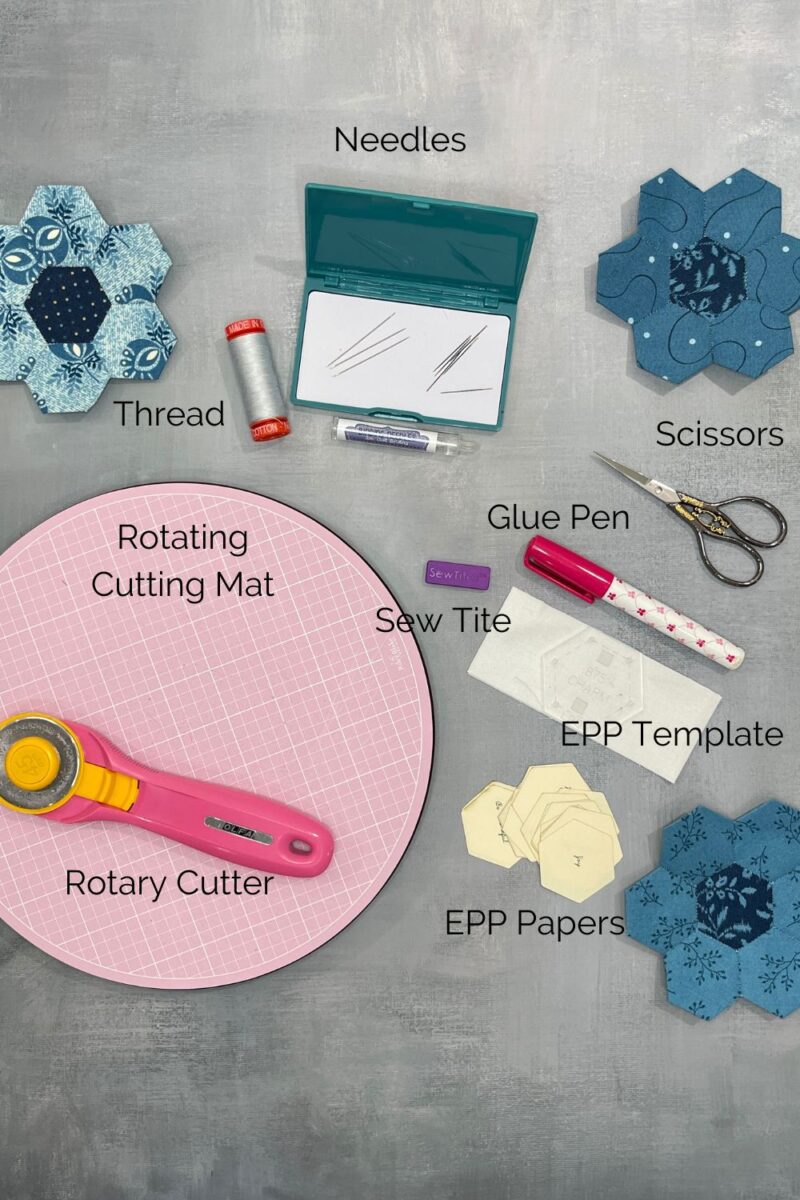
Helpful tools for English Paper Piecing
- Rotating Cutting Mat
- Rotary Cutter
- Hexagon template (or any shape you prefer)
- Hexagon paper pieces
- Sewline Glue pen
- SewTite Magnet
- Needles
- Thread
- Scissors
English Paper Piecing Sizing
Typically, EPP is sized based on the finished size of the side of your shape. For example, using a 1″ Hexagon is a hexagon with each of the 6 sides being 1″ across. Using this manner of sizing, you can match coordinating sized shapes. A 1″ triangle can attach to the side of a 1″ hexagon.
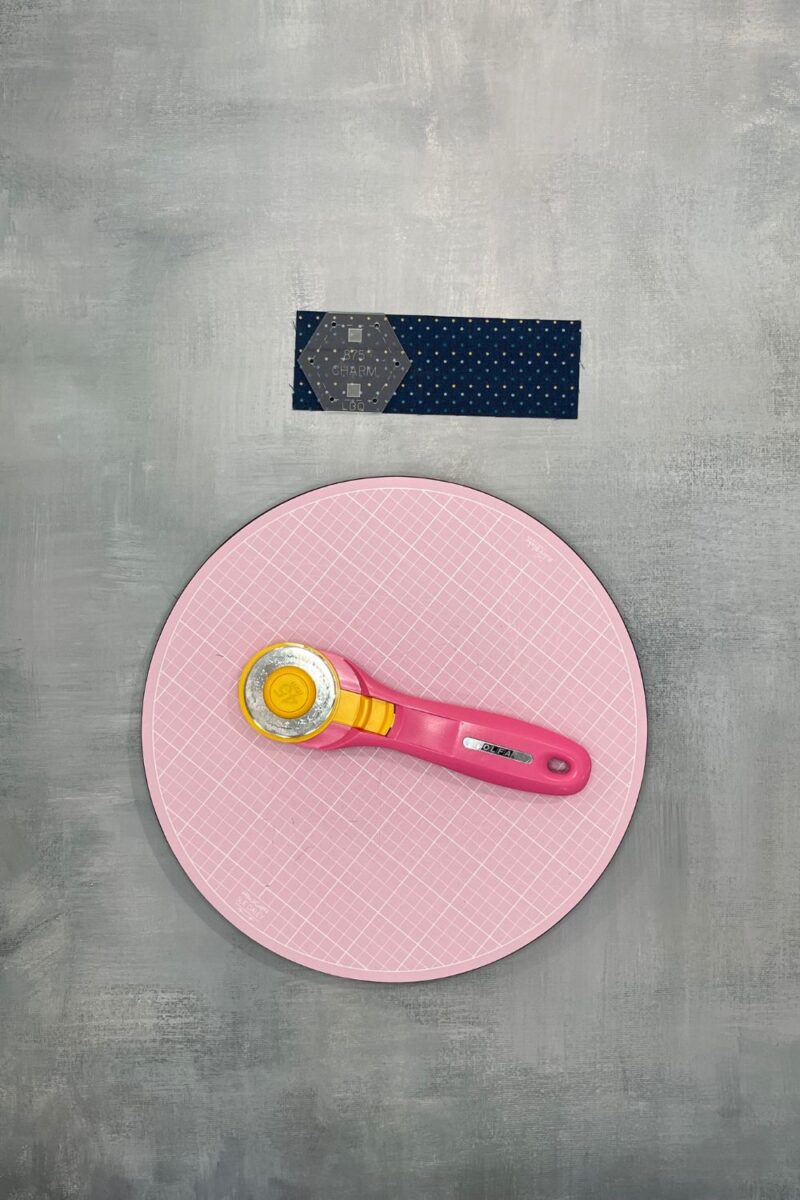
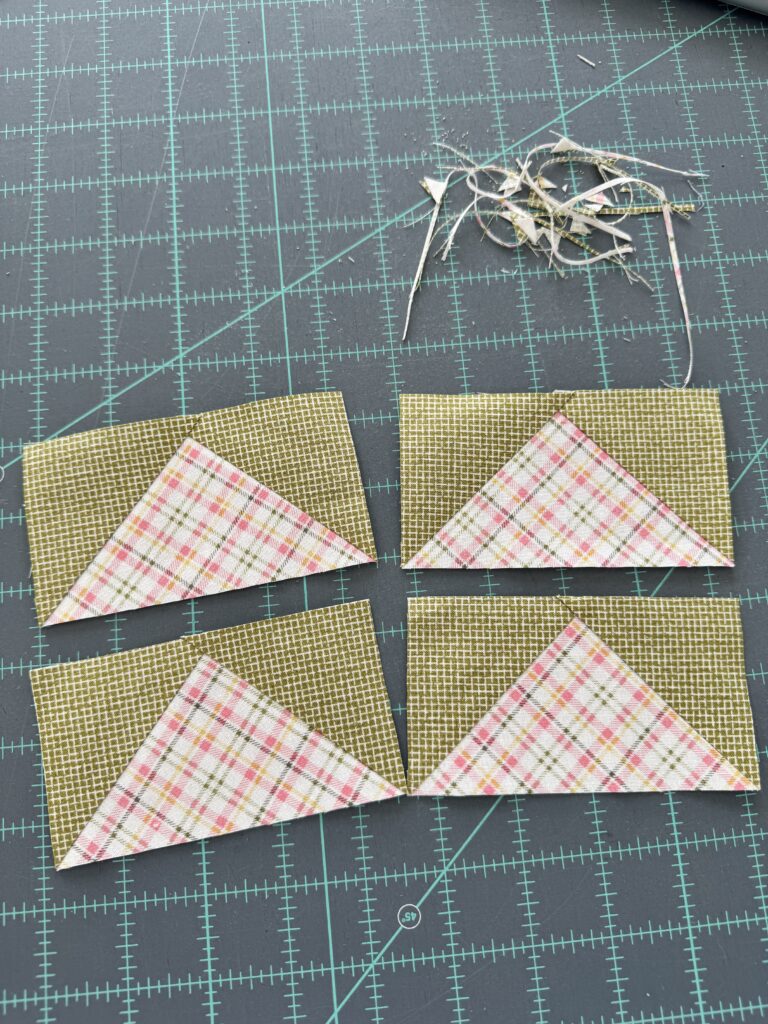
Step 1: Cutting Fabric
Using the hexagon template in the desired size, place a strip of fabric cut to the same size as the height of your template. In my example, I’m using a 7/8″ template and cut my fabric into 2″ strips. A 7/8″ template will give a 1″ finished size when the fabric is wrapped around the edge.
Step 2: Using EPP Papers
English Paper Piecing papers are used to stabilize your hexagons with the seam allowances pressed to the inside of the shape in order to attach the fabric pieces to each other. The papers are reusable and are lightly attached to the fabric and then removed after putting the pieces together.
To prep each of the hexagons, put a small dab of glue on the center of the paper and then attach it to center of the backside of the cut fabric.
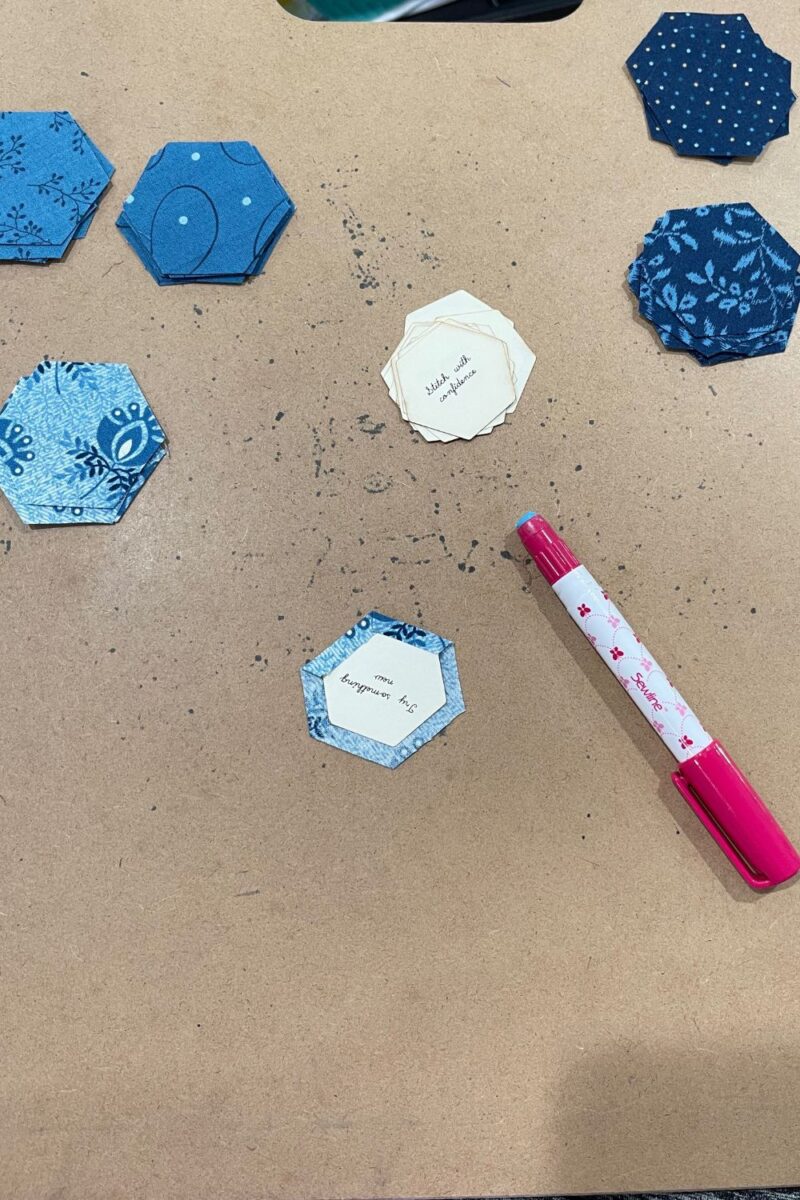
Starting with one side of the hexagon, run a light stripe of glue on the edge of the paper and then fold the fabric down to the paper so that is lightly holds the seam down. Work your way around to each side, placing a stripe of glue and folding down the edges until all of the edges are folded to the inside.

Step 3: Connecting Two Hexagons
Using the SewTite magnet or your fingers, line up one edge of two hexagons, right sides together. You will do a small whip stitch on the edge of the two hexagons. You don’t want to puncture into the papers so that they can be removed later. I prefer a number 11 binding needle and 50 wt. Aurifil thread to sew the hexagons together. Starting on one edge, poke your needle and thread through just a few threads of the side of each hexagon working from one corner to the other.

Once you reach the corner, you will add the next adjacent piece by again putting right sides together and doing a small whip stitch to the next corner.
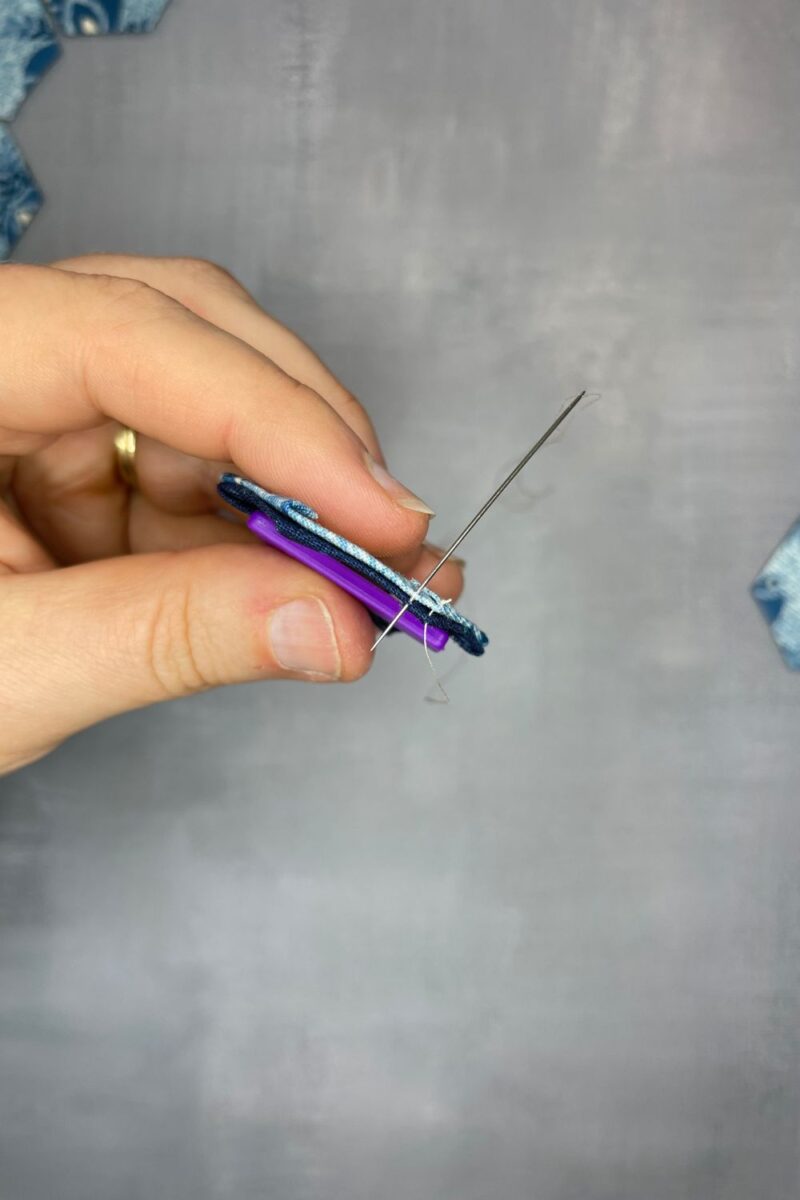
If needed to return to the center, you can slide your needle and thread through your stitches back to the center and attach the next edge.
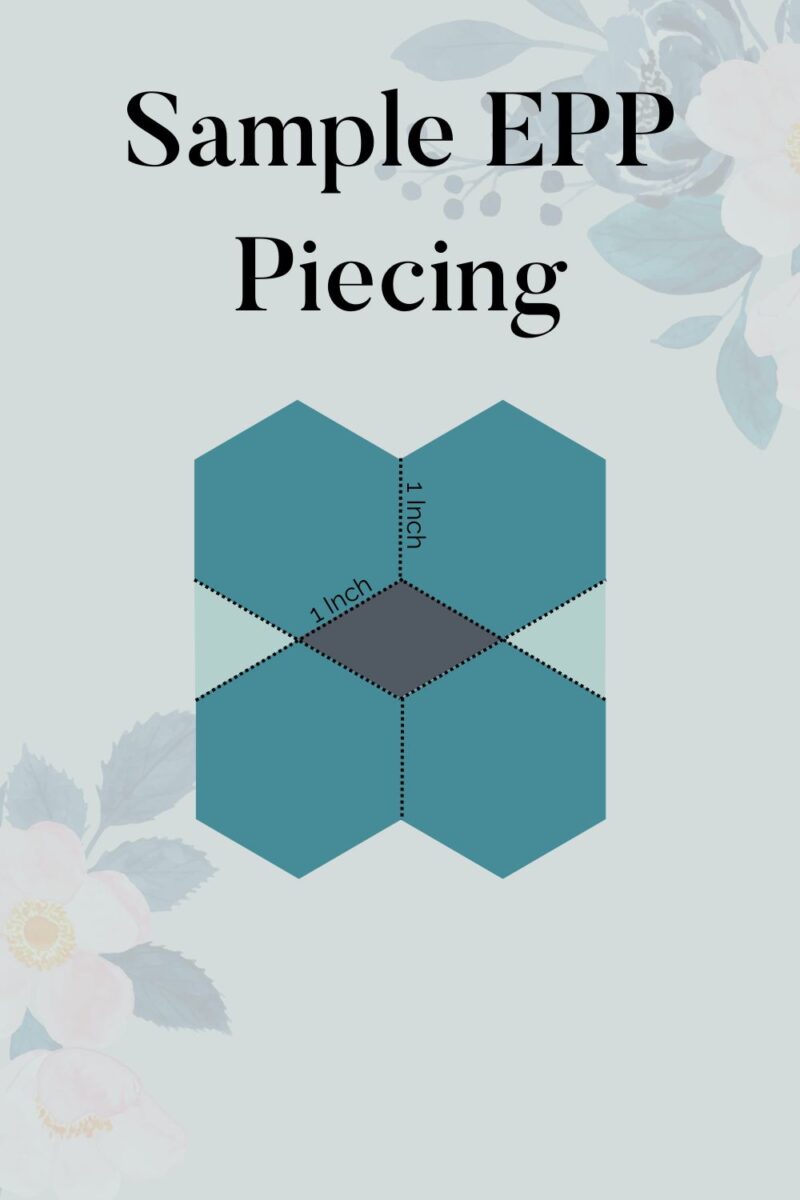
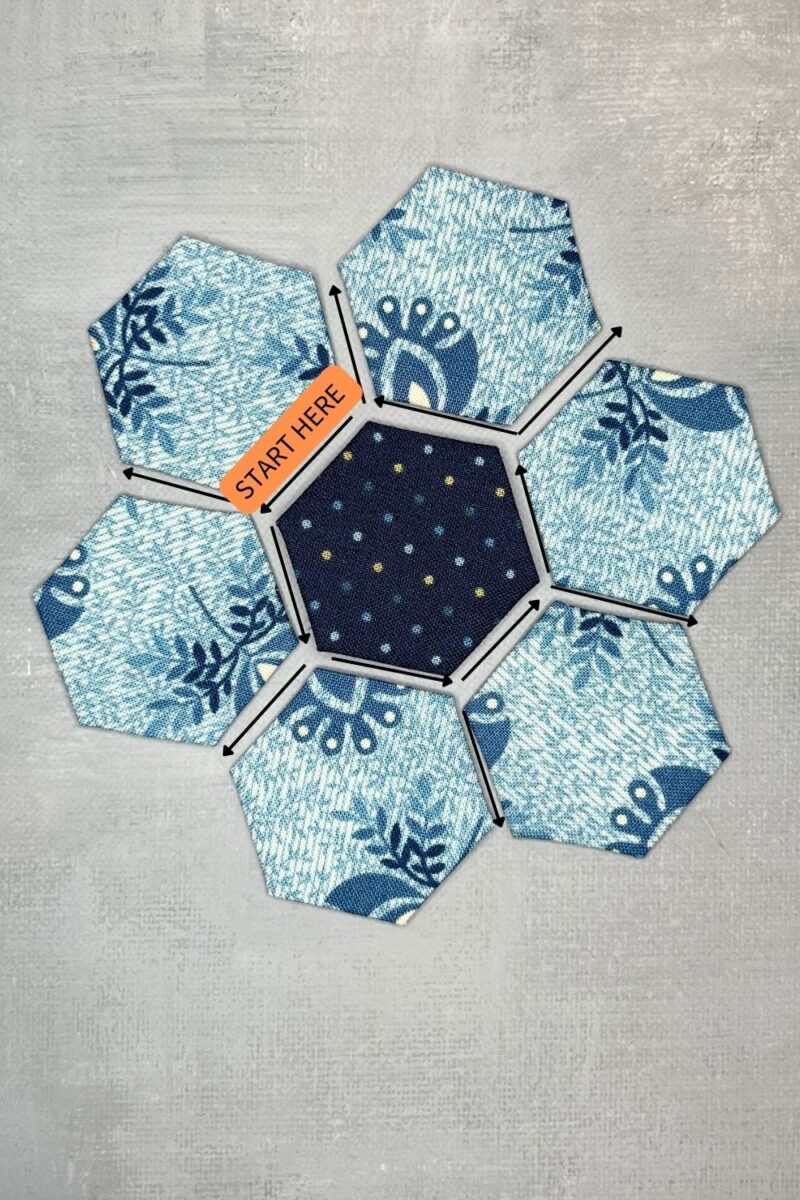
To make a flower of hexagons, follow the dotted lines I’ve indicated in the graphic below.
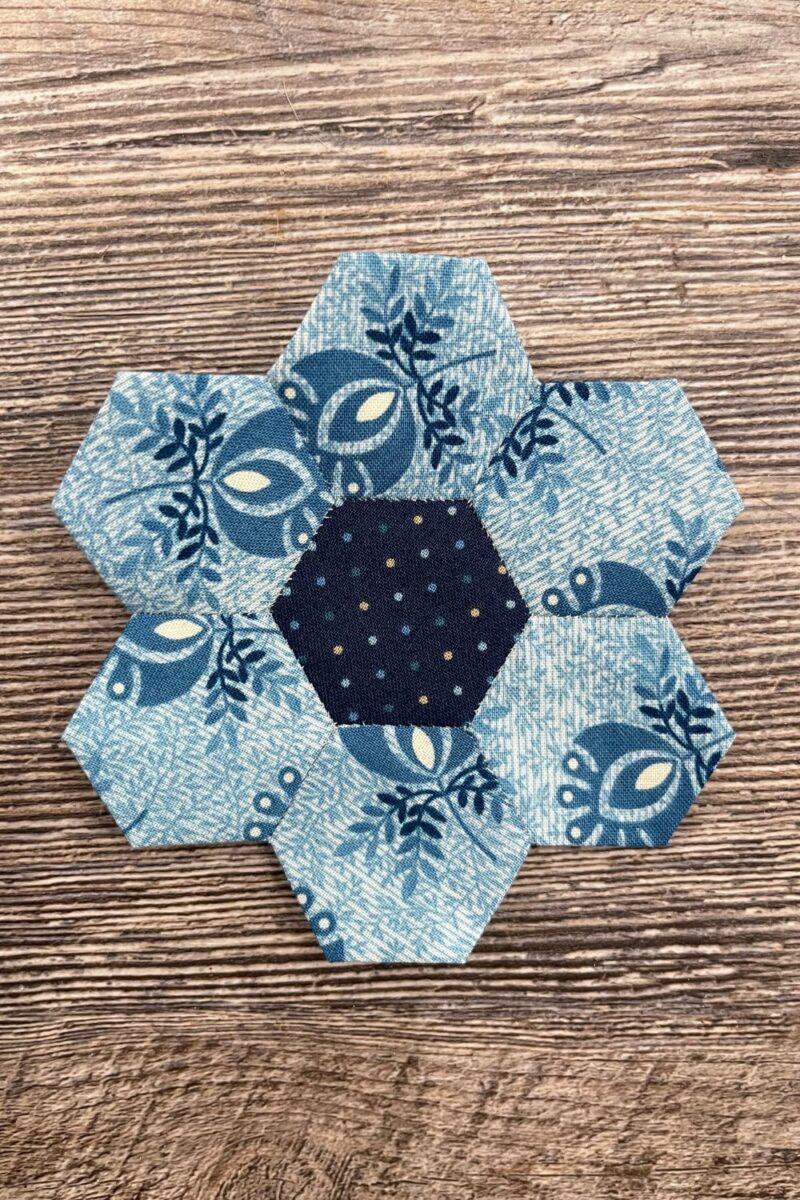
When your shape is complete, you can gently remove the papers and use a top stitch or blanket stitch to attach it to another fabric to make a quilt block. If you’re doing a whole EPP quilt, you just keep attaching blocks to each other.
I hope this tutorial for beginner English Paper Piecing gives you the confidence to try EPP even if in a small way to add a little bit of dimension to your next patchwork quilt.
If you are looking for EPP Pattern ideas, check out this slide show of English Paper Pieced Quilts from All People Quilt.
One Comment
Comments are closed.