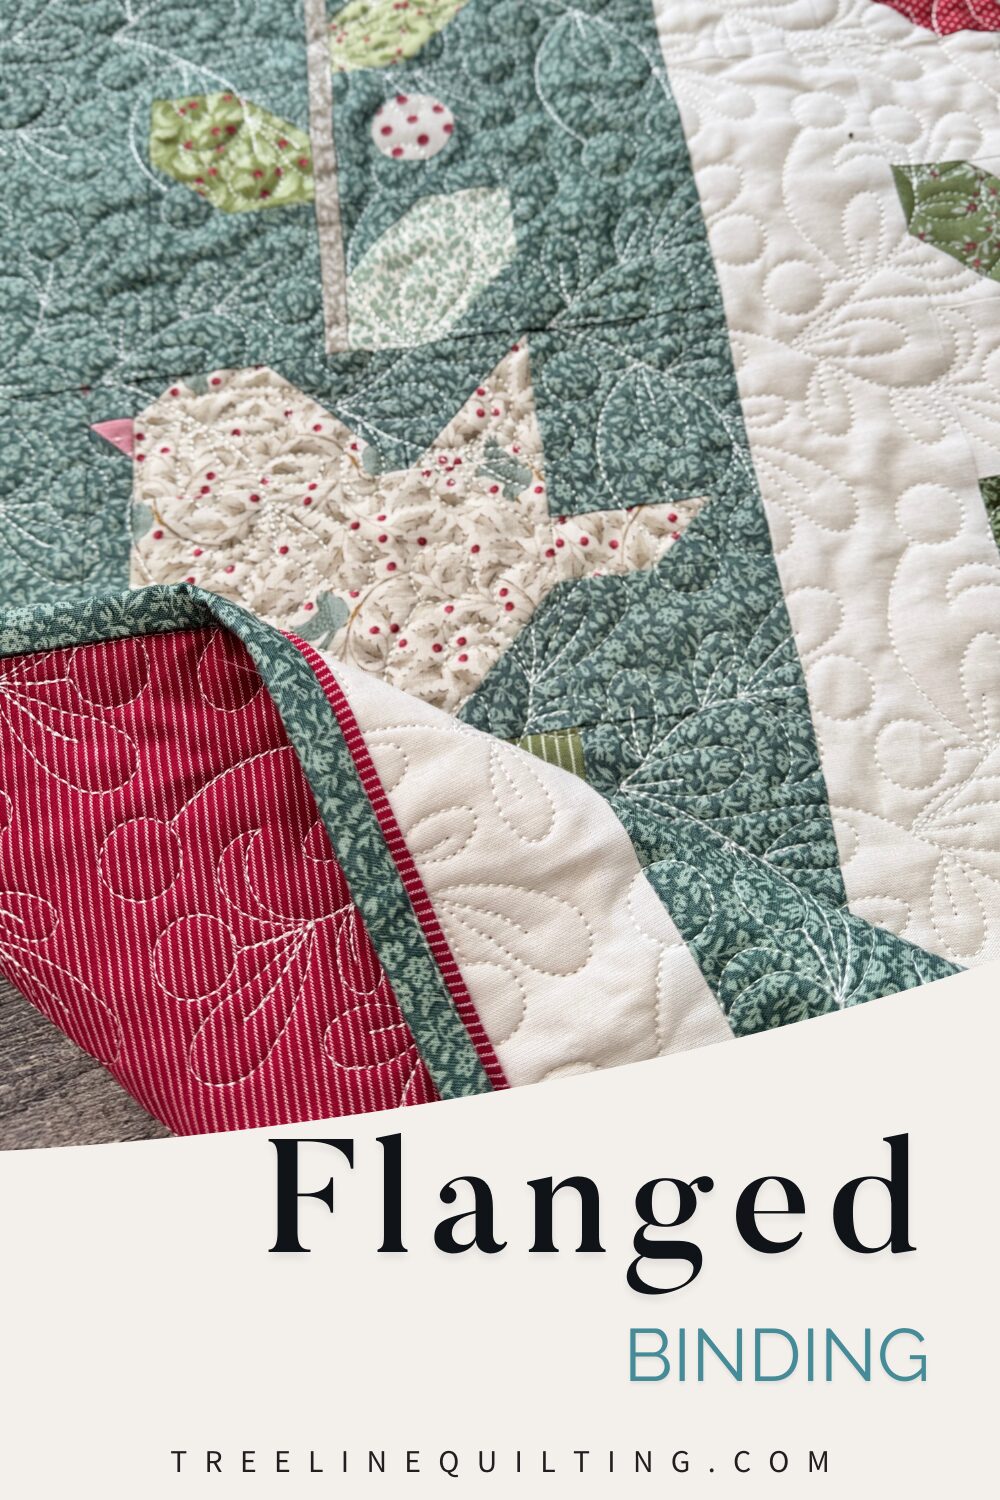
How to Make a Flanged Binding for Your Quilt
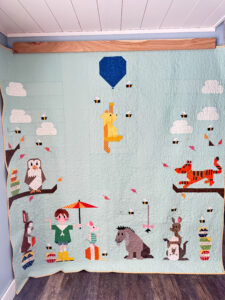
A step-by-step tutorial using the flanged binding method I used on my Tilda Winter Birds quilt
When purchasing through links on this site, I may earn an affiliate commission at no cost to you.
Flanged binding is one of my favorite finishing techniques because it adds such a beautiful, polished detail to the edge of a quilt. Instead of using just one fabric for your binding, you use two! The result is a thin accent strip (the “flange”) that looks like tiny piping along the front edge of your quilt—without needing any specialty tools.
If you’ve ever wanted a binding that really frames your quilt, this technique is for you.
What Is Flanged Binding?
Flanged binding is a two-fabric binding method where a narrow strip of one fabric peeks out just slightly next to your main binding fabric. It gives your quilt extra contrast and dimension, and it’s especially beautiful on:
- quilts with lots of white or light backgrounds
- modern quilts with high contrast
- gift quilts that need a little “something extra”
- quilts using collections like Tilda or florals that benefit from added softness and detail
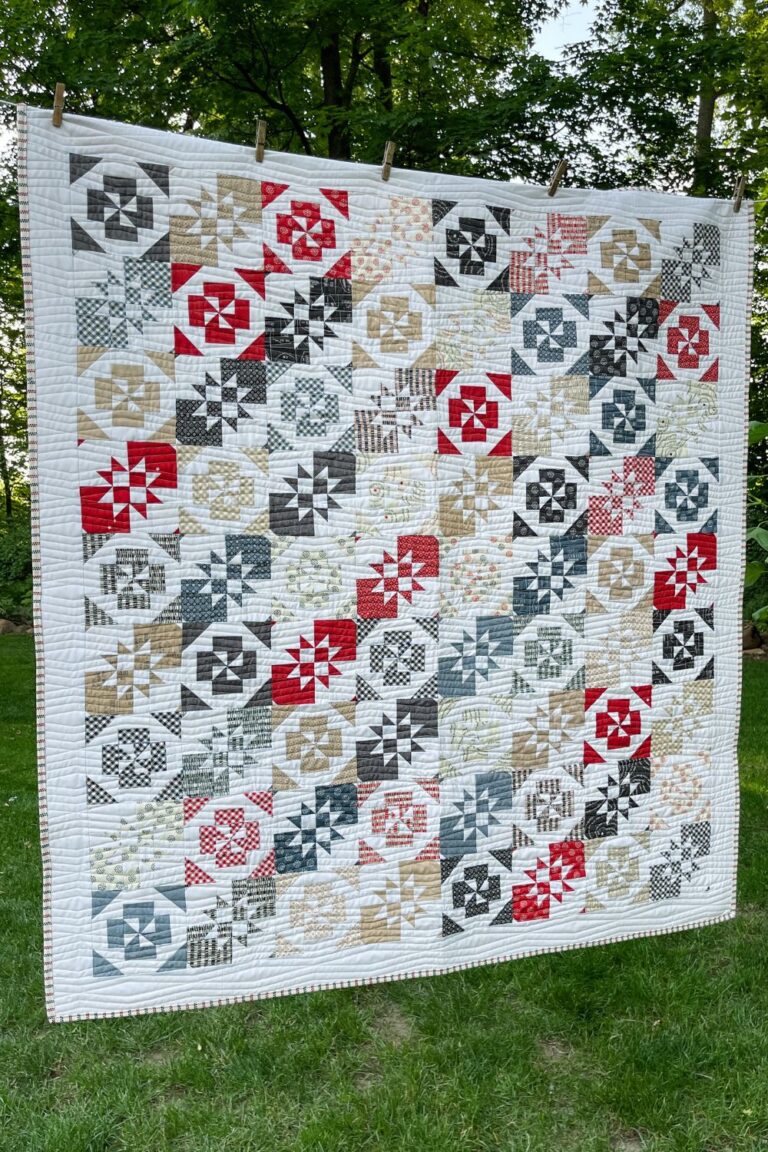
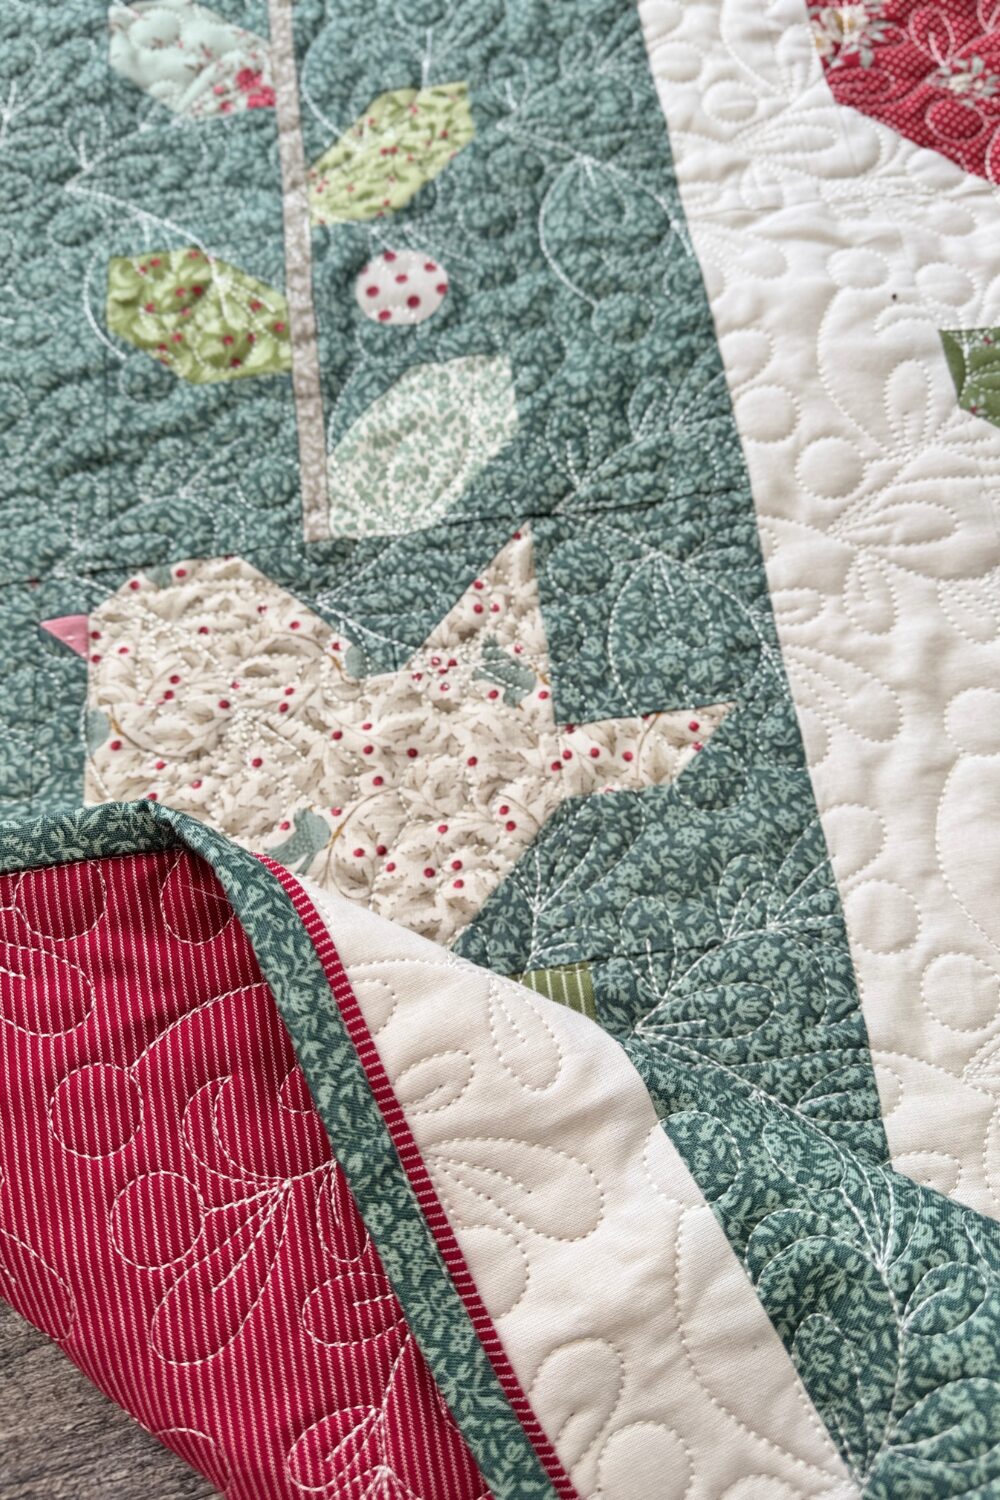
For my Tilda Winter Birds Quilt, the flange was the perfect finishing touch!
Supplies You’ll Need
- Two fabrics for binding:
- Main Binding Fabric – this is the color that will show the most
- Flange Fabric – this will show as a thin accent line
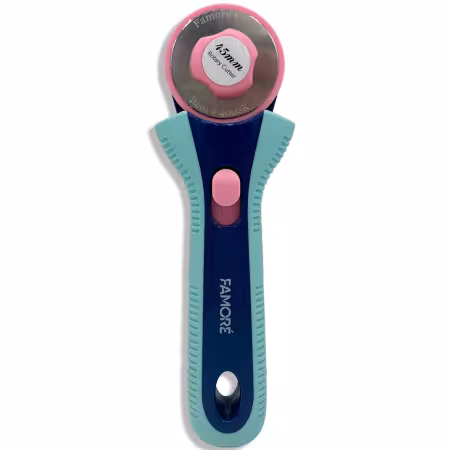
- Rotary cutter and ruler
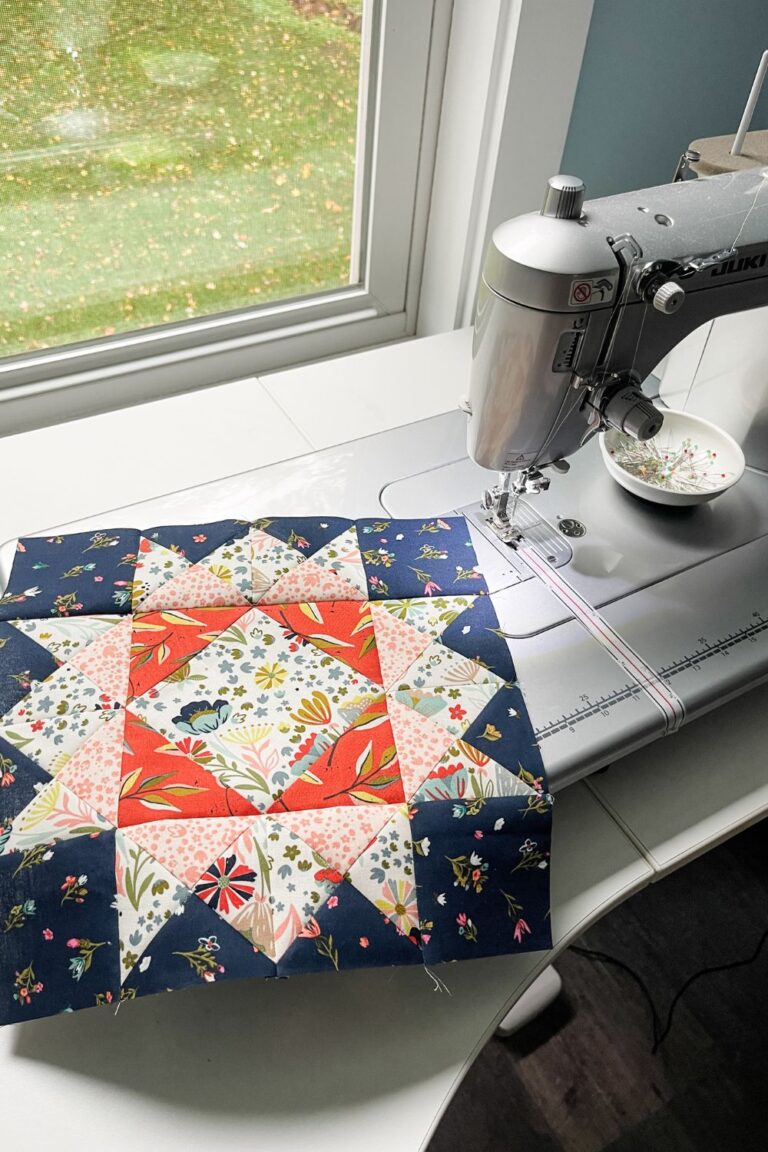
- Sewing machine
- Iron
- Quilted quilt ready for binding
How Much Binding Do I Need?
First, calculate your binding length. I use a simple formula:
Perimeter of the quilt + 10 inches
The extra 10 inches gives you room for joining the ends and a little breathing space.
Example:
If your quilt is 60″ x 70″:
60 + 60 + 70 + 70 = 260
260 + 10 = 270 inches of binding needed
Then, cut enough strips from each fabric to equal at least that length.
Cutting Your Flanged Binding
This is where flanged binding is different from regular binding. Instead of cutting all strips the same width, you’ll cut each color differently.
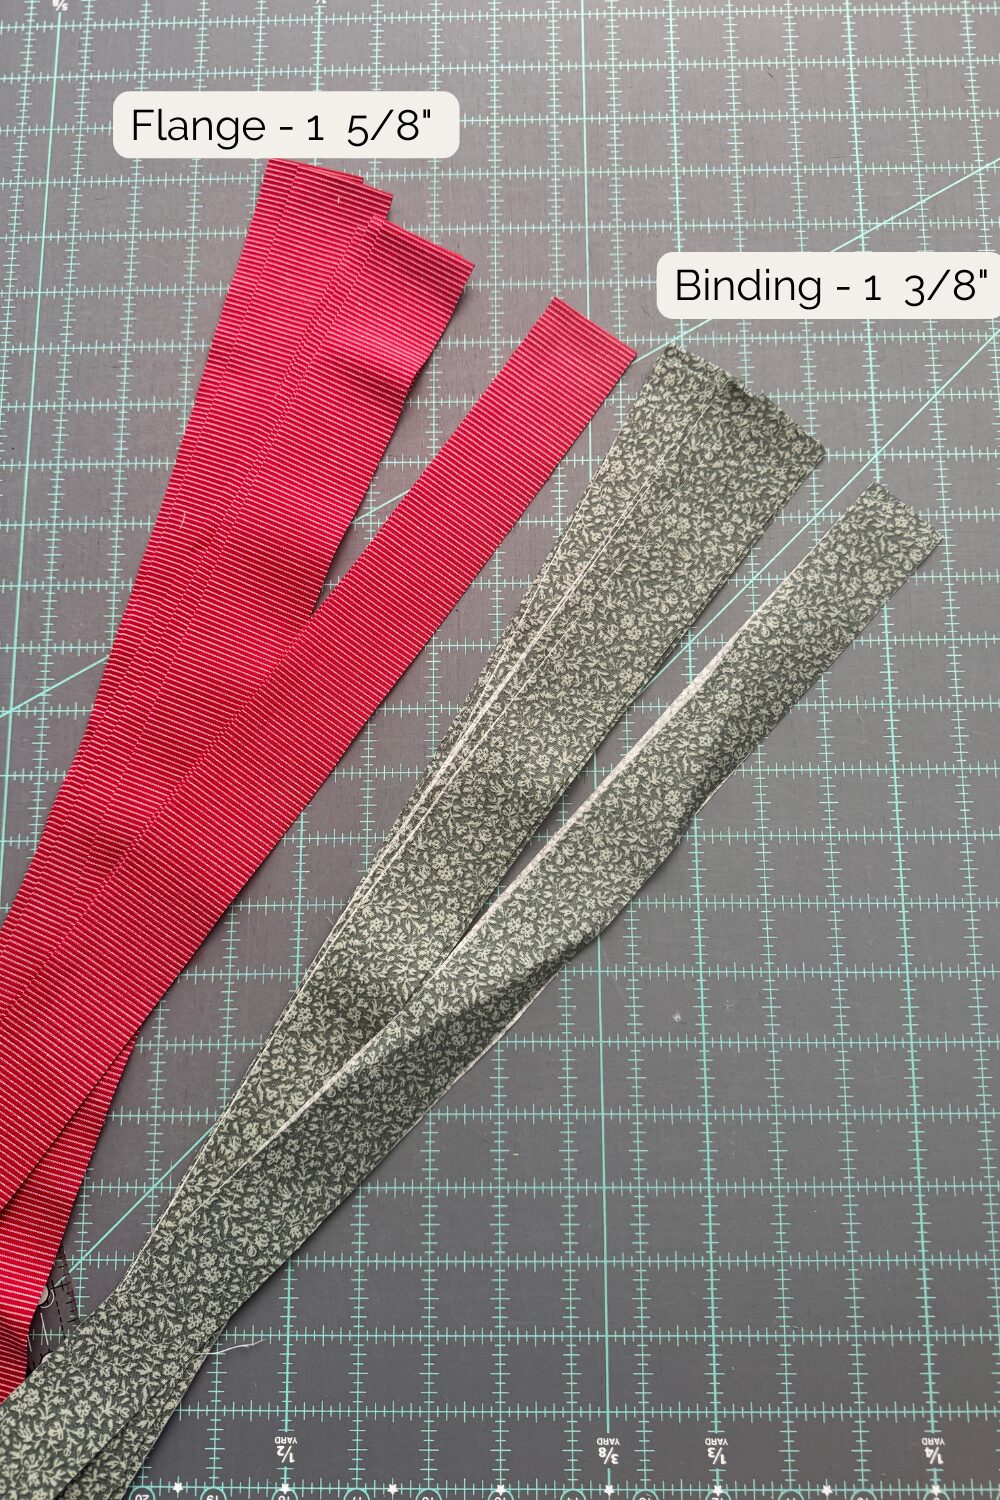
✂️ Cutting Measurements
- Main Binding Fabric: cut strips at 1 3/8″ wide
- Flange Fabric: cut strips at 1 5/8″ wide
Both fabrics will be joined into long strips separately before being sewn together.
Why different widths?
Because when we sew these together and fold them, the slightly wider flange fabric naturally rolls forward and creates that beautiful thin accent line.
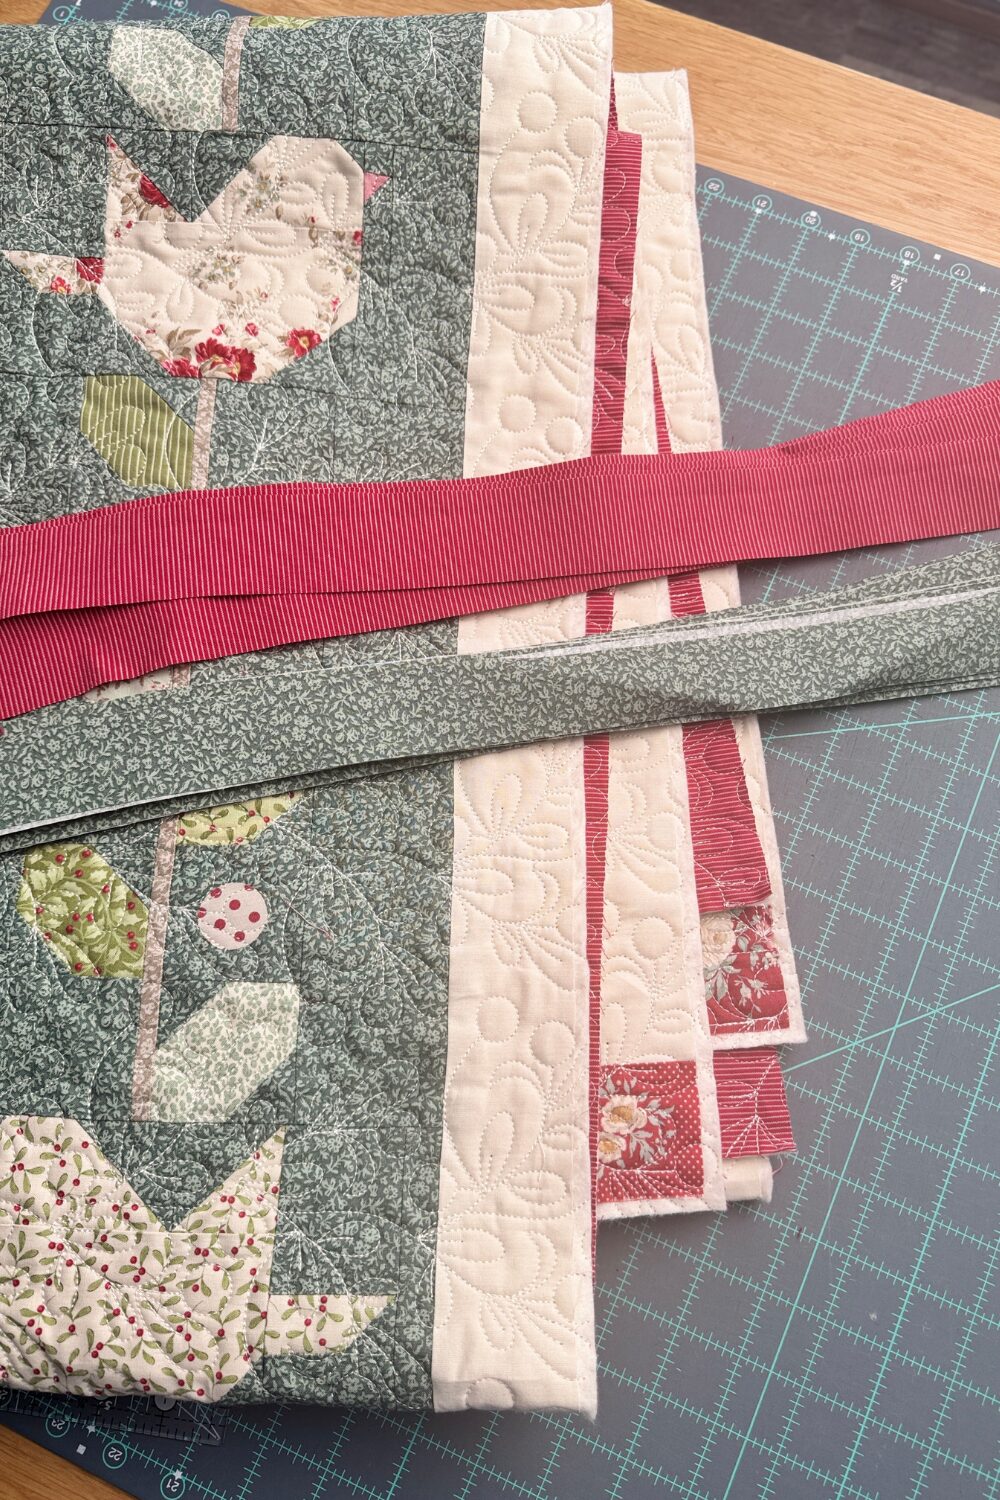
Step 1 – Join the Strips
Just like traditional binding:
- Sew the main binding strips together end-to-end using diagonal seams.
- Press seams open.
- Repeat with the flange strips, joining them the same way and pressing seams open.
Now you have two long strip sets.
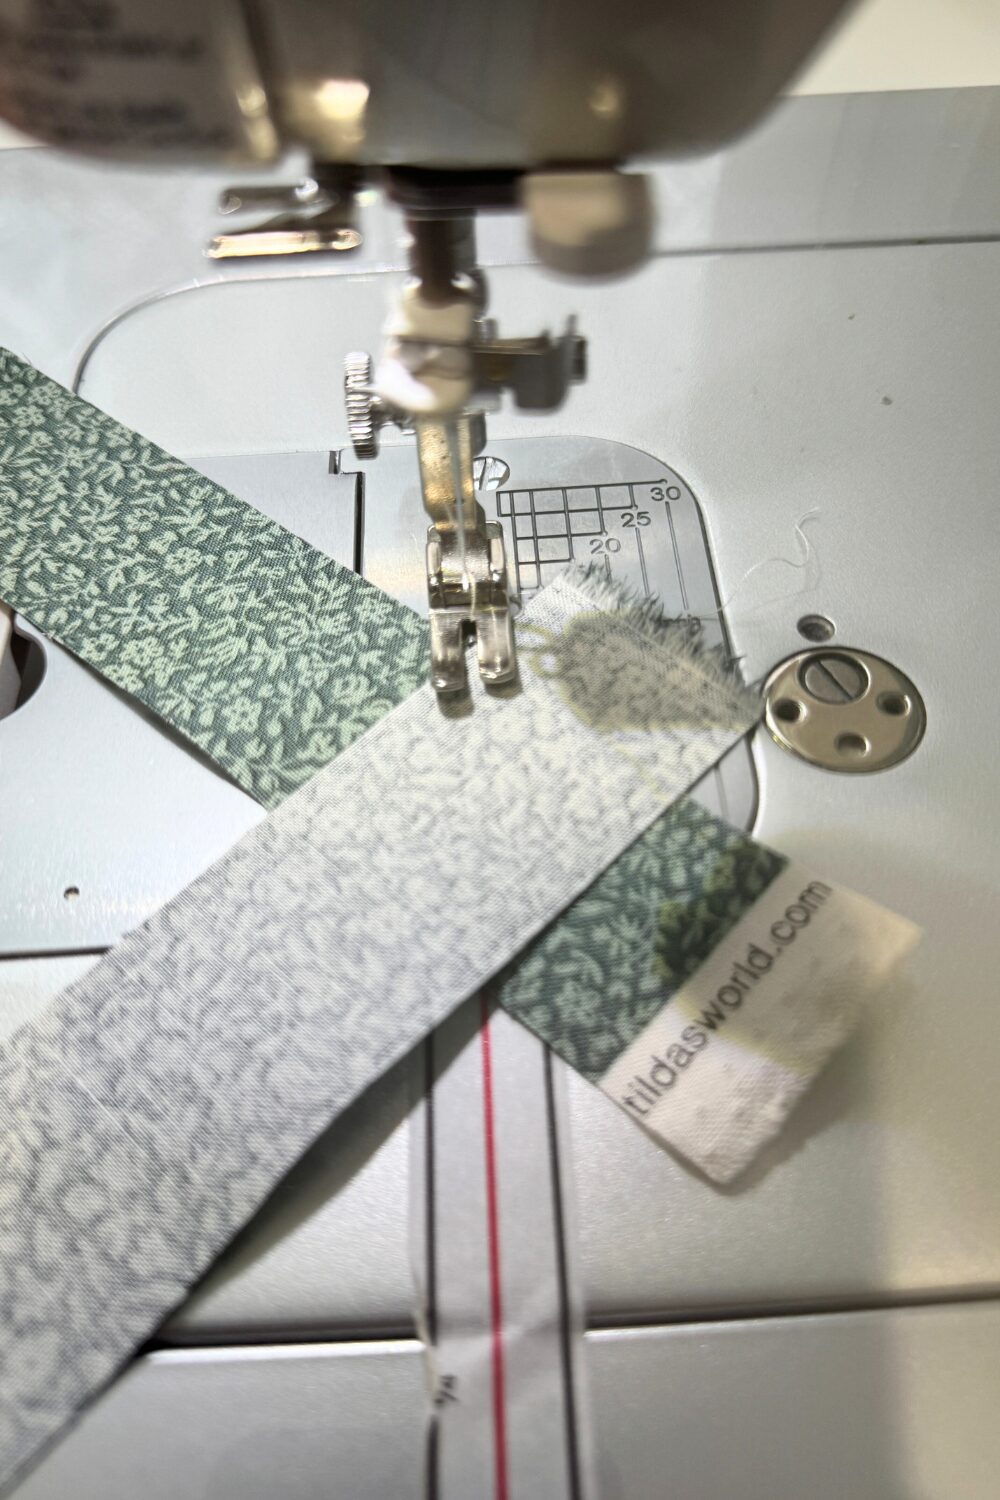
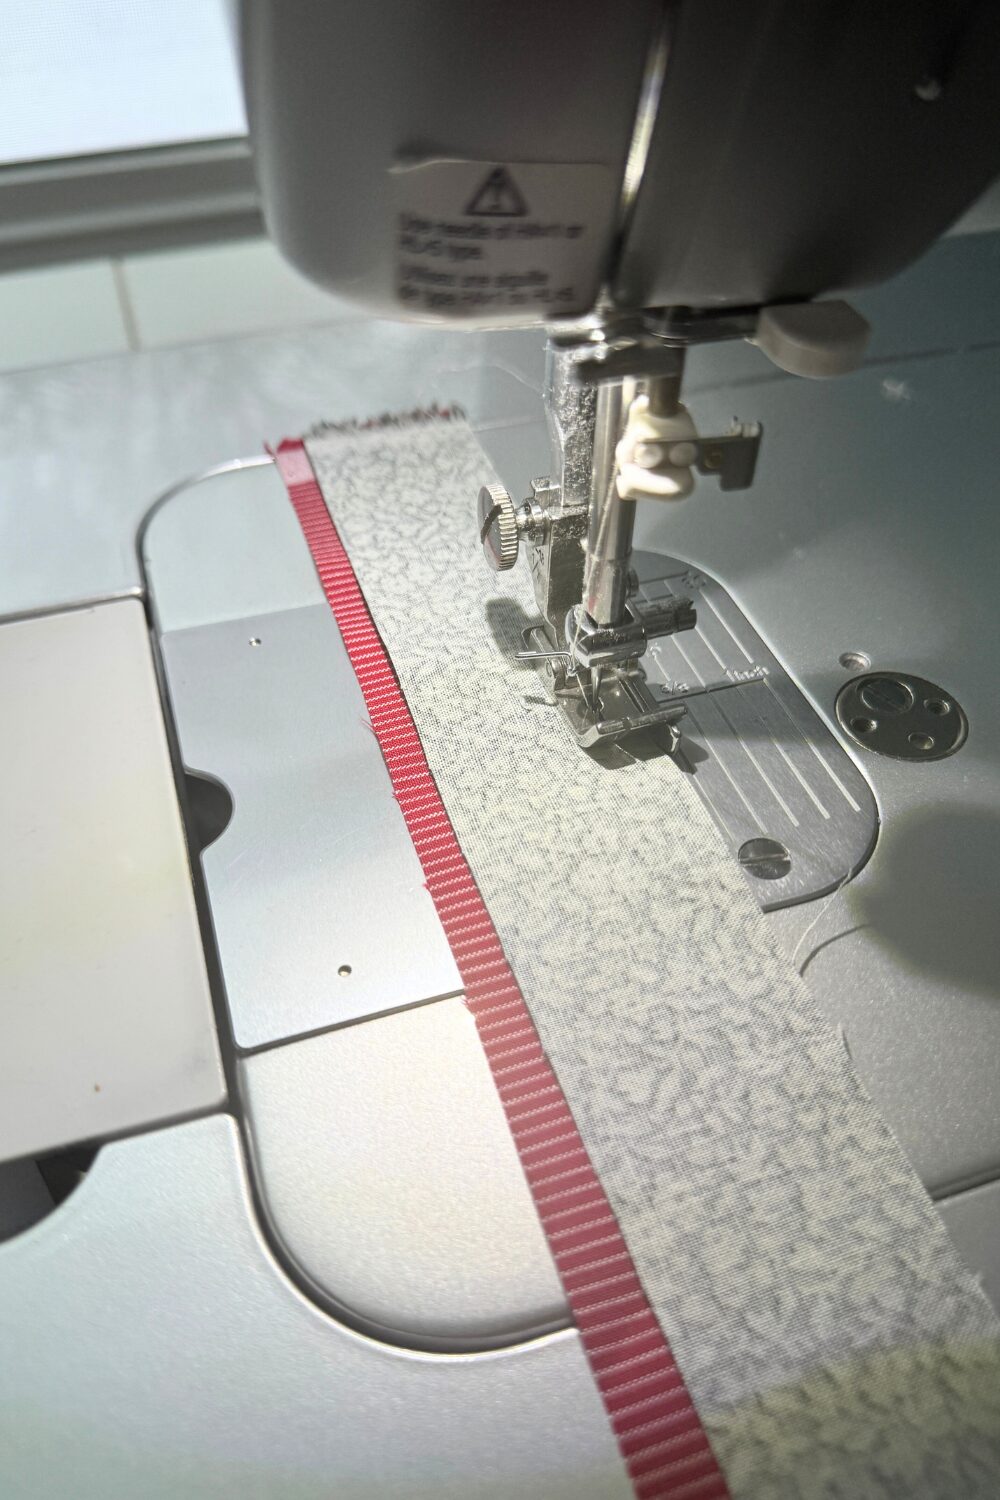
Step 2 – Sew the Two Fabrics Together
Place the two long strip sets right sides together:
- Align long edges
- Stitch along one long side using a ¼” seam allowance
- Press the seam toward the flange fabric
Now you have one big 2½” strip of binding made up of both fabrics.
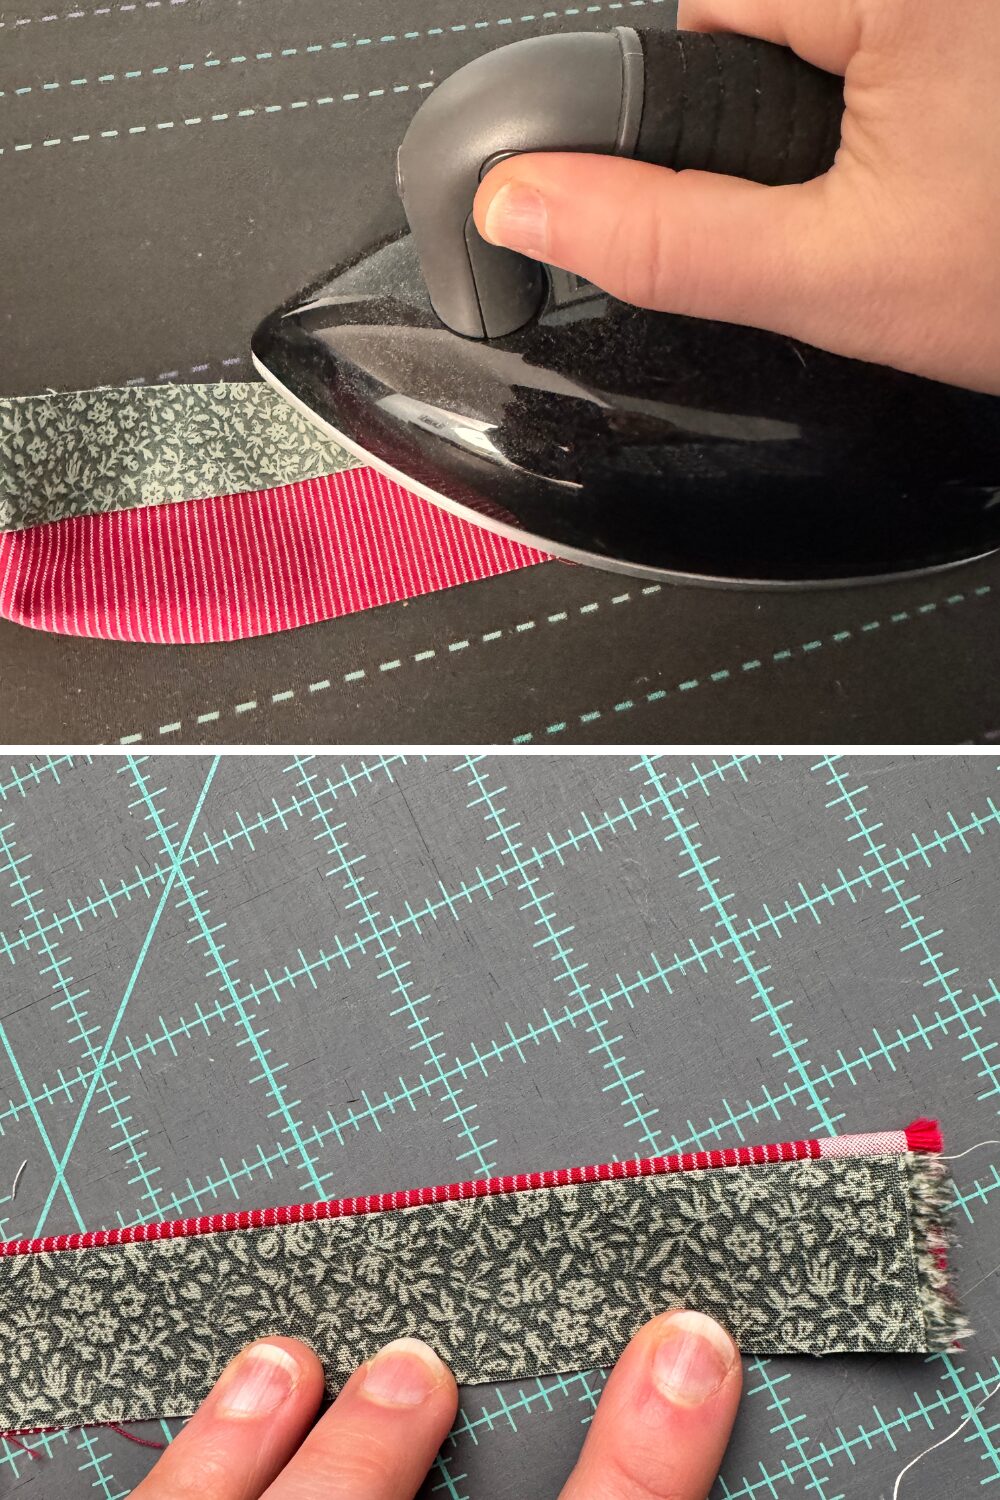
Step 3 – Press the Flanged Binding
Just like regular binding:
- Fold the entire strip in half lengthwise
- Wrong sides together
- Press well
You’ll see your flange fabric peeking just slightly past the fold—this is exactly what we want!
At this point, it just looks like a normal binding strip with a pretty surprise built in.
Step 4 – Attach the Binding to Your Quilt
Here’s the key difference between regular binding and flanged binding:
Instead of stitching to the front and hand-stitching to the back, we’re going to:
- Stitch the binding to the BACK of the quilt first
Use your normal ¼” seam allowance, miter your corners as usual, and continue all the way around.
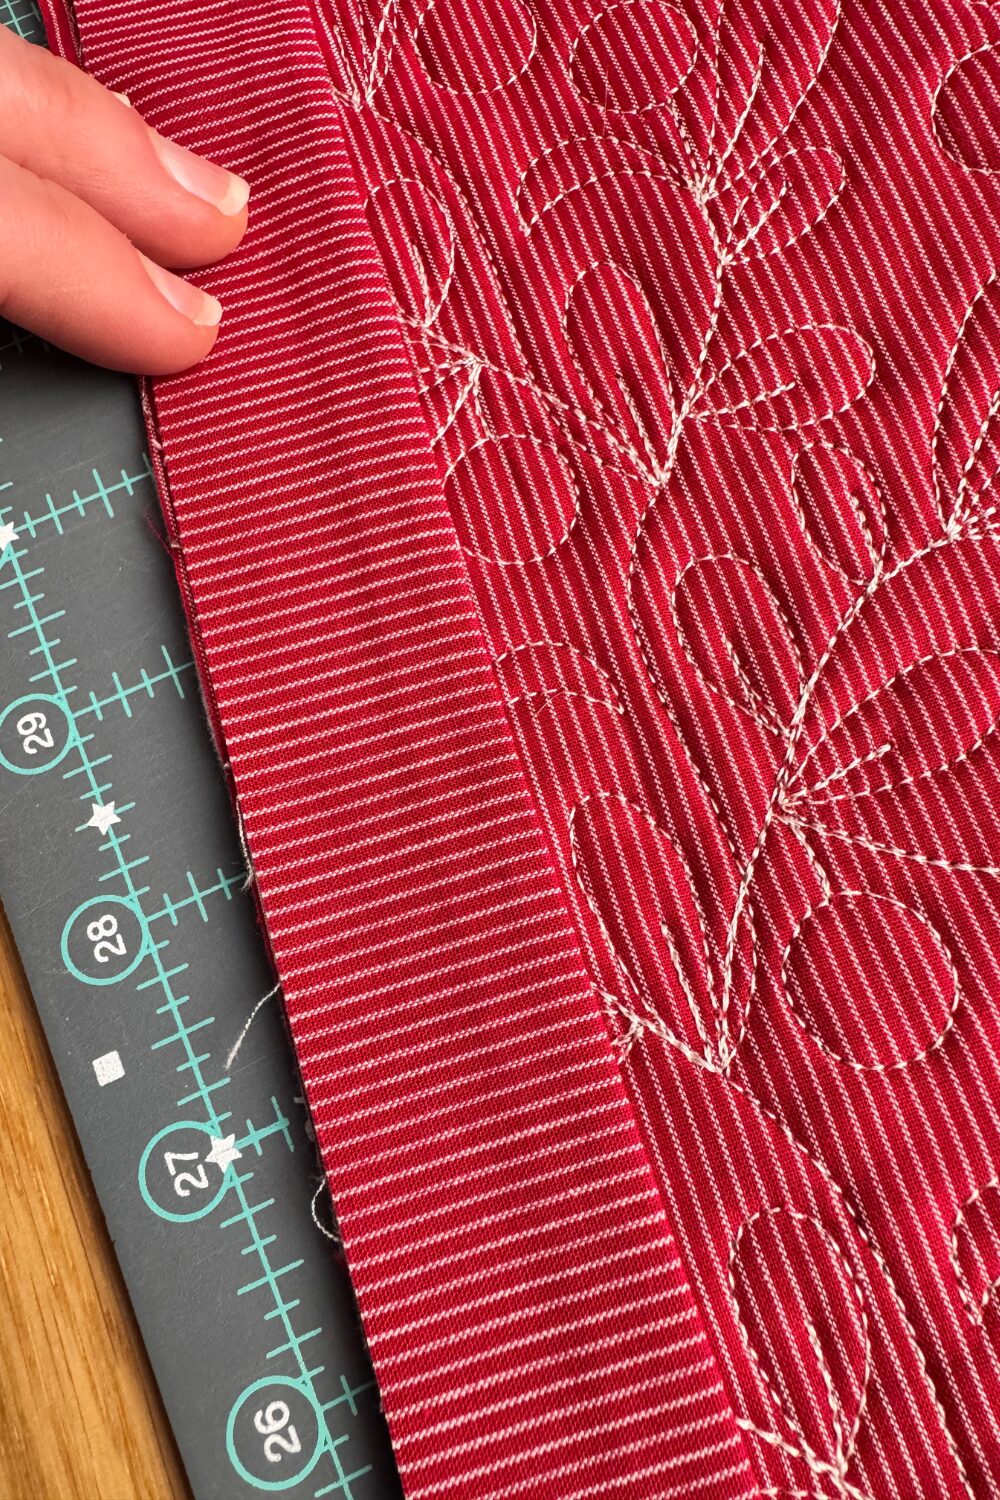
Then flip the binding to the front.
You’ll see that beautiful little flange appear right away!
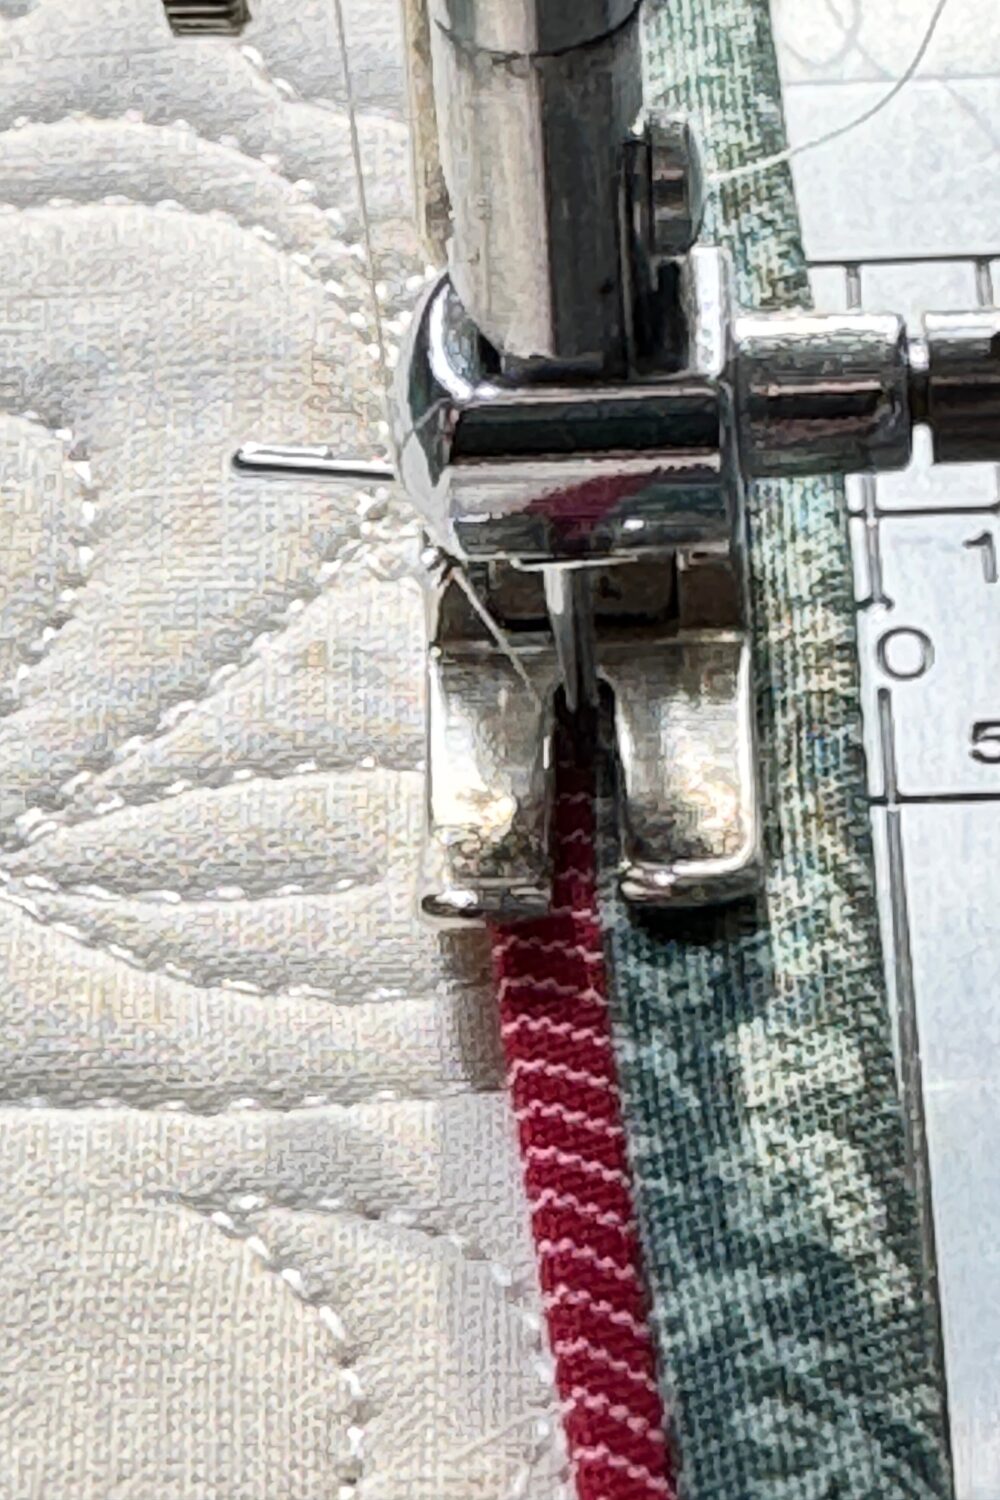
Step 5 – Stitch the Flanged Binding Down from the Front
Instead of hand-stitching, flanged binding is designed to be machine finished—yay!
Lay the binding flat on the front of the quilt and line it up so the flange lies just inside the binding edge.
Then:
- Stitch on the ditch between the flange and main binding fabric
- The stitching blends beautifully and secures the binding completely
Bonus: This method is strong, fast, and gives a very professional look.
Tips for Beautiful Flanged Binding
- Choose high-contrast fabrics if you want the flange to pop
- Choose soft tonal shades if you want subtle elegance
- Pressing is your friend—crisp pressing makes beautiful binding
- Take your time around corners so your flange stays even
Final Thoughts
Flanged binding is one of those techniques that looks complicated but really isn’t once you try it. It adds so much personality and polish to a finished quilt. If you’re bored with traditional binding or want your quilt to feel extra special, give it a try!
This was the perfect finishing detail for my Winter Birds Tilda quilt, and I already can’t wait to use it again.