Mastering the Art of Pressing Seams in Quilting
When it comes to quilting, one of the most overlooked yet crucial steps is pressing seams. Properly pressed seams can make the difference between a polished, professional-looking quilt and one that feels bulky, uneven, or hard to assemble. In this guide, I’ll explain why pressing is essential, the difference between pressing and ironing, and the best practices that will help your quilt blocks stay accurate and lay flat.
When purchasing through links on this site, I may earn an affiliate commission at no cost to you.
If you’ve been following along with my quilting foundations series, we’ve already talked about accurate cutting, consistent seams, and chain piecing. Pressing is the next skill that makes all of those steps work better together.
As a new quilter, I didn’t fully understand how important pressing was. I would sew pieces together, finger-press the seam in the direction I wanted it to go, and keep stitching. Sometimes my points lined up… and sometimes they didn’t – but it was “close enough.” My quilting has changed a lot since then. Today, I’m very intentional about pressing every seam to a crisp, flat finish. (I also love to starch my fabric. It really does make a difference.) That small amount of extra time dramatically improves the look and accuracy of a finished quilt.
Let’s talk about all things pressing seams.
Pressing vs. Ironing: Understanding the Difference
Many quilters, especially beginners, assume that ironing and pressing are the same thing — but in quilting, they are very different.
Ironing back and forth while pressing down might work well for clothing, but with quilting, it’s a no-no. Ironing quilting fabric can distort your seams, especially those sewn on the bias, which will in turn make your blocks not come out to proper size or make it difficult to match seams.
By using a pressing motion instead of ironing, you preserve the integrity of your fabric pieces and keep your quilt blocks measuring the way they should.ing method instead of ironing, you’ll preserve the integrity of your fabric pieces and ensure a precise quilt layout.
Pressing Up and Down
This is lifting the iron, placing it down, applying heat, and lifting it again – without dragging. This allows the seam to lay flat without changing the shape of the fabric.
Ironing Back and Forth
This method involves sliding the iron back and forth across the fabric. This works for clothing, but in quilting it can stretch fabric and distort your carefully cut pieces.
Related Post: Chain Piecing in Quilting
Why Pressing Every Seam is Essential in Quilting
Pressing seams as you construct your quilt is a non-negotiable step that contributes to the overall quality of your finished project. Here’s why:
1. Enhances Accuracy in Piecing
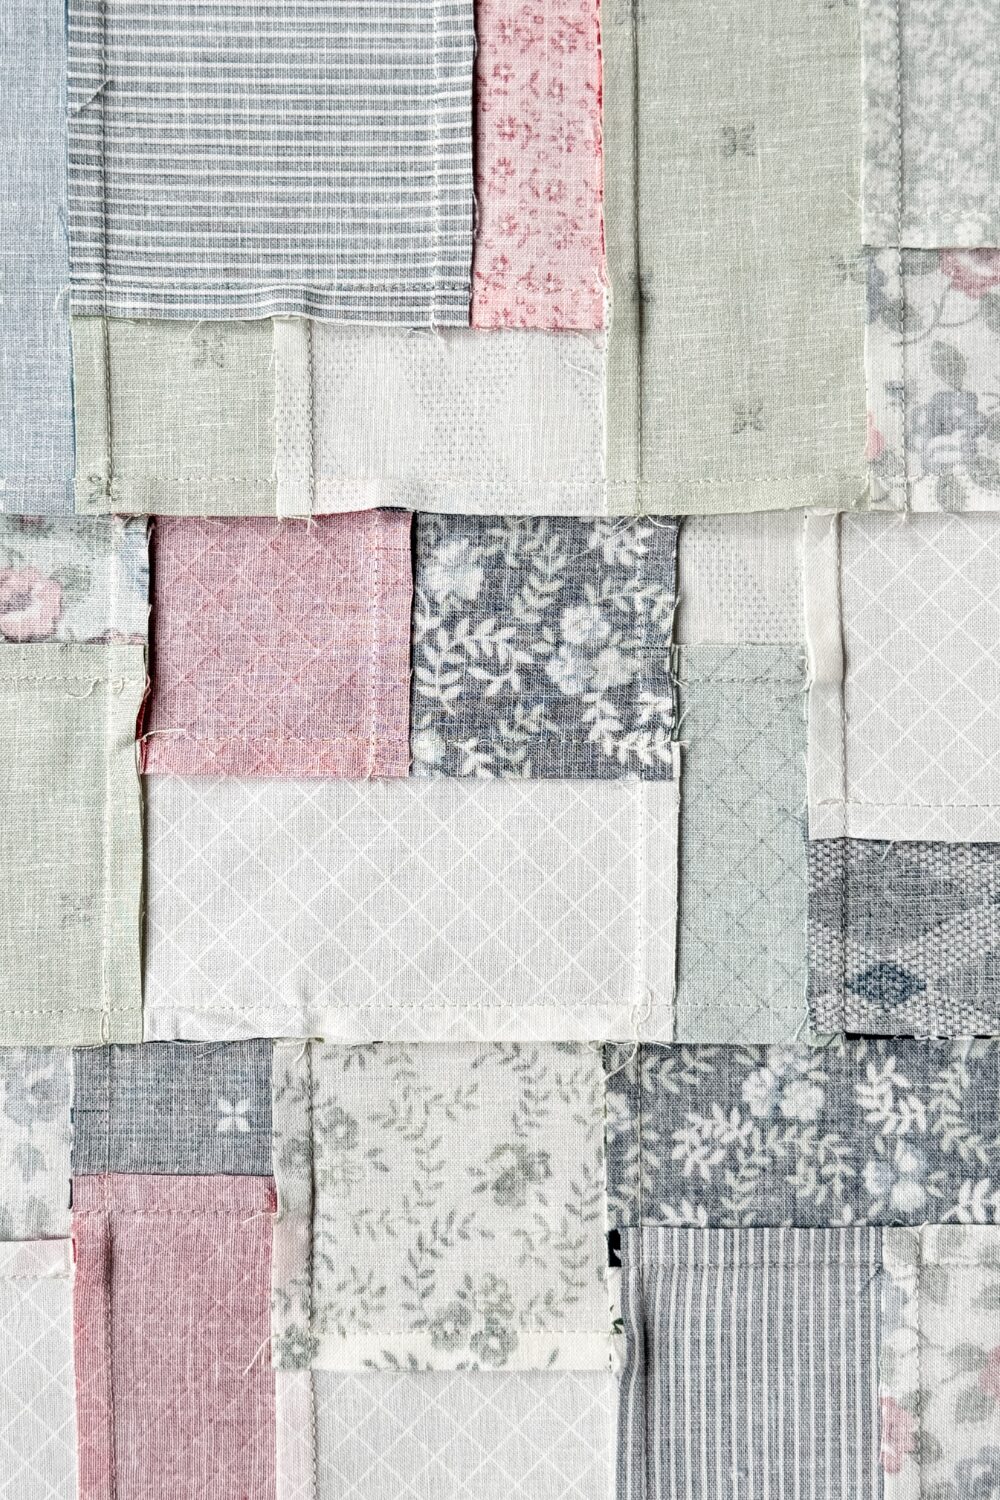
Each quilt block must maintain its intended size and shape to fit perfectly with adjoining pieces. Pressing seams keeps the fabric stable and helps prevent stretching, ensuring that your blocks align correctly when sewn together.
2. Reduces Bulk for a Flatter Quilt
Quilts can accumulate bulk at seam intersections, which can make quilting difficult, especially when working with multiple fabric layers. Pressing seams properly either to one side or pressing them open minimizes bulk, resulting in a smoother, more even quilt top.
3. Strengthens the Quilt for Longevity
When seams are pressed correctly, fabric pieces adhere better, reducing stress on the stitches. This reinforcement helps your quilt withstand washing, handling, and everyday use over time.
4. Improves the Final Appearance
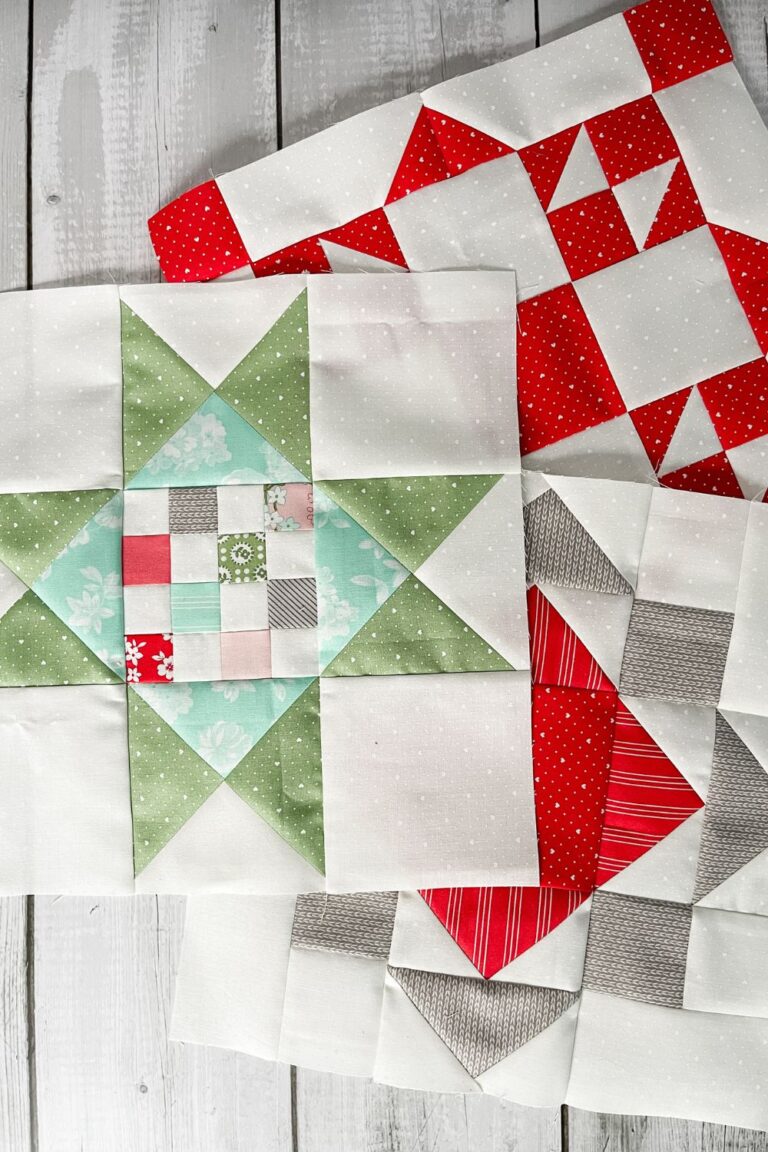
Well-pressed seams lead to crisp, professional-looking quilt blocks. When seams are carefully pressed, points match up more accurately, and the finished quilt top appears neat and polished.

Best Practices for Pressing Seams in Quilting
To achieve the best results, follow these pressing techniques throughout your quilting process:
1. Use the Right Tools
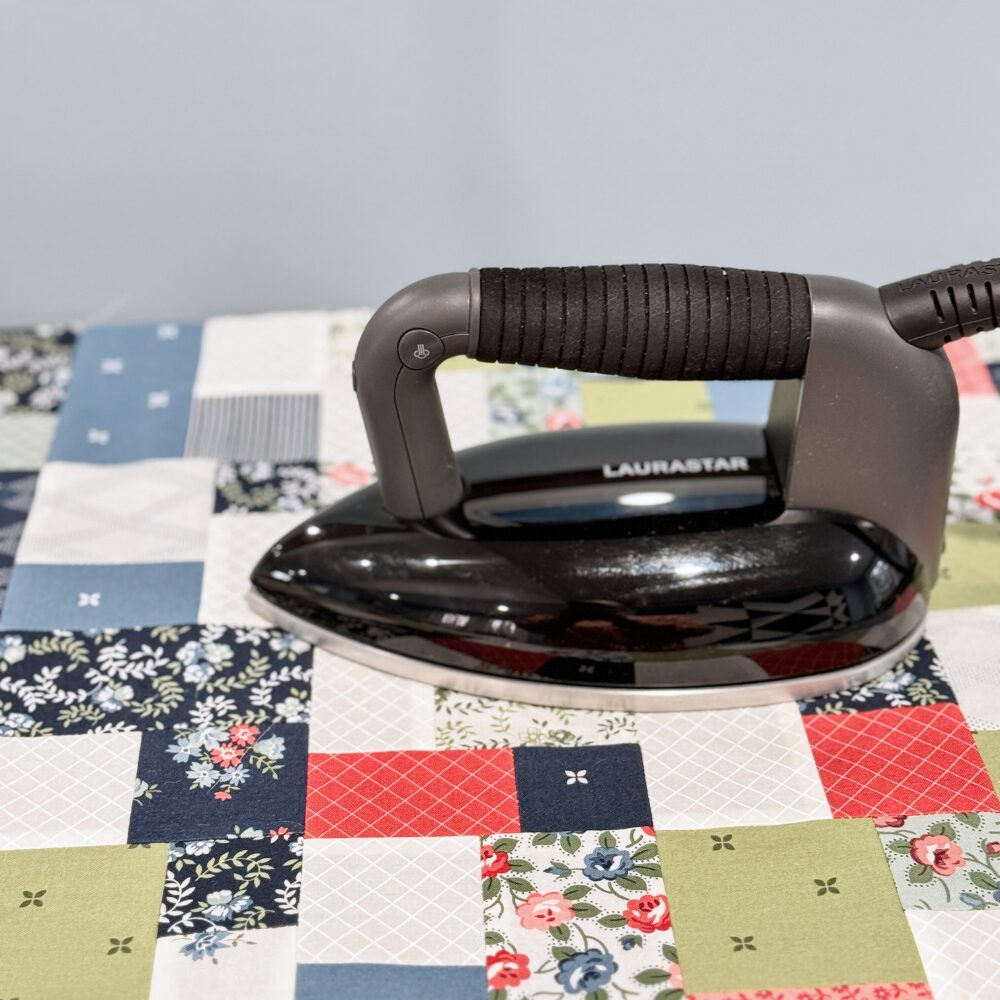
- Quality Iron: A reliable iron with consistent heat makes a big difference. For years I didn’t use steam when pressing, but after upgrading to a Laurastar system, I discovered how much better seams can look with the right steam and pressure.
- My recommended irons:
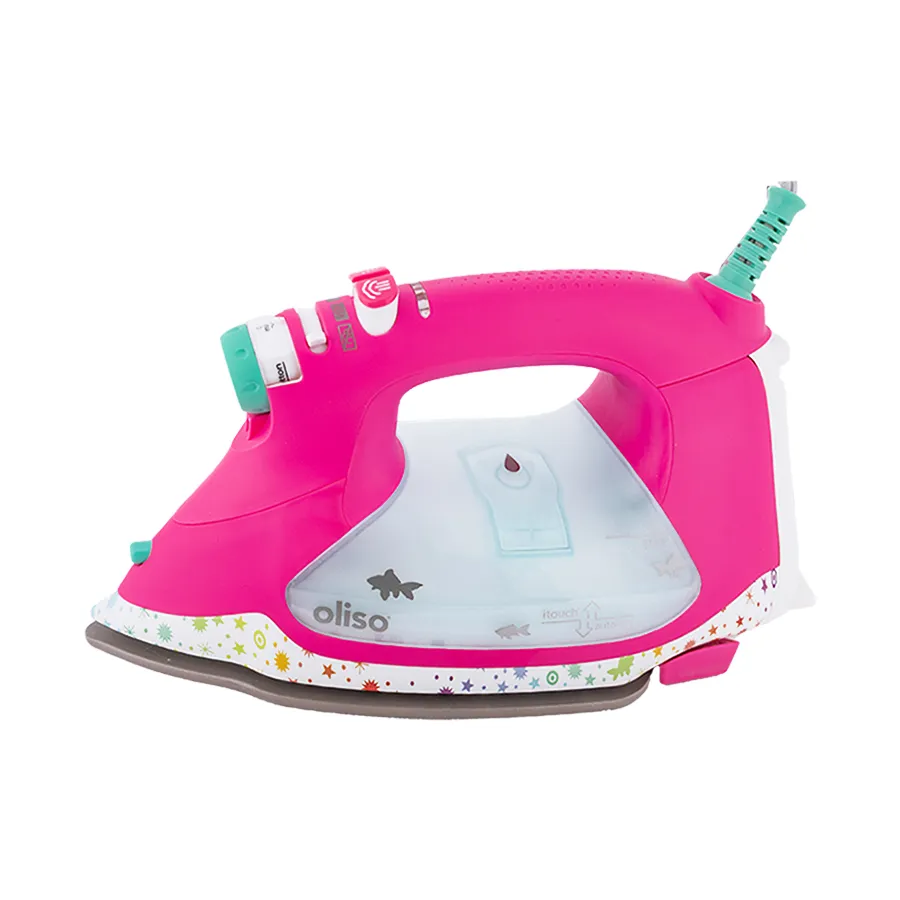
- Oilso Auto Lift Iron – a moderately priced iron that works really well. This was my go to for most of my quilting years
- Rowenta Pro Master – also a moderately priced iron. This is similar to the iron I used when I first started quilting.
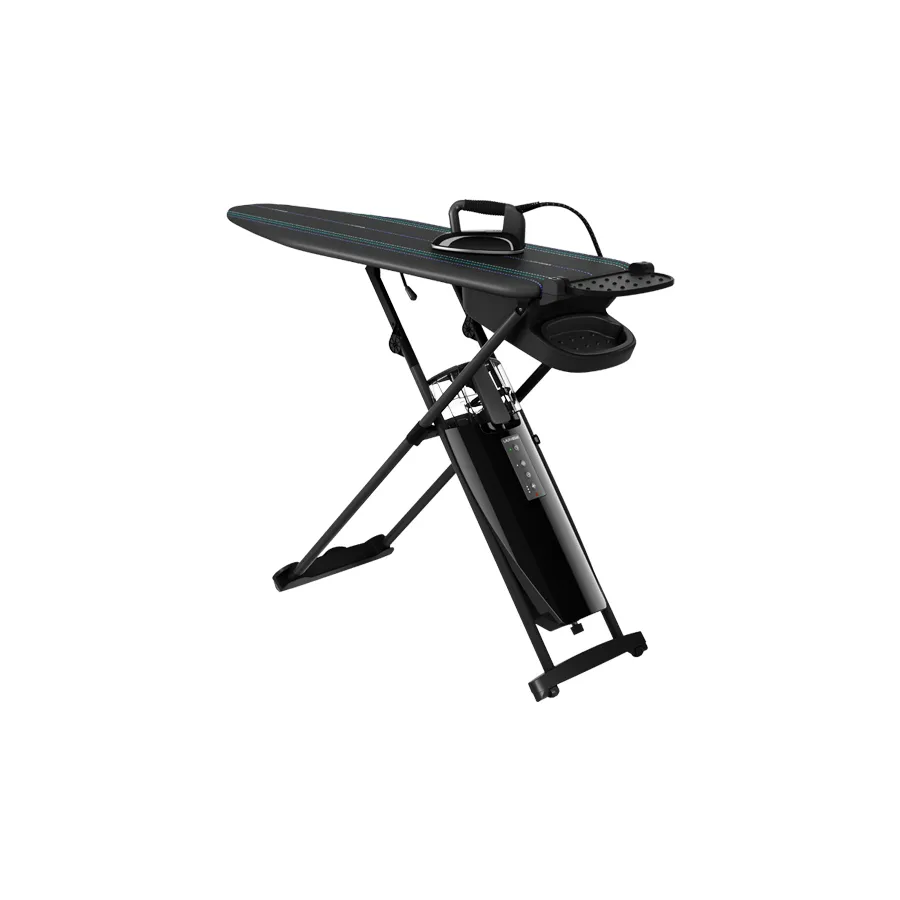
- Laurastar Lift – a more expensive iron, but if you have the funds I highly recommend Laurastar irons. They really are a game changer when it comes to fast flat seams.
- Laurastar Smart U ironing system – this is a big splurge and I recognize that it is out of budget for many. I was really reserved about the price of this system but it really has improved my pressing and quilting precision. The 10 year repairable period that Laurastar offers is what sold me. I sew a LOT and use my iron almost daily for many hours a day. I wanted an iron that could keep up with that.
- My recommended irons:
- Wool Pressing Mat: These mats help absorb heat and press seams more efficiently from both sides.
- Pressing Spray or Starch Alternative: Lightly misting your fabric can help achieve crisp seams without over-wetting the material. I typically starch all of my fabrics before starting a project using Niagra spray starch. But having a product like Flatter spray nearby while pressing can help with stubborn or thick seams.
2. Press Seam Allowances Consistently
- Press to One Side: Pressing seams to one side (typically toward the darker fabric) strengthens the seam and reduces bulk. Many patterns come with pressing instructions to ensure that seams between blocks and rows press nicely.
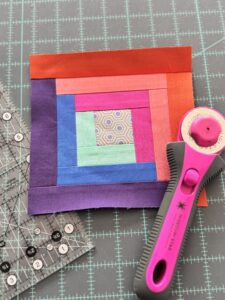
- Press Open When Necessary: When multiple seams intersect, pressing them open may be the best option to distribute bulk evenly. This works especially well for blocks with many small pieces.
3. Set the Seam Before Pressing
Before opening up a seam, press it flat along the stitching line. This technique, known as setting the seam, helps meld the stitches into the fabric and produces a sharper press when opened.
4. Avoid Over Handling the Fabric
Minimize excessive pressing to prevent fabric distortion. Pressing should be firm but gentle to maintain the structure of each quilt block. This is especially important when you are handling fabric pieces that have been cut or sewn on the bias. The bias is a diagonal cut across the grain of the fabric weave. This cut will be especially stretchy and easy to distort with overhandling or ironing back and forth instead of pressing straight down on the seam.
Wrapping Up – The Importance of Pressing
Pressing seams is one of the most important — and most underestimated — quilting skills. When you understand the difference between pressing and ironing, use the right tools, and press seams consistently, your quilt blocks stay square, your seams line up more easily, and your finished quilt looks more polished.
Those few extra moments at the ironing board make a big difference. The next time you’re piecing a quilt, slow down, press carefully, and enjoy how much smoother everything comes together.