Introduction to the Rotary Cutter: A Must-Have Quilting Tool
The rotary cutter has revolutionized the world of quilting, making it easier and faster to cut fabric with precision. Whether you’re a beginner or an experienced quilter, understanding the importance of this tool and how to use it effectively is essential for successful quilting projects. In this post, we’ll dive into everything you need to know about rotary cutters, from their history and types to tips for safe and efficient use.
When purchasing through links on this site, I may earn an affiliate commission at no cost to you.

When purchasing through links on this site, I may earn an affiliate commission at no cost to you.
The History of the Rotary Cutter in Quilting
Rotary cutters were first introduced to the quilting world in the late 1970s, transforming the way quilters cut fabric. Before this innovation, quilters relied on scissors, which required more time and effort and often resulted in less precise cuts. The introduction of rotary cutters allowed for straight, clean cuts in multiple layers of fabric, greatly improving efficiency and accuracy.
Related Post: Quilting Basics – Tips for Accurate Cutting, Sewing, and Pressing
Types of Rotary Cutters
Rotary cutters come in various types, each designed to cater to different quilting needs. Understanding these types will help you choose the right tool for your projects.
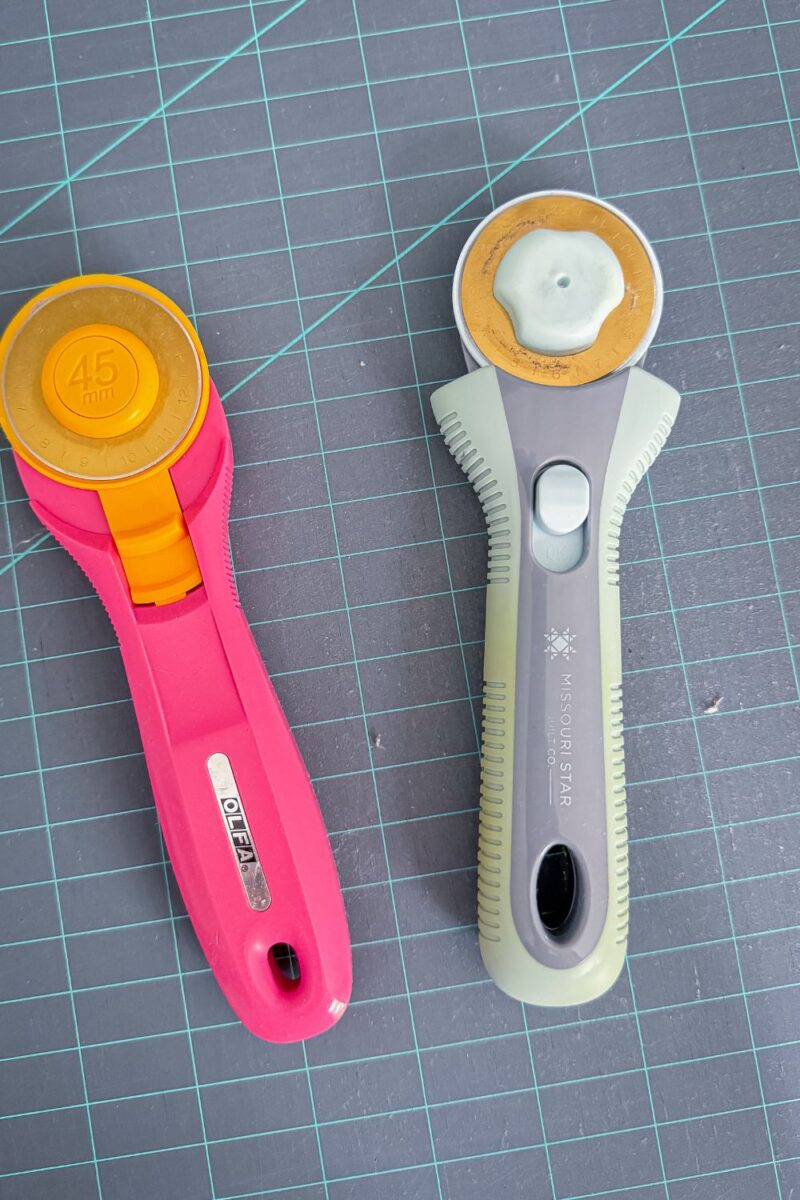
1. Standard Rotary Cutters
Standard rotary cutters are the most common type, featuring a straight handle and a round blade. These are versatile and suitable for most quilting tasks. The Olfa Splash is one of the most popular rotary cutters on the market. I own two of them. One I keep near my machine with a small cutting mat for quick cuts, the other is kept at my cutting table. My current go to rotary cutter right now is the Missouri Star Rotary Cutter. This cutter features a ball bearing mechanism that allows it to roll super smooth.
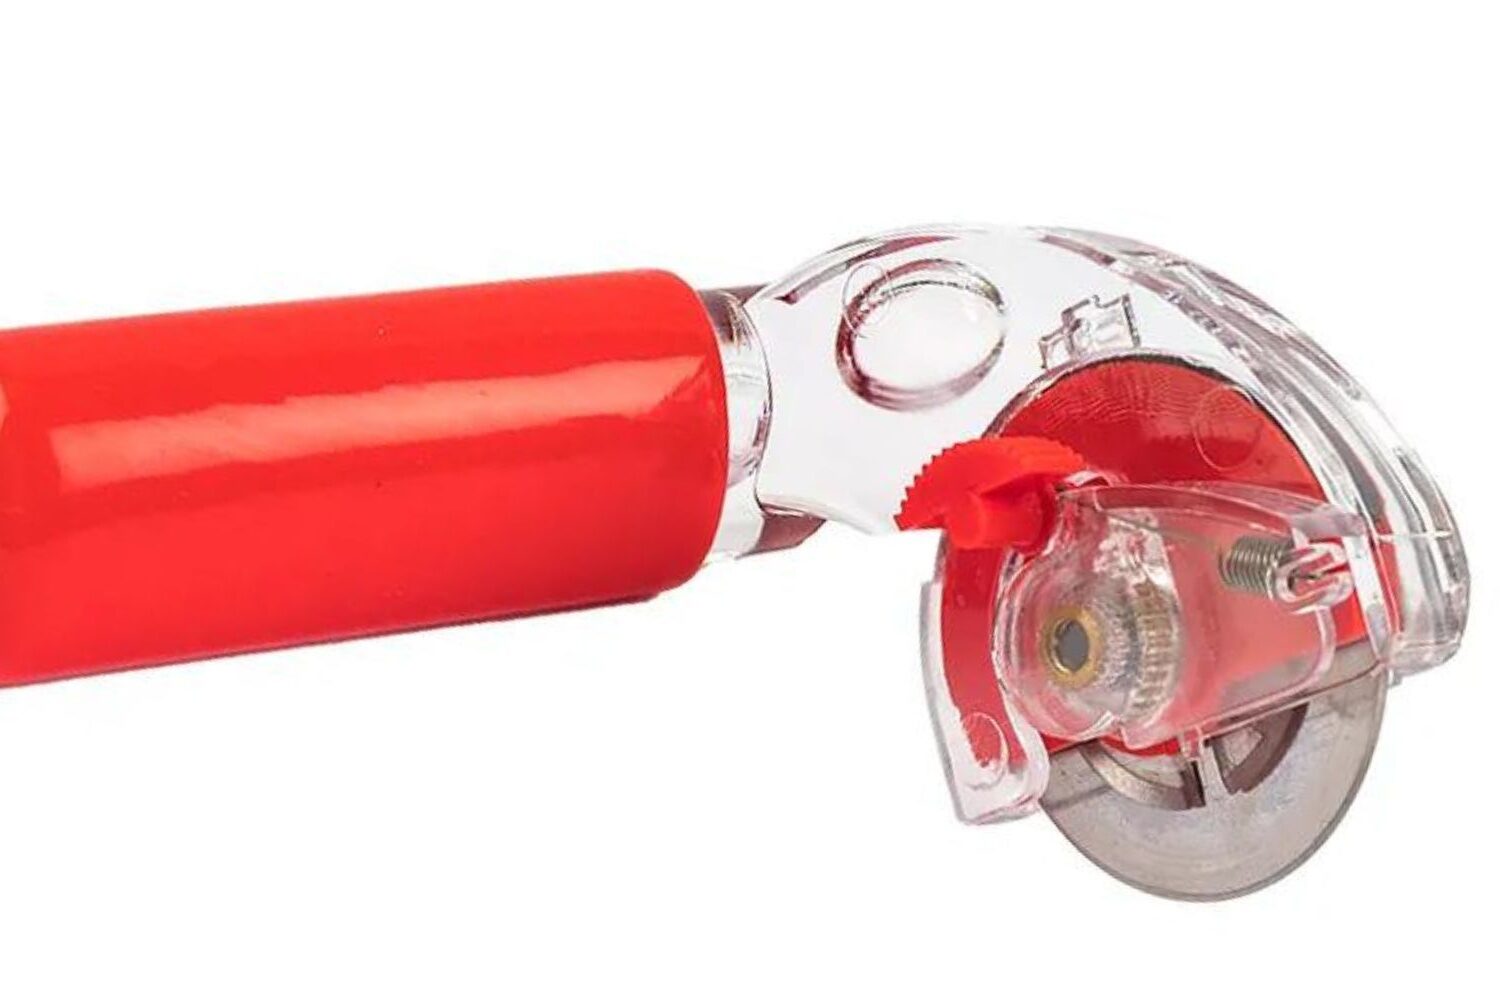
2. Ergonomic Rotary Cutters
Ergonomic rotary cutters are designed with comfort in mind, featuring curved handles that reduce hand fatigue. These cutters are ideal for quilters who work on large projects or have arthritis. Martelli manufactures one such Ergonomic rotary cutter that while it looks strange, it is held off to the side of blade and low to the cutting mat. Another example is the Olfa Ergonomic Rotary Cutter which features a curved design and safety feature of a retractable blade.
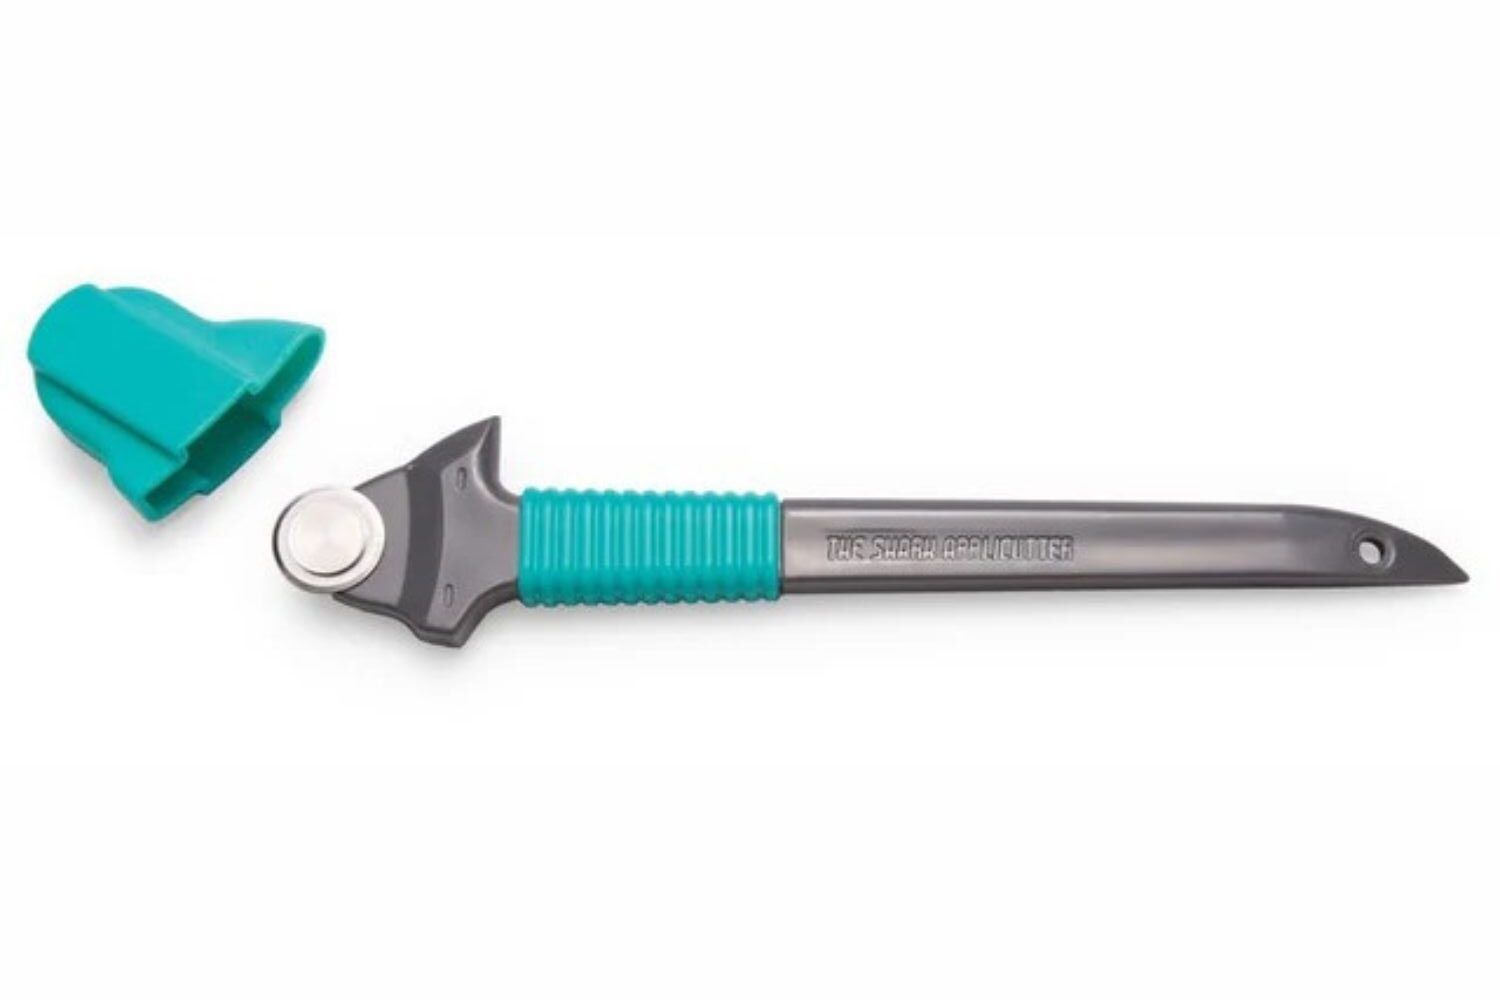
3. Small Rotary Cutters
Small rotary cutters, typically with a 28mm blade, are perfect for intricate cuts and curves. They offer better control and are great for detailed work. In my own sewing room, I have a tiny 14 mm Shark Applicutter which is perfect for cutting around curved areas on appliqué papers.
4. Large Rotary Cutters
Large rotary cutters with a 60mm blade are best for cutting through multiple layers of fabric at once. They’re a time-saver for quilters working on big projects. The large cutters would be especially helpful when cutting through multiple layers of fabric.
Choosing the Right Rotary Cutter Blade
The blade is the most crucial part of a rotary cutter. The type of blade you choose can significantly affect your cutting experience.
1. Standard Blades
Standard blades are ideal for most fabric cutting needs. They are sharp and durable, making them a go-to for general quilting tasks. There are many manufacturers of standard blades such as Olfa and Fiskars. I typically purchase inexpensive blades from Amazon. The two I’ve had experience with are Somolux and Titanium coated blades. I really like them because of the price point and I can replace them more often without hesitation.
2. Endurance Blades
The Endurance Blades made by Olfa are supposed to last twice as long as standard blades. I have tried them in the past, and while I don’t think they last twice as long, your experience might differ from mine. They are a lovely sharp blade when you first use it though.
How to Use a Rotary Cutter: Step-by-Step Guide
Using a rotary cutter properly ensures clean cuts and reduces the risk of accidents. Here’s a step-by-step guide to using this essential tool.
1. Preparing Your Workspace
Before you start cutting, ensure your workspace is clean and flat. Use a self-healing cutting mat to protect your surfaces and keep your rotary cutter blade sharp.
2. Positioning the Fabric
Place your fabric on the cutting mat, aligning it with the grid lines. Make sure the fabric is smooth, without any wrinkles or folds.
3. Using the Ruler
Place a quilting ruler over the fabric where you intend to cut. Hold the ruler firmly to prevent slipping, ensuring straight cuts.
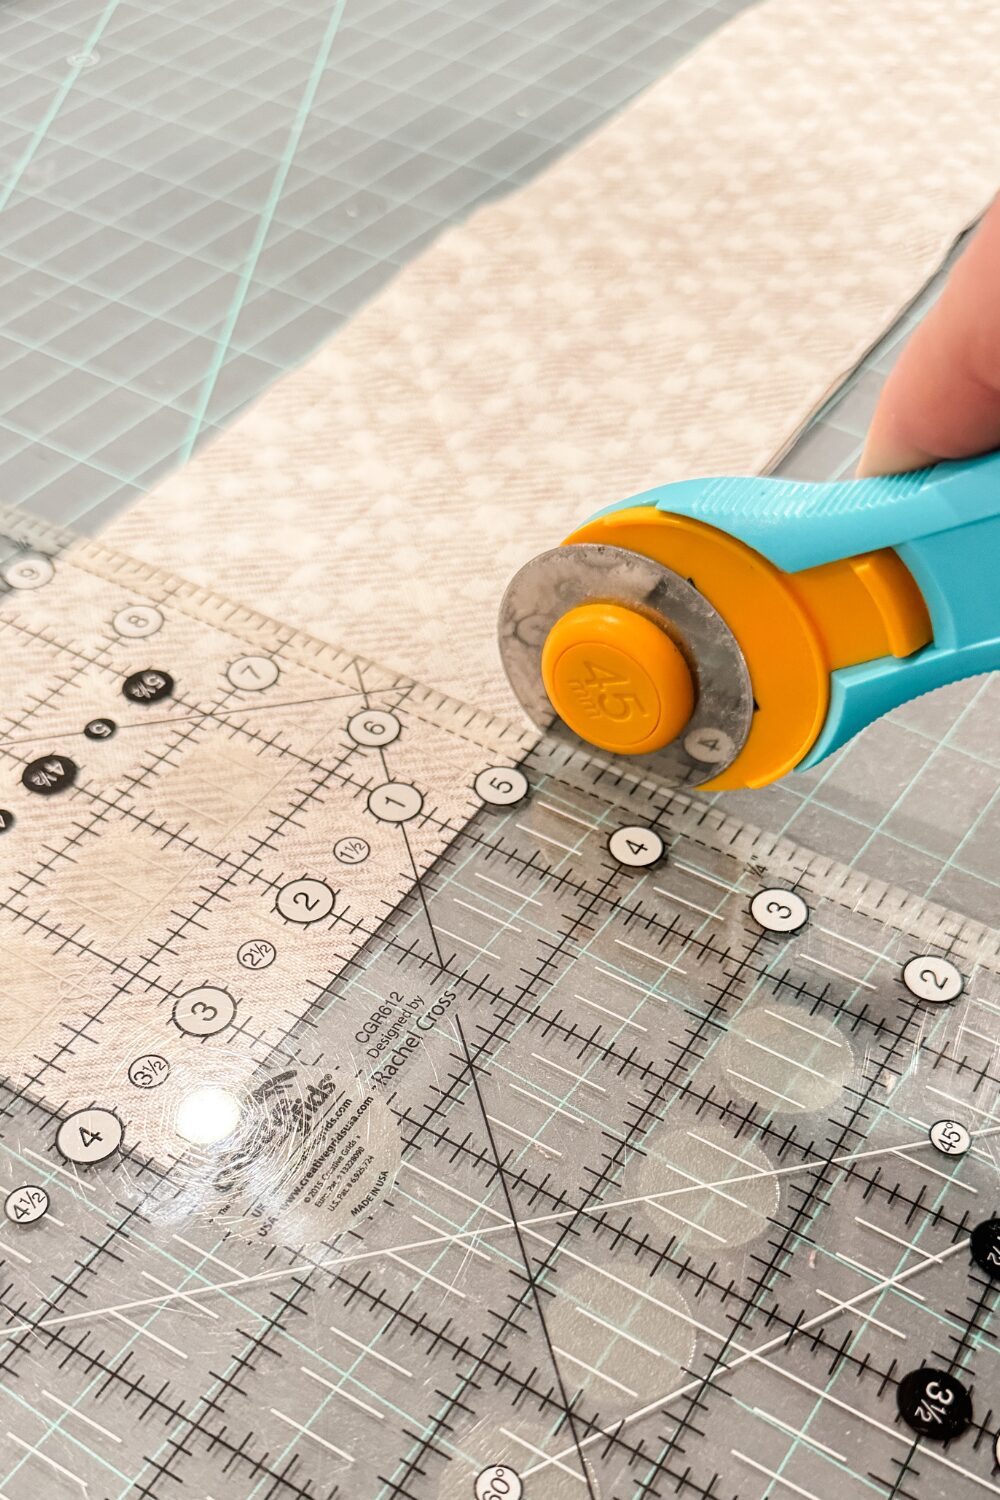
4. Cutting the Fabric
Hold the rotary cutter at a 90-degree angle to the fabric. Apply even pressure as you roll the cutter along the edge of the ruler. For multiple layers, use a larger blade for easier cutting.
Safety Tips for Using a Rotary Cutter
Rotary cutters are incredibly sharp, making safety a top priority. Follow these tips to stay safe while using this tool.
1. Always Use a Cutting Mat
Never use a rotary cutter without a cutting mat. The mat protects your surface and helps keep the blade sharp.
2. Keep Fingers Away from the Blade
When cutting, keep your fingers well away from the path of the blade. Use a ruler with a finger guard for added safety.
3. Close the Blade When Not in Use
Always retract or cover the blade when you’re not cutting. This prevents accidental cuts and extends the life of the blade.
4. Store Safely
Store your rotary cutter in a safe place, away from children. Consider using a blade cover or lock to prevent accidents.
Maintenance and Care for Your Rotary Cutter
Proper maintenance of your rotary cutter ensures it stays sharp and functions well for years to come.
1. Cleaning the Blade
After each project, clean your rotary cutter blade to remove lint and fabric fibers. This helps maintain a sharp edge and smooth cutting action.
2. Replacing the Blade
Blades dull over time, especially with frequent use. Replace the blade as soon as you notice it dragging or skipping to ensure precise cuts. Seriously, replace it more often than you think you should.
3. Lubricating the Rotary Cutter
Depending on your rotary cutter you may need to periodically lubricate the blade mechanism to keep it moving smoothly. A small drop of sewing machine oil works well. When buying new rotary blades, often times they will have oil already on them.
Why Every Quilter Needs a Rotary Cutter
The rotary cutter is an indispensable tool for any quilter. It speeds up the cutting process, ensures accuracy, and allows for more intricate designs. Whether you’re making simple squares or complex shapes, a rotary cutter can make your quilting experience more enjoyable and efficient.

Conclusion
Rotary cutters have become a staple in the quilting community for good reason. Their ability to make clean, precise cuts with minimal effort is unmatched. By choosing the right rotary cutter and blade for your projects and following the proper techniques and safety guidelines, you can take your quilting to the next level. Don’t underestimate the power of this simple tool—embrace it as an essential part of your quilting toolkit.