Rail Fence Quilt Block: A Fast Block with Endless Layout Possibilities
The Rail Fence quilt block is one of those blocks that looks simple at first, but offers a surprising amount of design flexibility. With just a few strips of fabric sewn together, you can create blocks that form zig-zags, chevrons, diagonal movement, and more across a quilt.
When purchasing through links on this site, I may earn an affiliate commission at no cost to you.
It’s also one of the fastest quilt blocks to sew, especially when you use strip piecing.
Because of that, the Rail Fence block is a great option whether you’re working with yardage, scraps, or even precuts like jelly rolls.
Let’s walk through how this block comes together and a few tips to help it turn out accurately.
What Is a Rail Fence Quilt Block?
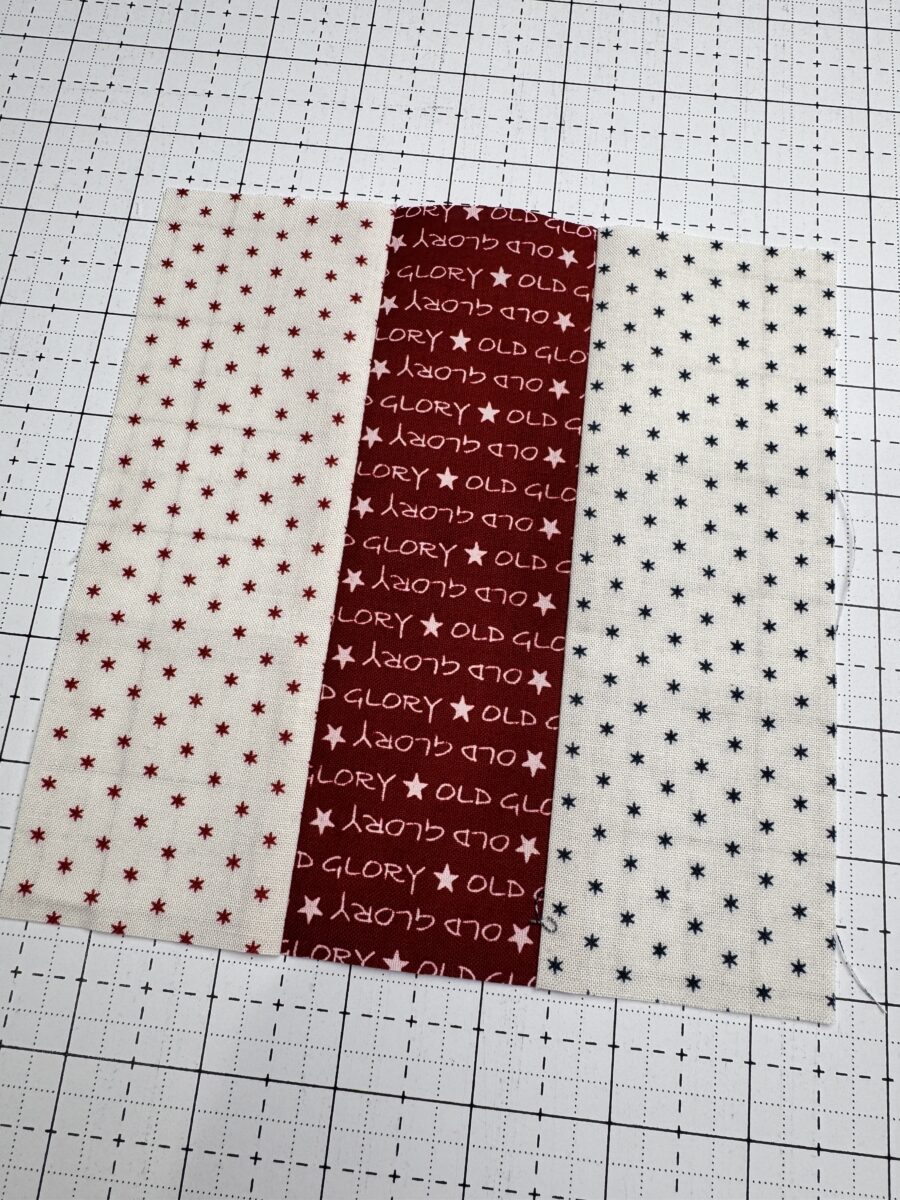
A traditional Rail Fence block is made from three or more fabric strips sewn together and then subcut into units. The strips create the “rails” of the block, which can run horizontally, vertically, or be rotated to create different layout effects.
Once the blocks are assembled into a quilt, those simple strip units start to form larger patterns across the quilt top.
That’s one of the things that makes the Rail Fence so fun — the blocks themselves are straightforward, but the overall quilt can look completely different depending on how the blocks are arranged.
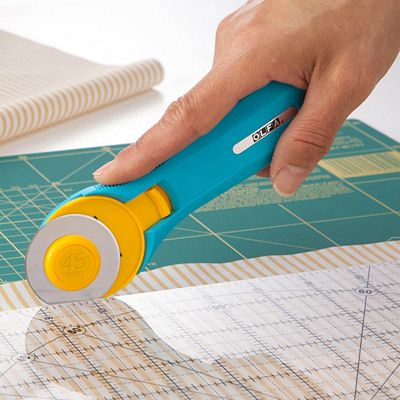
The Best Way to Piece Rail Fence Blocks
If I’m making Rail Fence blocks from yardage, I almost always use strip piecing.
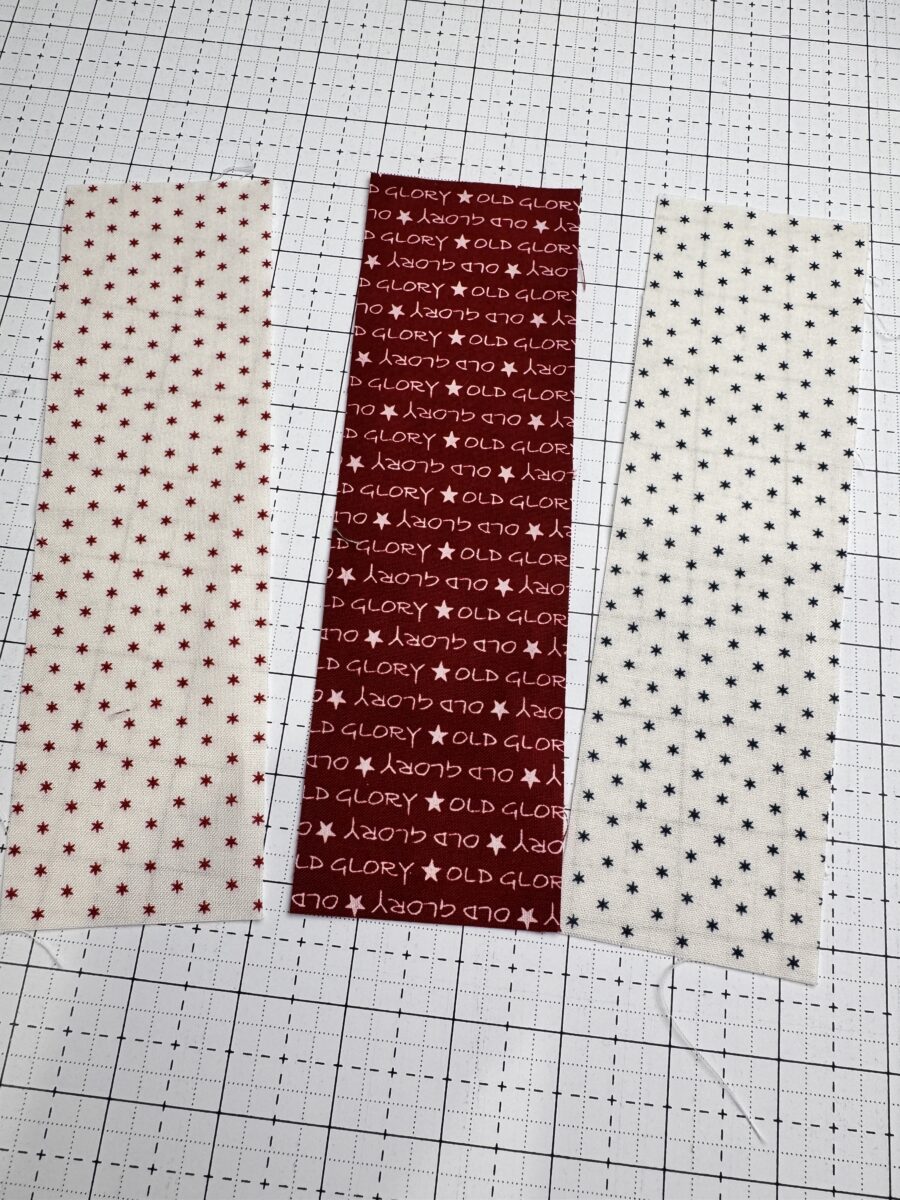
Strip piecing means sewing long strips of fabric together first, pressing the seams, and then subcutting the strip set into block units. It’s fast, efficient, and helps keep your strip widths consistent across all of your blocks.
If I’m working from scraps instead, I usually take a slightly different approach. I’ll cut my strips a little longer than necessary — often about half an inch extra — and then square up the finished block after sewing. That small adjustment gives me a little flexibility when working with irregular scraps and helps ensure the final block size is accurate.
Both methods work well. It really just depends on whether you’re sewing from yardage or pulling from a scrap bin.
Pressing for Accurate Seams
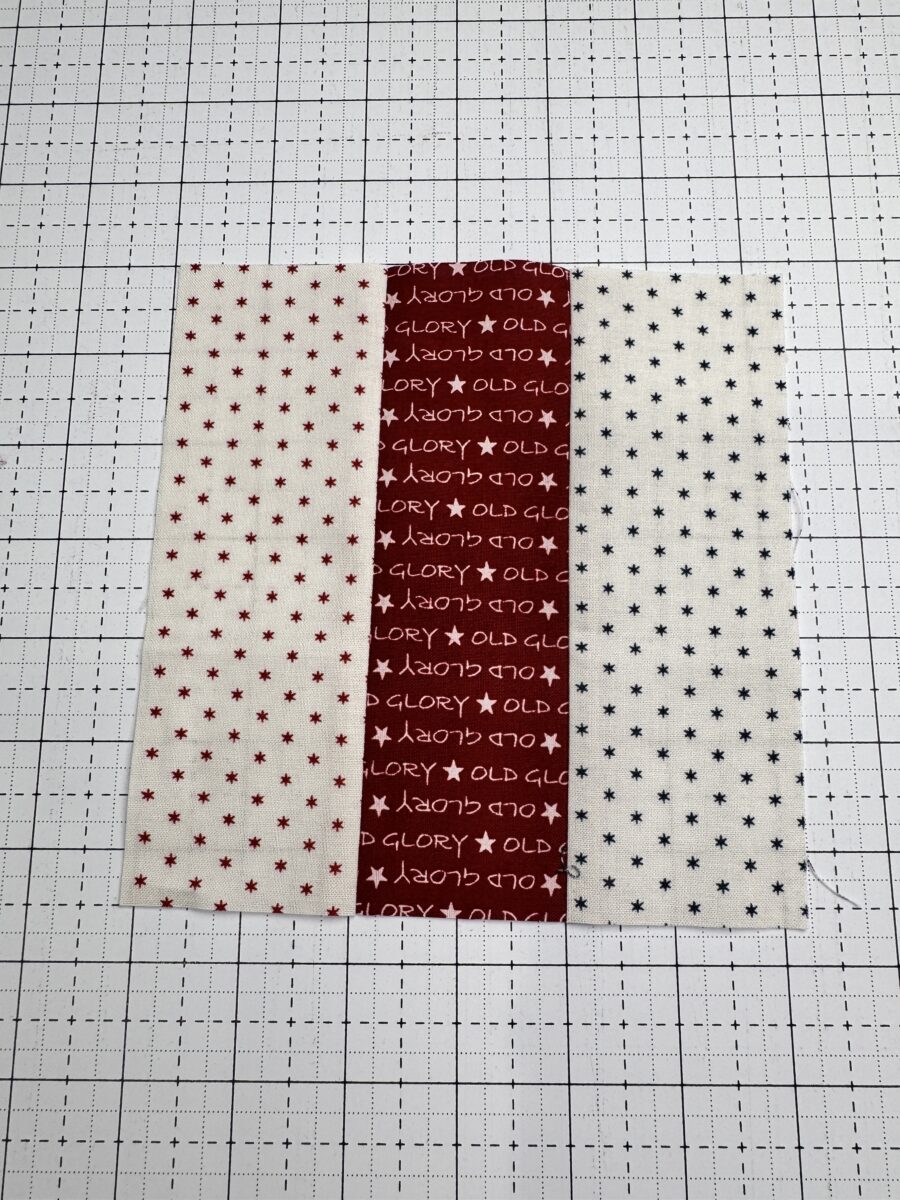
Pressing strategy matters more than you might expect with a Rail Fence block.
If the blocks will be rotated 90 degrees from one another in the quilt layout, I typically press the seams of the strip set all to one side, usually toward the darker fabric so the seam allowances stay less visible.
When assembling the quilt top, I then alternate the pressing direction of each block row. This allows the seams from row to row to nest together, which helps the intersections line up much more cleanly.
Taking a moment to think through pressing directions can make the final assembly of the quilt top much smoother.
Tip:
If you plan to rotate your blocks in the layout, press all seams to one side when strip piecing, then alternate block direction when assembling rows. This allows seams to nest and makes matching intersections much easier.
Fabric Ideas for Rail Fence Blocks
Rail Fence blocks are extremely flexible when it comes to fabric choices.
They work beautifully for scrap quilts because the strip construction makes it easy to combine leftover fabrics from previous projects. It’s a great way to use up pieces that might otherwise sit unused.
Another option is to use fabrics that transition gradually in value or color to create a gradient quilt. The strip structure of the Rail Fence block lends itself really well to that kind of effect.
And if you’re looking for a quick quilt, jelly roll strips can be perfect for Rail Fence blocks. Since the strips are already precut to a consistent width, you can jump straight into strip piecing and assemble blocks very quickly.
Accuracy Tips for Rail Fence Blocks
Because Rail Fence blocks rely on strip piecing, having a consistent seam allowance is especially important.
If the seam allowance varies even slightly when sewing the strips together, the finished strip set can end up narrower or wider than expected. When that happens, the block units may not come out square after subcutting.
Consistent seam allowance matters more here than you might expect. Even small variations can affect how your blocks come together after strip piecing.
Taking the time to sew with a true ¼” seam allowance helps ensure your blocks measure correctly and fit together smoothly when assembling the quilt top.
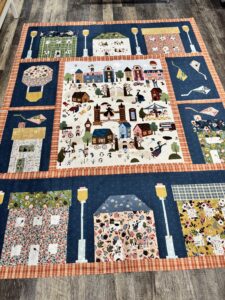
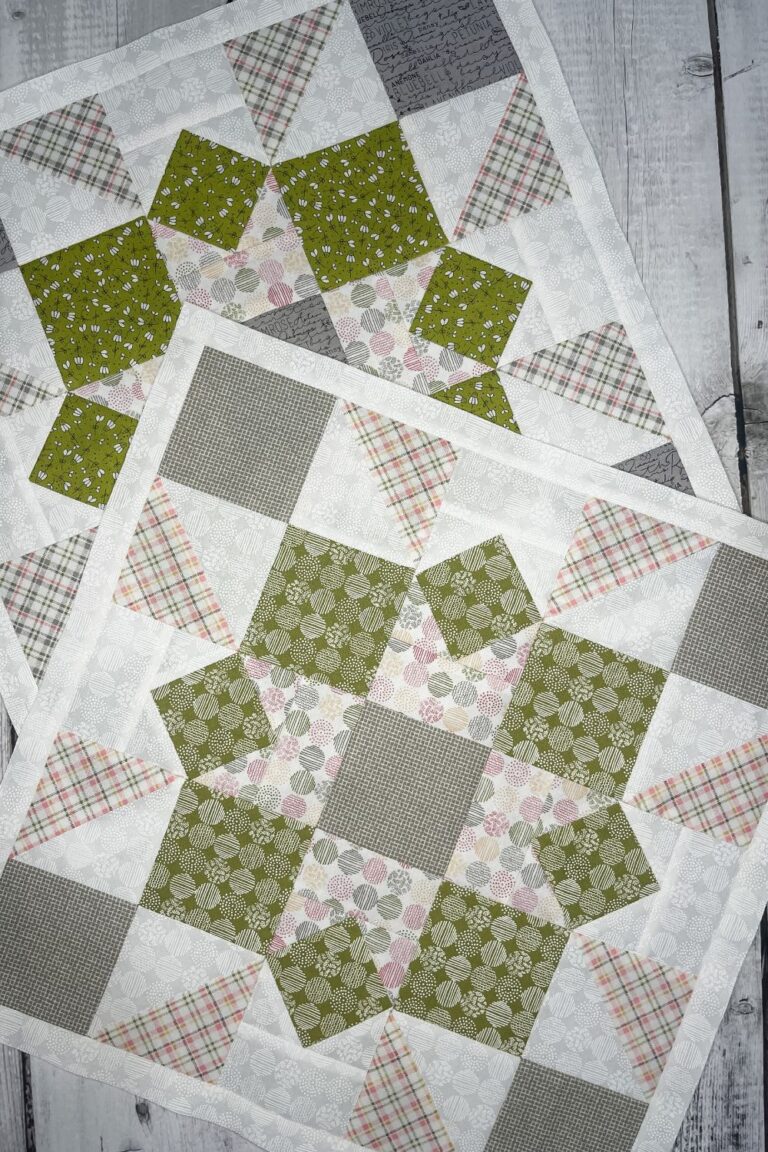
Rail Fence Layout Variations
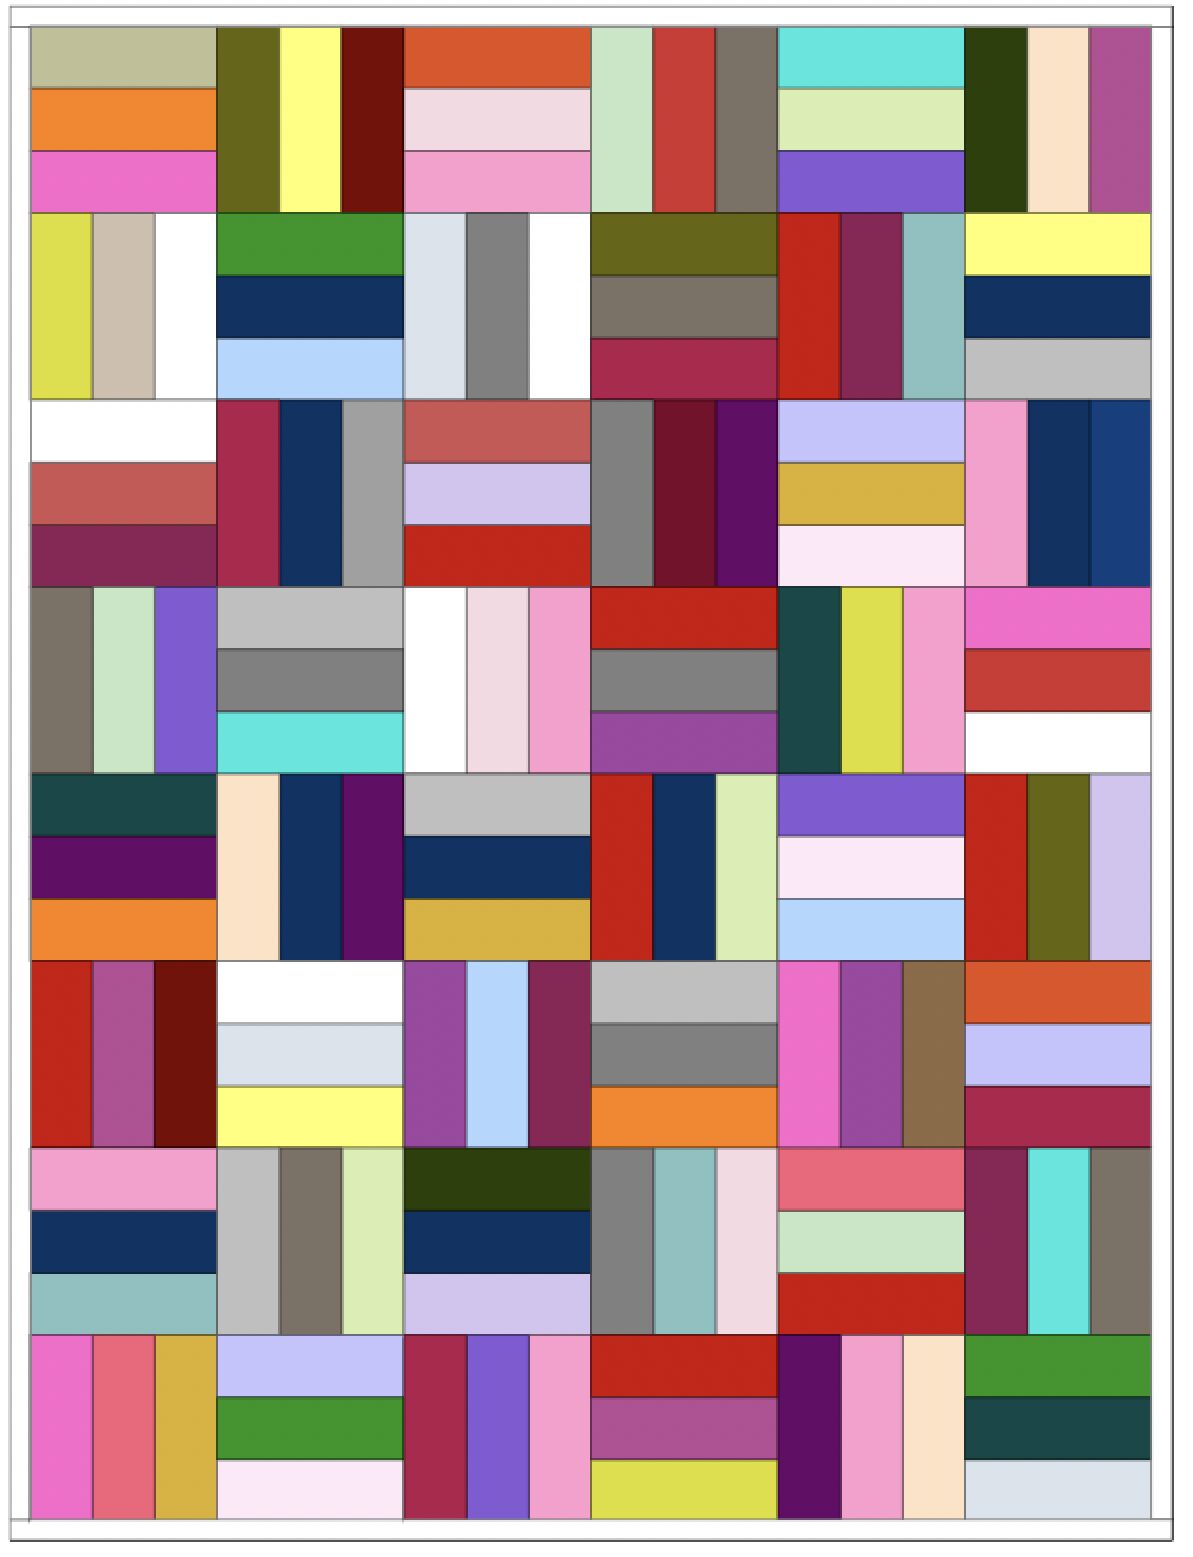
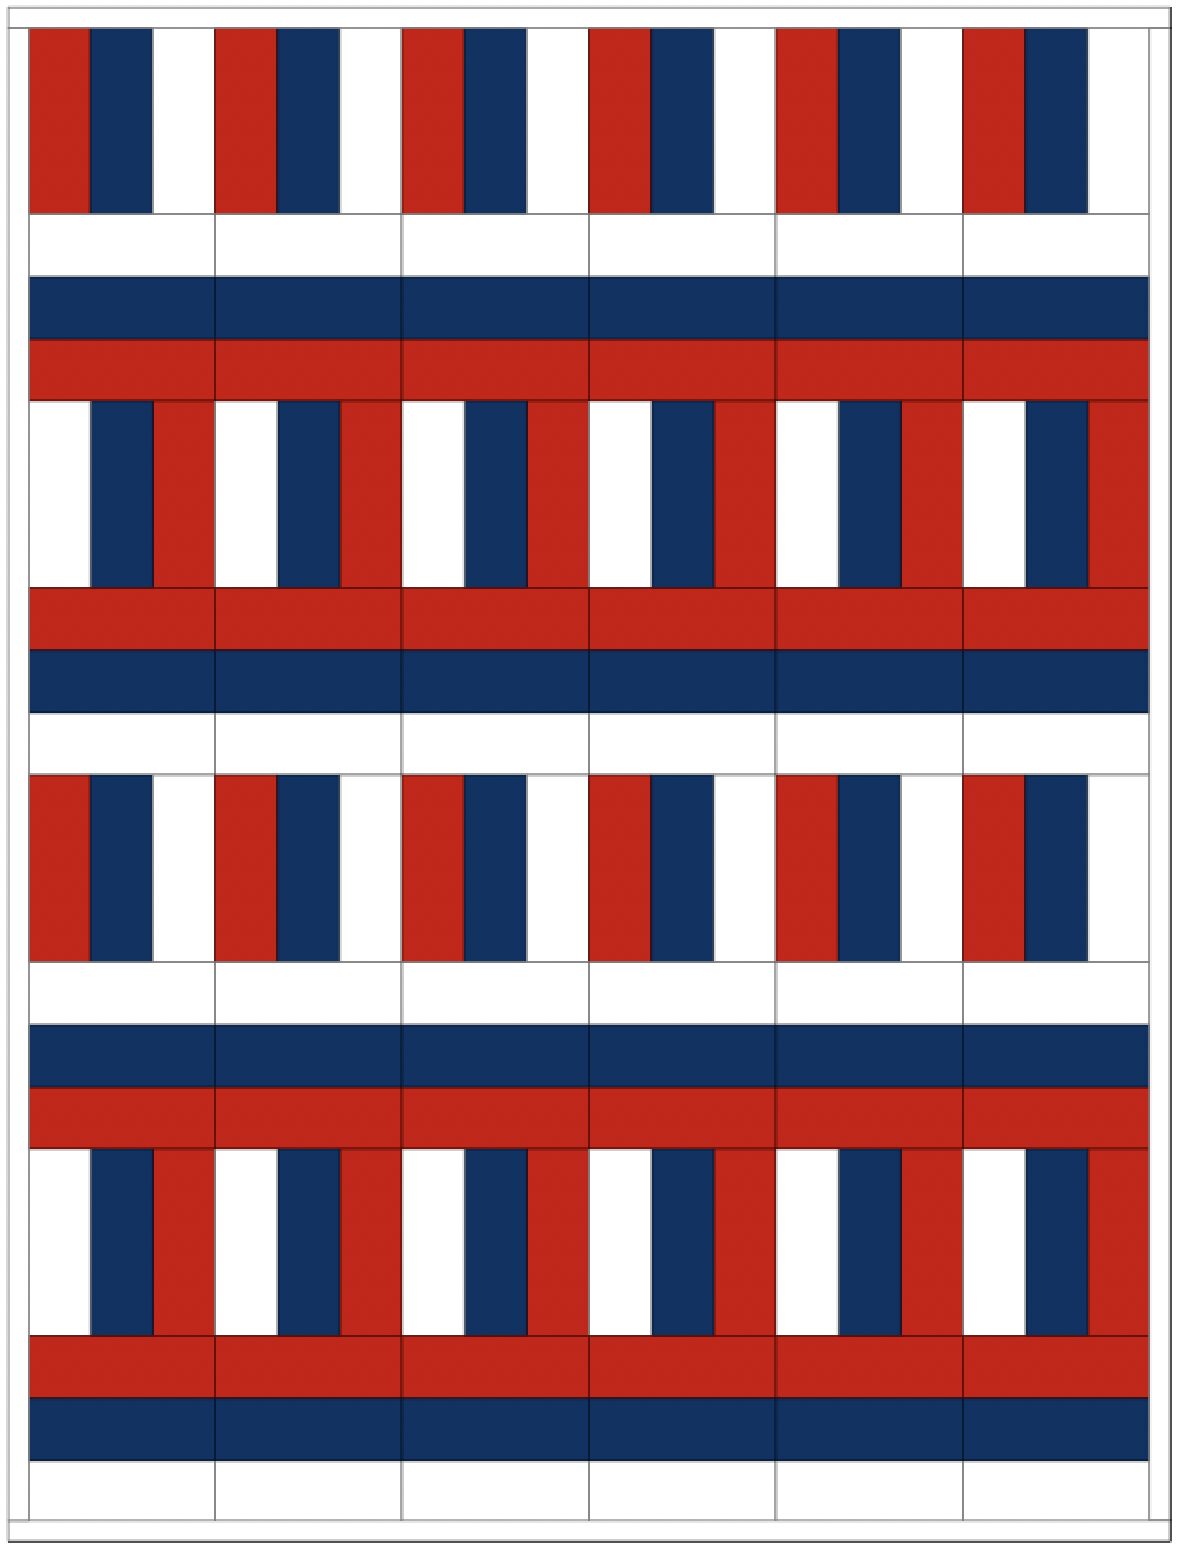
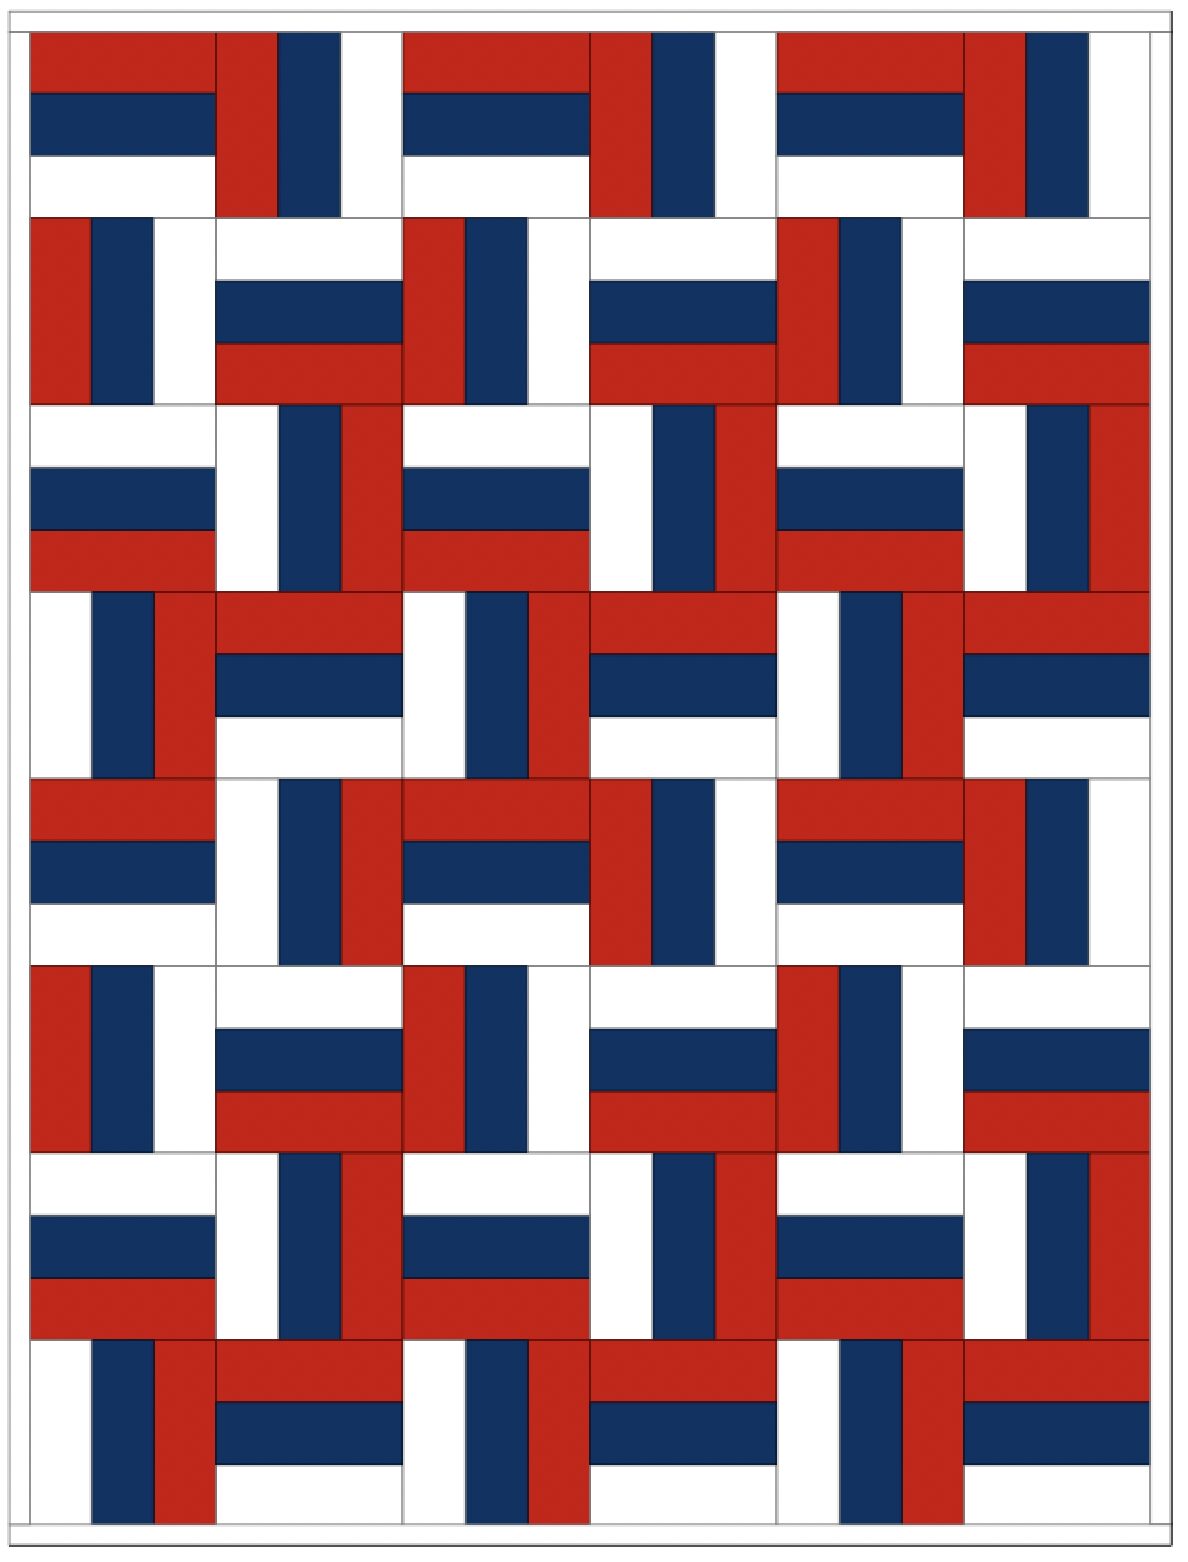
One of the most interesting things about the Rail Fence block is how dramatically the quilt changes depending on the orientation of the blocks.
Keeping the strips all running the same direction creates a clean, classic look. Rotating blocks can introduce zig-zag or chevron effects across the quilt. Placing blocks on point creates another completely different visual pattern.
Even though each block is simple, the layout possibilities allow you to create a wide range of designs.
Below are a few examples of different Rail Fence quilt layouts.

Why the Rail Fence Block Is Worth Learning
The Rail Fence block is quick to sew, beginner-friendly, and incredibly versatile. It’s a great block for practicing strip piecing, learning how pressing affects seam alignment, and experimenting with different quilt layouts.
Whether you’re working from yardage, scraps, or precuts, it’s a block that can easily adapt to the fabrics you have on hand.
And once you start rotating the blocks in different directions, you’ll see just how much variety you can get from a very simple construction method.