How to Make a 4-Patch Quilt Block: Step-by-Step Guide for Beginners
The 4-patch quilt block is one of the most foundational blocks in quilting. It’s simple, quick to assemble, and incredibly adaptable. Whether you’re just getting started or you’ve been quilting for years, the 4-patch is one of those blocks that never stops being useful.
When purchasing through links on this site, I may earn an affiliate commission at no cost to you.
It’s also one of my favorite blocks to use as a leader and ender project because you can build them quietly in the background while working on something else.
What is a 4-Patch Quilt Block?
A 4-patch block is made from four equal-sized squares sewn together in a two-by-two grid. That’s it. No angles. No special units. Just four squares.
Because it’s so simple, it becomes a blank canvas. You can make it scrappy. You can keep it controlled. You can pair it with more complex blocks. It plays well with almost everything.
If you want a clean, graphic look, use two high-contrast fabrics. If you prefer something softer, mix similar tones for a subtle checkerboard effect.
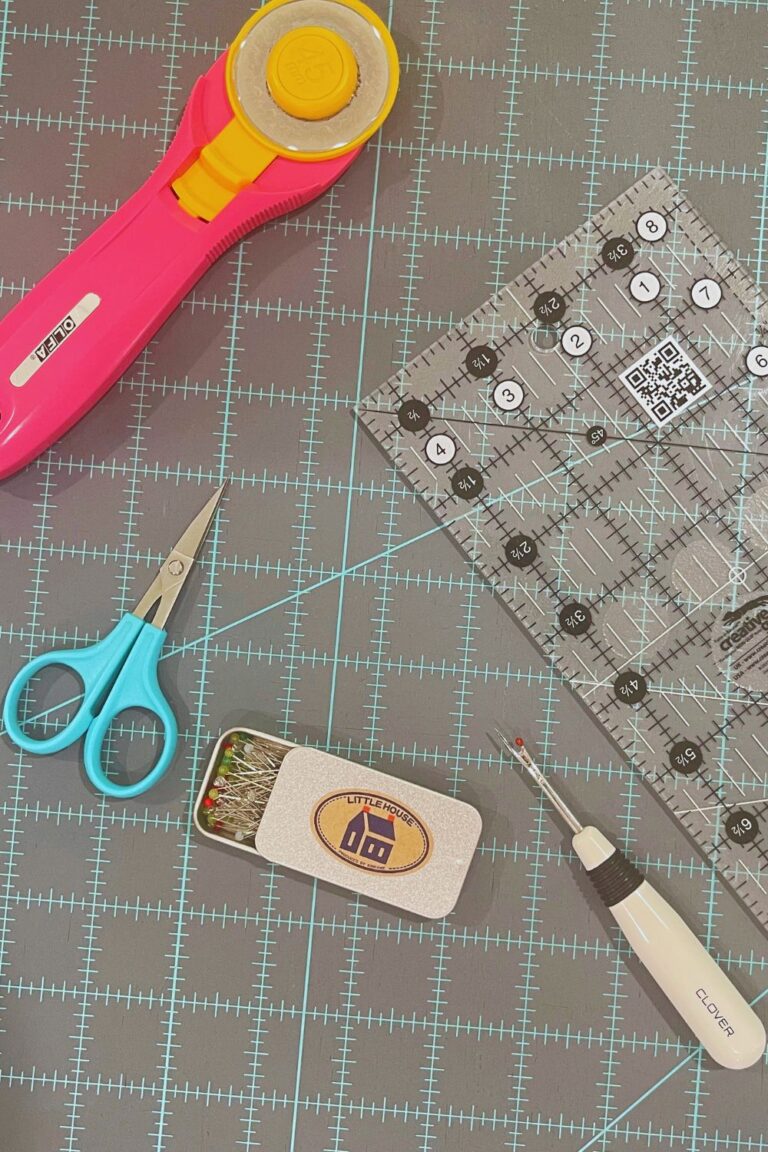
Materials You Need to Make a 4-Patch Quilt Block
Contrast matters here. The stronger the contrast between your fabrics, the more defined your 4-patch will look.
Step-by-Step: How to Make a 4-Patch Quilt Block
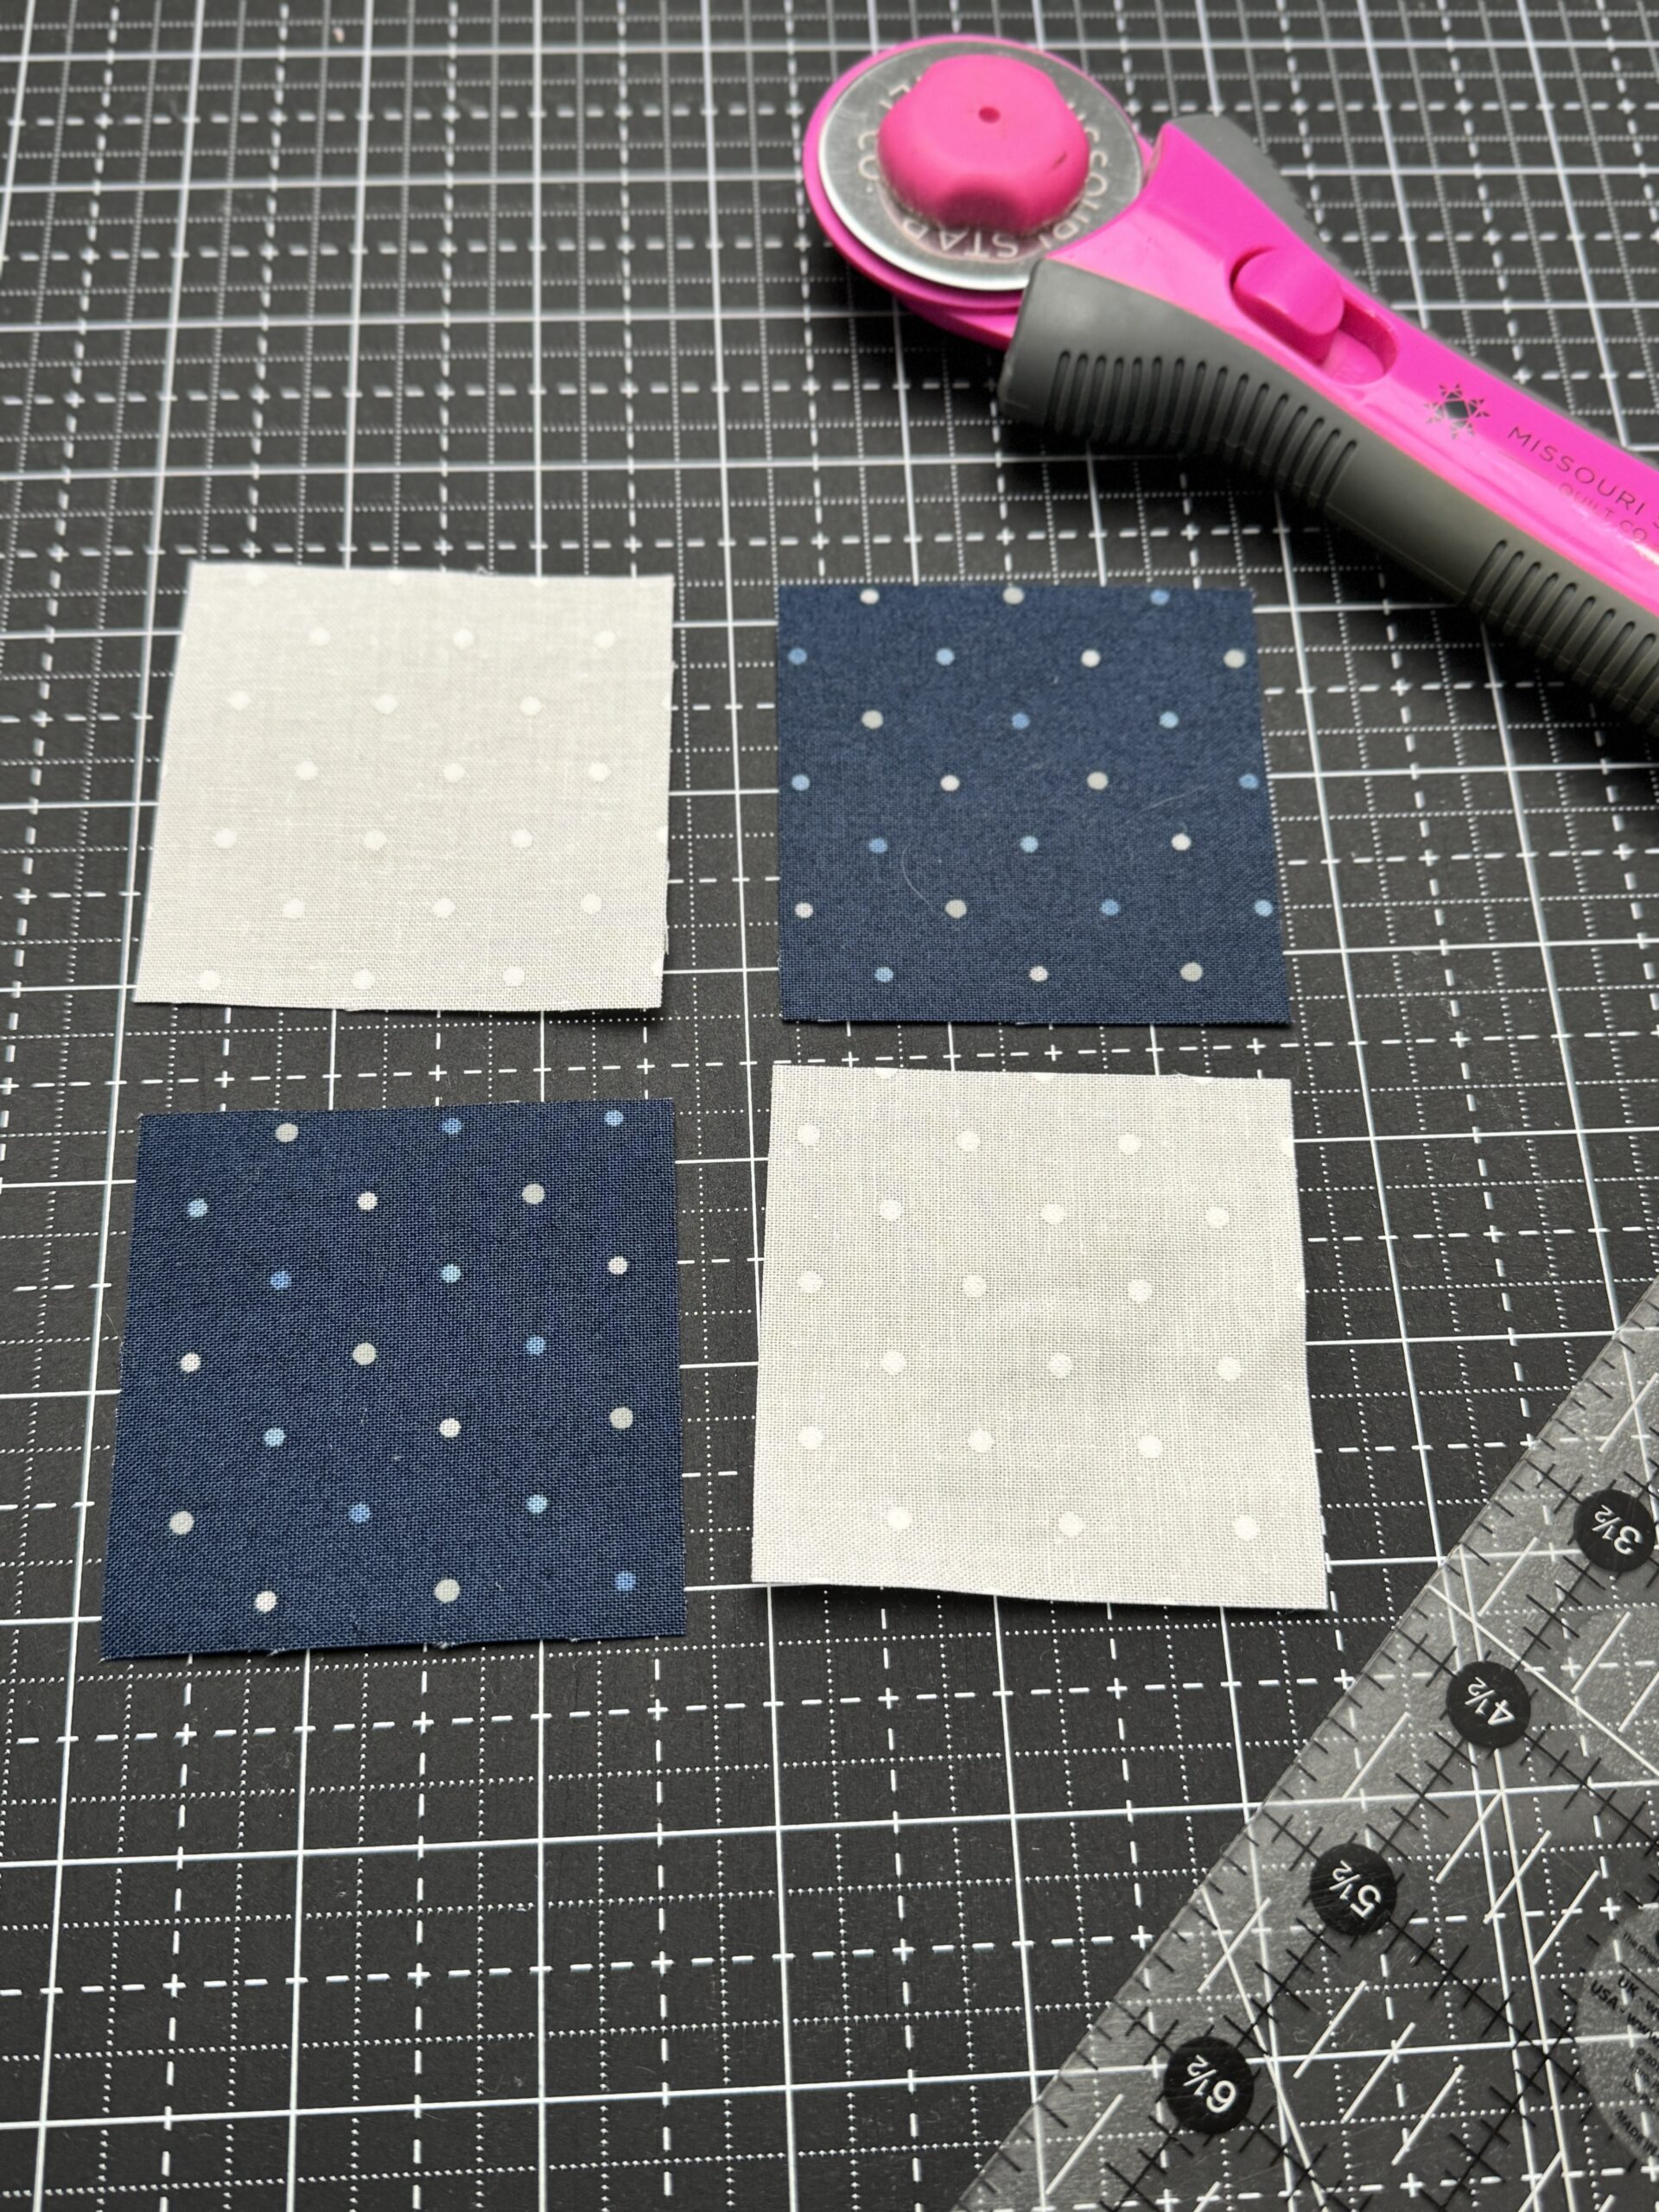
Step 1: Cut your squares
Cut four equal squares.
For example:
Cut 3″ squares to create a 4½” unfinished 4-patch block.
If you’re planning a larger quilt, this block scales easily. Just adjust the square size accordingly.
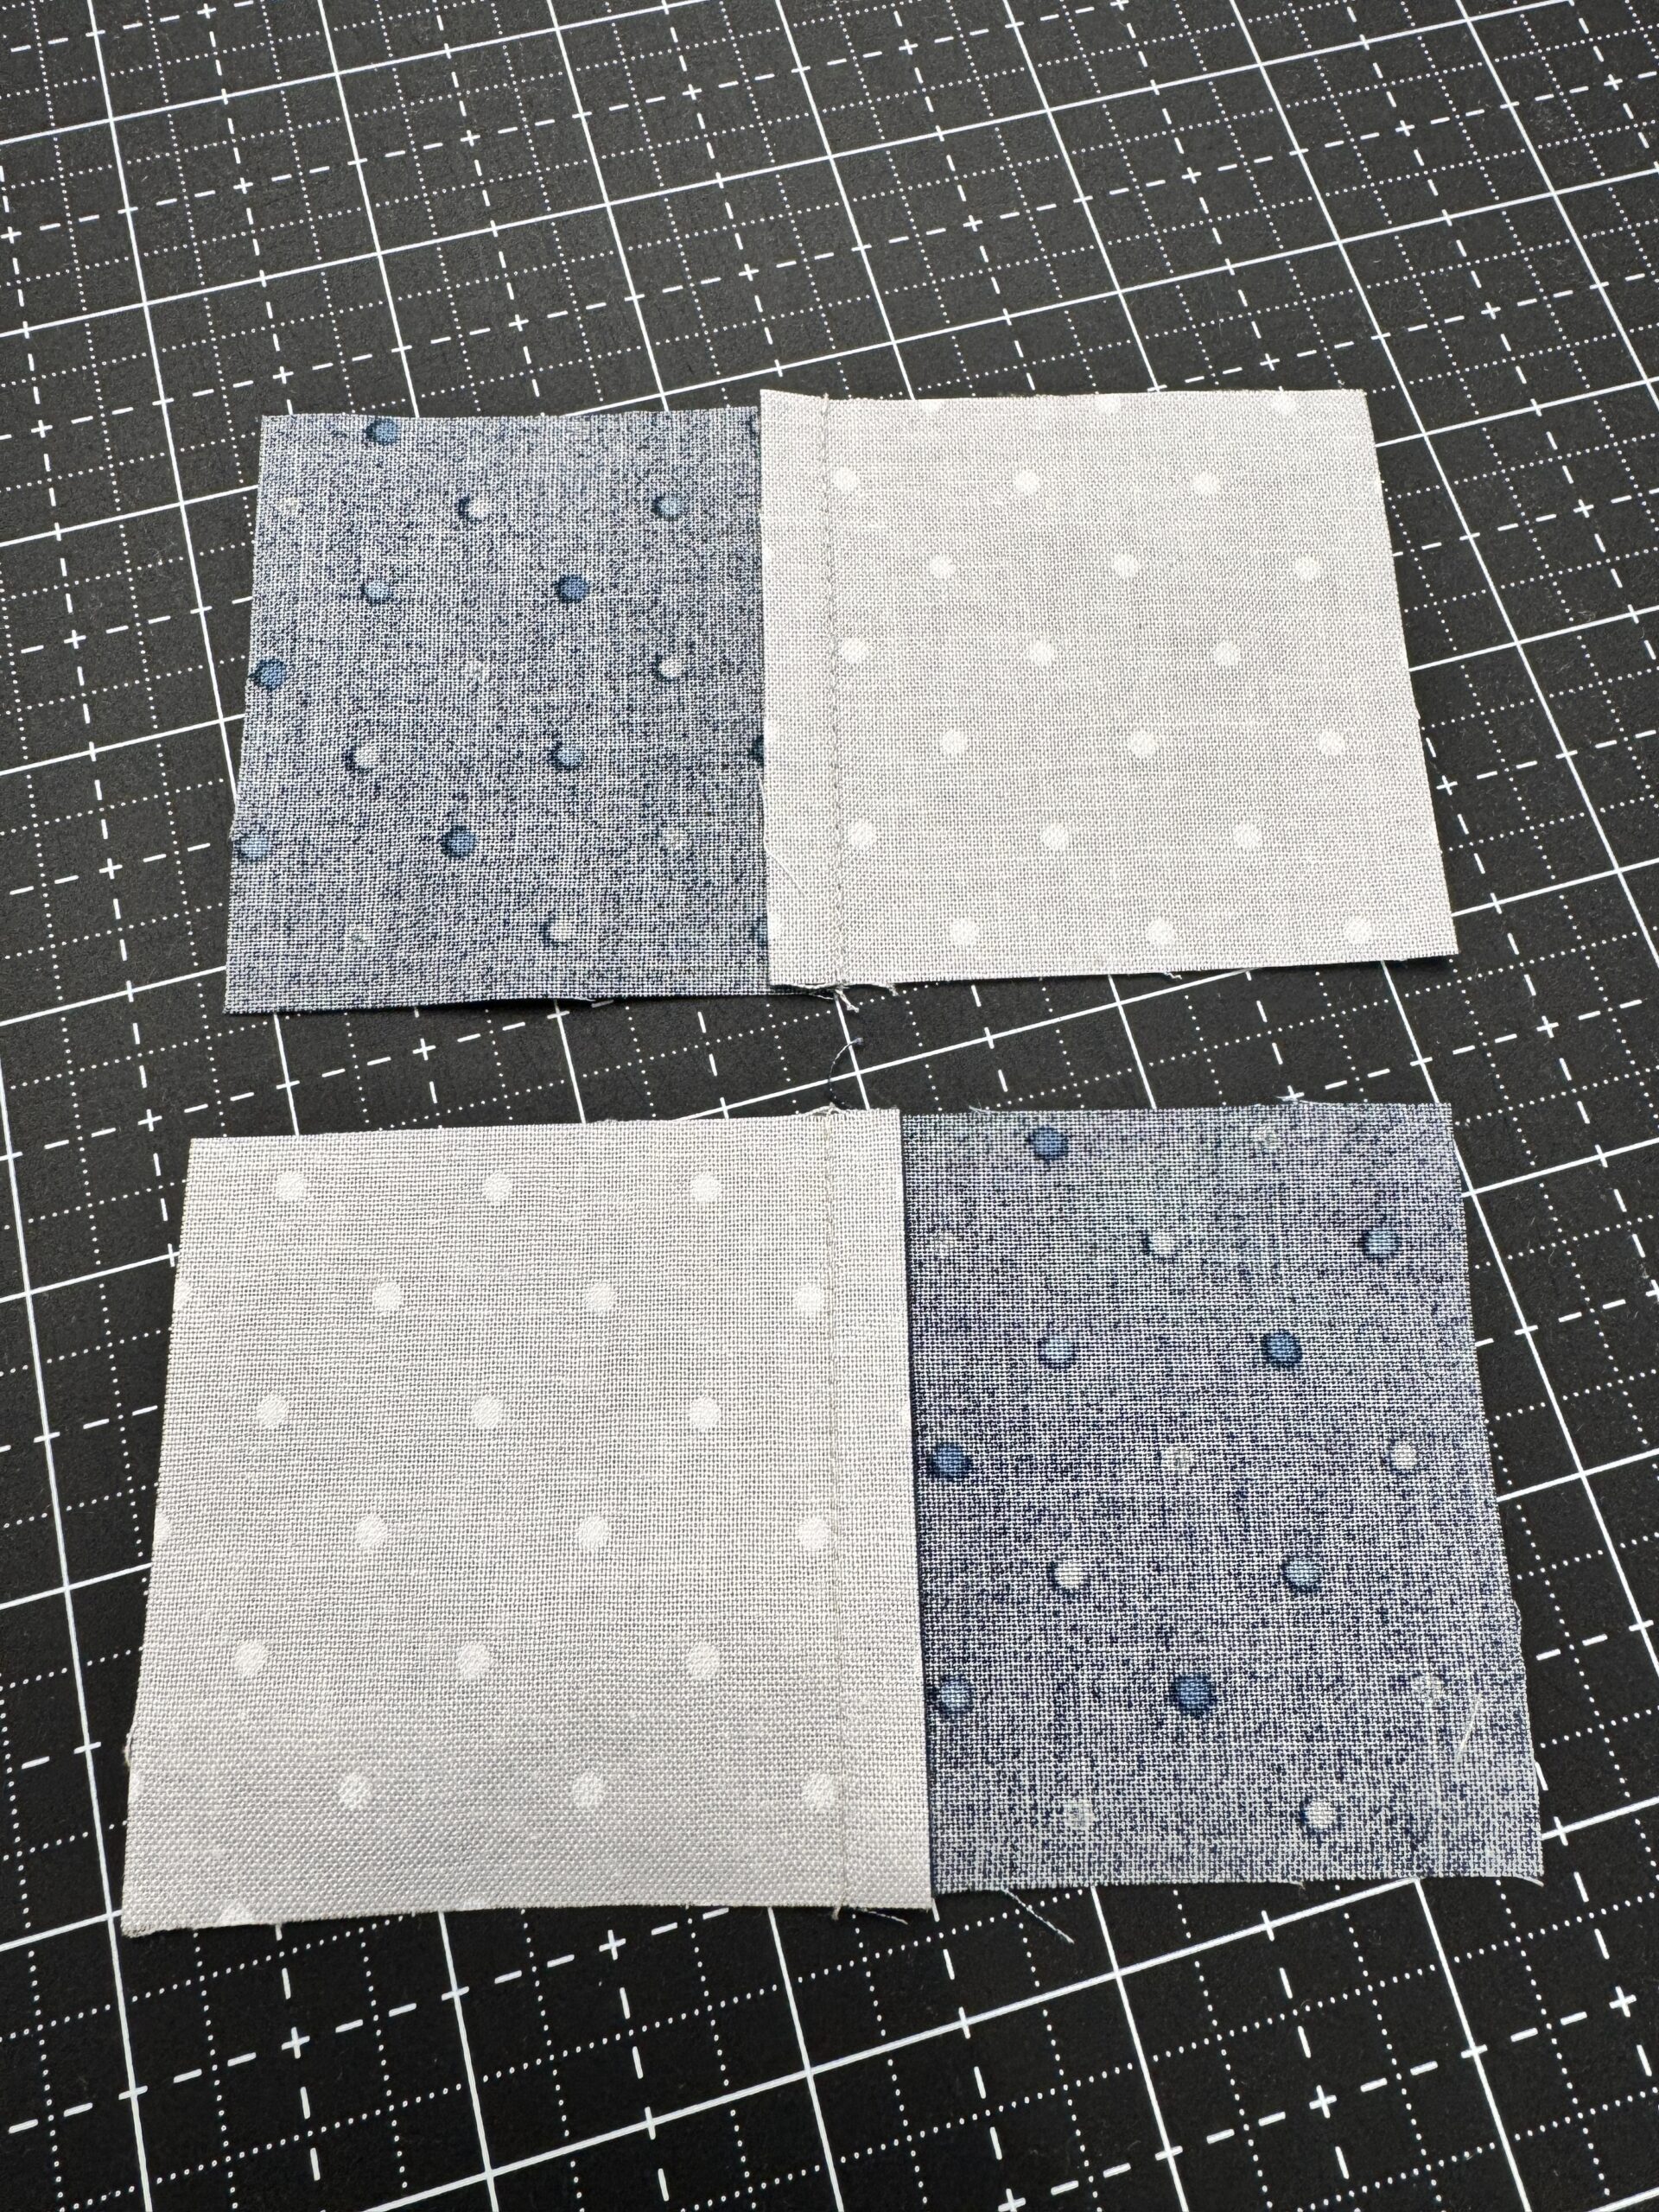
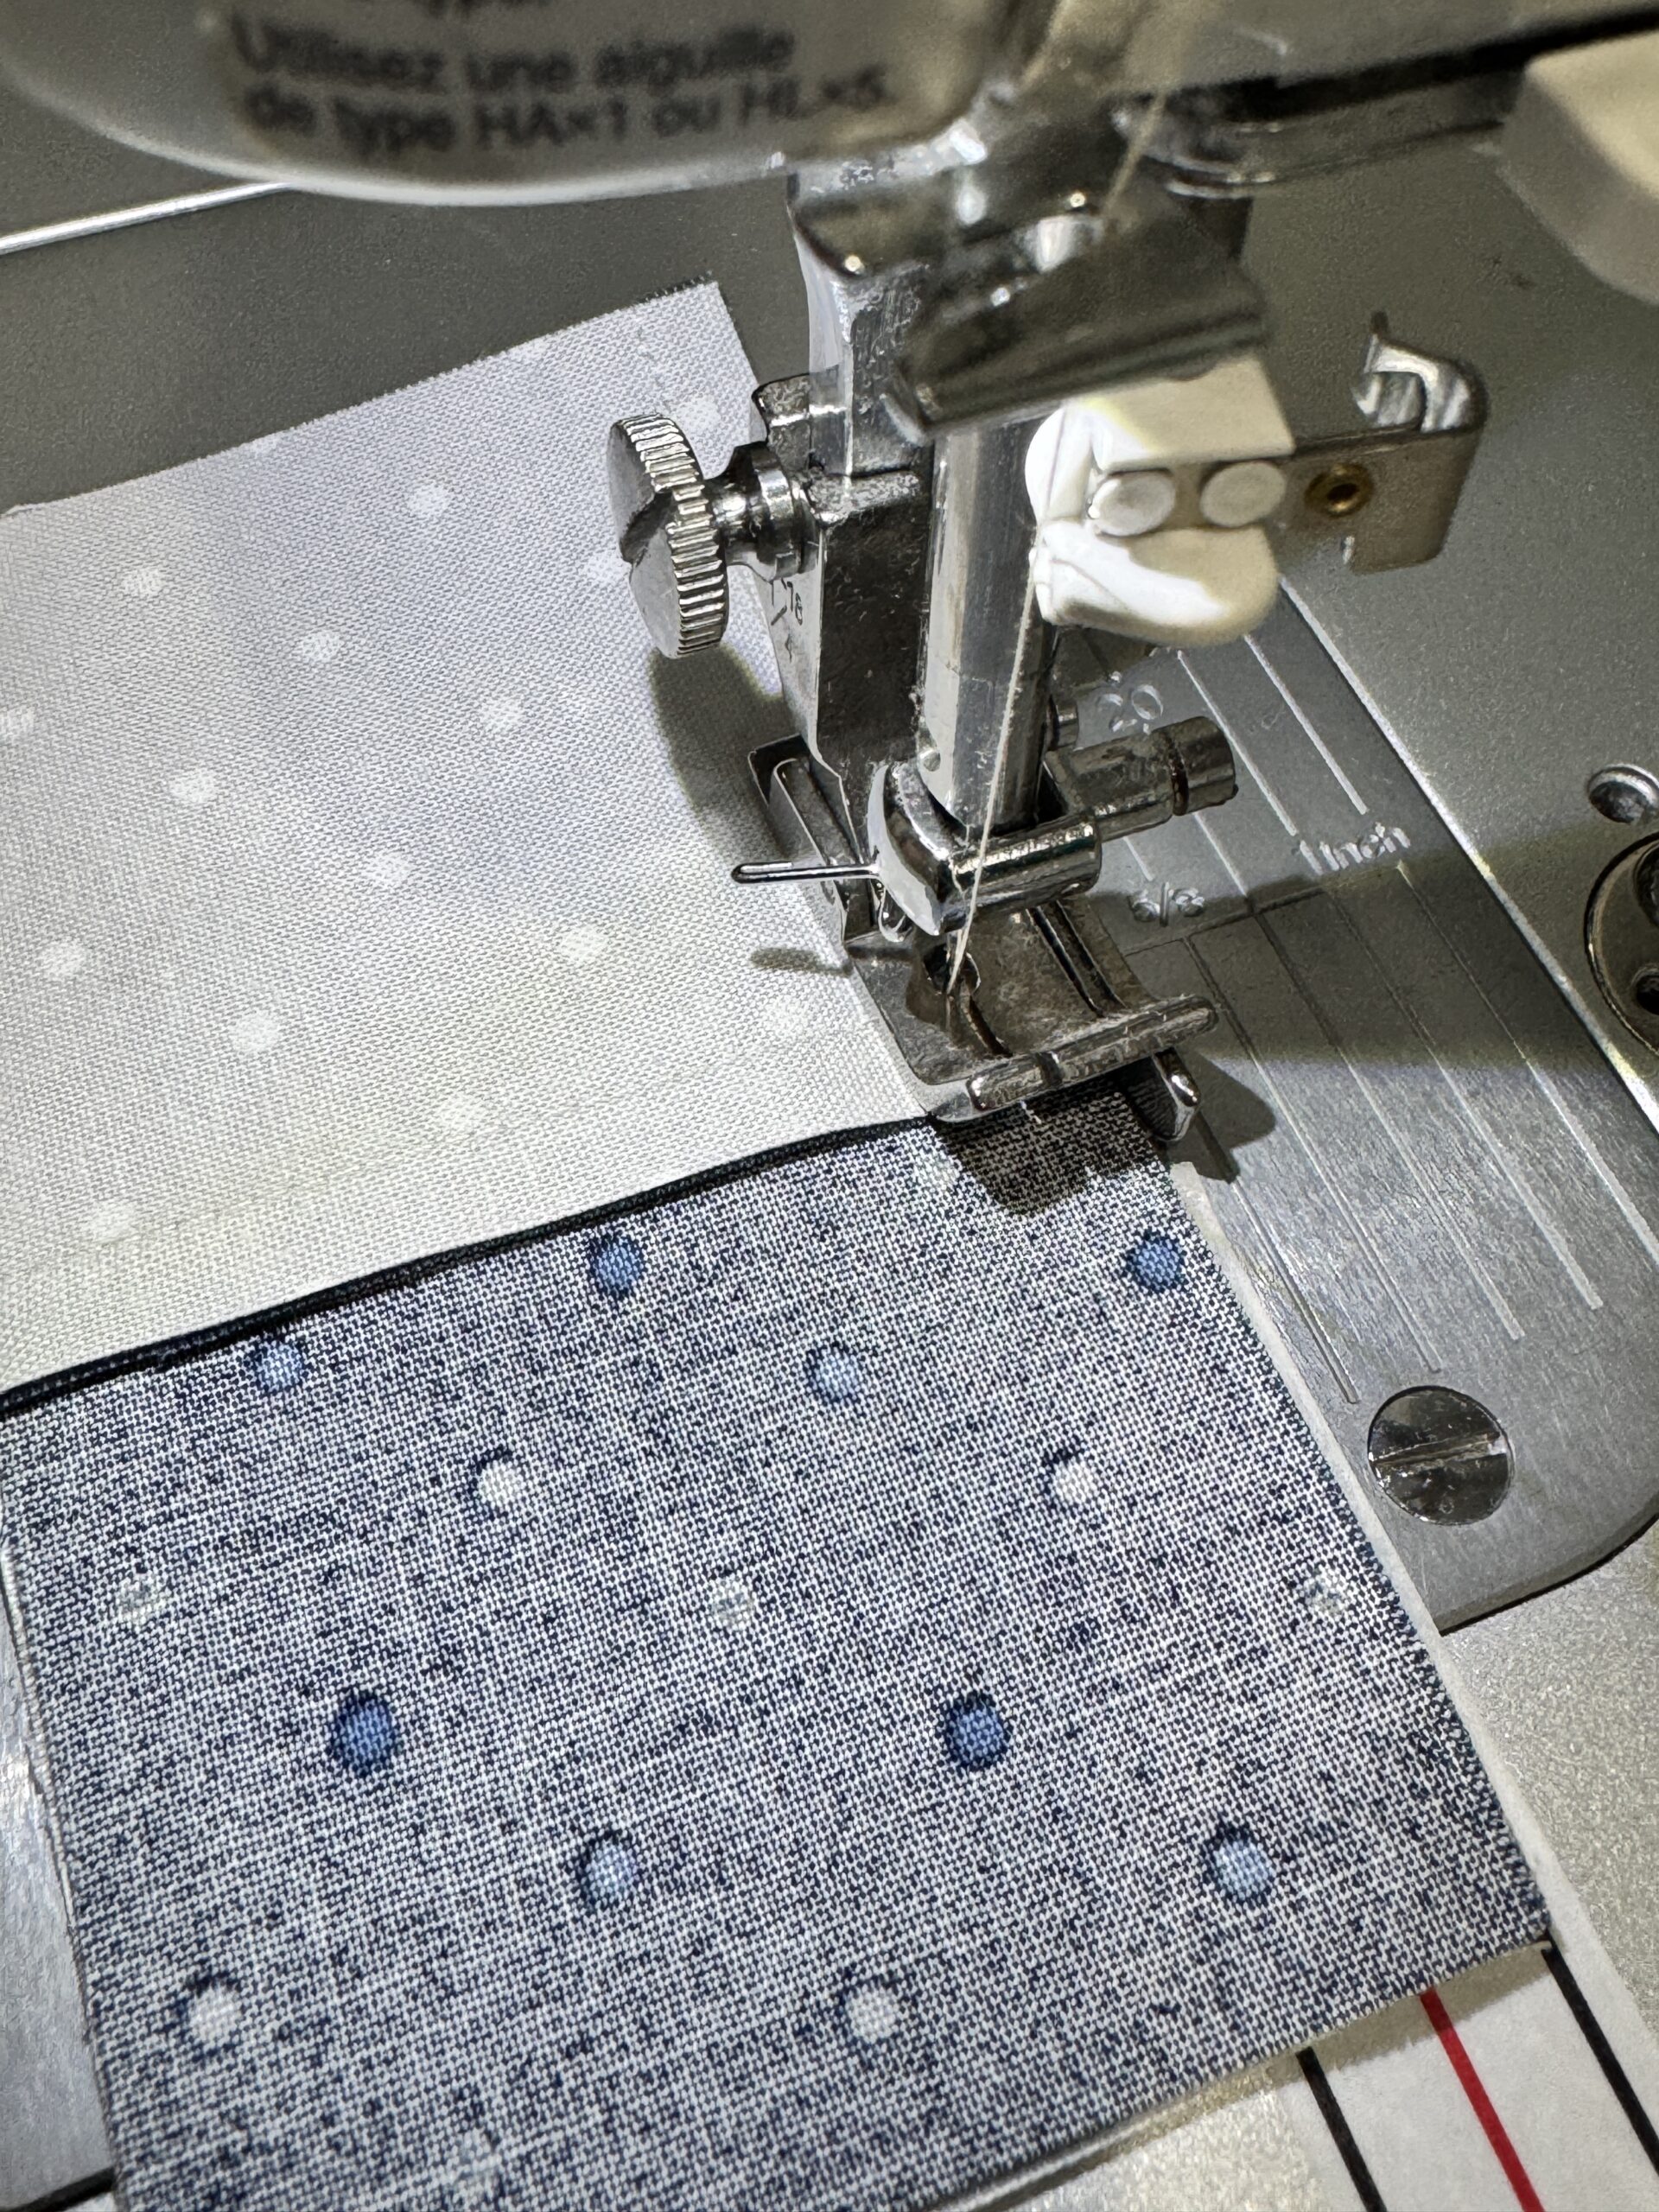
Step 2: Sew the first pairs
Sew two squares together using a ¼” seam allowance.
Repeat with the remaining two squares.
Press the seams toward the darker fabric.
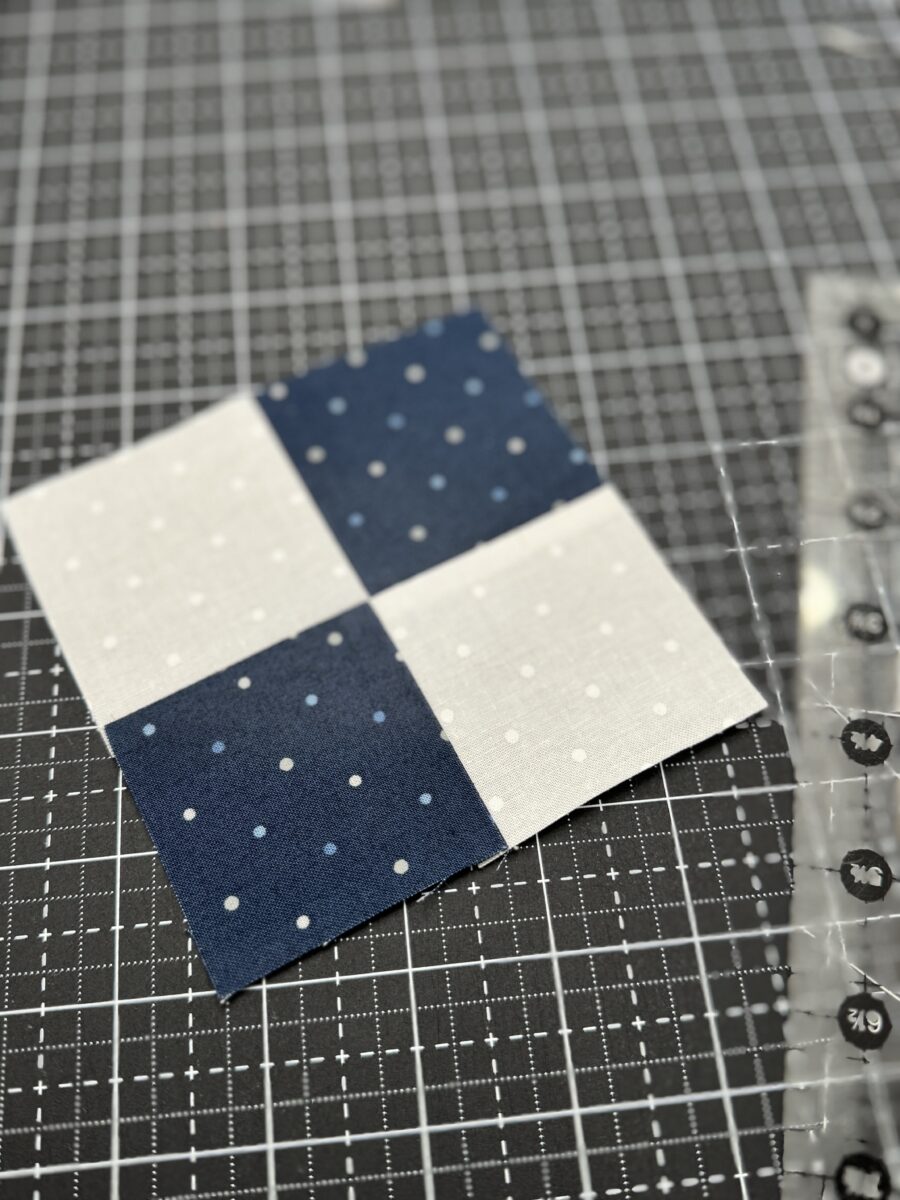
Step 3: Join the rows
Lay the two units out so the fabrics alternate in a checkerboard pattern.
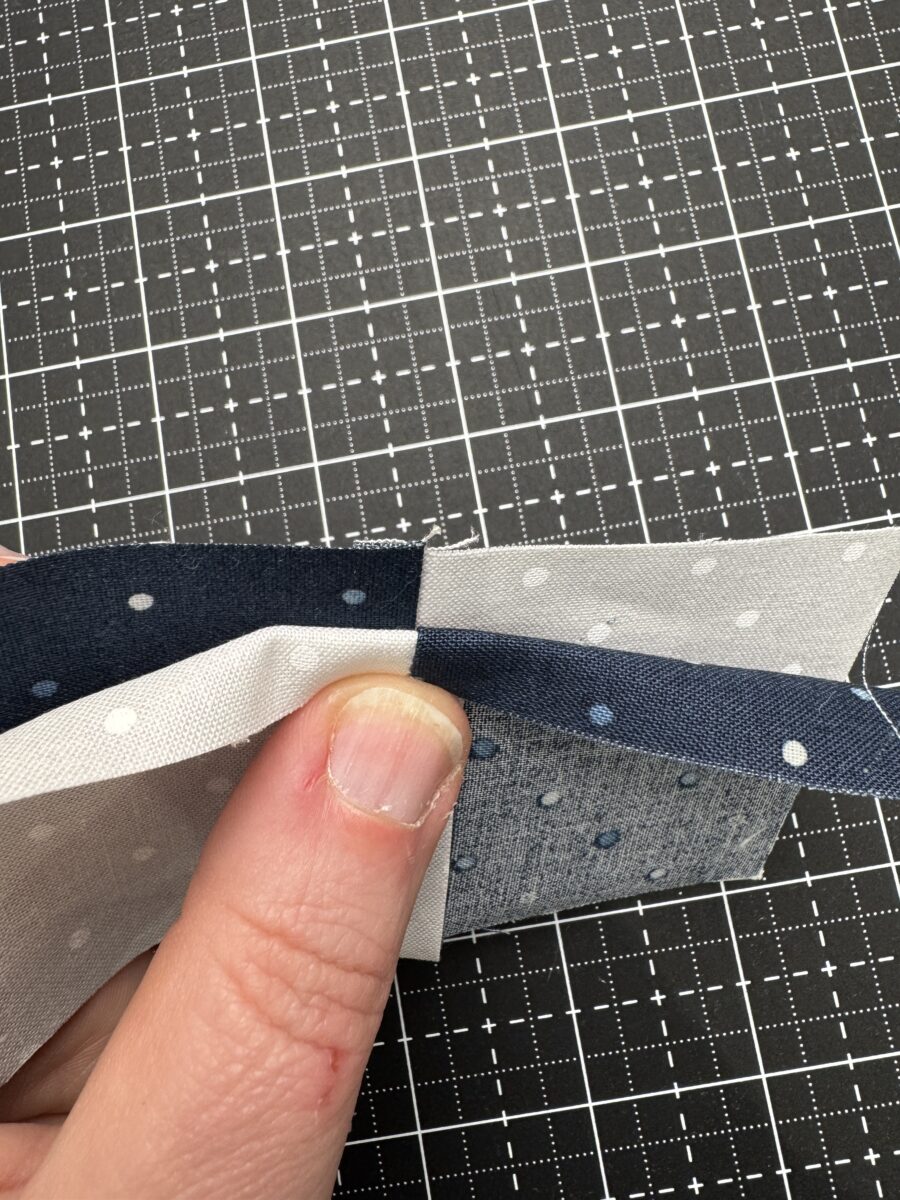
Flip one unit so the seams are pressed in opposite directions. This allows the seams to nest together when you sew the rows.
Nest the center seam, pin if needed, and sew the two rows together.
Press the final seam open or to one side.
That’s it. You now have a 4-patch block.
A Quick Note on Nesting Seams
When the seams are pressed in opposite directions, they “lock” together at the center intersection. This helps your block lie flatter and improves accuracy at the center point.
Why the 4-Patch Makes a Great Leader and Ender
If you use the leader and ender method, the 4-patch is ideal.
As you sew your primary quilt, feed two scrap squares through the machine before and after each seam. Over time, those small units stack up.
By the time your main quilt is finished, you’ll have a pile of 4-patch units ready for another project.
It’s an efficient way to use scraps and stay productive without adding extra sewing time.
Tips for Perfect Quilt Blocks
- Consistent Seam Allowance: A precise ¼” seam allowance ensures that your blocks come out square and the correct size.
- Pressing Seams: Press your seams carefully—pressing them to the side helps with nesting, while pressing them open can reduce bulk at the intersections.
- Chain Piecing: When making multiple 4-patch blocks, chain piecing saves time and makes the process more efficient. Sew all your blocks at once by continuously feeding fabric squares through your machine.
Creative Uses
The 4-patch quilt block might be simple, but it’s incredibly versatile. Here are a few ideas for incorporating it into your quilting projects.
- Scrappy Quilts: Gather up your fabric scraps and make a vibrant scrappy quilt filled with colorful 4-patch blocks.
- Borders and Sashing: Use 4-patch blocks as a decorative border or as sashing between larger blocks in a quilt.
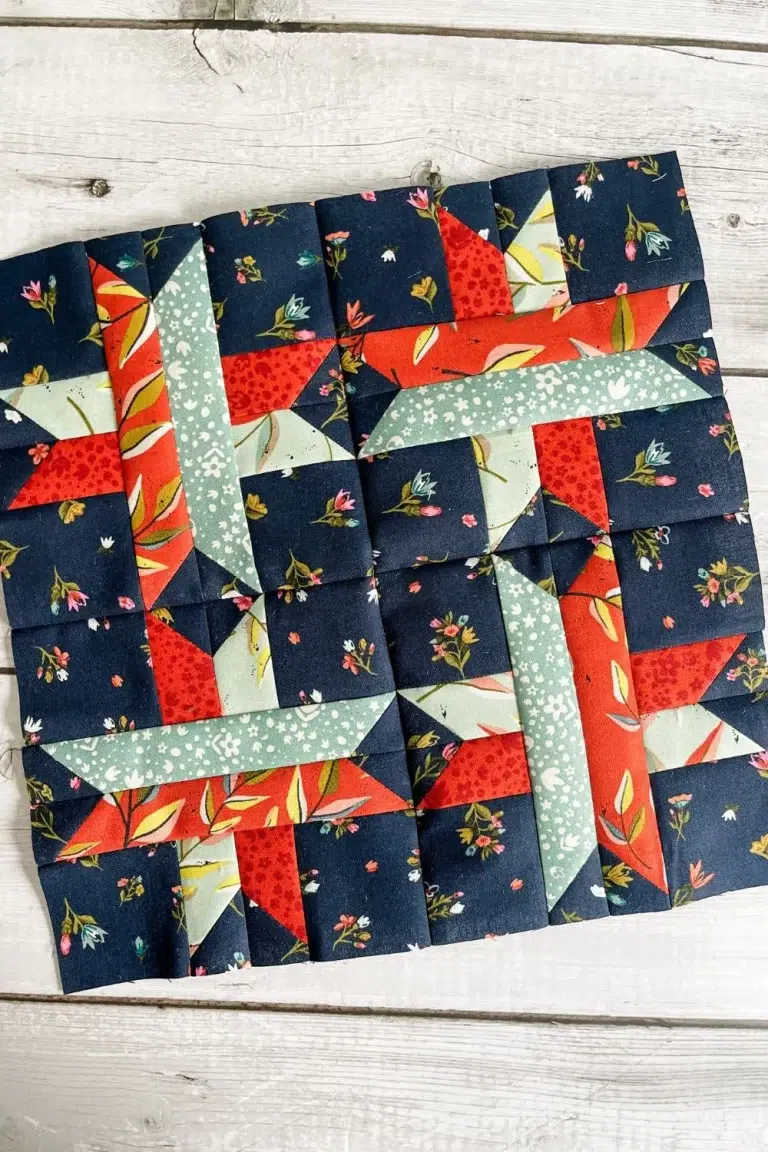
- Combined with Other Blocks: Pair 4-patch blocks with half-square triangles, flying geese, or 9-patch blocks to create more complex designs.
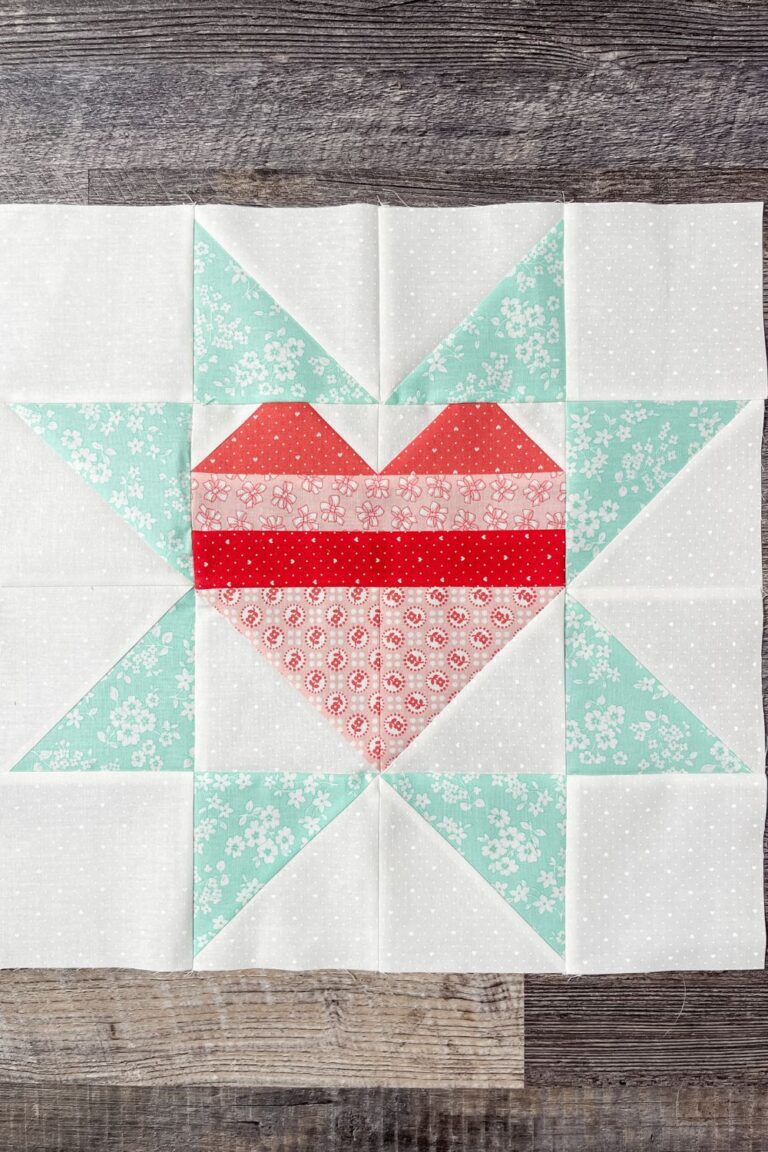
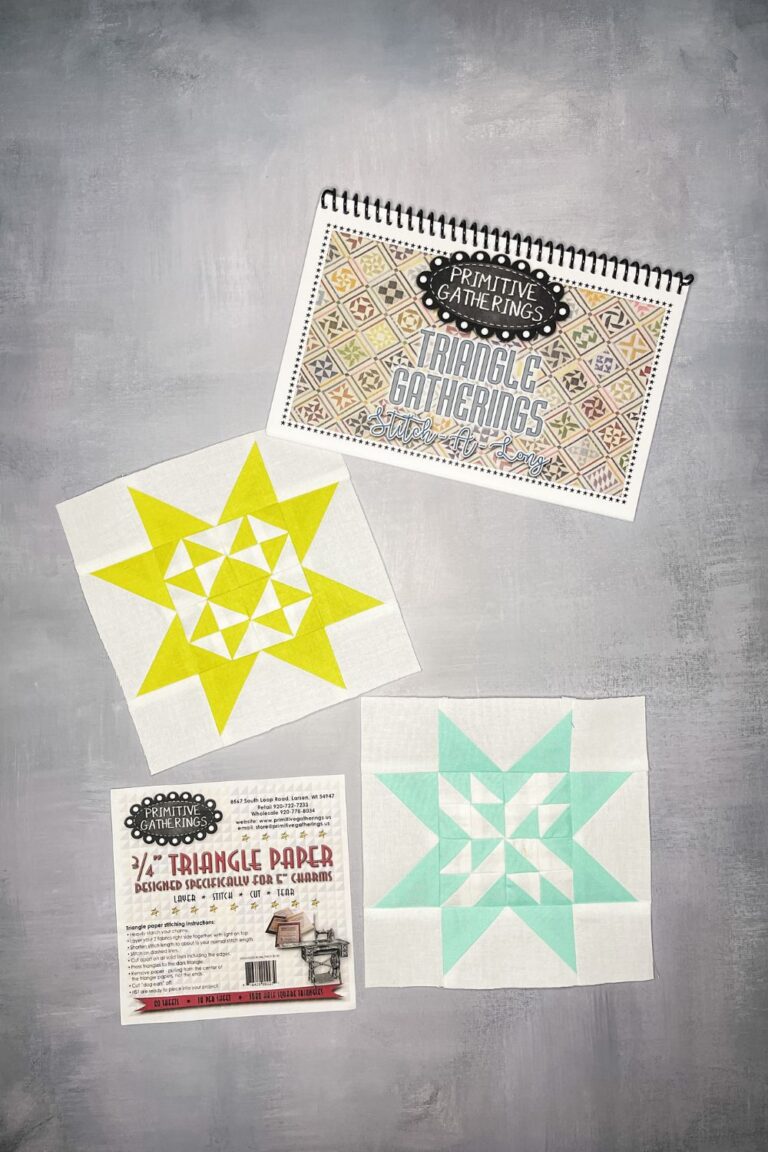
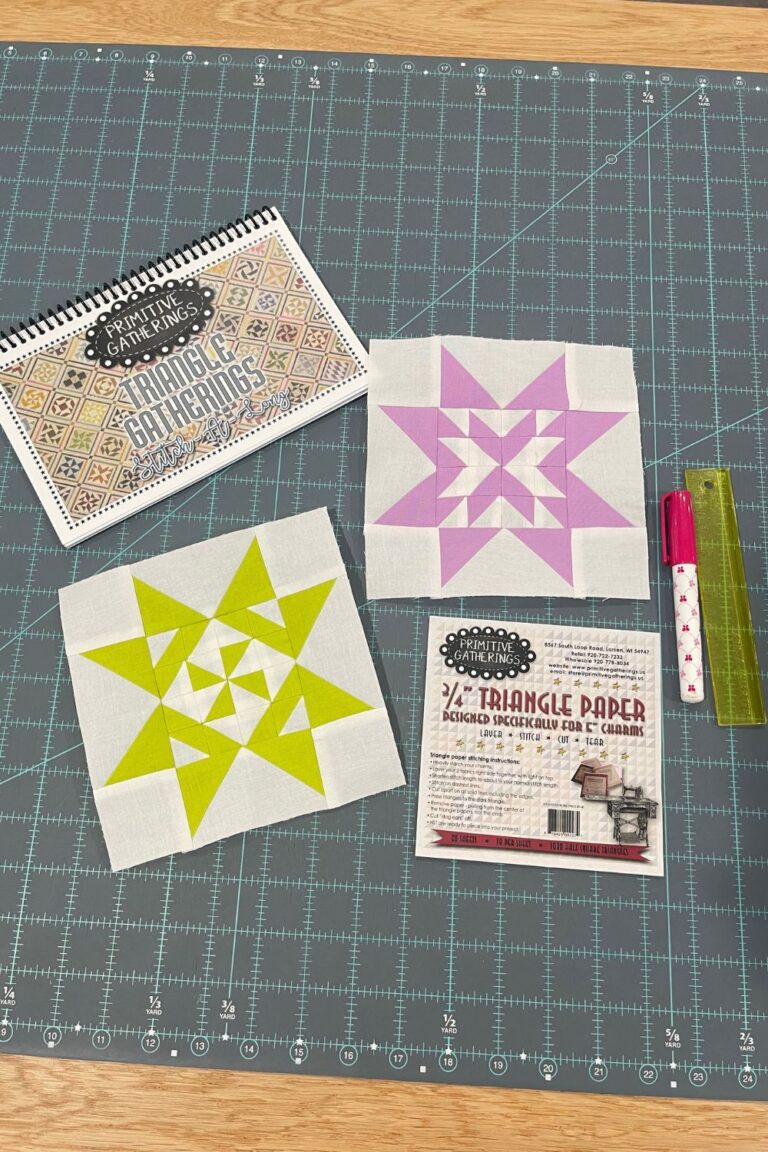
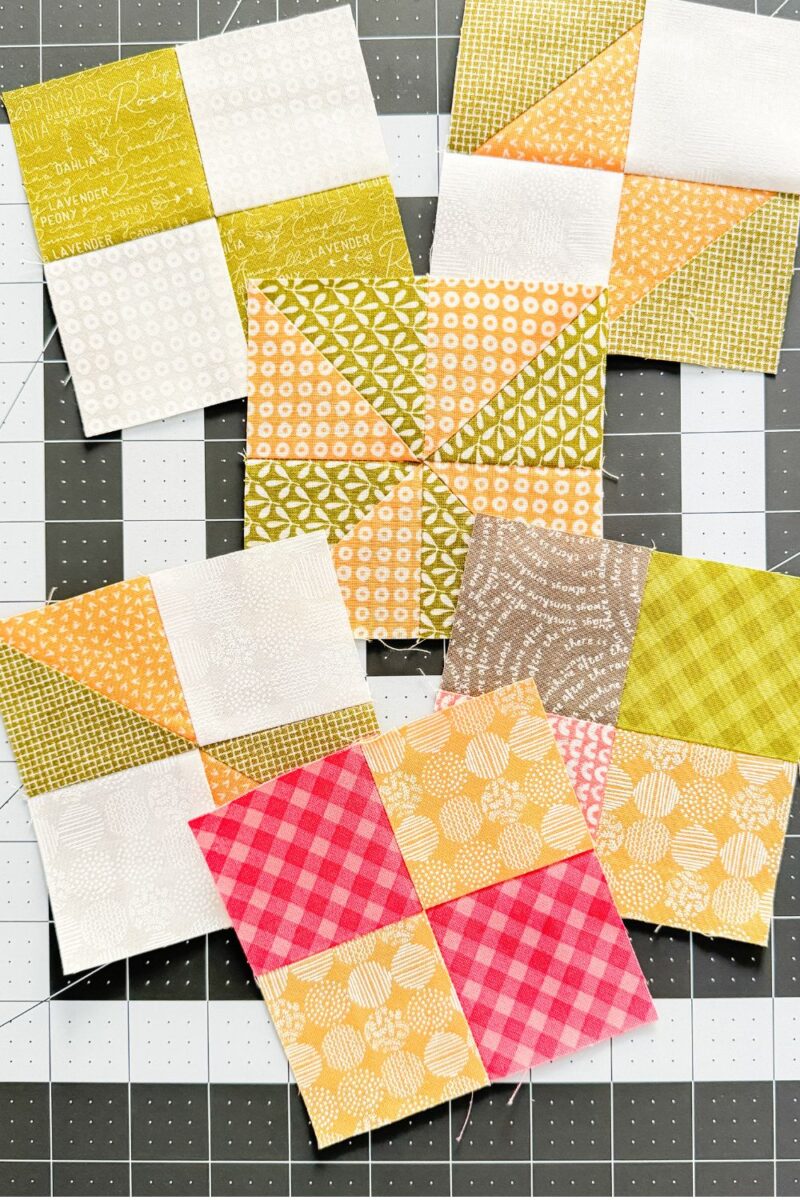
- Substitute Half-Square Triangles for a Twist: Want to give your 4-patch block a fresh look? Substitute half-square triangles (HSTs) for some of the squares in the 4-patch. This simple modification can dramatically change the overall design, adding dynamic movement and texture to your quilt. It’s an easy way to elevate a basic block into something more unique!
Free Four Patch Size Chart
If you’re like me and don’t want to rework the math every single time you change square sizes, I created a printable Four Patch Size Chart to make it easier.
The chart starts with 1″ cut squares and walks you up through larger sizes, showing the finished square size, unfinished block size, and finished block size for each. It’s a simple reference you can keep near your cutting table so you don’t have to stop and calculate every time.
Whether you’re working with scraps, precuts, or resizing a pattern, having the numbers already laid out saves time and prevents mistakes.
You can download the free Four Patch size chart below and keep it handy for your next project.
Why This Block Belongs in Your Rotation
The 4-patch might seem basic, but it’s one of those blocks that quietly supports so many quilt designs.
It teaches accurate seam allowances.
It reinforces nesting seams.
It’s scrap-friendly.
And it scales beautifully.
Sometimes the simplest blocks are the most useful.
Whether you’re building a scrappy quilt in the background or planning a more structured layout, the 4-patch is one you’ll come back to again and again.