

Mastering Half-Square Triangles (HSTs): A Step-by-Step Guide
Half-Square Triangles (HSTs) are a cornerstone of many beautiful quilt patterns. Whether you’re just starting out or have been quilting for years, learning to make consistent HSTs opens the door to countless design possibilities. In this post, I’ll walk you through two simple methods for making HSTs: one at a time and two at a time. By the end, you’ll be ready to start using HSTs confidently in your quilt projects.
When purchasing through links on this site, I may earn an affiliate commission at no cost to you.
What Are Half-Square Triangles (HSTs)?
Half-Square Triangles, commonly abbreviated as HSTs, are a fundamental quilt block unit made from two right-angle triangles sewn together to form a square. This simple yet versatile block can be used in countless quilt patterns, from traditional designs to modern layouts. The key to a perfect HST is precision in cutting, sewing, and pressing.
Tools and Materials You’ll Need
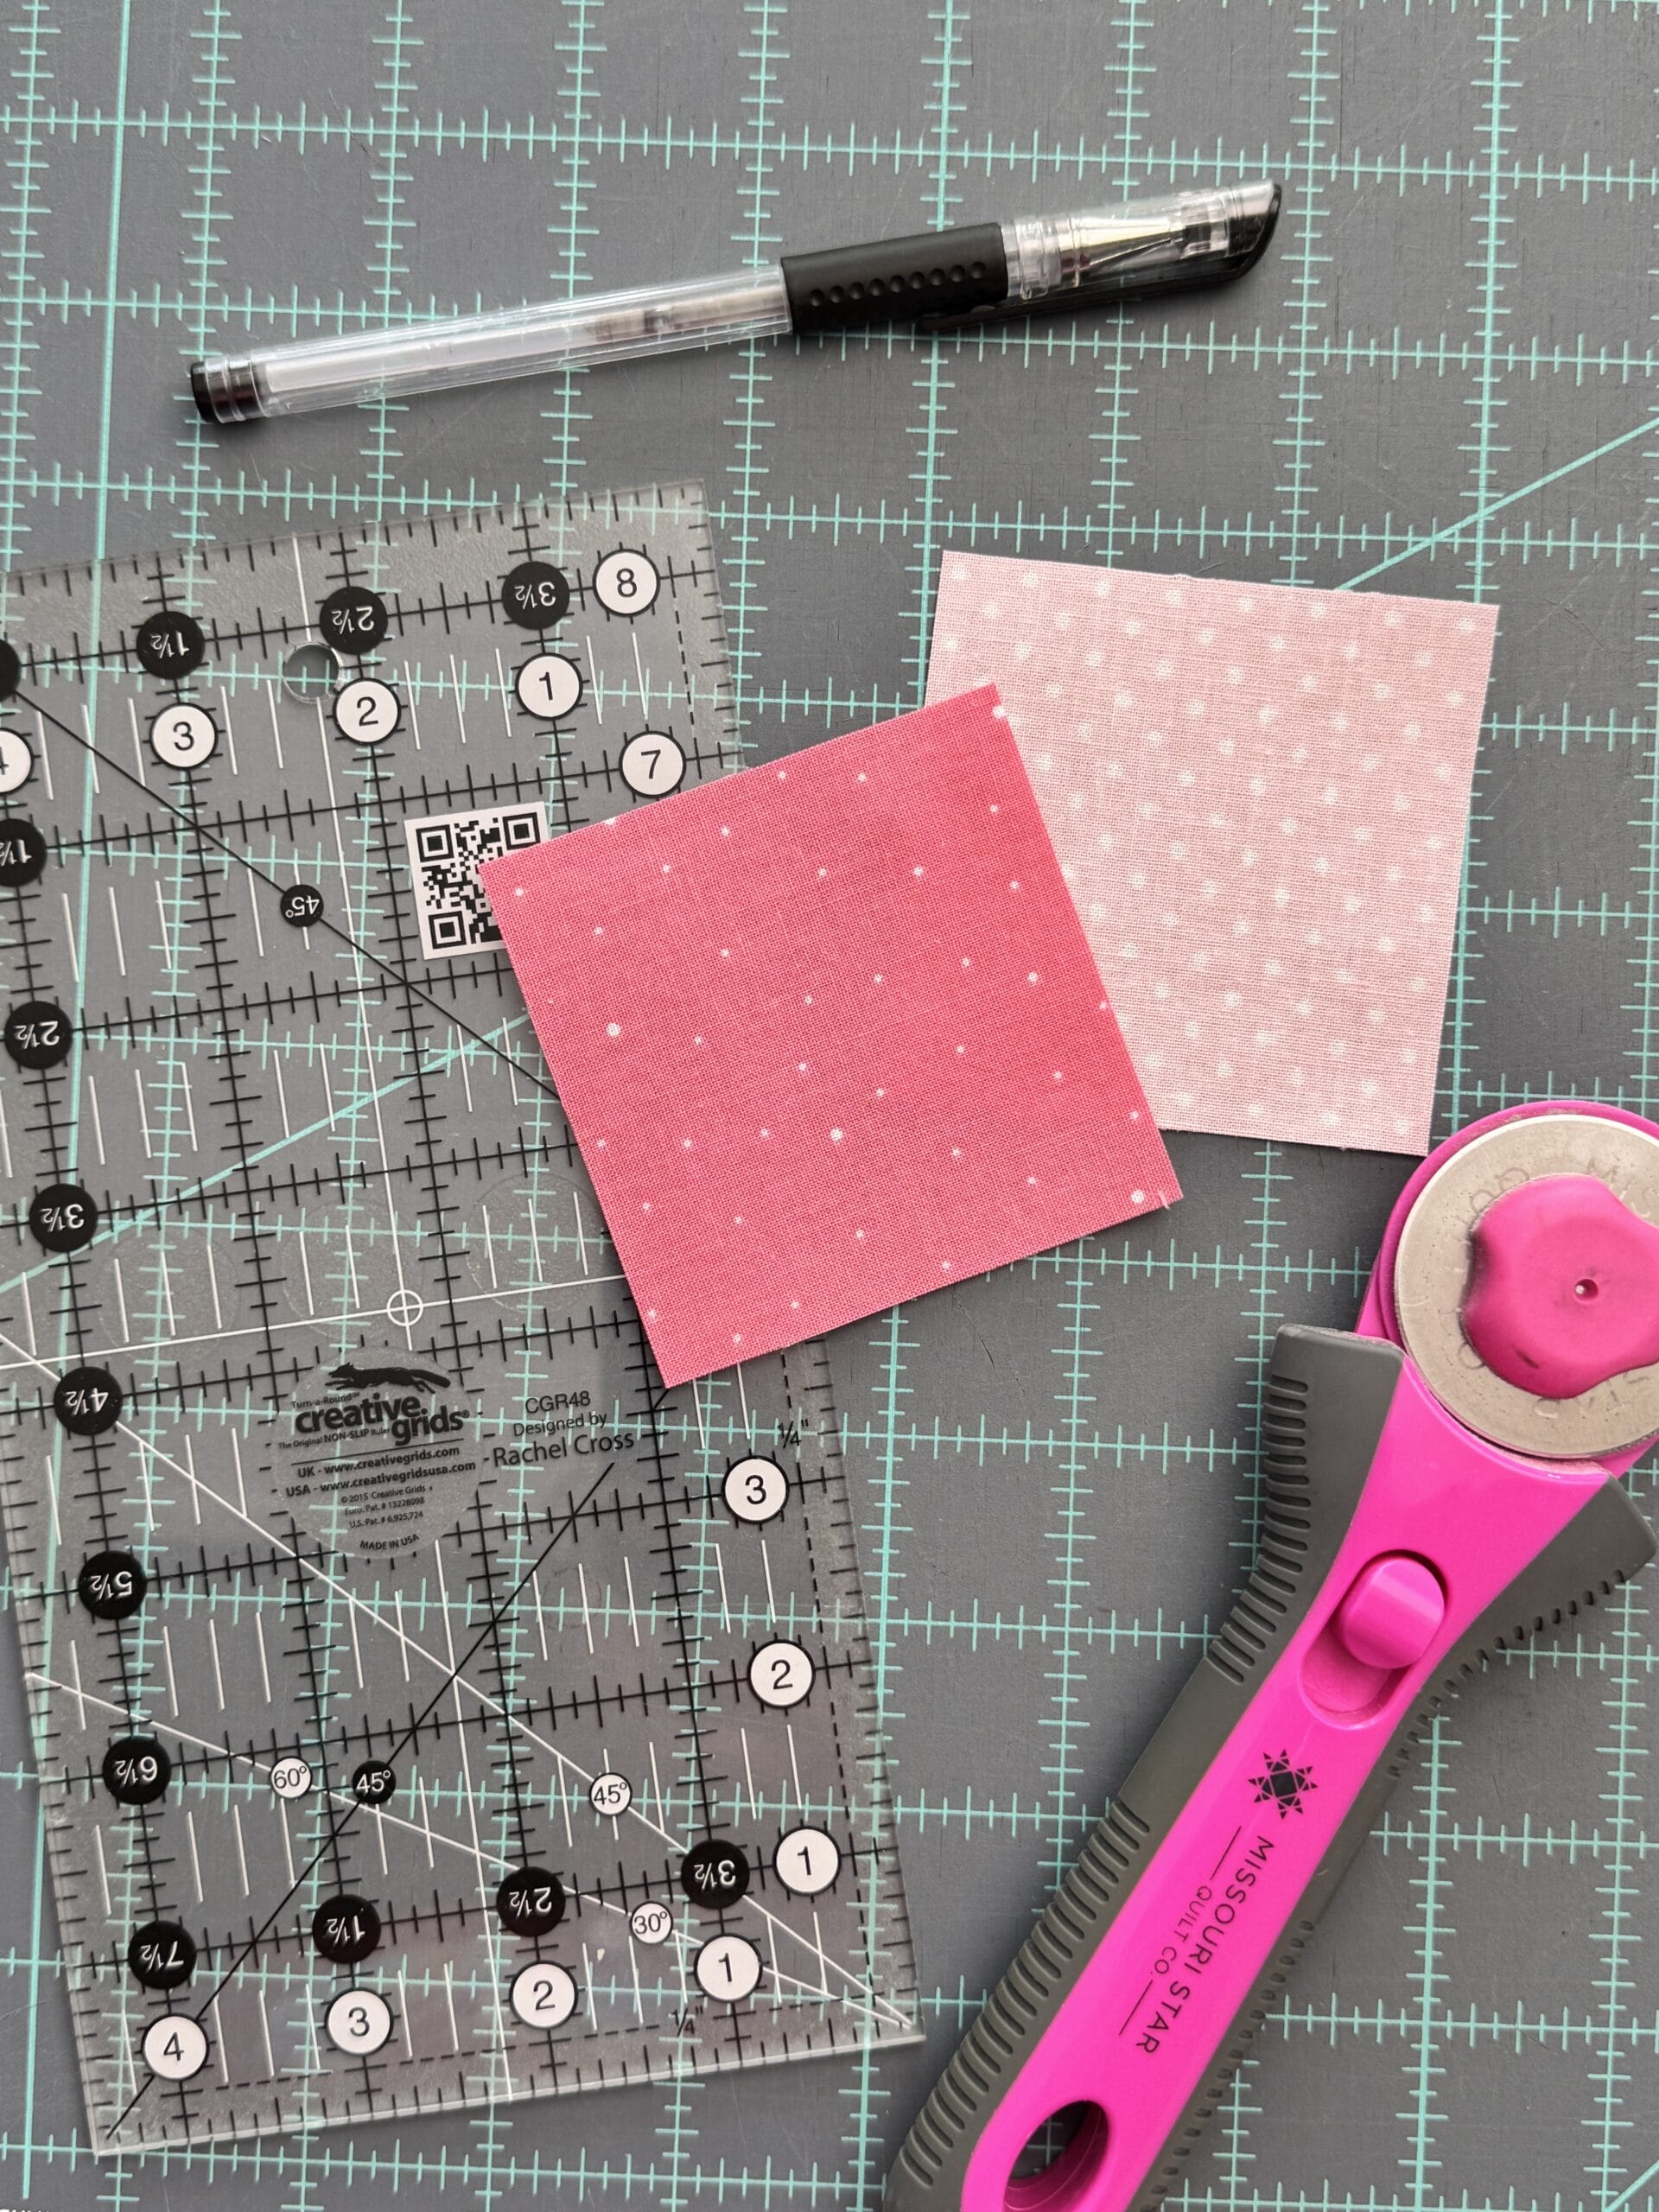
- Fabric – two identical sized squares of fabric in contrasting colors
- Rotary Cutter
- Quilting Ruler
- Cutting Mat
- Sewing Machine
- Marking Tool
- Pins or Glue
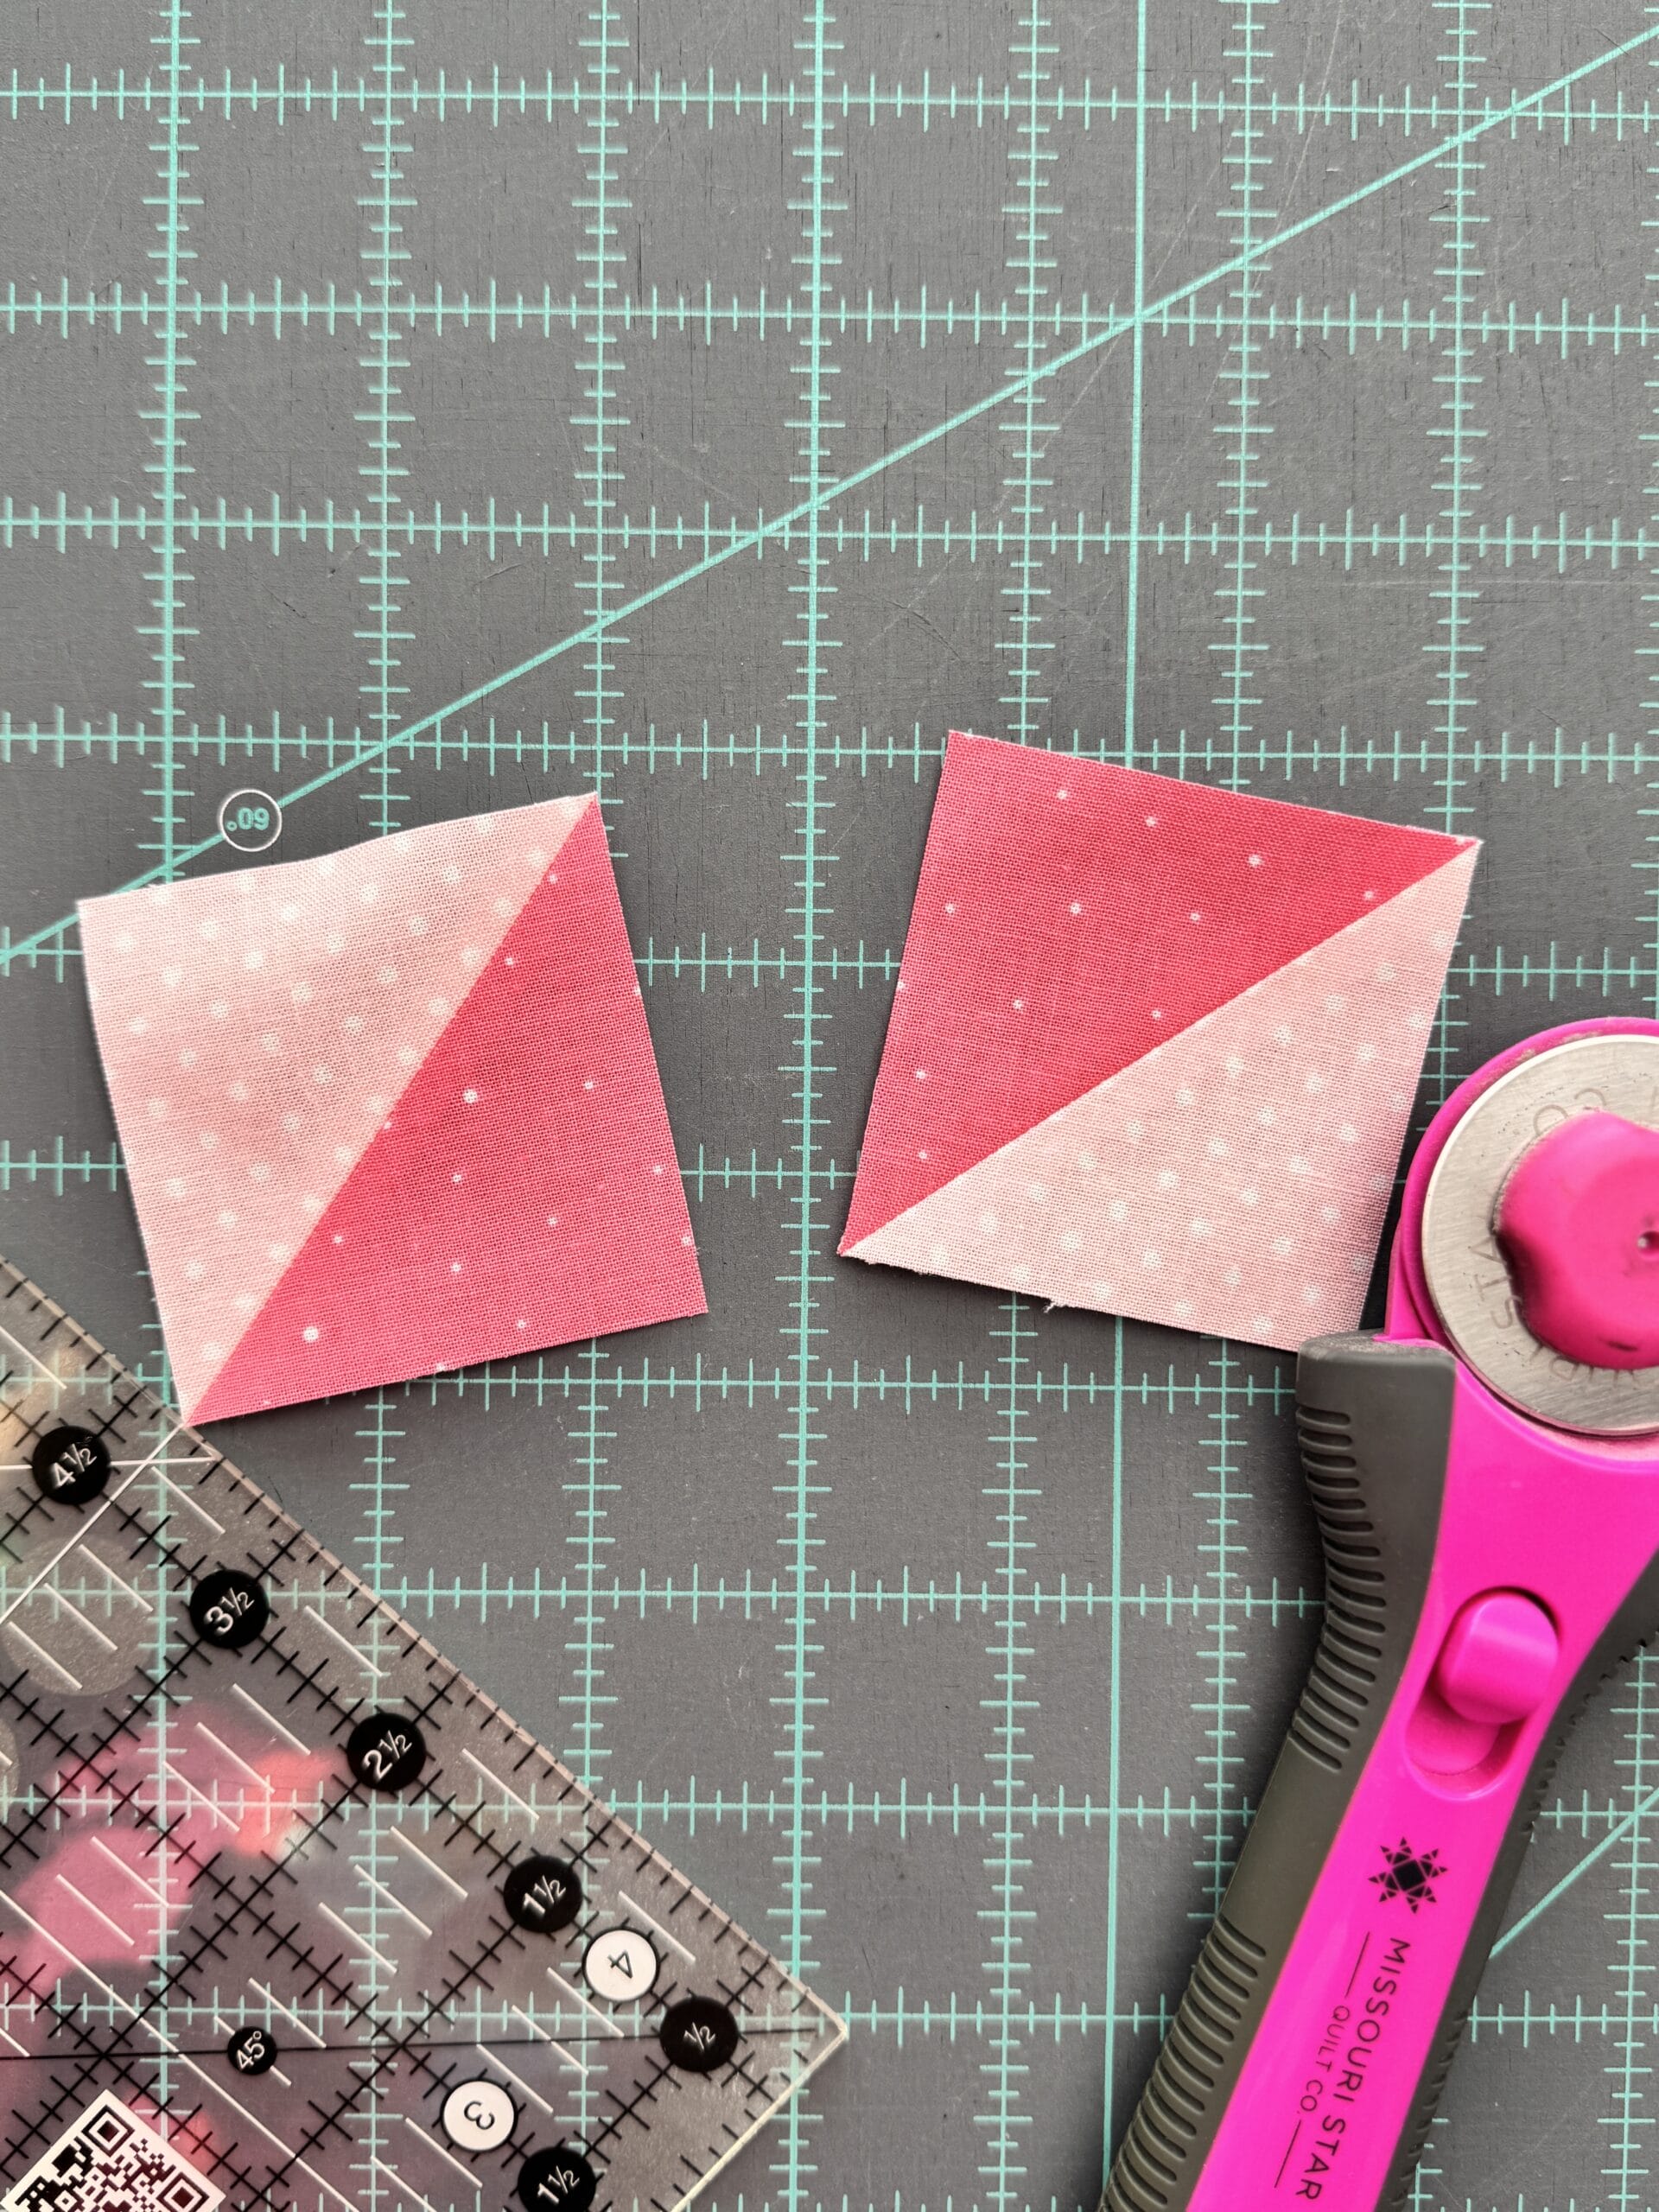
Method 1: How to Make One Half Square Triangle at a Time
Step 1: Cutting the Fabric
To make one HST at a time, start by cutting two squares of fabric, one in each color. The size of the squares will depend on the finished size of your HST. For example, if you want a 2 ½” unfinished HST (2″ finished after being sewn into the quilt), cut your squares at 2 ½”.


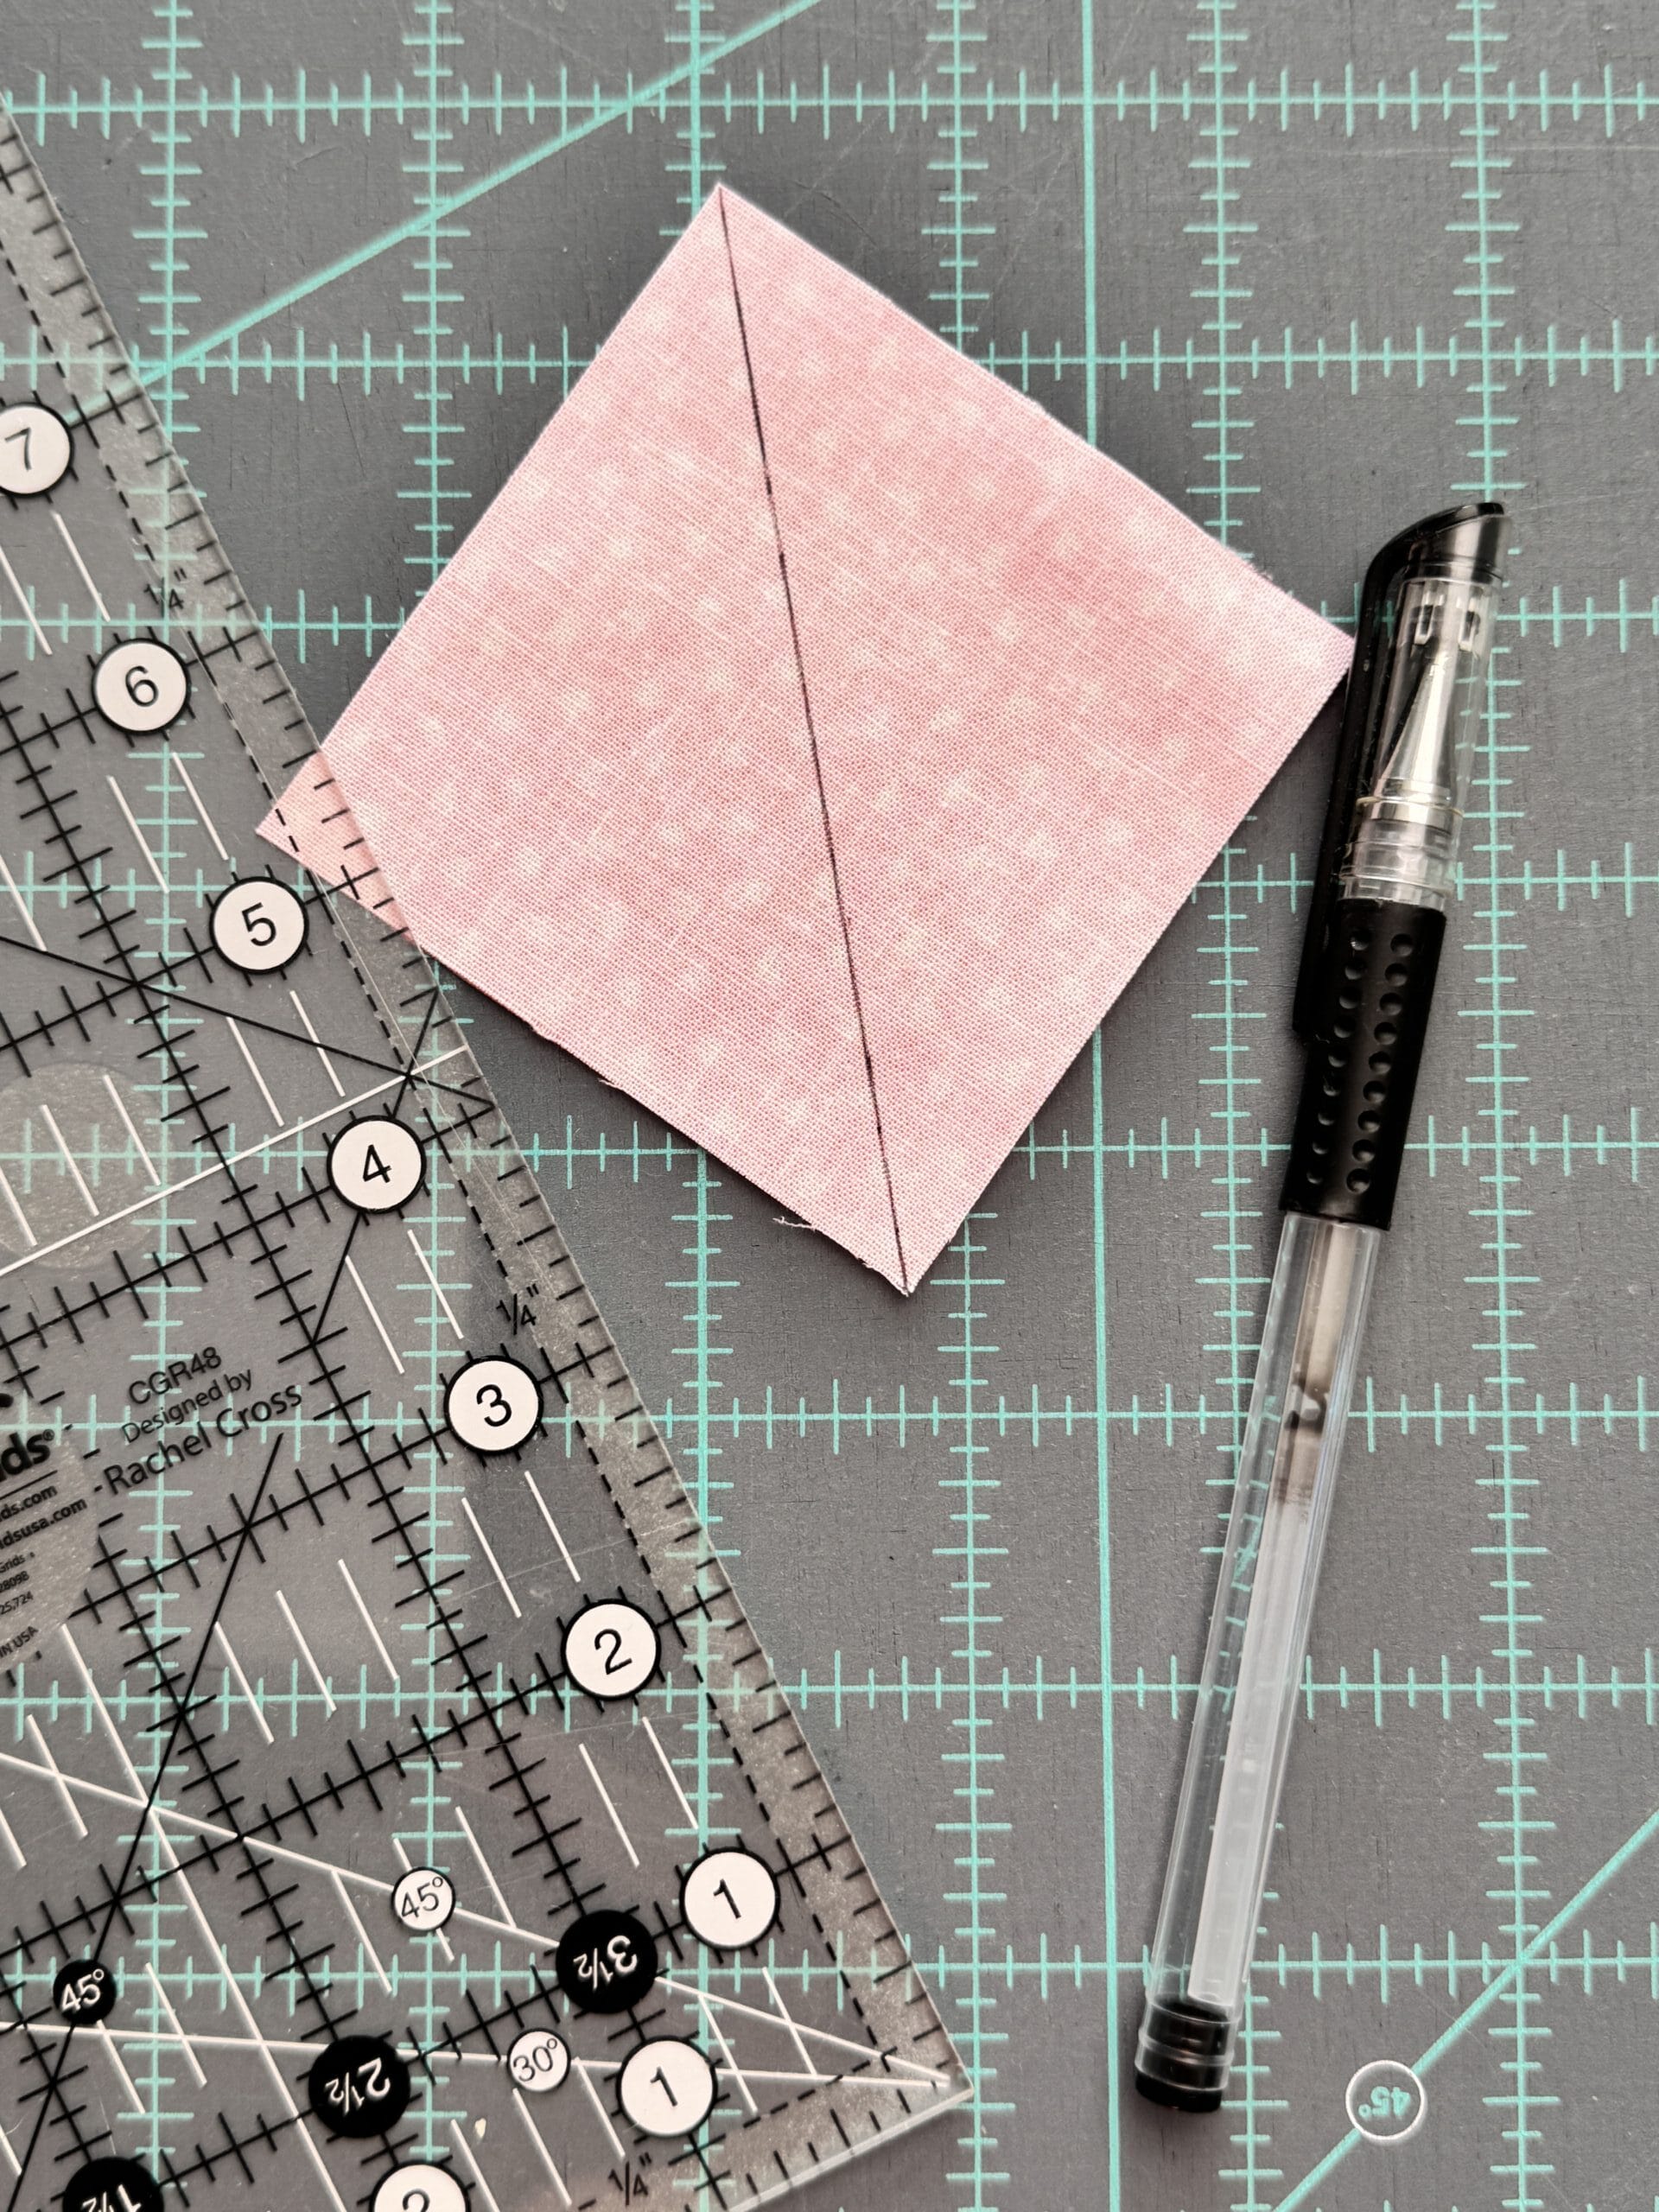
Step 2: Marking and Sewing
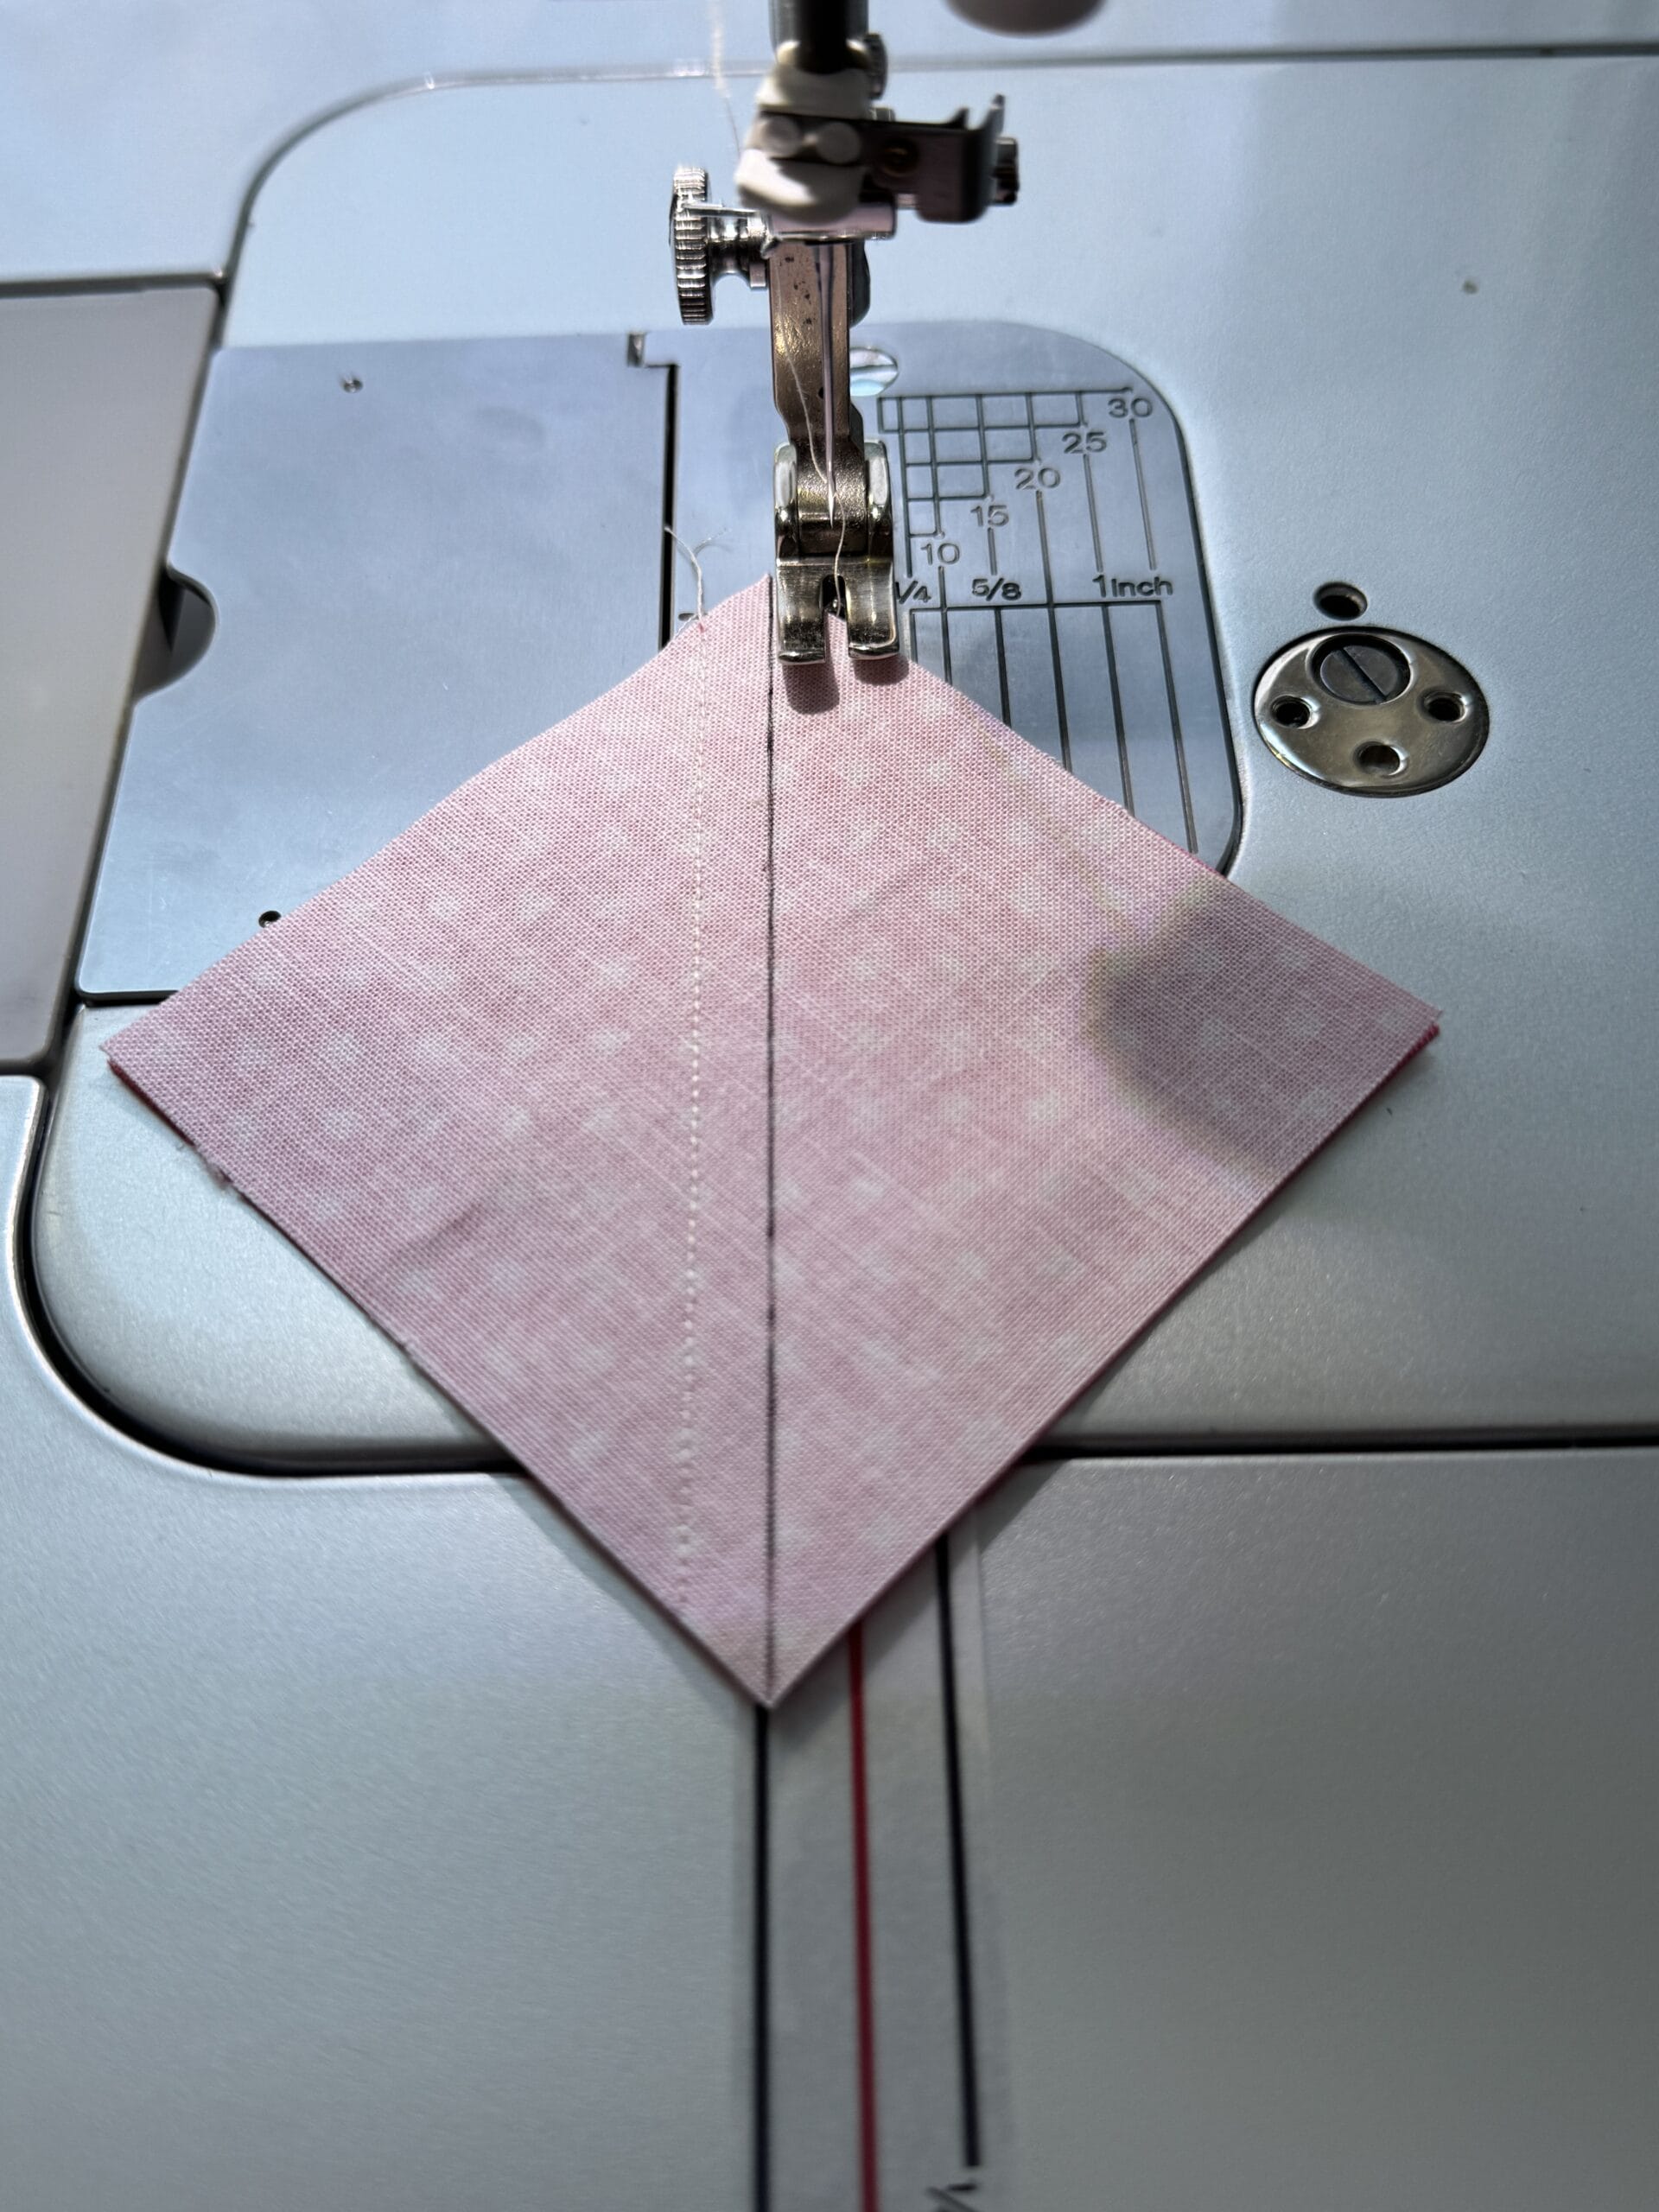
Place the two squares right sides together. Using your marking tool, draw a diagonal line from one corner to the opposite corner on the back of one of the squares. Sew directly on the drawn line.
Step 3: Cutting
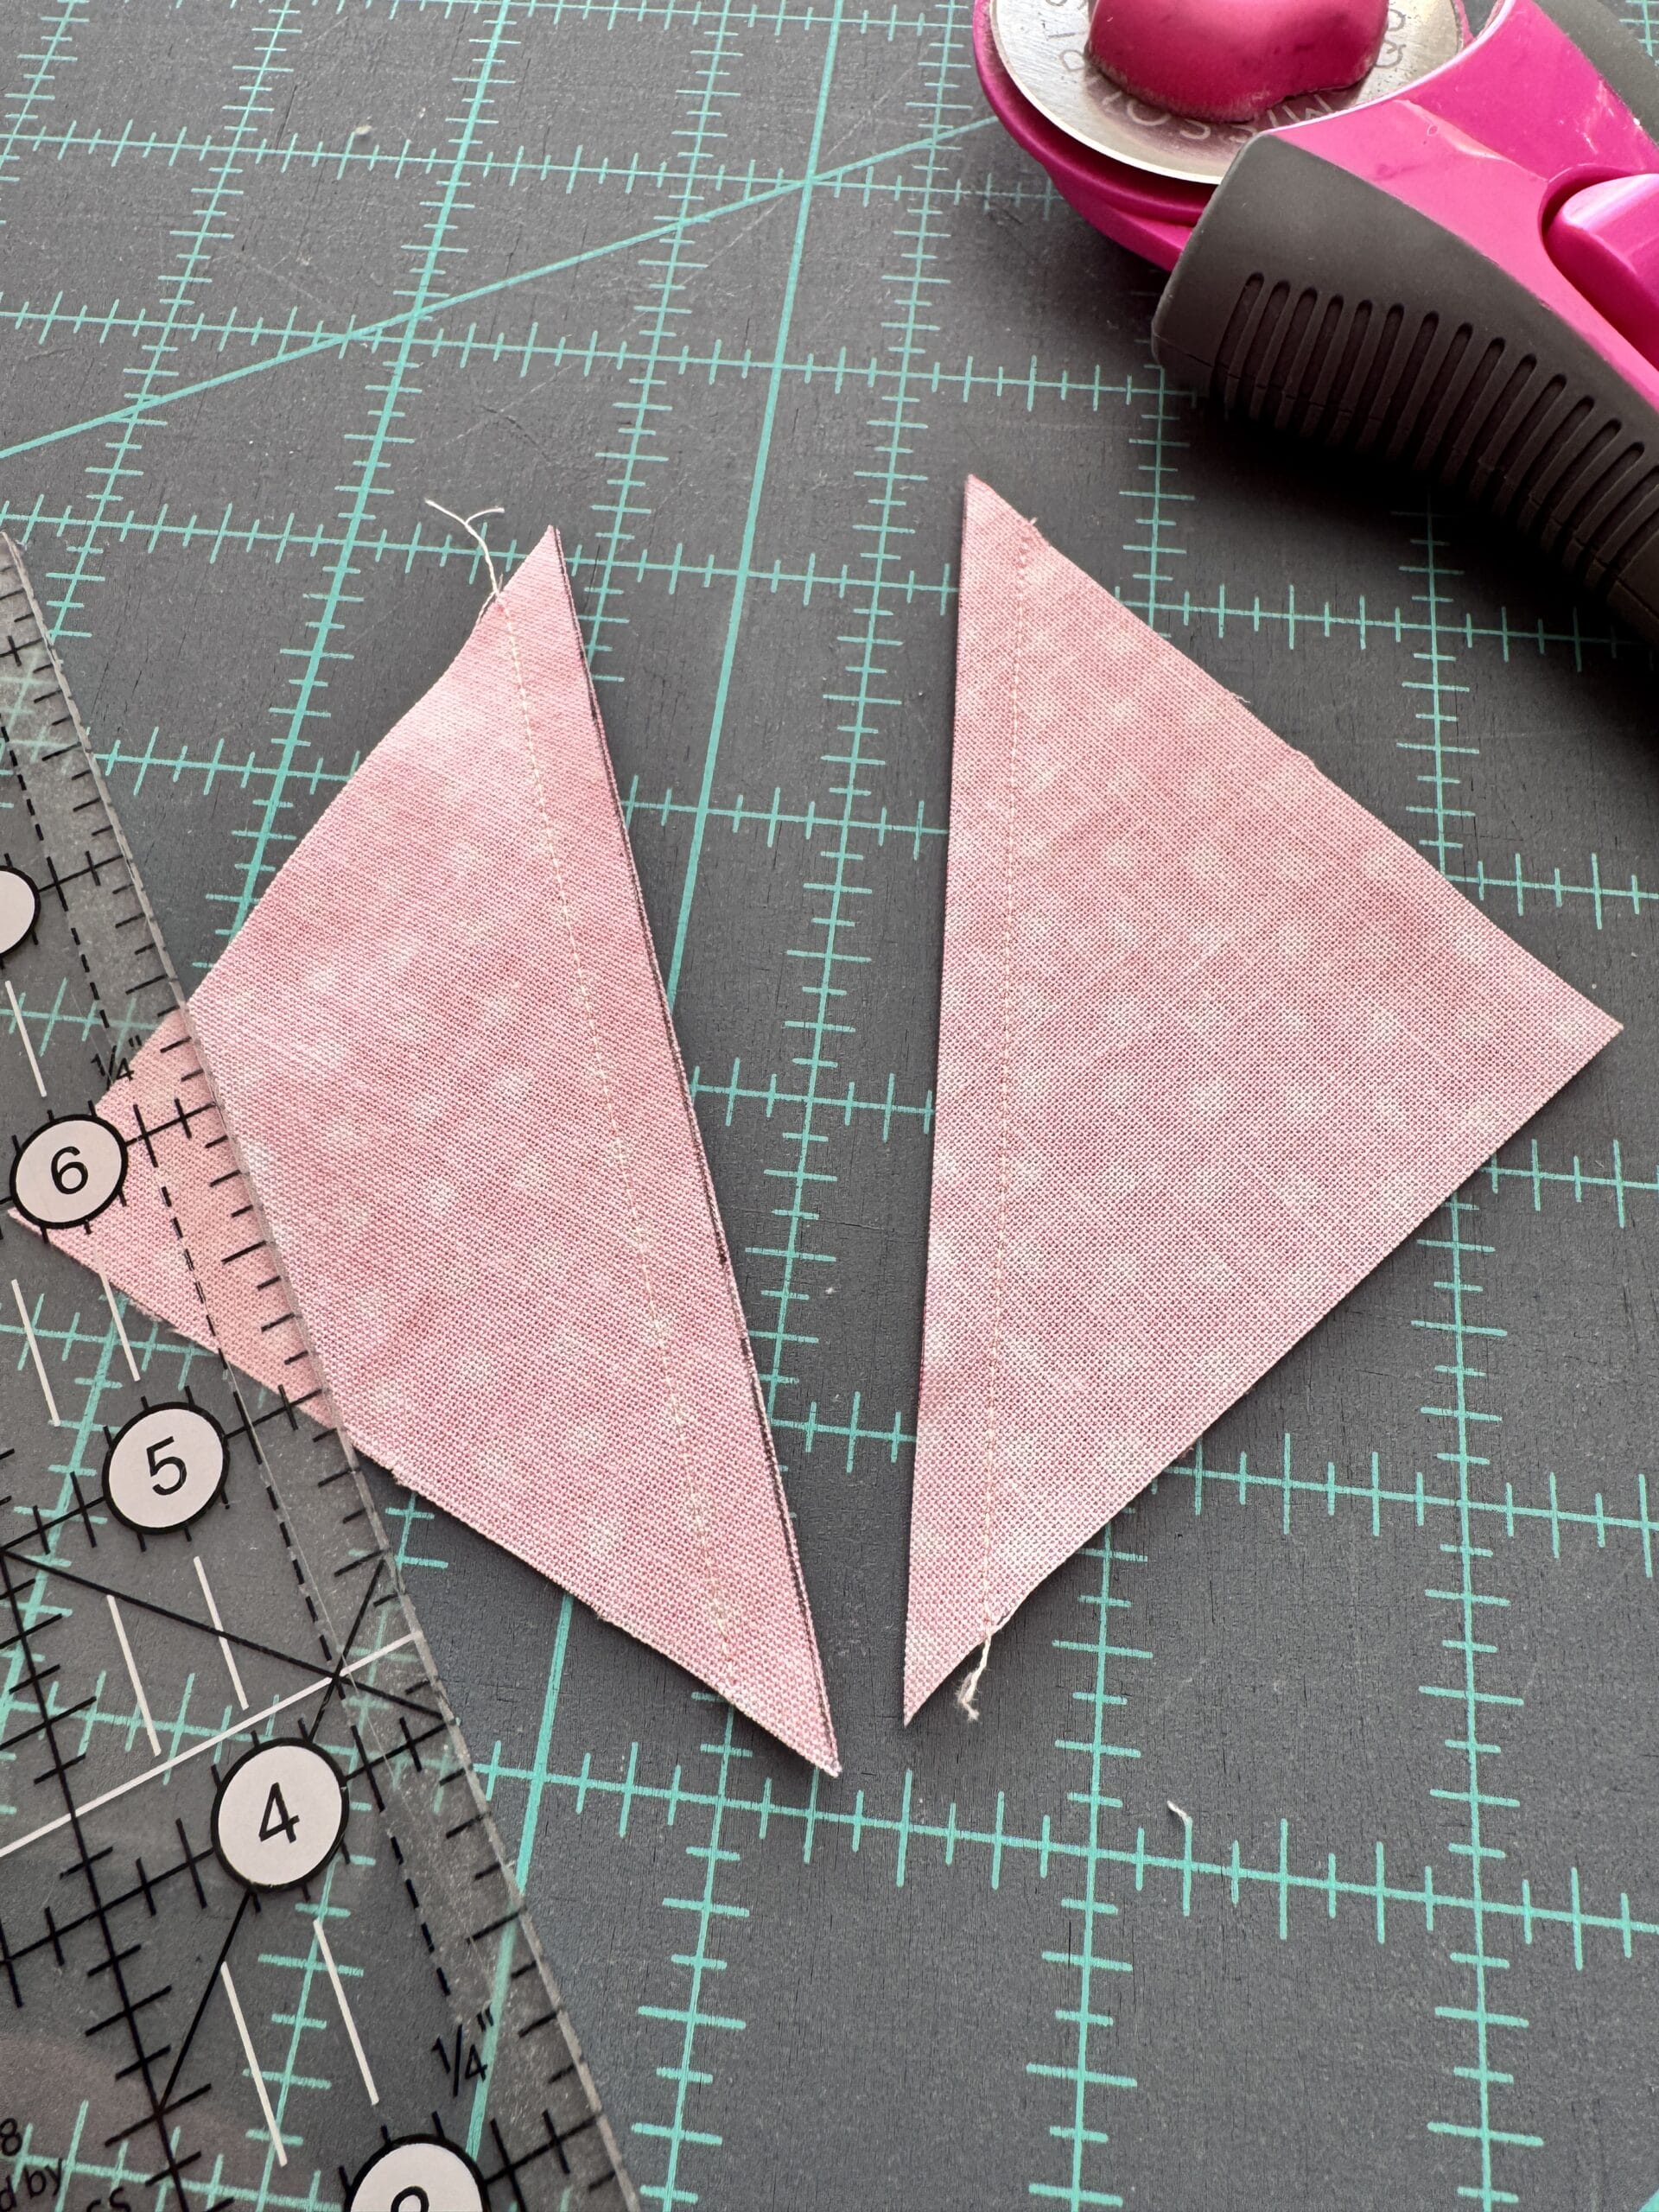
After sewing, use your rotary cutter to cut ¼” away from the sewn line, separating the HST. Open the unit and press the seam toward the darker fabric.
Step 4: Pressing
Open the unit and press the seam toward the darker fabric or press seam open
Method 2: How to Make Two Half Square Triangles at a Time
Step 1: Cutting the Fabric
For this method, cut two squares of fabric as before, but slightly larger to account for making two HSTs at once. To make 2 ½” finished HSTs, cut your squares at 5″.
Step 2: Marking
Place the two squares right sides together. Mark a diagonal line across the back of one square. Instead of sewing directly on the line, sew a quarter-inch seam on both sides of the marked line.
Step 3: Sewing
Instead of sewing directly on the line, sew a quarter-inch seam on both sides of the marked line.
Step 4: Cutting the HSTs Apart
Cut directly on the drawn line to create two HSTs
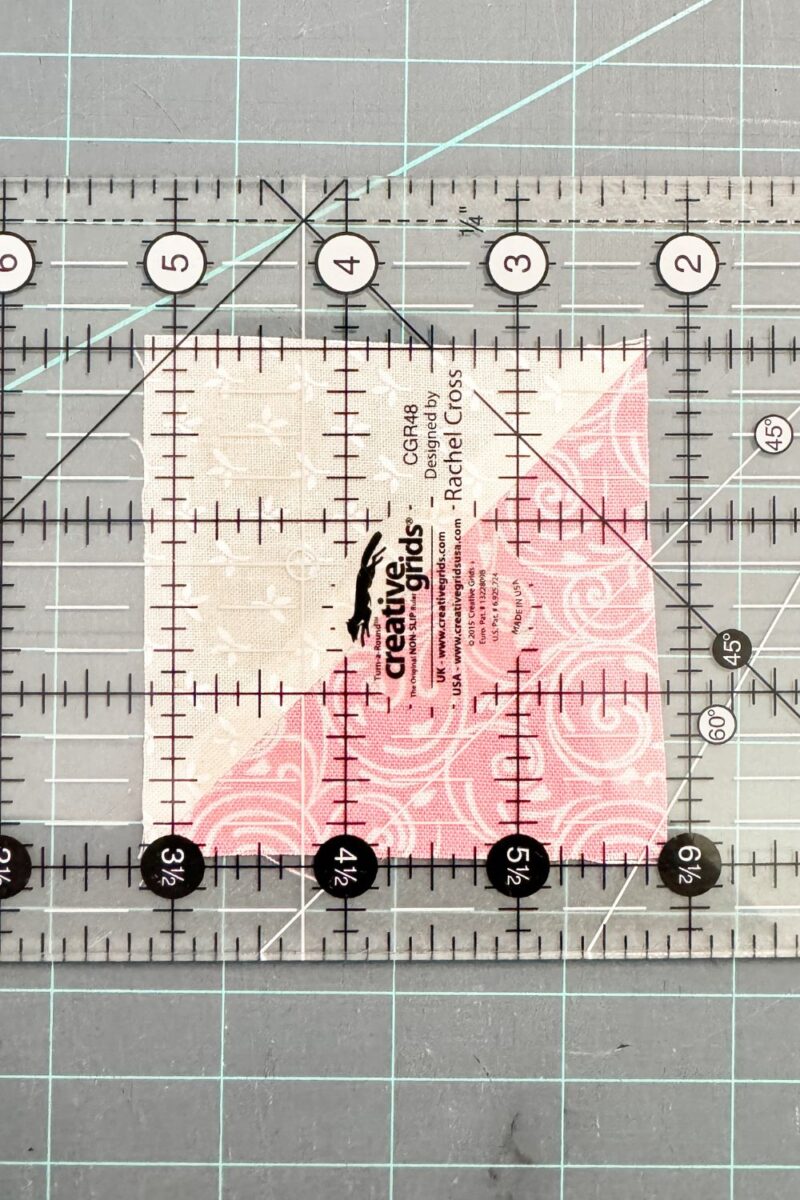
Step 5: Pressing and Trimming
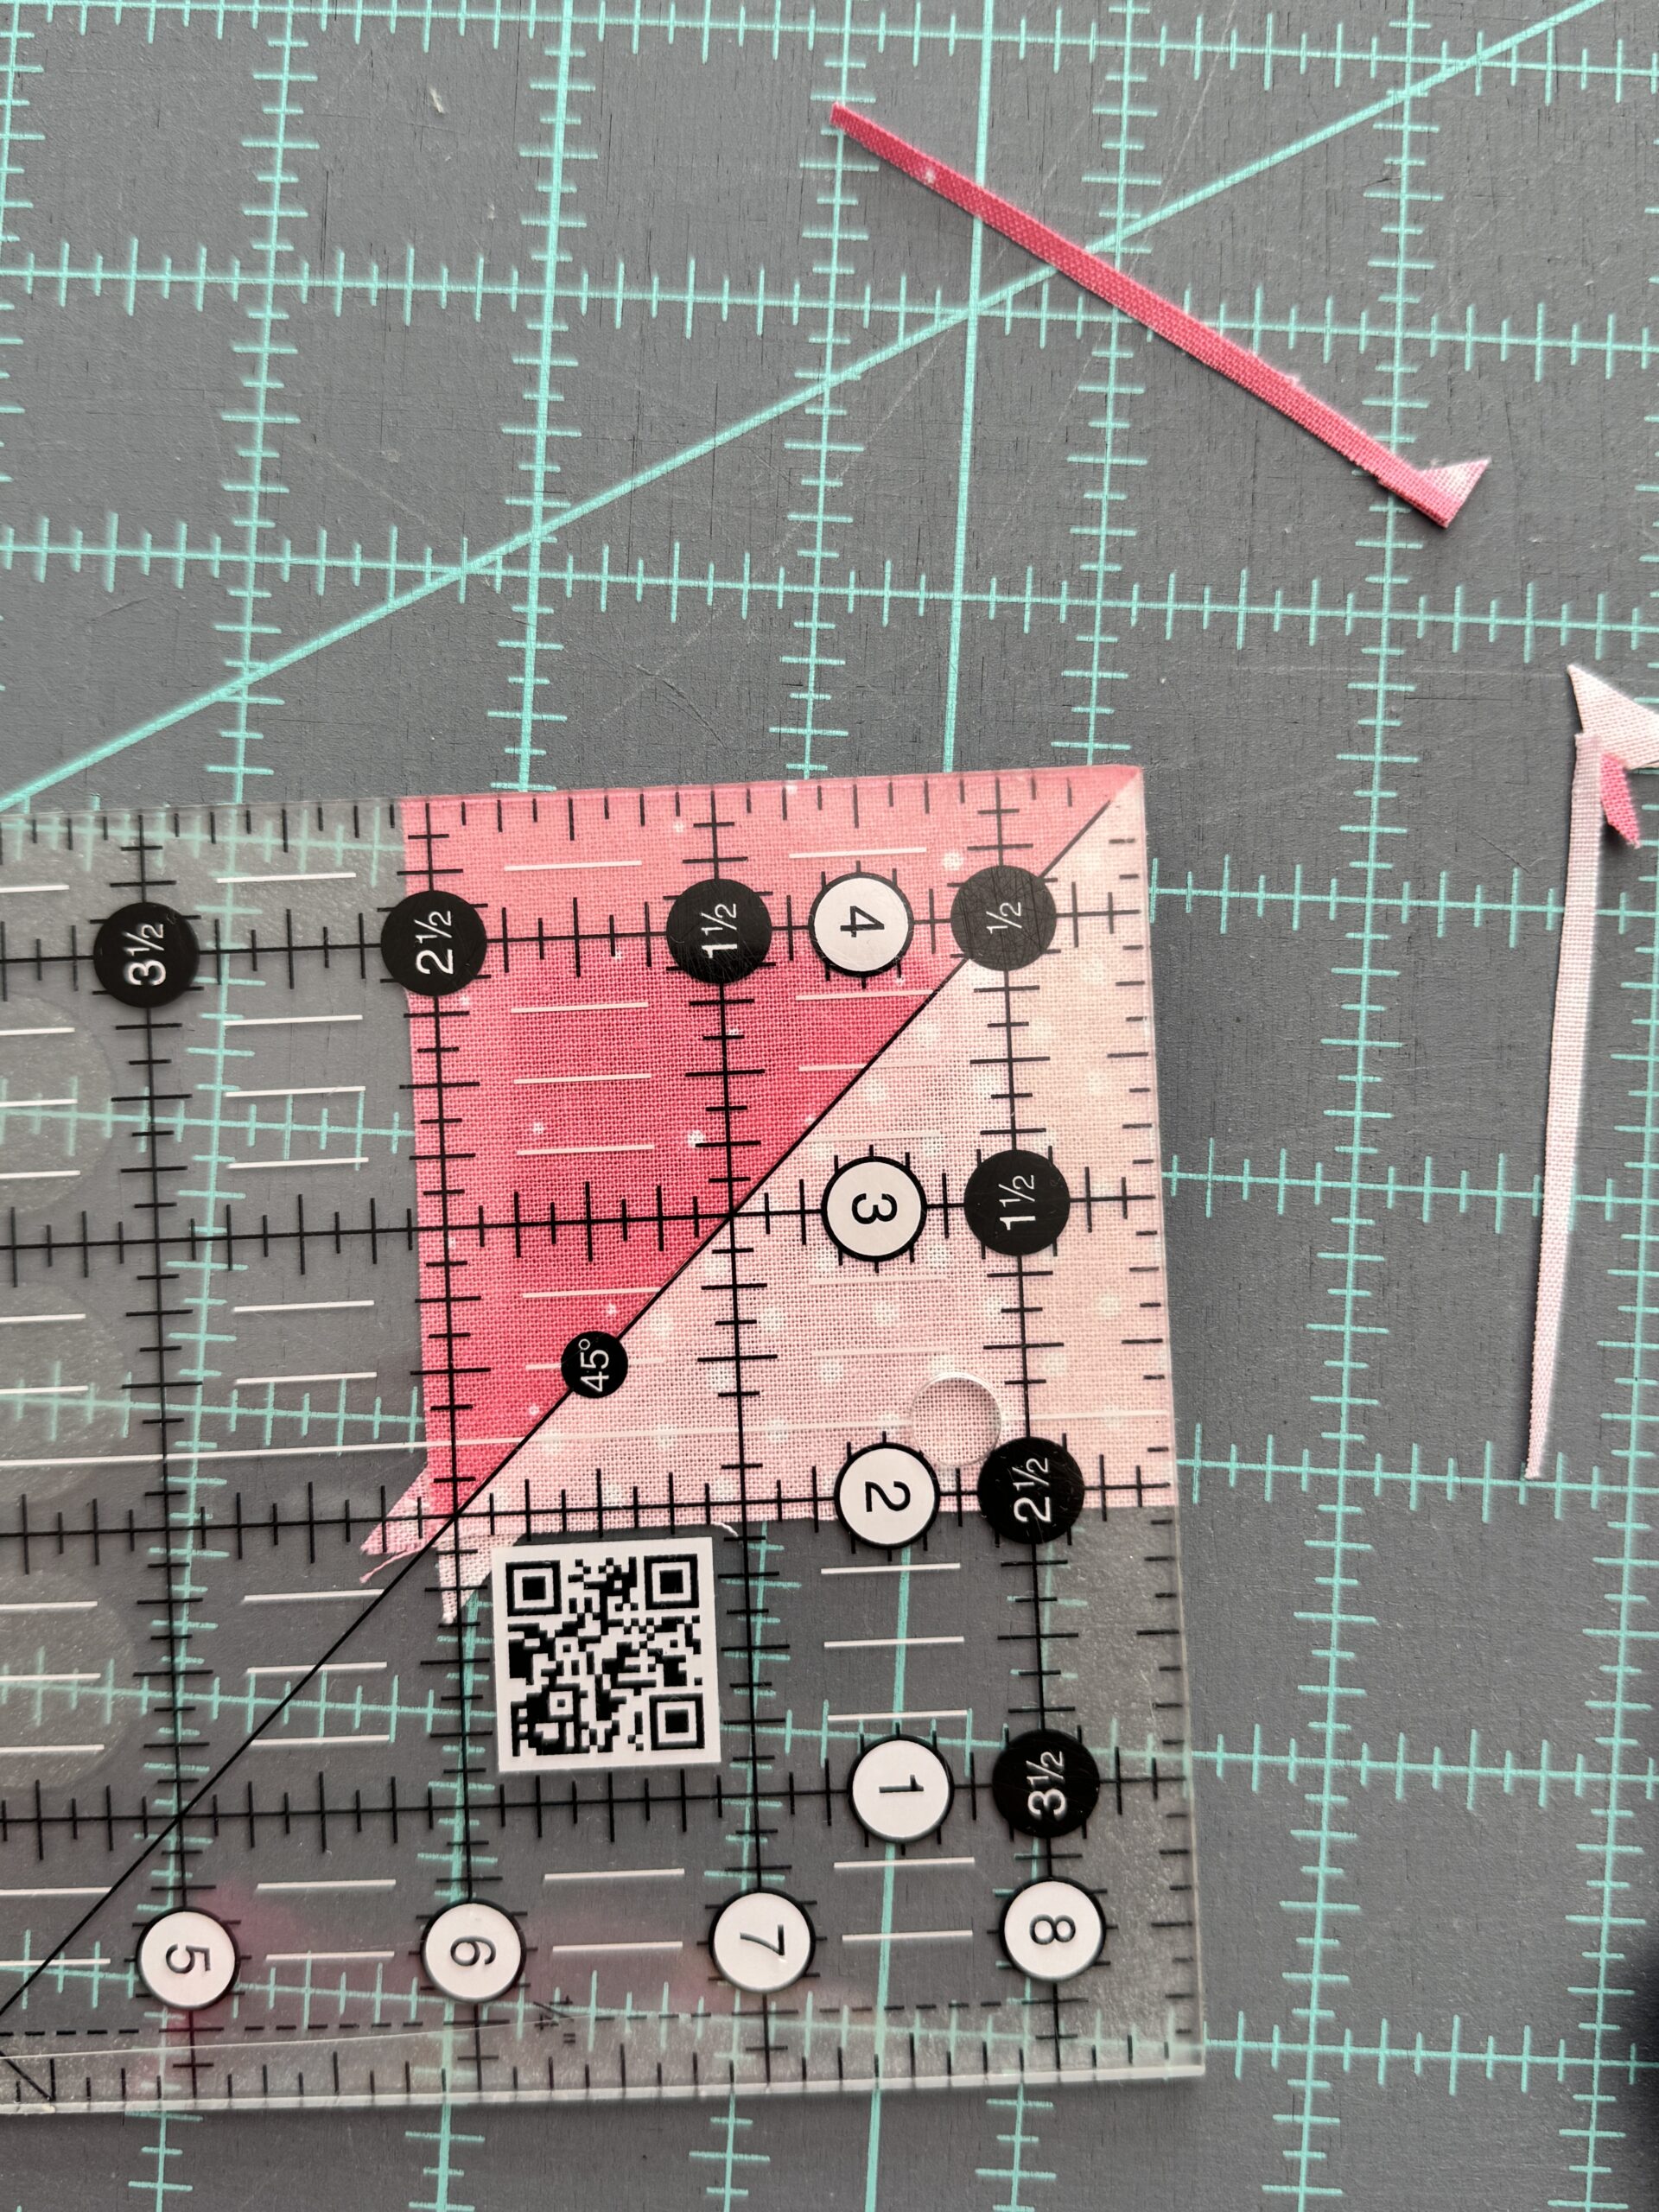
Open the unit and press the seam toward the darker fabric or press seam open. Lay ruler on top of one of the HSTs matching the diagonal line to the center seam. Trim two sides. Rotate block 180 degrees, repeat trimming, but this time trim to size (2.5″)
Step 3: Trim second block
Repeat the process of step 5 to the other HST and you now have two perfectly sized Half Square Triangle blocks
Tips for Perfect Half Square Triangles Every Time
Achieving perfect HSTs takes a bit of practice, but these tips can help:
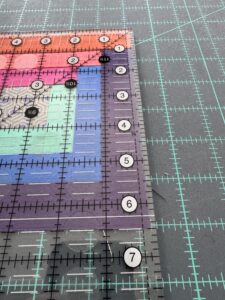
- Trim Your HSTs: After pressing, use a ruler to trim your HSTs to the exact size needed. This ensures your blocks fit together perfectly in the quilt top.
- Mind the Bias: The diagonal edges of HSTs are on the bias, which can stretch easily. Handle the fabric gently and avoid pulling. I find that finger pressing the seam open first helps prevent stretching.
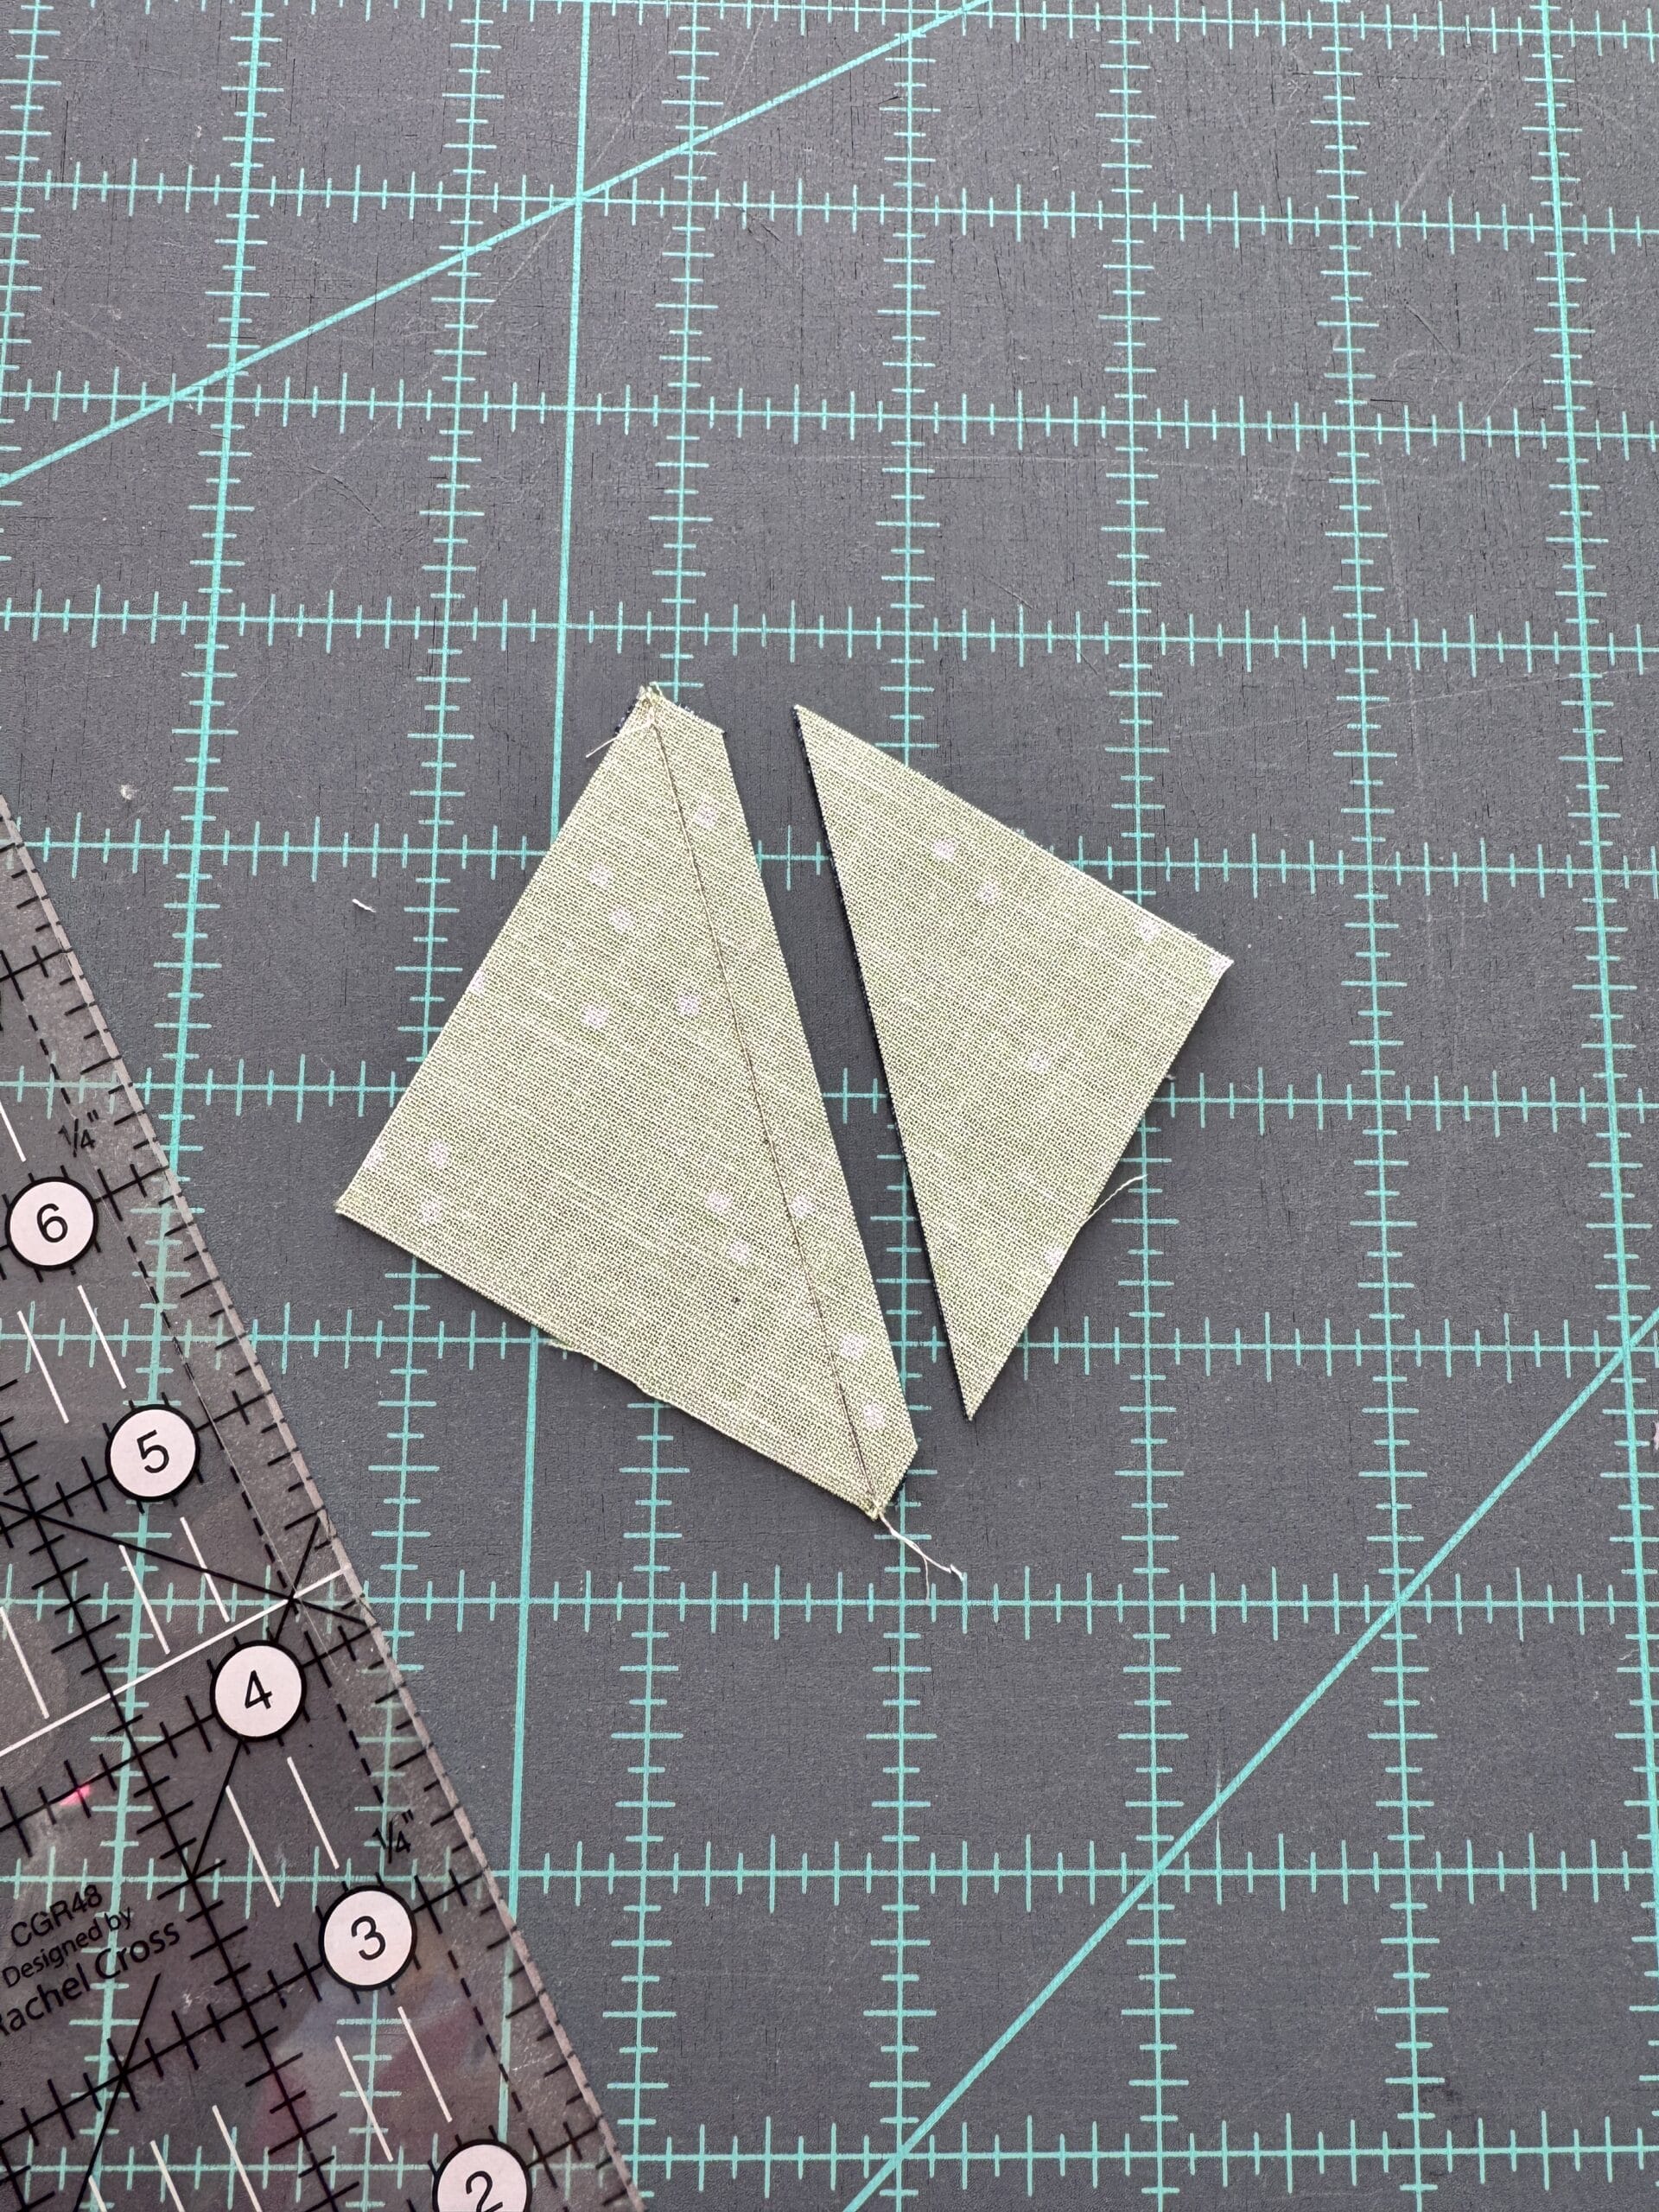
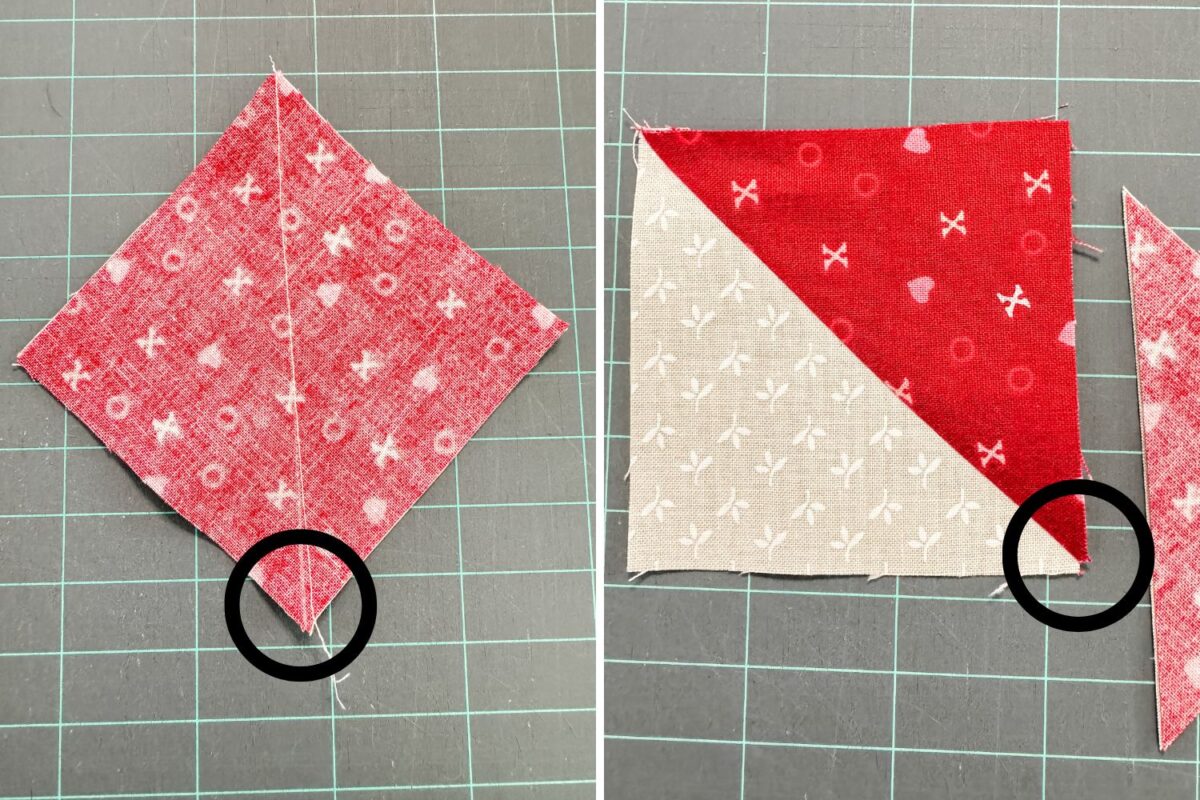
- Press Carefully: Press seams without dragging the iron to prevent distortion. Lifting and pressing up and down is necessary instead of gliding back and forth on the fabric. The image below is an example of a distorted unit from pressing across the bias seam too aggressively.
Common Mistakes and How to Avoid Them
Even experienced quilters can run into issues with HSTs. Here are some common mistakes and how to avoid them:
- Inaccurate Seam Allowances: Ensure your seams are consistent, preferably with a ¼” foot. Inconsistent seams can throw off the size of your HSTs.
- Stretching the Fabric: Be mindful of stretching the fabric, especially along the bias edges. Pinning can help prevent this.
- Uneven Squares: Double-check that your fabric squares are accurately cut before sewing. Even a small discrepancy can cause problems later on.
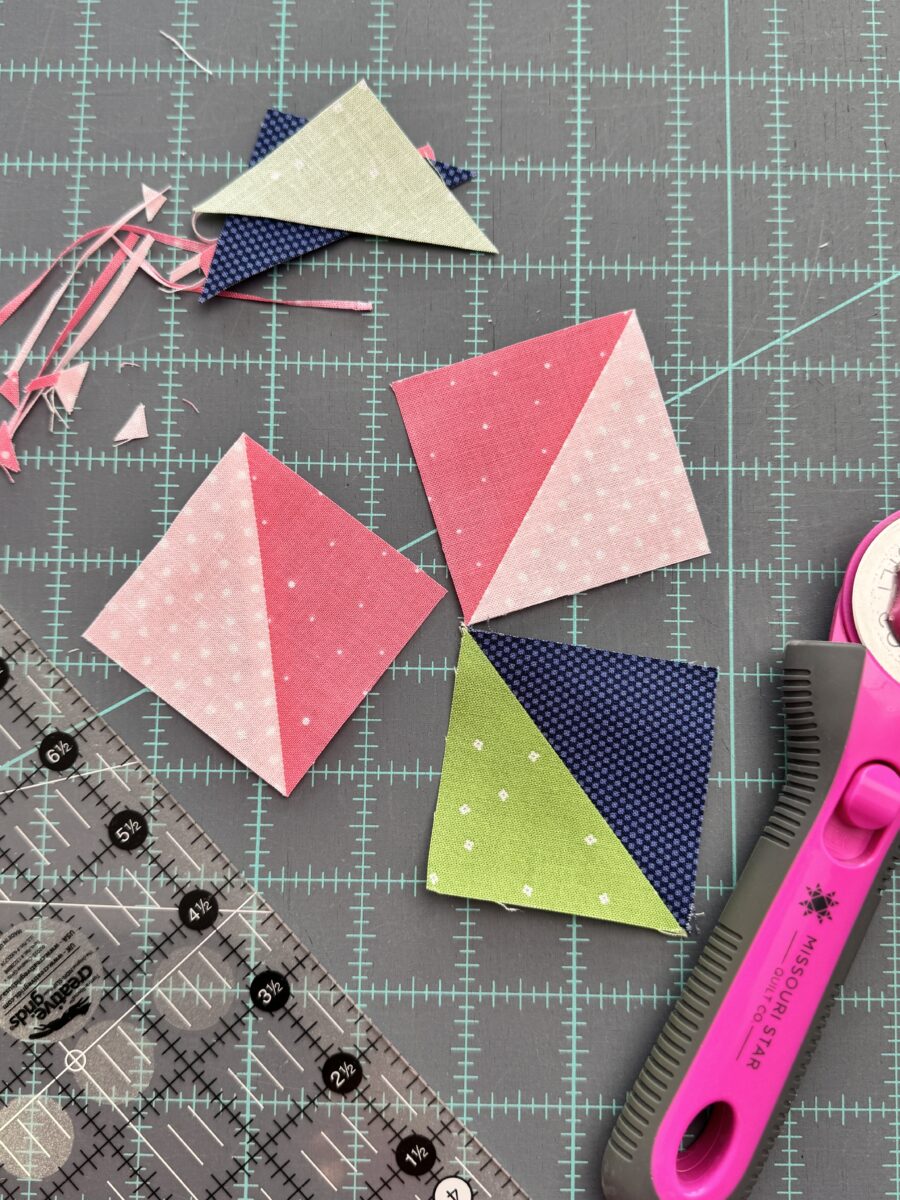
- Not Exiting Precisely at the point: In the image below you can see that I missed stitching exactly on the diagonal line as I approached the corner of the squares. When pressing open, this inaccuracy in stitching can be seen in the jagged corner.
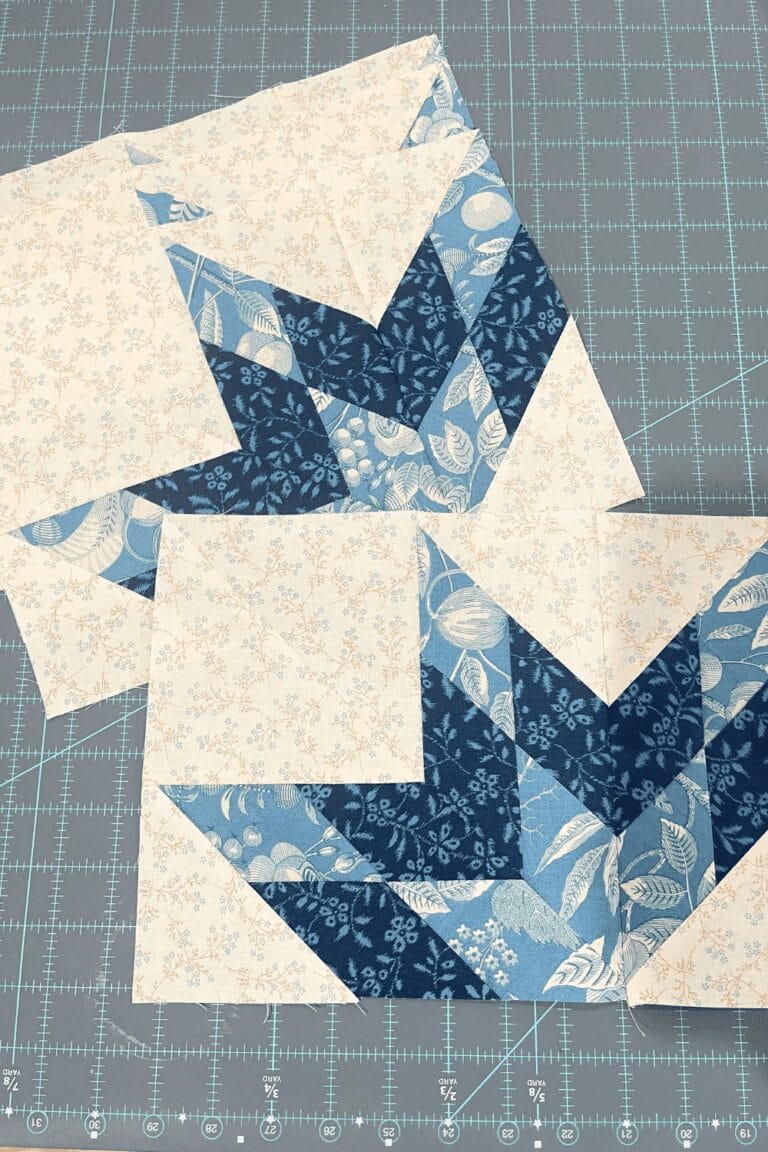
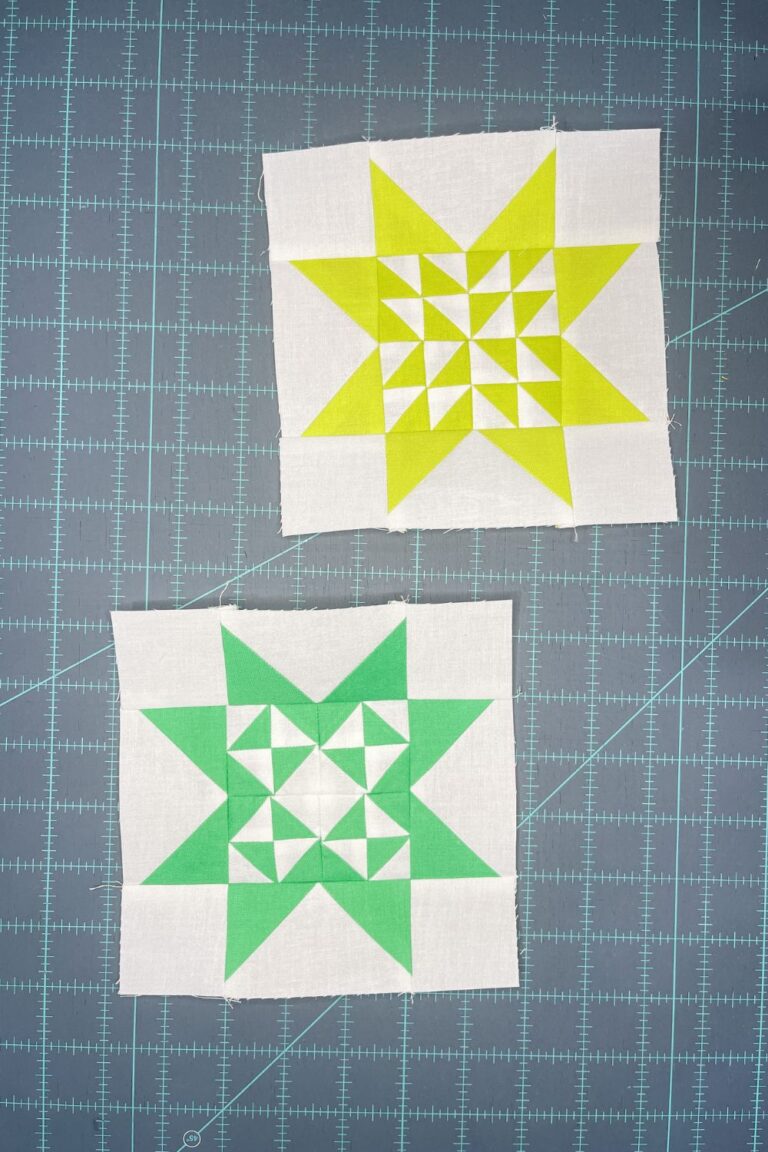
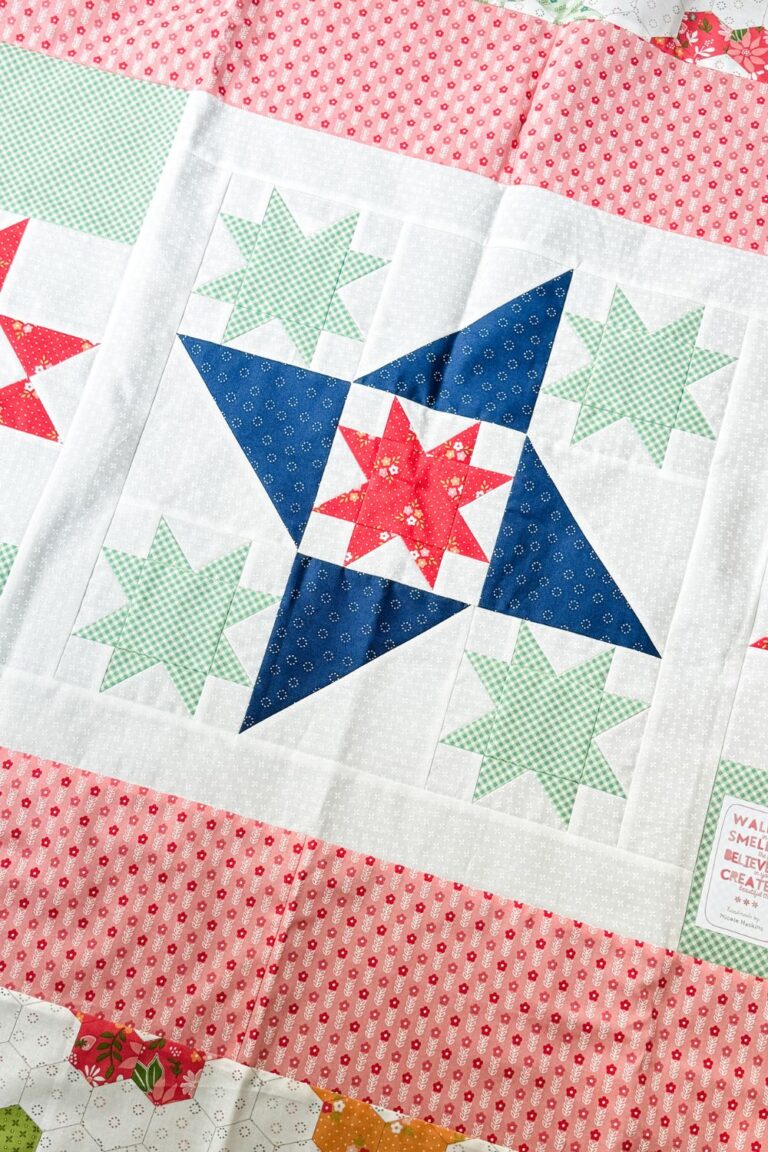
Creative Ways to Use HSTs in Your Quilts
Now that you have your HSTs, the possibilities are endless! Here are a few ideas for using HSTs in your quilt designs:
- Pinwheel Blocks: Arrange four HSTs to create a classic pinwheel pattern.
- Chevron Patterns: Align your HSTs to create a zigzag or chevron design.
- Hourglass Blocks: Combine HSTs into quarter-square triangles for a dynamic look.
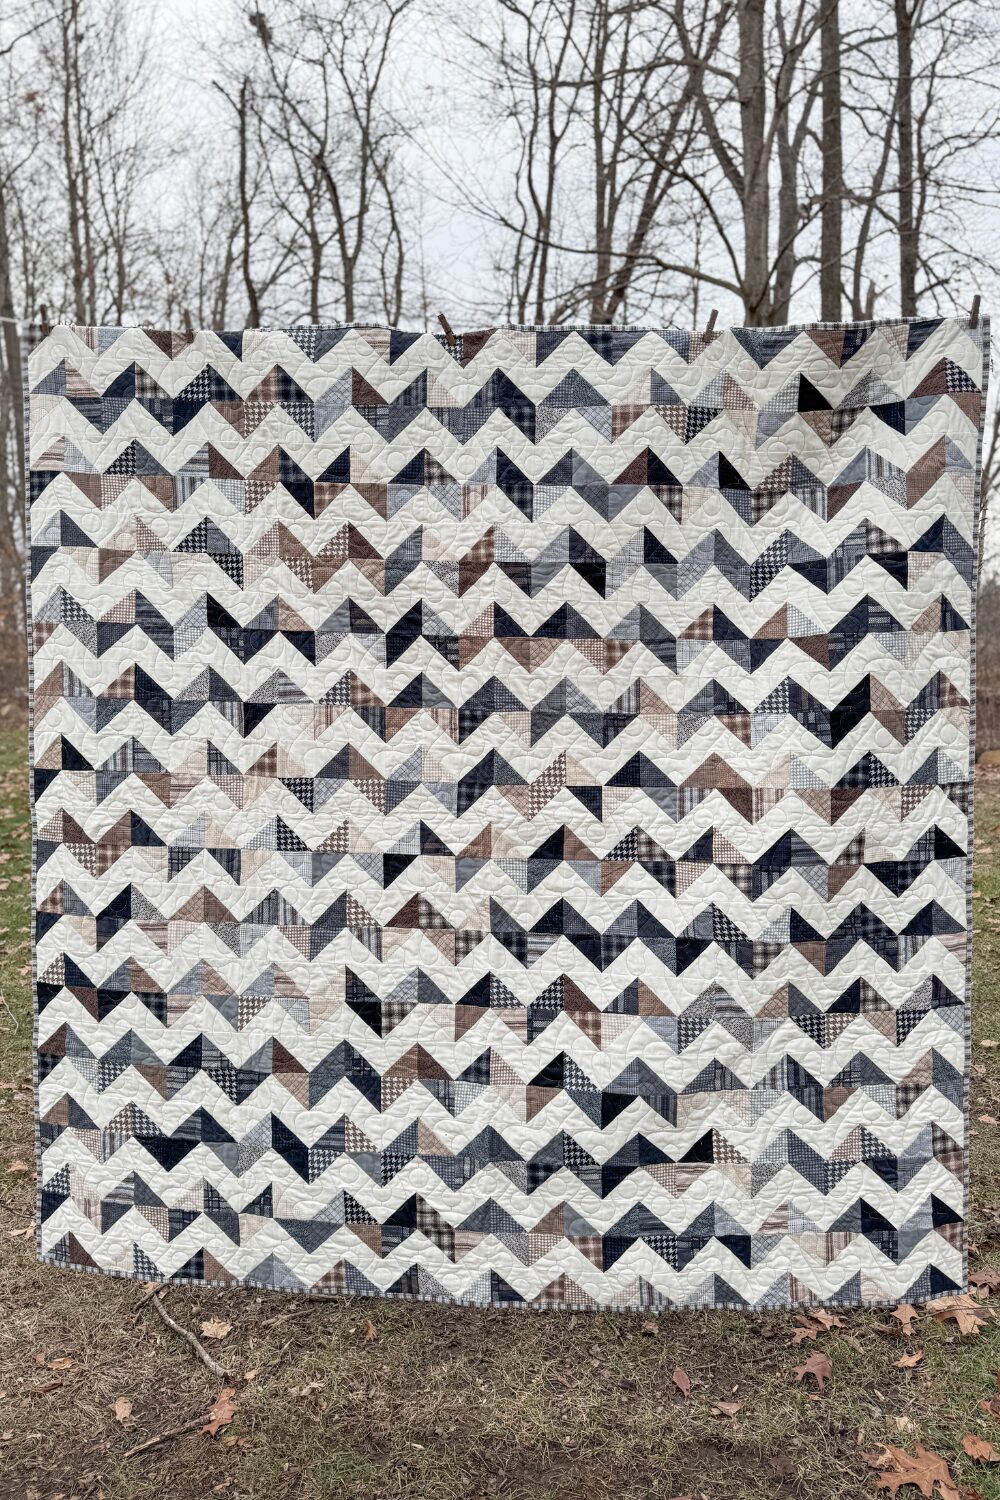
Here is an example of a Zig Zag quilt that I made using only half square triangle units. It’s a fast easy quilt to put together that makes a big impact. To make this quilt even faster, I used Triangles on a Roll papers to make several at a time. Similar to the Two at a Time method, Triangle Papers, give you the ability to stitch the seam lines right onto the paper, then trim the HST units apart in the precise size that you need.
Get your Two-at-a-Time Half Square Triangle Cutting Guide
As a bonus for my email subscribers, you can get your free Two-at-a-Time Half Square Triangle Cutting Guide just by signing up for my email list. This printable PDF includes a cutting guide for HSTs from 1/2 inch finished up to 6 inch finished sizes.
Ready to Start Sewing?
I hope this guide gives you the confidence to start making Half-Square Triangles and experimenting with them in your quilts. Practice makes a big difference, so don’t hesitate to make a few test units before starting your next project.


I love your website. I am fairly new at quilting. I have a friend who is retired like me, who has gotten me interested in learning to quilt. wish I had learned at a much earlier stage in life. I have joined the local quilters guild, have met some wonderful new friends and am learning much from them. I appreciate your step-by-step instructions to making perfect blocks. Thanks so much!
Welcome! I’m so glad you’re finding it helpful! Please reach out if there is anything I can help you with as you learn. I love to help new quilters figure it all out 🙂
Do you have a tutorial for sewing an inset triangle to half square on each side?
I picked up an old project where each part was cut out separately and the sawtooth star block is coming out terrible.
I don’t know how to align those diagonal sides.
Are you talking about flying geese? I have a tutorial on stitch and flip flying geese here https://treelinequilting.com/stitch-and-flip-flying-geese/
If your pieces are already cut into triangles that’s not going to help you as much though. My suggestion to align the diagonal sides is to fold the seams that will be sewn in half and mark it with a pin or removable marking pin. Then line up the two marks and pin together then sew. If you need more help, feel free to email me at nicole@treelinequilting.com 🙂