Quilt Blocks Too Big or Too Small?
Why Your Quilt Blocks Aren’t the Right Size (and How to Fix It)
Few things are more frustrating than finishing a quilt block, measuring it… and realizing it’s not the size it’s supposed to be.
When purchasing through links on this site, I may earn an affiliate commission at no cost to you.
If your blocks are coming out too big, too small, or inconsistently sized, you’re not alone — and it doesn’t mean you’re doing anything “wrong.” In most cases, block sizing issues come down to a handful of small, fixable habits.
Let’s break down why this happens and exactly how to fix it so your blocks finish the right size every time.
First: A Quick Reality Check
Quilt patterns almost always list:
- Unfinished block size (before it’s sewn into the quilt)
- Finished block size (after seam allowances are sewn)
If your pattern says a block is 6 ½” unfinished, that means:
- It should measure 6 ½” when it’s complete but not sewn to other blocks
- It will finish at 6” once it’s joined into the quilt
Always confirm which measurement you’re checking before assuming something is wrong.

Common Reasons Your Blocks Are Too Small
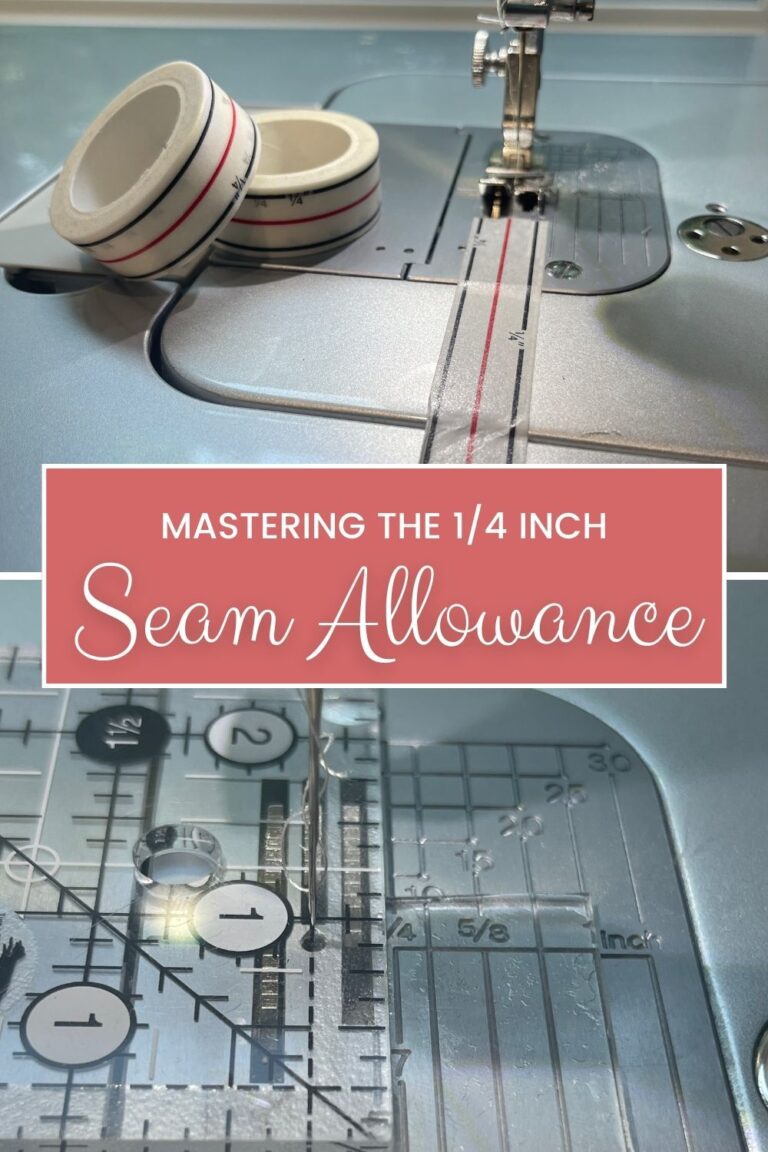
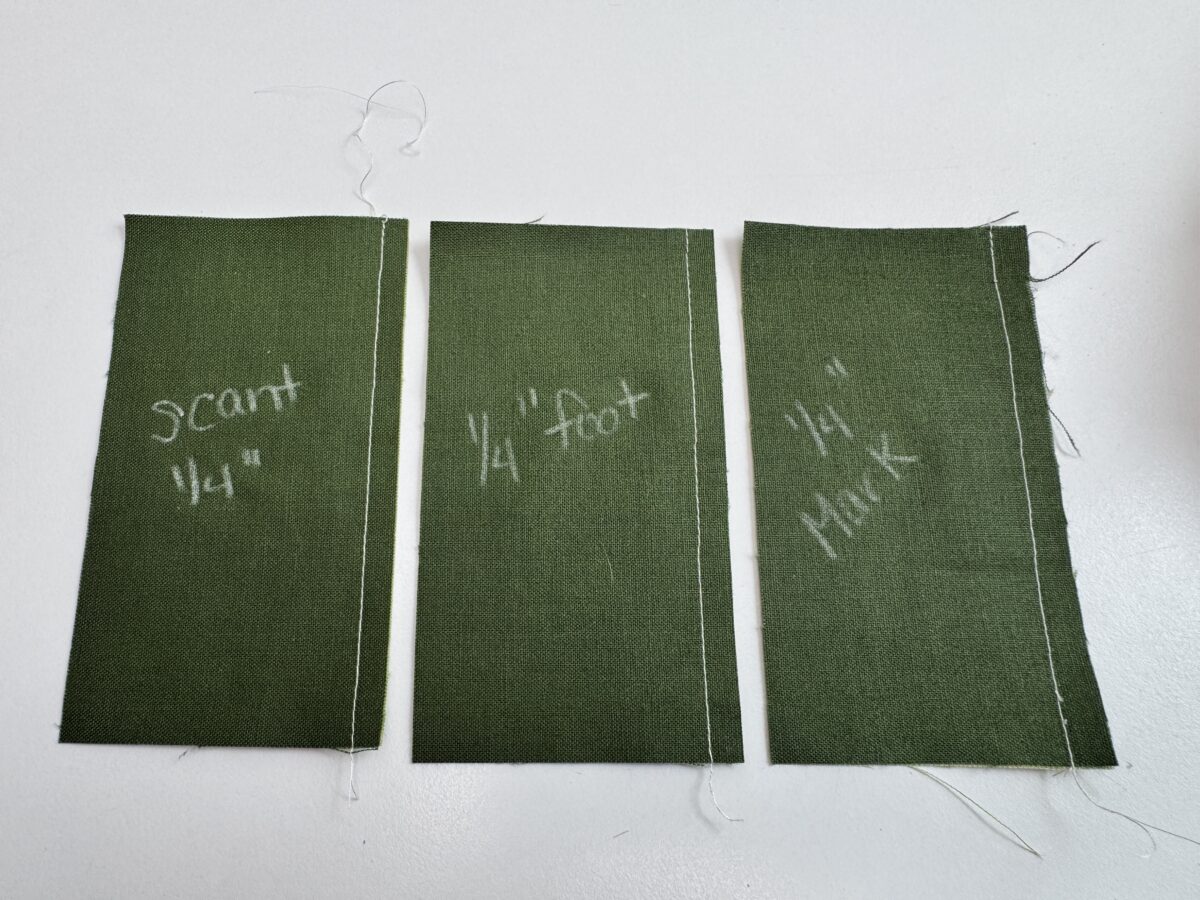
1. Seam Allowance Is Slightly Too Wide
This is the most common cause of undersized blocks.
Even being off by:
- 1/16” per seam
adds up quickly when a block has multiple seams.
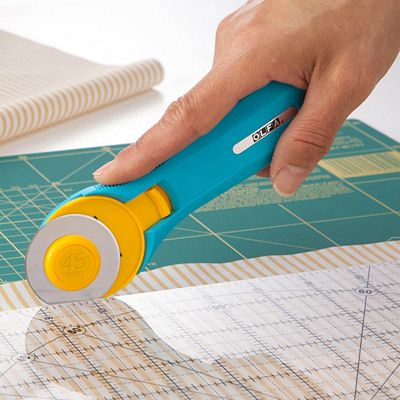
Fix it:
- Measure your seam allowance with a ruler (don’t guess)
- Test sew two strips, press, and measure the result
- Adjust needle position if needed
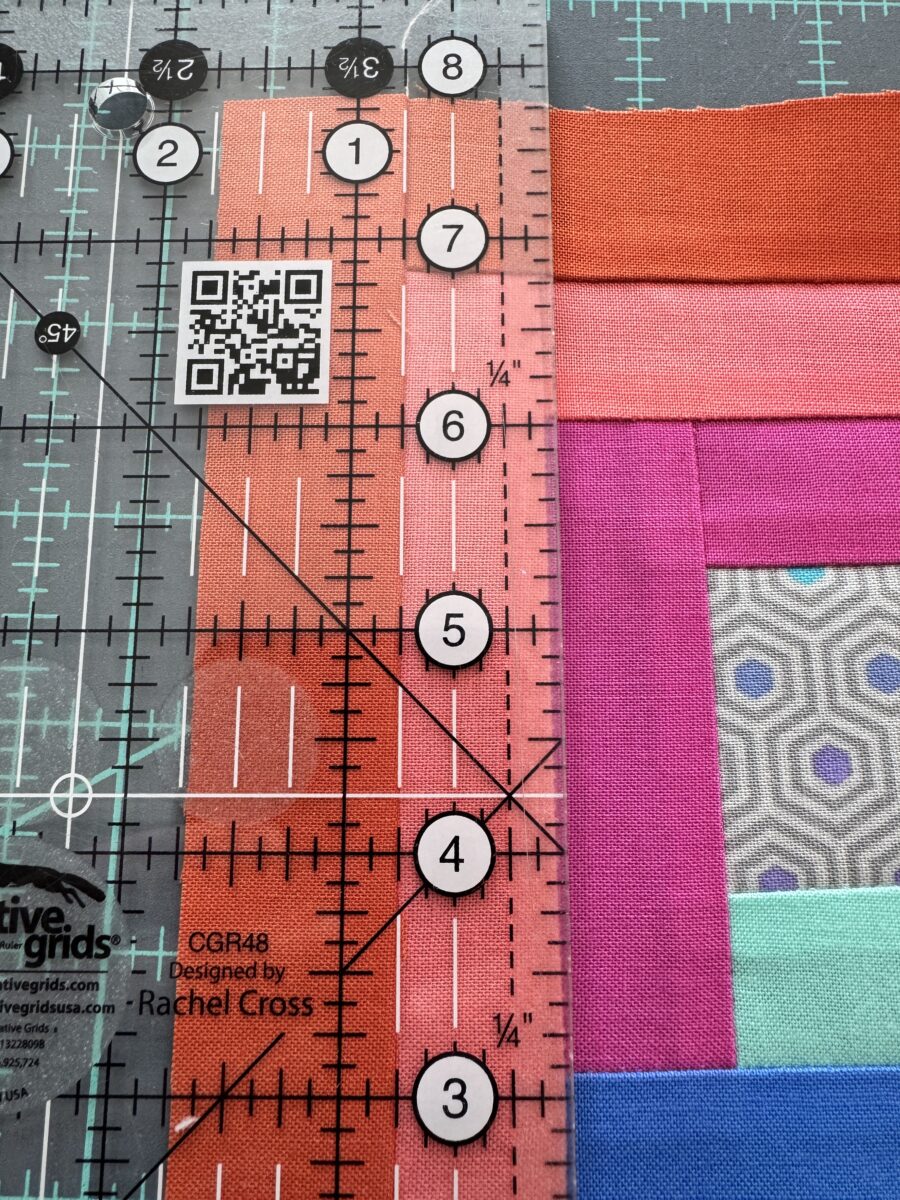
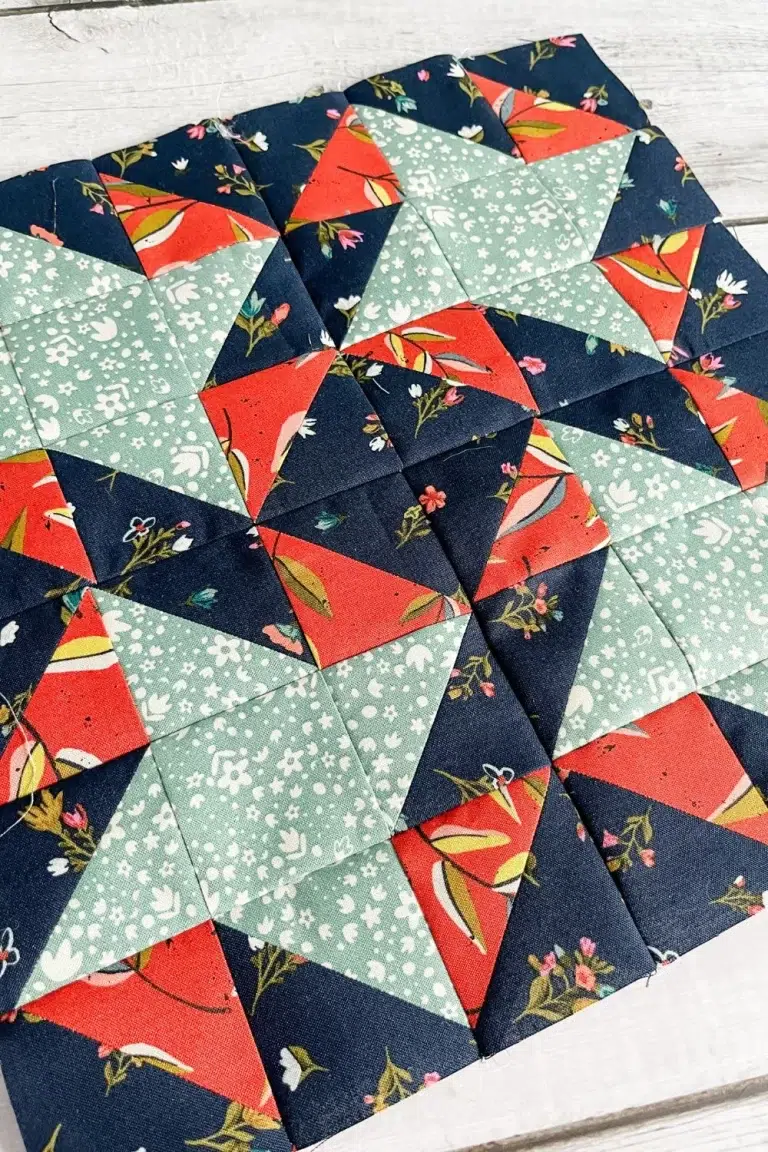
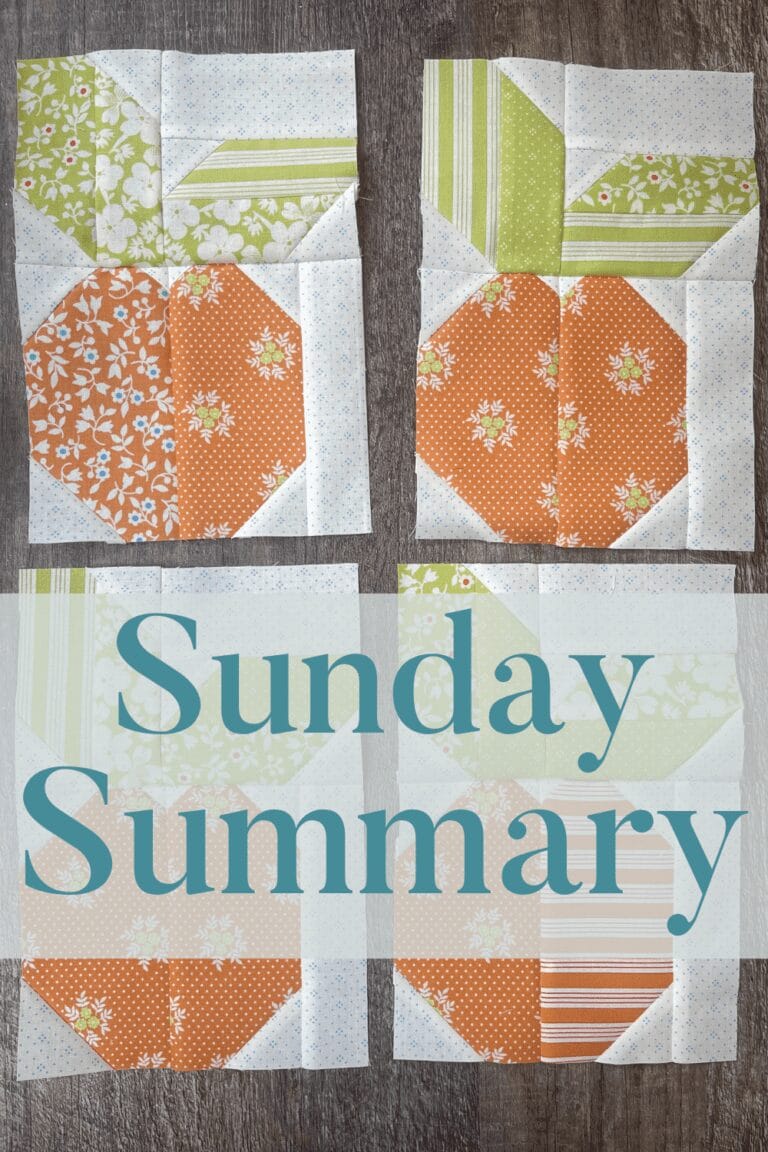
You can see in the example above, the peach strip should measure 3/4″ wide, yet it is too narrow resulting in a quilt block whose overall size is too small.
If you haven’t read it already, this pairs perfectly with Accurate Quarter Inch Seam for Quilters blog post
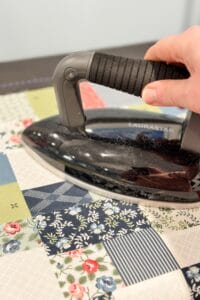
2. Pressing vs. Ironing
If you’re pushing the iron back and forth, you may be:
- Flattening seams and
- Stealing width from your pieces
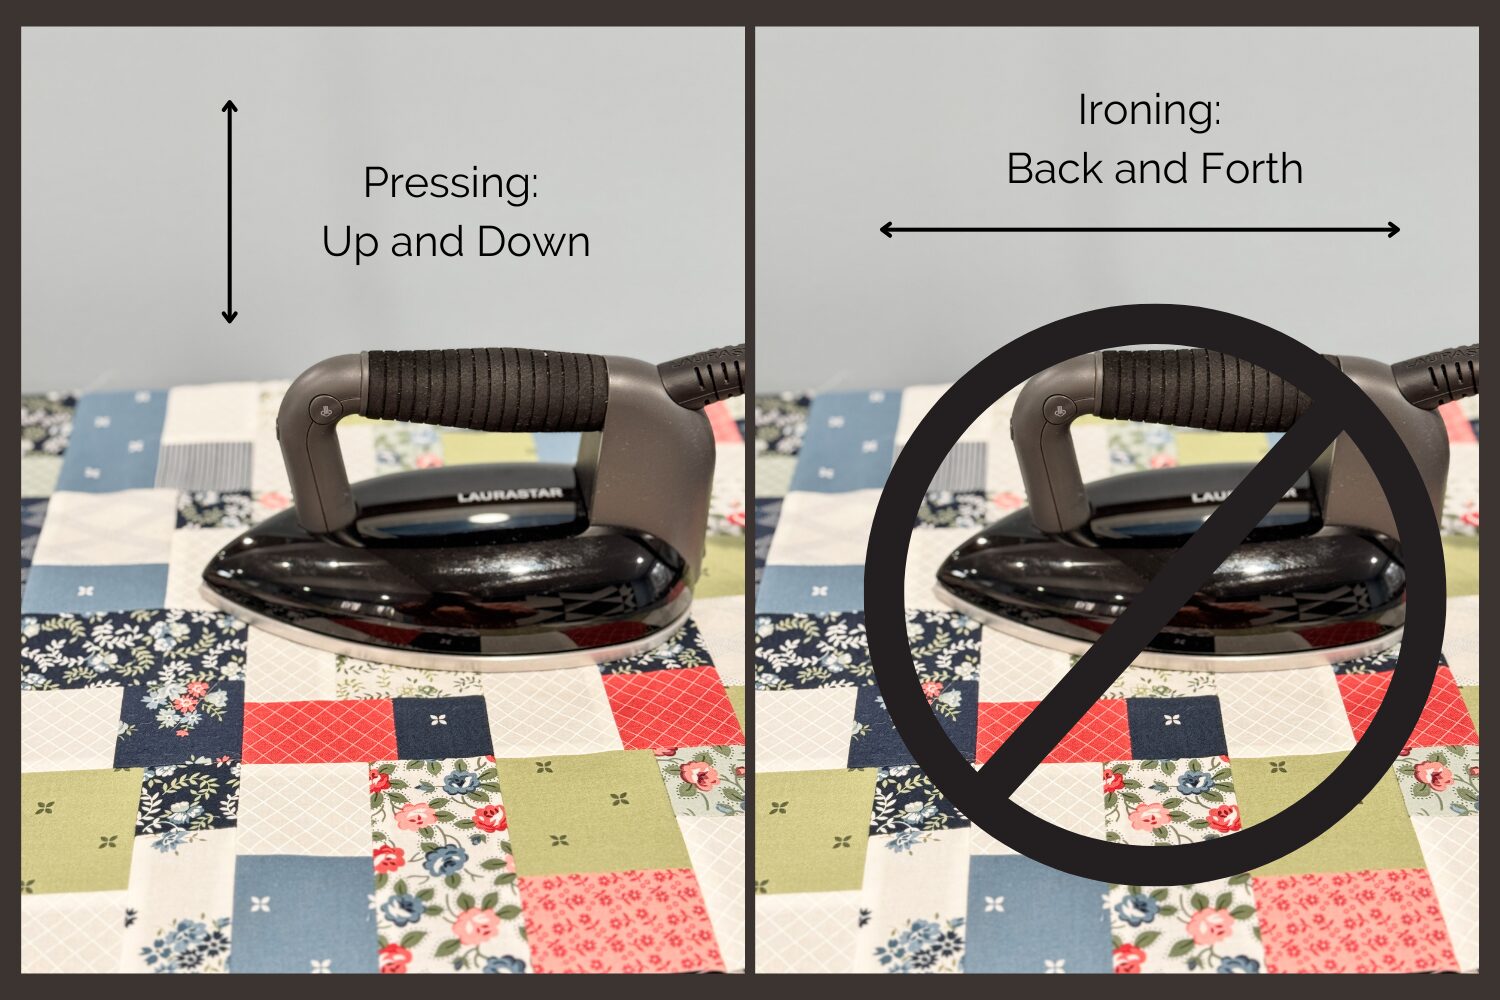
Fix it:
- Lift and press instead of sliding
- Press seams fully flat before pressing them to one side
- Let the block cool before measuring
Fabric relaxes as it cools — measuring too soon can give false results.
3. Trimming Too Early
Trimming units before they’re fully assembled can lock in errors.
Fix it:
- Trim units (like HSTs or flying geese) to their unfinished size
- Assemble the block
- Then check final block size
Think of trimming as a correction step, not a shortcut.
Common Reasons Your Blocks Are Too Big
1. Seam Allowance Is Too Narrow
If your seams are just a hair smaller than ¼”, your block grows.
Fix it:
- Check needle position
- Use a consistent presser foot
- Avoid pulling fabric as you sew
Let the machine feed the fabric — your hands should guide, not stretch.
2. Fabric Stretch (Especially on Bias)
Bias edges love to grow, especially in:
- Half square triangles
- Flying geese
- Star blocks
Fix it:
- Handle bias edges gently
- Use starch or fabric stabilizer if needed
- Square up units before assembling blocks
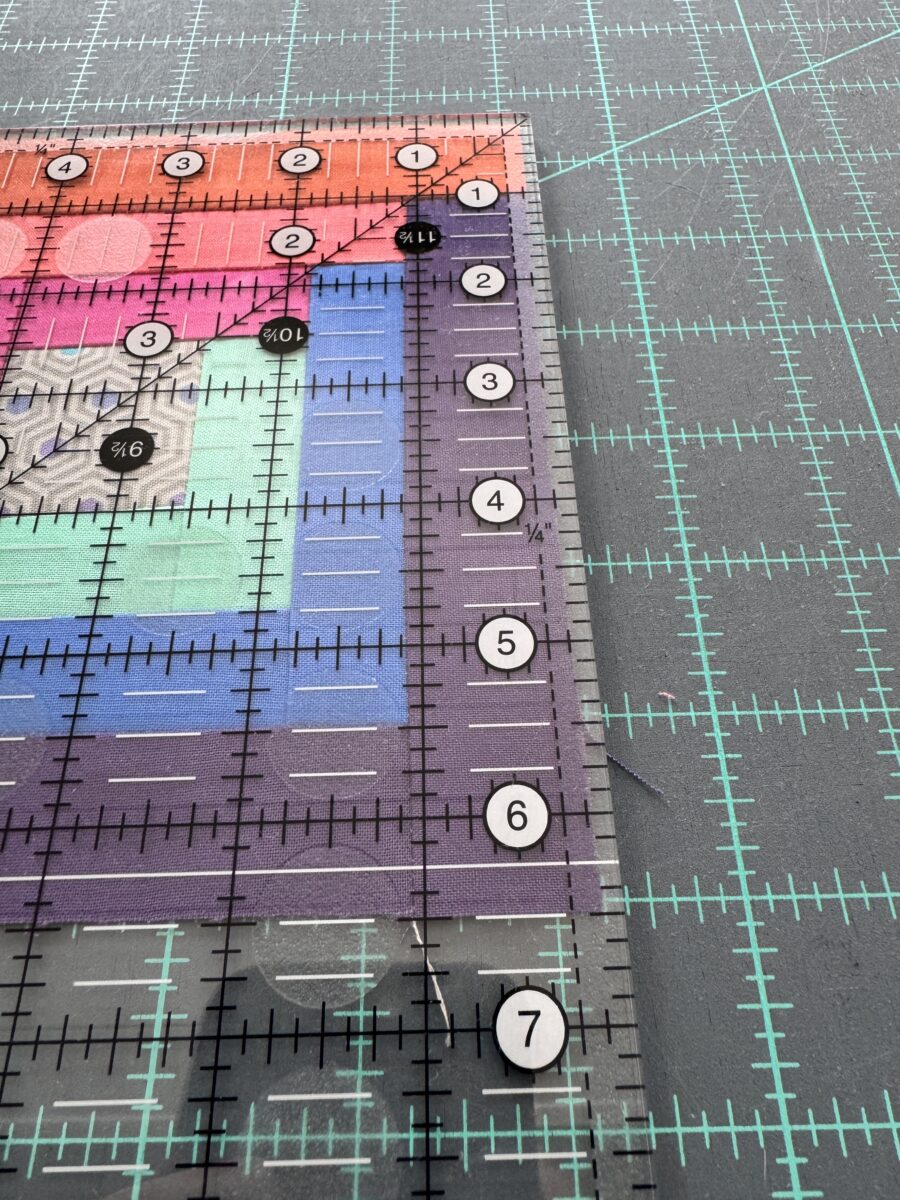
3. Skipped Trimming Step
Many blocks are designed to be trimmed to size before final assembly.
Skipping this step can result in:
- Blocks that measure big
- Inconsistent block sizes across a quilt
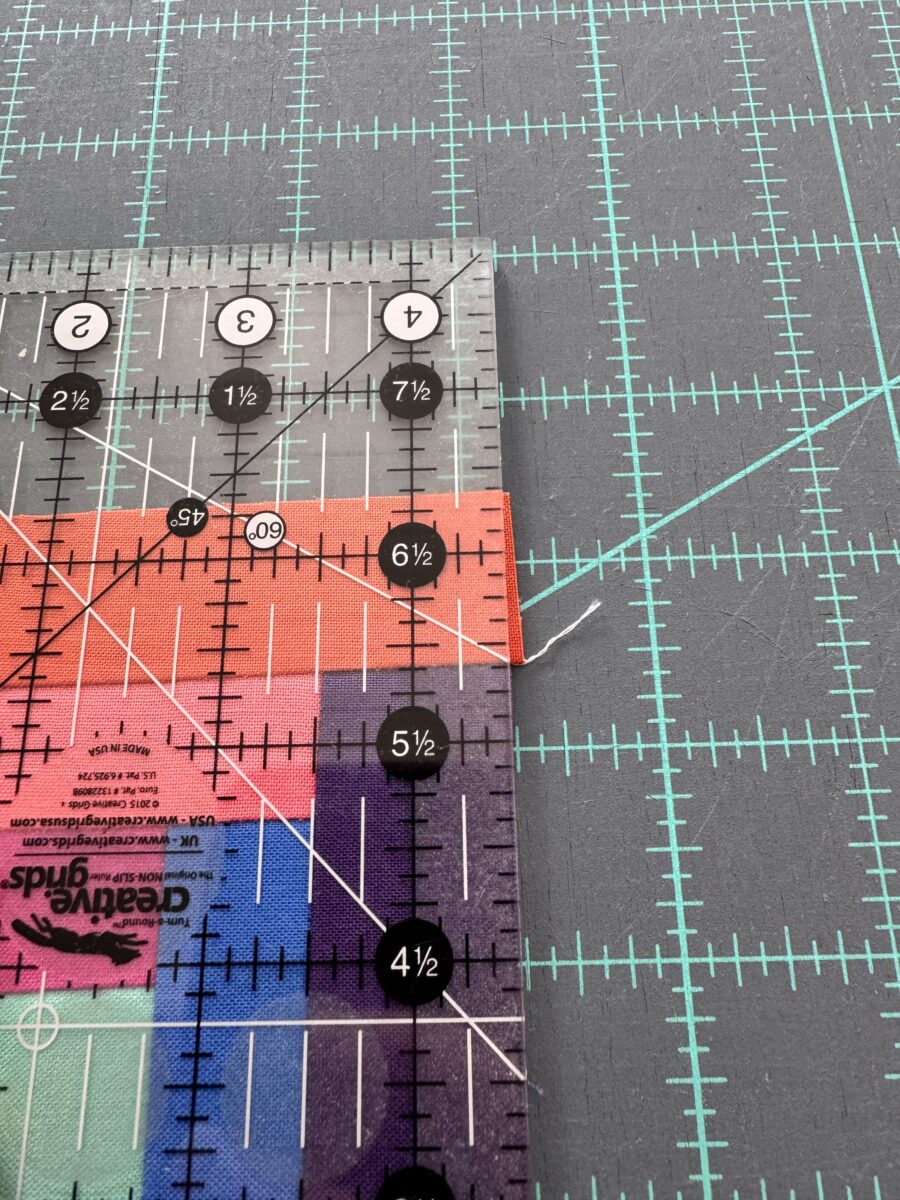
Fix it:
- Follow trimming instructions exactly
- Use a square ruler larger than your block
- Align the ruler with the block’s center, not the edges
How to Diagnose the Problem Quickly
If you’re not sure what’s causing the issue, try this:
- Sew a test block using scrap fabric
- Measure after each major step
- Note when the size changes
This tells you where the issue starts — cutting, sewing, pressing, or trimming.
Block Sizing Problems
Sizing problems are very common
…but most times it can be fixed with some slight tweaks to your technique.
It’s almost never a fabric issue
…more often that not it’s a seam allowance or pressing issue.
Completely fixable
Improving accuracy over time will get your block sizes much more consistent or close enough that it won’t matter in the finished product.
Relax and enjoy the process and your quilting will improve over time. Taking the time to trouble shoot each step will drastically improve your final results. Stay tuned for more technique and troubleshooting posts each week as we lean in to making our quilts amazing.