Accurate Quarter Inch Seam for Quilters: Beginner Guide to Better Blocks
If you’ve ever finished a quilt block and wondered why it came out a little too small… or your seams didn’t line up quite right… your seam allowance is probably the reason.
When purchasing through links on this site, I may earn an affiliate commission at no cost to you.
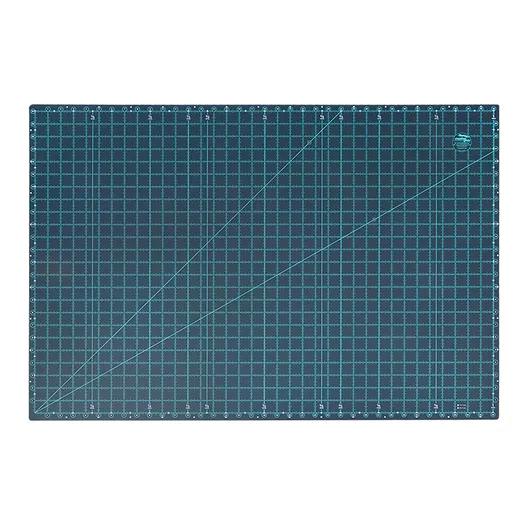
Accurate cutting (Week 1) gives you a great start.
An accurate quarter inch seam keeps everything the correct size.
Most quilt patterns are written for a ¼″ seam allowance, and even being slightly off – too wide or too narrow – adds up fast across block units and rows. The good news? With a few helpful tips, the right tools, and a little practice, you can sew beautifully consistent seams.
Let’s make your blocks fit together like a dream.
What Is a 1/4″ Seam Allowance (and Why Does It Matter?)
In quilting, the seam allowance is the fabric between your stitching line and the edge of the fabric. Almost all quilt patterns use a ¼″ seam because:
- it reduces bulk
- keeps quilts lightweight
- allows accuracy in piecing
Even being off by a tiny bit can shrink a block:
- A seam that’s too wide = block too small
- A seam that’s too narrow = block too big or wobbly
Accuracy = seams that nest, points that match, and blocks that measure correctly.
The Difference Between a 1/4″ and Scant 1/4″
Some quilters swear by a “scant 1/4″ seam.”
That simply means:
➡️ a seam just slightly smaller than a full 1/4″
to account for the fabric that gets taken up by thread and pressing.
Here’s the simplest rule:
If your blocks consistently sew up a little too small, try going just a hair narrower on your seam.
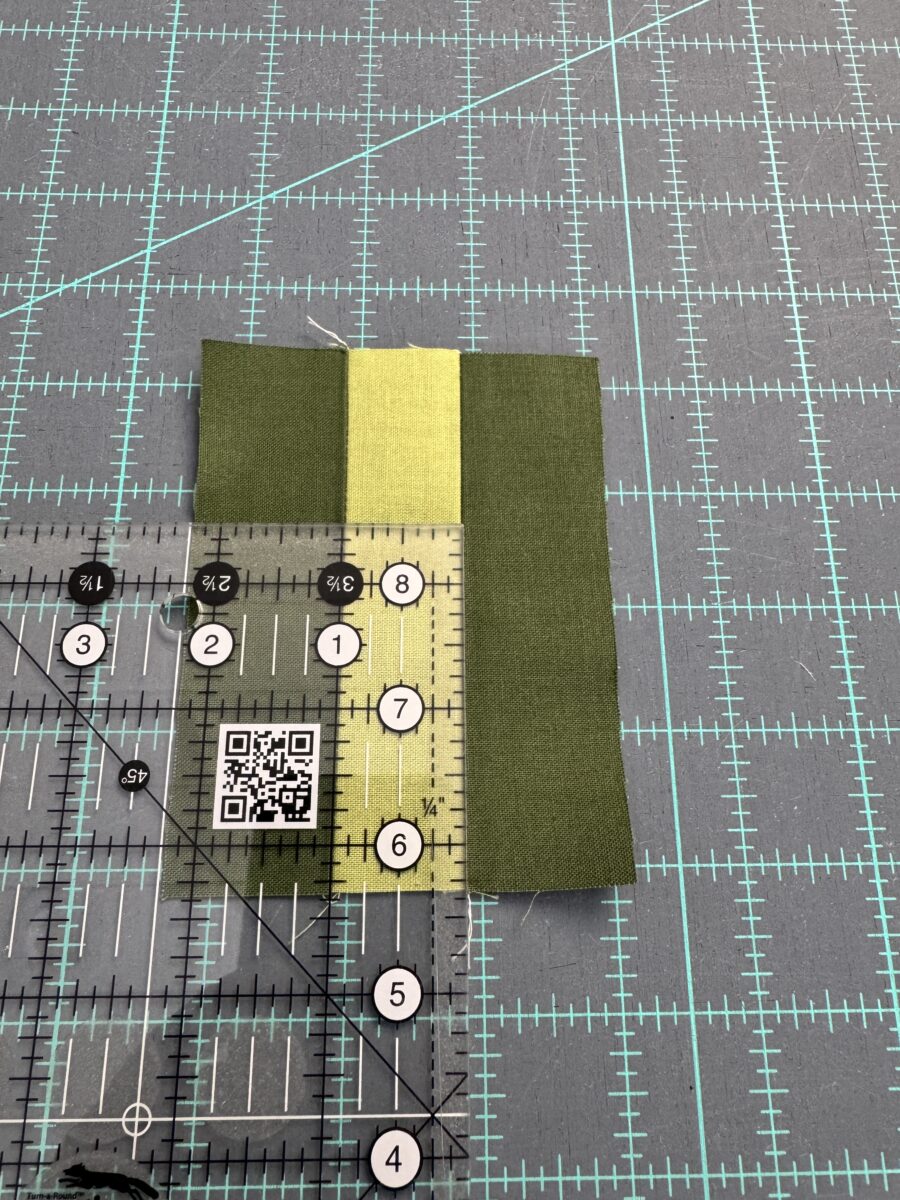
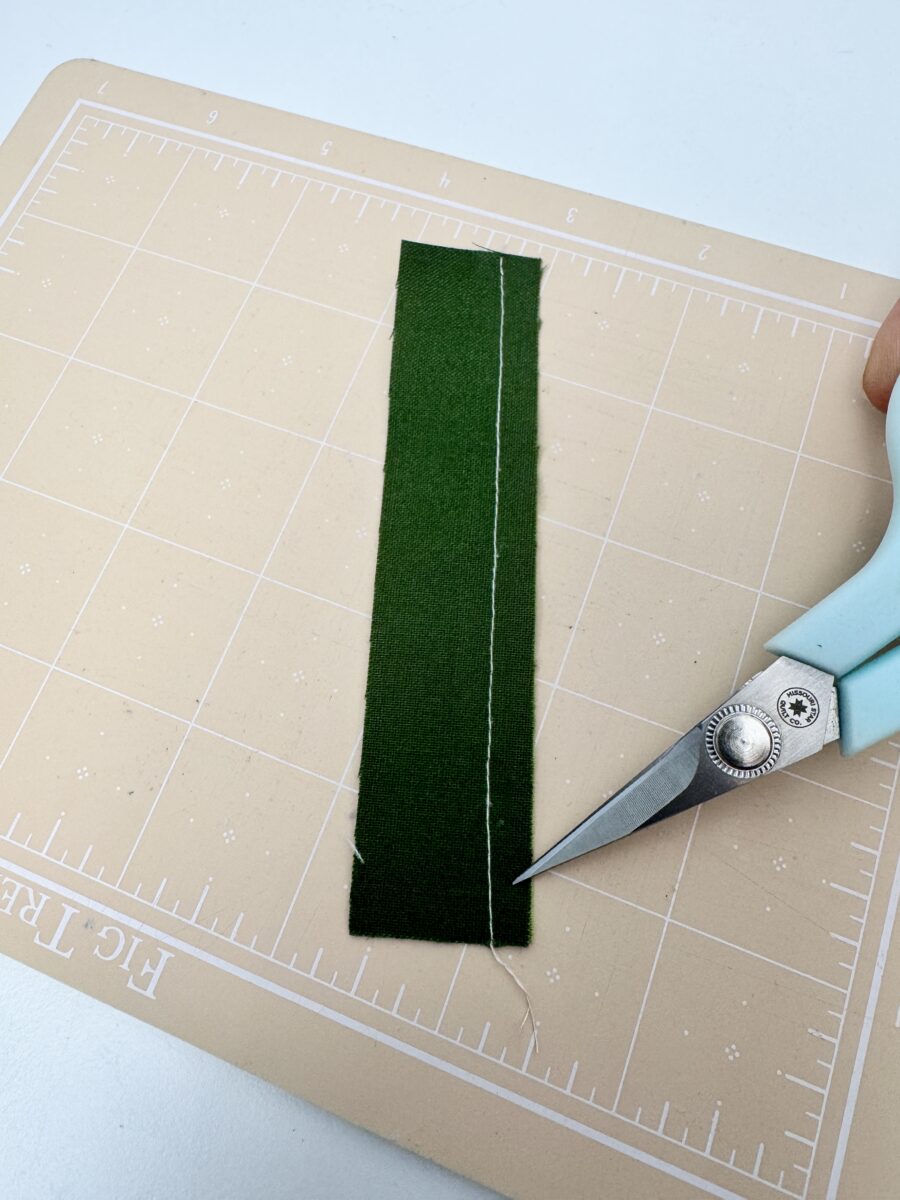
You can see in the image below, a scant 1/4 inch seam, the seam using the 1/4 inch foot on the machine (accurate quarter inch seam), and slightly over 1/4 inch seam that I got when using the 1/4 inch mark on the bed of the machine.

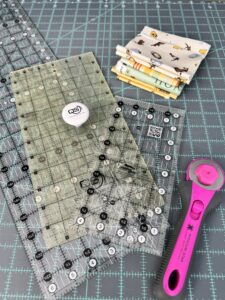
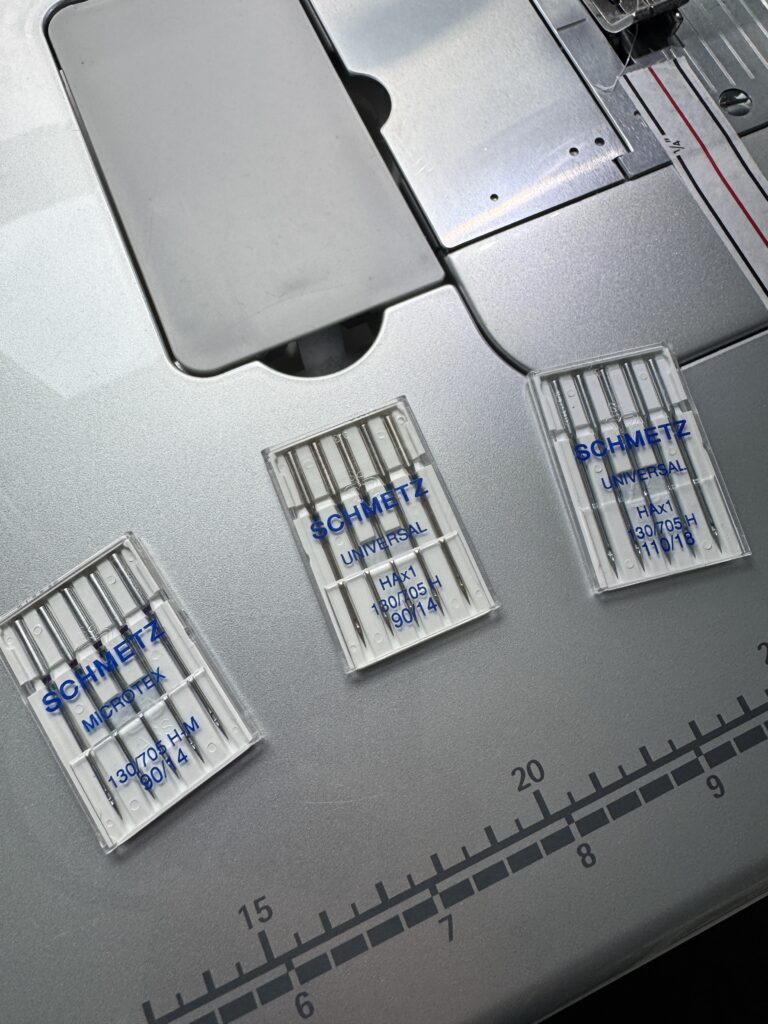
Tools That Help You Sew Accurate Seams
You can eyeball seams… but accuracy becomes MUCH easier when your setup helps you succeed.
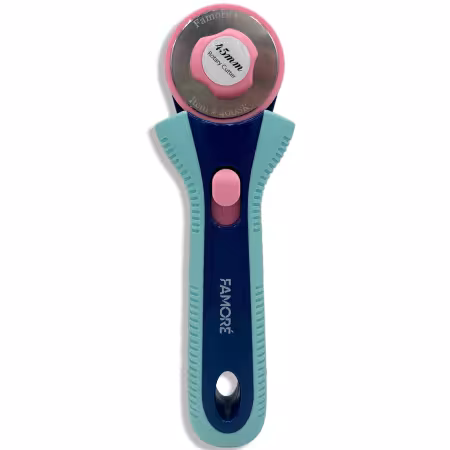
1/4 ” Presser Foot
A true quilting essential. Many have a guide bar to keep fabric aligned.
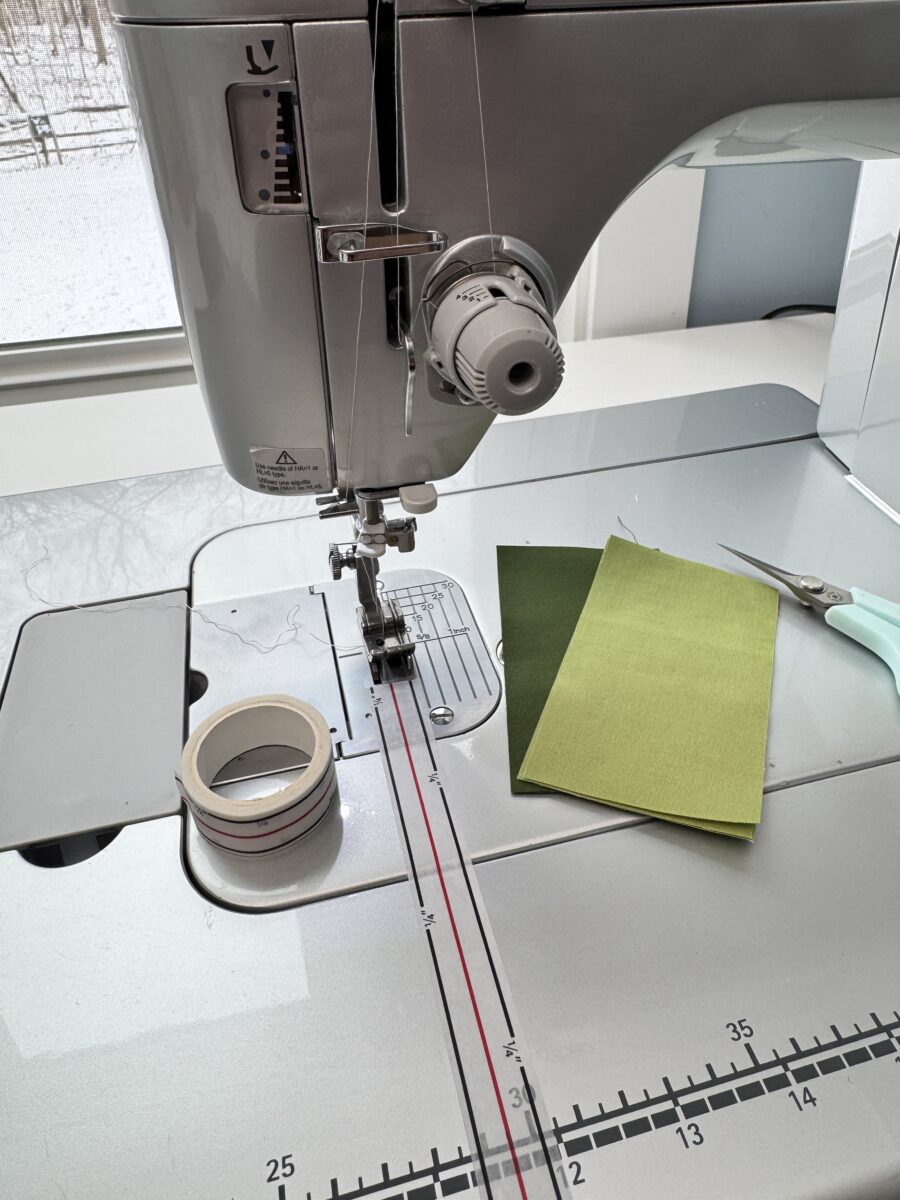
Seam Guide Tape
Great for machines without specialty feet or for extra support.
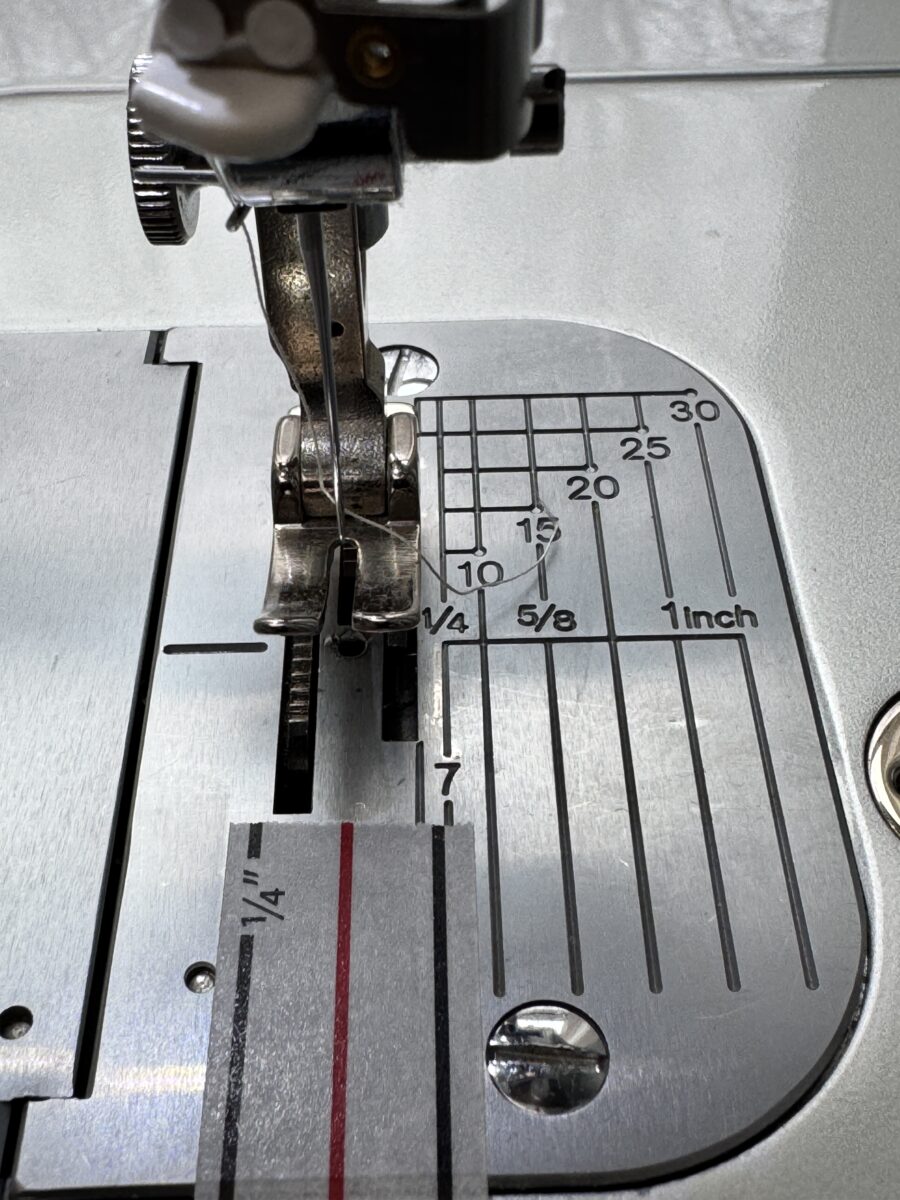
Marked Throat Plate
Built-in alignment lines help a ton.
Consistent Needle Position
If your needle can adjust, tiny changes dial your seam in perfectly.
How to Test Your Seam Allowance (Take 2 Minutes to Do This!)
Before you sew a quilt, test your seam accuracy. It’s quick and so worth it.
✂️ Step-By-Step:
- Cut (3) 1½″ x 4″ fabric strips
- Sew them together in a row with your normal seam
- Press seams to one side or open
- Measure the center strip
📏 The center strip should measure:
Exactly 1″ wide
If it doesn’t:
- Center strip too small → your seam is too wide
- Center strip too big → your seam is too narrow
Adjust needle or guide slightly and retest.
This tiny test saves HUGE frustration later.
Pressing Matters Too (Quick Reminder!)
Pressing isn’t ironing.
Lift → press → set the seam → then open and press again.
Good pressing supports seam accuracy, prevents stretching, and helps blocks stay square.
I wrote all about the importance of Pressing Vs. Ironing in a previous blog post.
Common Seam Allowance Mistakes Beginners Make
Look at your seam guide, not the needle.
Keep hands steady and support fabric as it feeds.
Use two hands, don’t push or pull.
Always test on scraps – even experienced quilters do!
When fabric drifts at the end of a seam, you can get an inaccurate taper in the seam line too. Make sure to follow all the way through the machine to ensure an accurate quarter inch seam for the entire length of the piece.
Bonus Tips for Accurate Quarter Inch Seams
✔ Use a consistent stitch length (2.0–2.5 works great, but I find 1.8 or so works better for my machine, Test this!)
✔ Don’t stretch fabric as it feeds
✔ Press before trimming
✔ Breathe — accuracy improves with repetition!
You’re Doing Great — This Is Foundational Skill Building
Learning to quilt isn’t about perfection, it’s about consistency, patience, and small improvements. Getting your 1/4″ seam comfortable and reliable is a HUGE step toward blocks that measure correctly and quilts that come together beautifully.
You’ve got this — and I’m cheering for you every week as we learn together.
Stay Connected
✔ Follow along each week of this quilting education series
✔ If you missed Week 1, learn about accurate cutting + grab the free checklist
✔ Shop beginner-friendly tools if you need help getting set up
We’re building skills step-by-step — and it’s going to make such a difference in your quilting confidence. ❤️