Accurate Cutting for Quilting: The Complete Beginner Guide (Rotary Cutter, Mat & Ruler Tips)
If you’ve ever finished a quilt block and wondered why things didn’t line up quite right… there’s a good chance the problem didn’t start at the sewing machine — it started at the cutting table. That’s why accurate cutting for quilting is a vital skill to develop.
When purchasing through links on this site, I may earn an affiliate commission at no cost to you.
Accurate cutting builds the foundation for accurate piecing, matching seams, crisp points, and quilts that come together beautifully instead of causing frustration. The good news? With the right tools, techniques, and a few simple habits, you can dramatically improve your accuracy.
Whether you’re brand new to quilting or you want a refresh on best practices, this beginner-friendly guide will walk you through everything you need to know to cut fabric confidently and accurately.
Best Tools for Accurate Cutting for Quilting
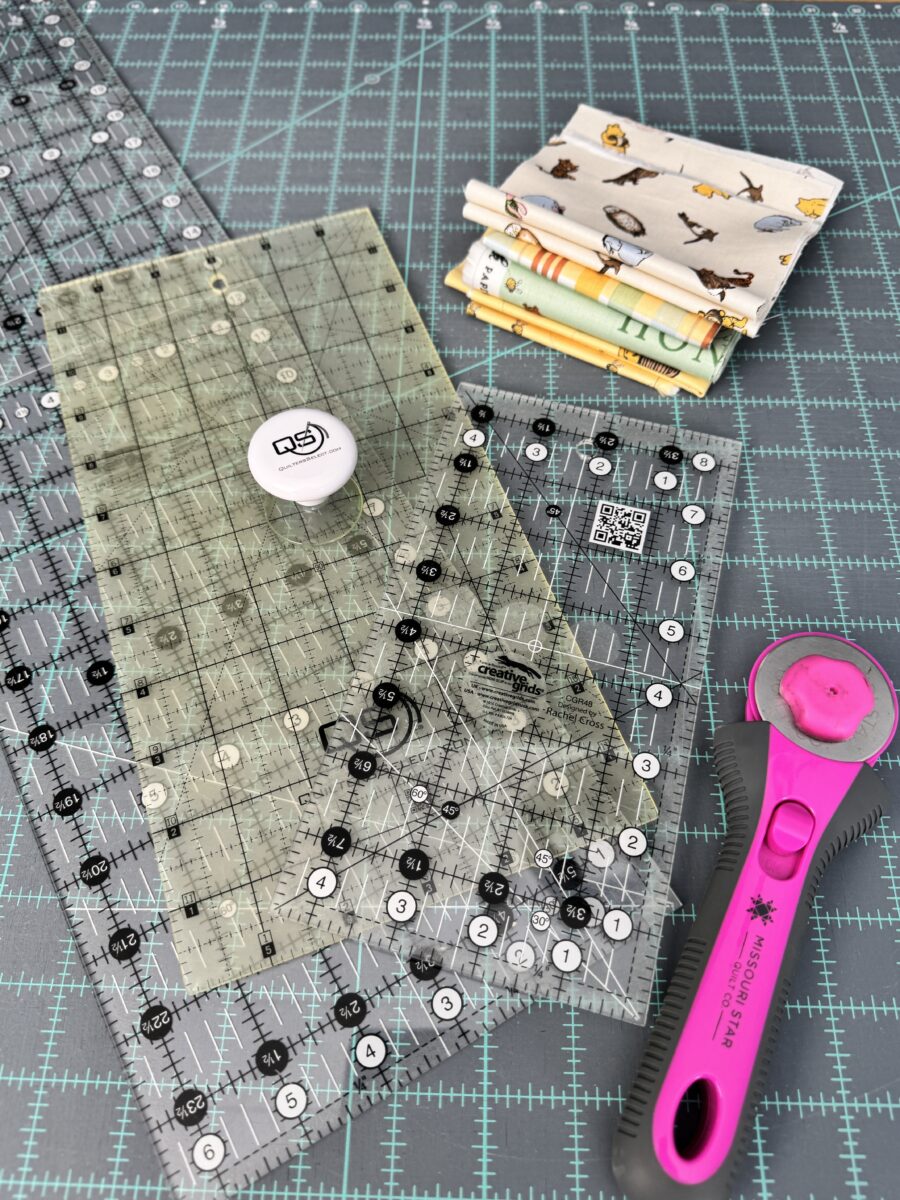
Before we even talk technique, let’s start with the tools. Quilting doesn’t require the most expensive gadgets in the world — but the right tools do make a noticeable difference in accuracy, safety, and enjoyment.
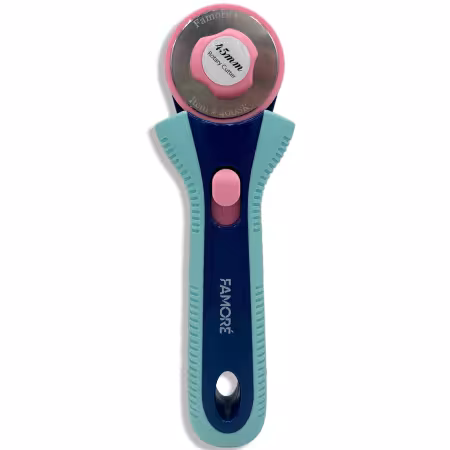
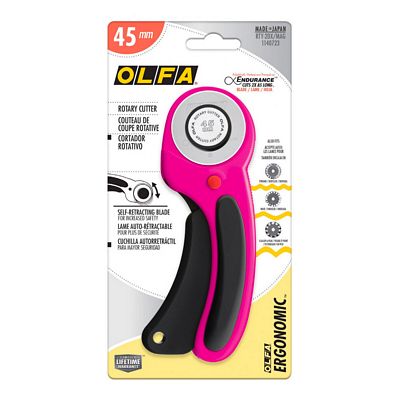
Rotary Cutters
Rotary cutters come in several sizes, but the most common for quilting is a 45mm rotary cutter. It’s versatile enough for most cutting, from strips to trimming blocks.
A 60mm cutter is wonderful for cutting multiple layers or thicker fabrics, while a 28mm or smaller cutter is helpful for curves and tight trimming.
What matters most:
- A comfortable handle
- Smooth blade motion
- A reliable safety guard
- And most importantly… a sharp blade
Cutting Mat
A good cutting mat protects your blade, protects your table, and helps you cut accurately.
WHAT TO LOOK FOR:
- Self-healing
- Clear grid markings
- Doesn’t slip on your table
- Large enough for your workspace
A 24″ x 36″ mat is wonderful if you have the space, but a 18″ x 24″ mat works well for most quilters. My current favorite is the Creative Grids 24″ x 36″ mat. This mat is double sided for twice the wear. The blue-grey color is also easy on my eyes and I can clearly see the grid marks when I need to.
Quilting Rulers
At minimum, beginners should have:
- A 6.5″ x 24.5″ ruler – for cutting strips and width of fabric
- A 12.5″ square ruler – for trimming blocks and squaring
- A 6.5″ x 12.5″ ruler – for sub-cutting smaller fabric pieces. Errors can happen when your ruler is TOO large.
Other helpful rulers can be added over time as you grow.
Caring for Your Cutting Mat (And Knowing When It’s Time to Replace It)
Your rotary cutter blade isn’t the only thing that affects cutting accuracy — your cutting mat matters too. Over time, mats get scarred, grooved, and tired. If you’ve already tried switching to a fresh blade and you’re still getting draggy cuts, skipped threads, or rough edges, it might not be the blade… it might be your mat.
Self-healing mats don’t last forever.
Every cut compresses fibers. Eventually, they stop bouncing back and the cuts start sitting inside the grooves instead of slicing smoothly.
Try This Before Replacing Your Mat
If your mat is looking rough, you can give it a little spa day first:
- Soak the mat in cool or lukewarm water (never hot)
- Add a small splash of gentle dish soap
- Use a soft sponge or gentle scrub brush to loosen fibers stuck in the cut grooves
- Rinse thoroughly
- Lay flat to dry completely
Sometimes this helps revive the surface just enough to get better performance again — especially if lint and fabrics have worked into the cuts.
But Eventually… Mats Wear Out
If your mat has:
✔ lots of deep cut marks
✔ rough, fuzzy, or split areas
✔ spots where the blade “catches”
✔ warped sections
✔ cutting lines that no longer feel smooth
…it’s probably time to replace it.
A worn-out mat can:
- dull your blades faster
- cause slipping
- lead to inaccurate cuts
- make cutting less safe
Think of it as a core quilting tool investment, just like a good rotary cutter or a steady sewing machine. A fresh mat truly makes cutting easier, smoother, and more accurate — and it’s SO satisfying.
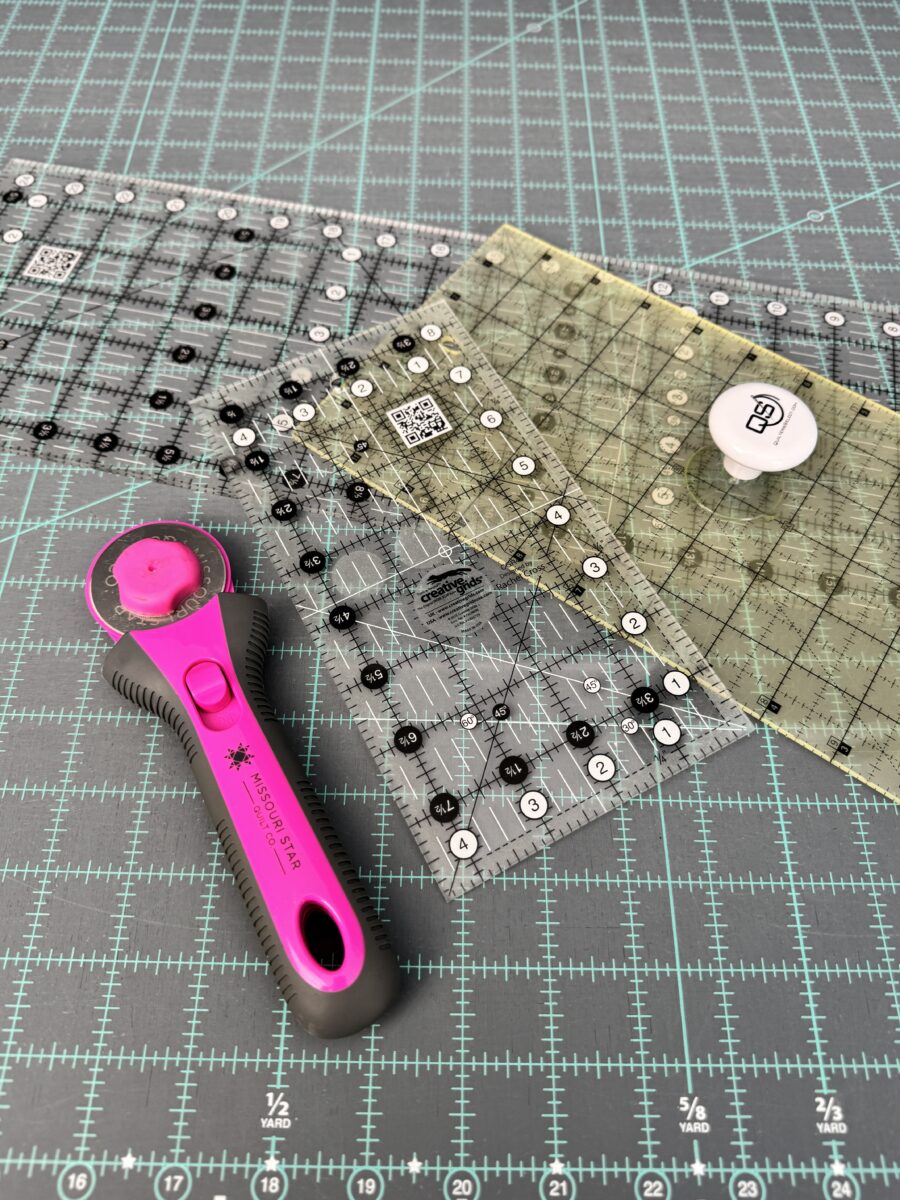
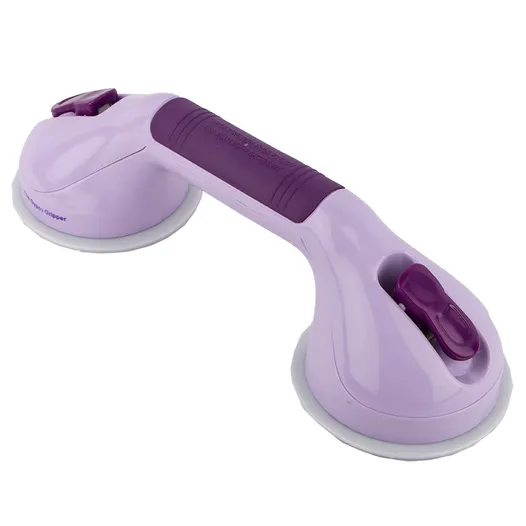
Optional but Very Helpful: Ruler Grippers
These increase hand stability and keep rulers from slipping — especially helpful for beginners or those who lack grip strength in their fingers and hands. Products like the Gypsy Gripper by Gypsy Quilter are great for using on long rulers to add stability from end to end.
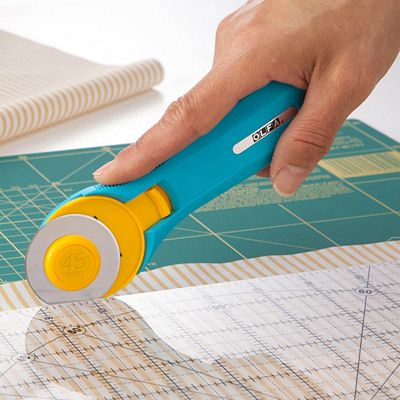
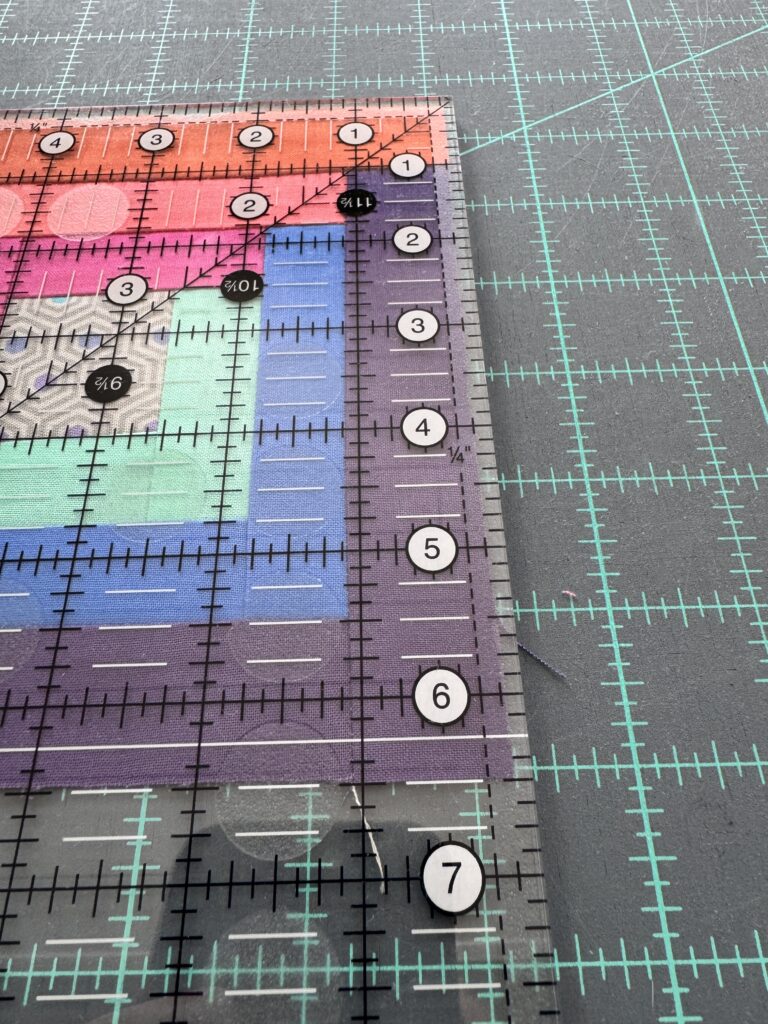
How to Hold Your Ruler (Step-by-Step)
This is one of the most overlooked skills in quilting — and one of the biggest accuracy game changers.
A ruler shouldn’t feel like it’s floating on top of the fabric. It should feel firmly planted and controlled.
I encourage you to try different brands of rulers. I have been a long time user of Creative Grids rulers because they are easy to read and have good grip. But as I get older and my grip gets weaker, I’m finding that Quilter’s Select rulers don’t budge. I’ve swapped a couple of my most used rulers for Quilter’s Select brand in the last year.
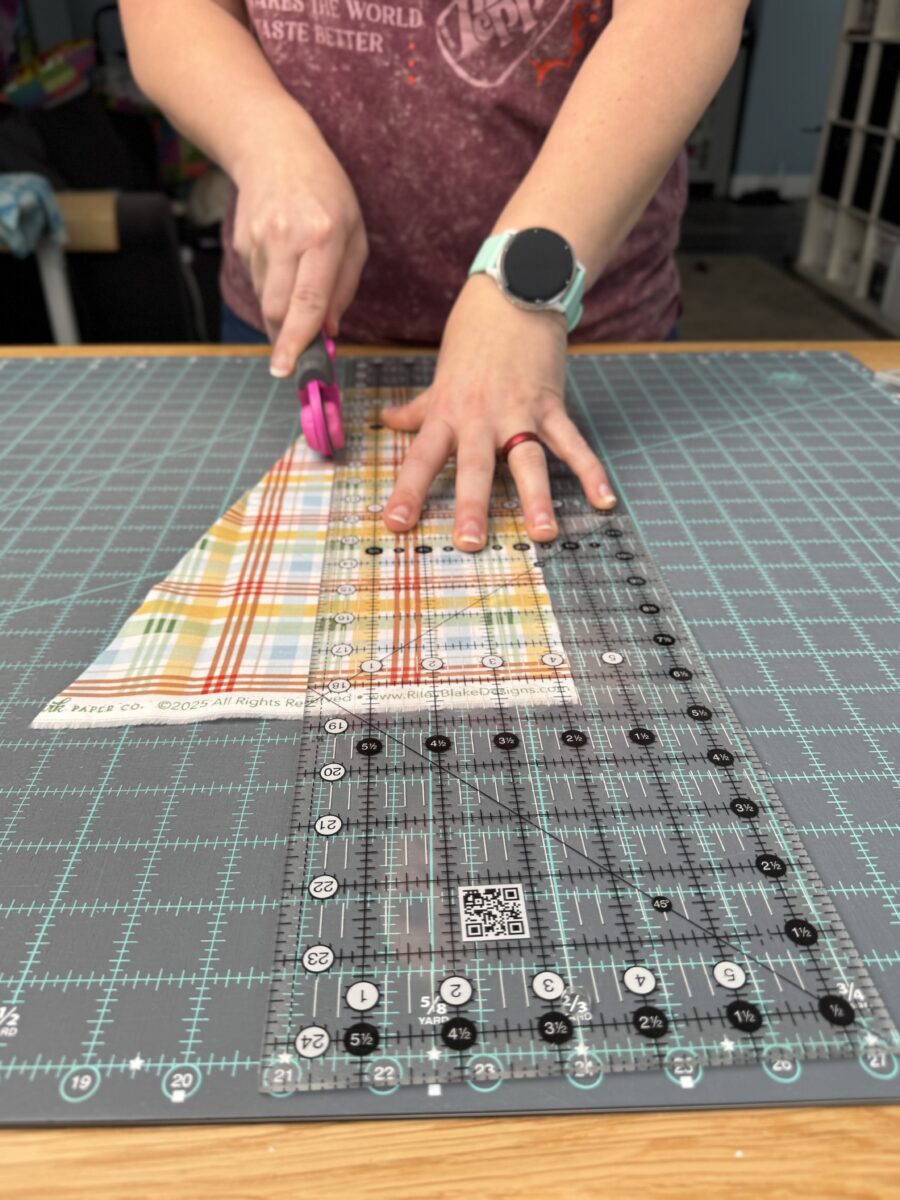
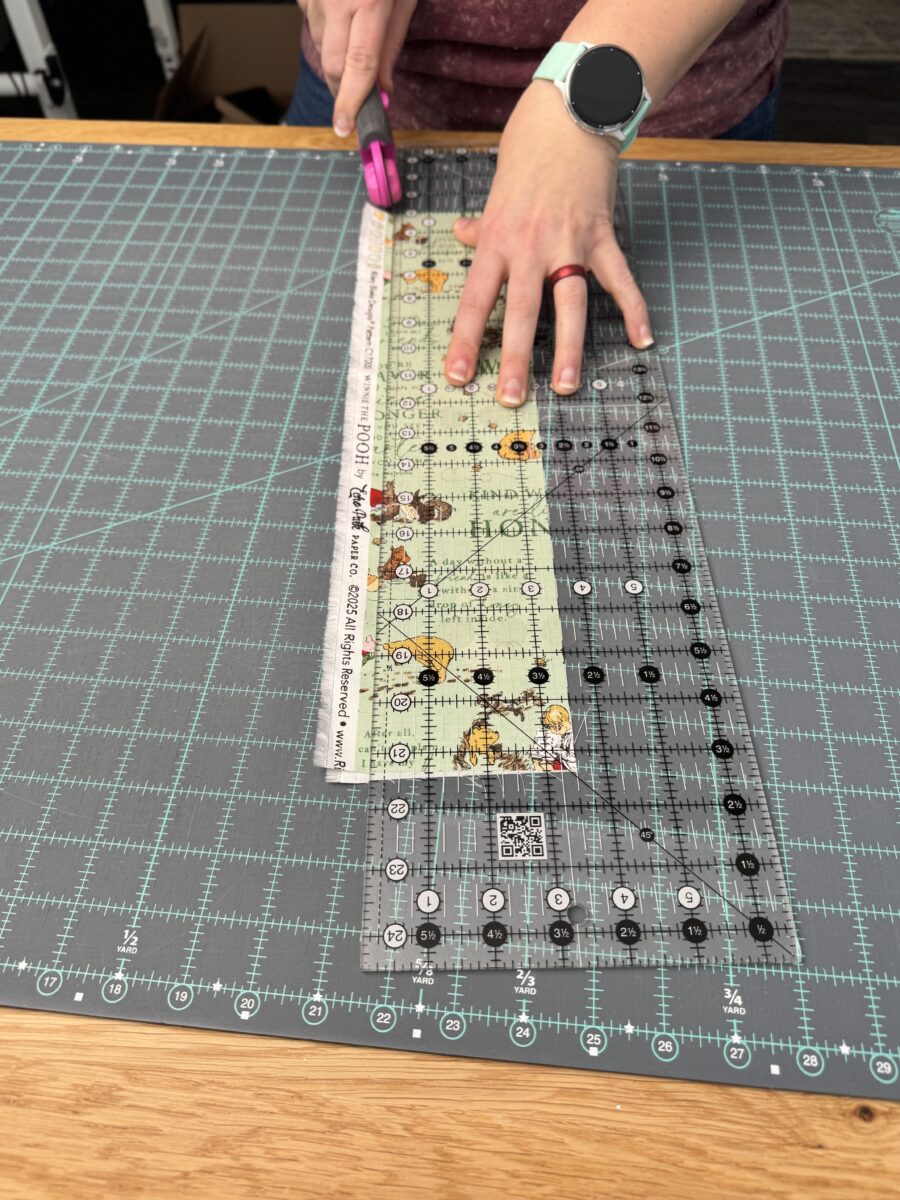
1. Position your hand correctly
Place your non-cutting hand on the ruler with your fingers spread slightly.
Keep your palm lightly pressing downward.
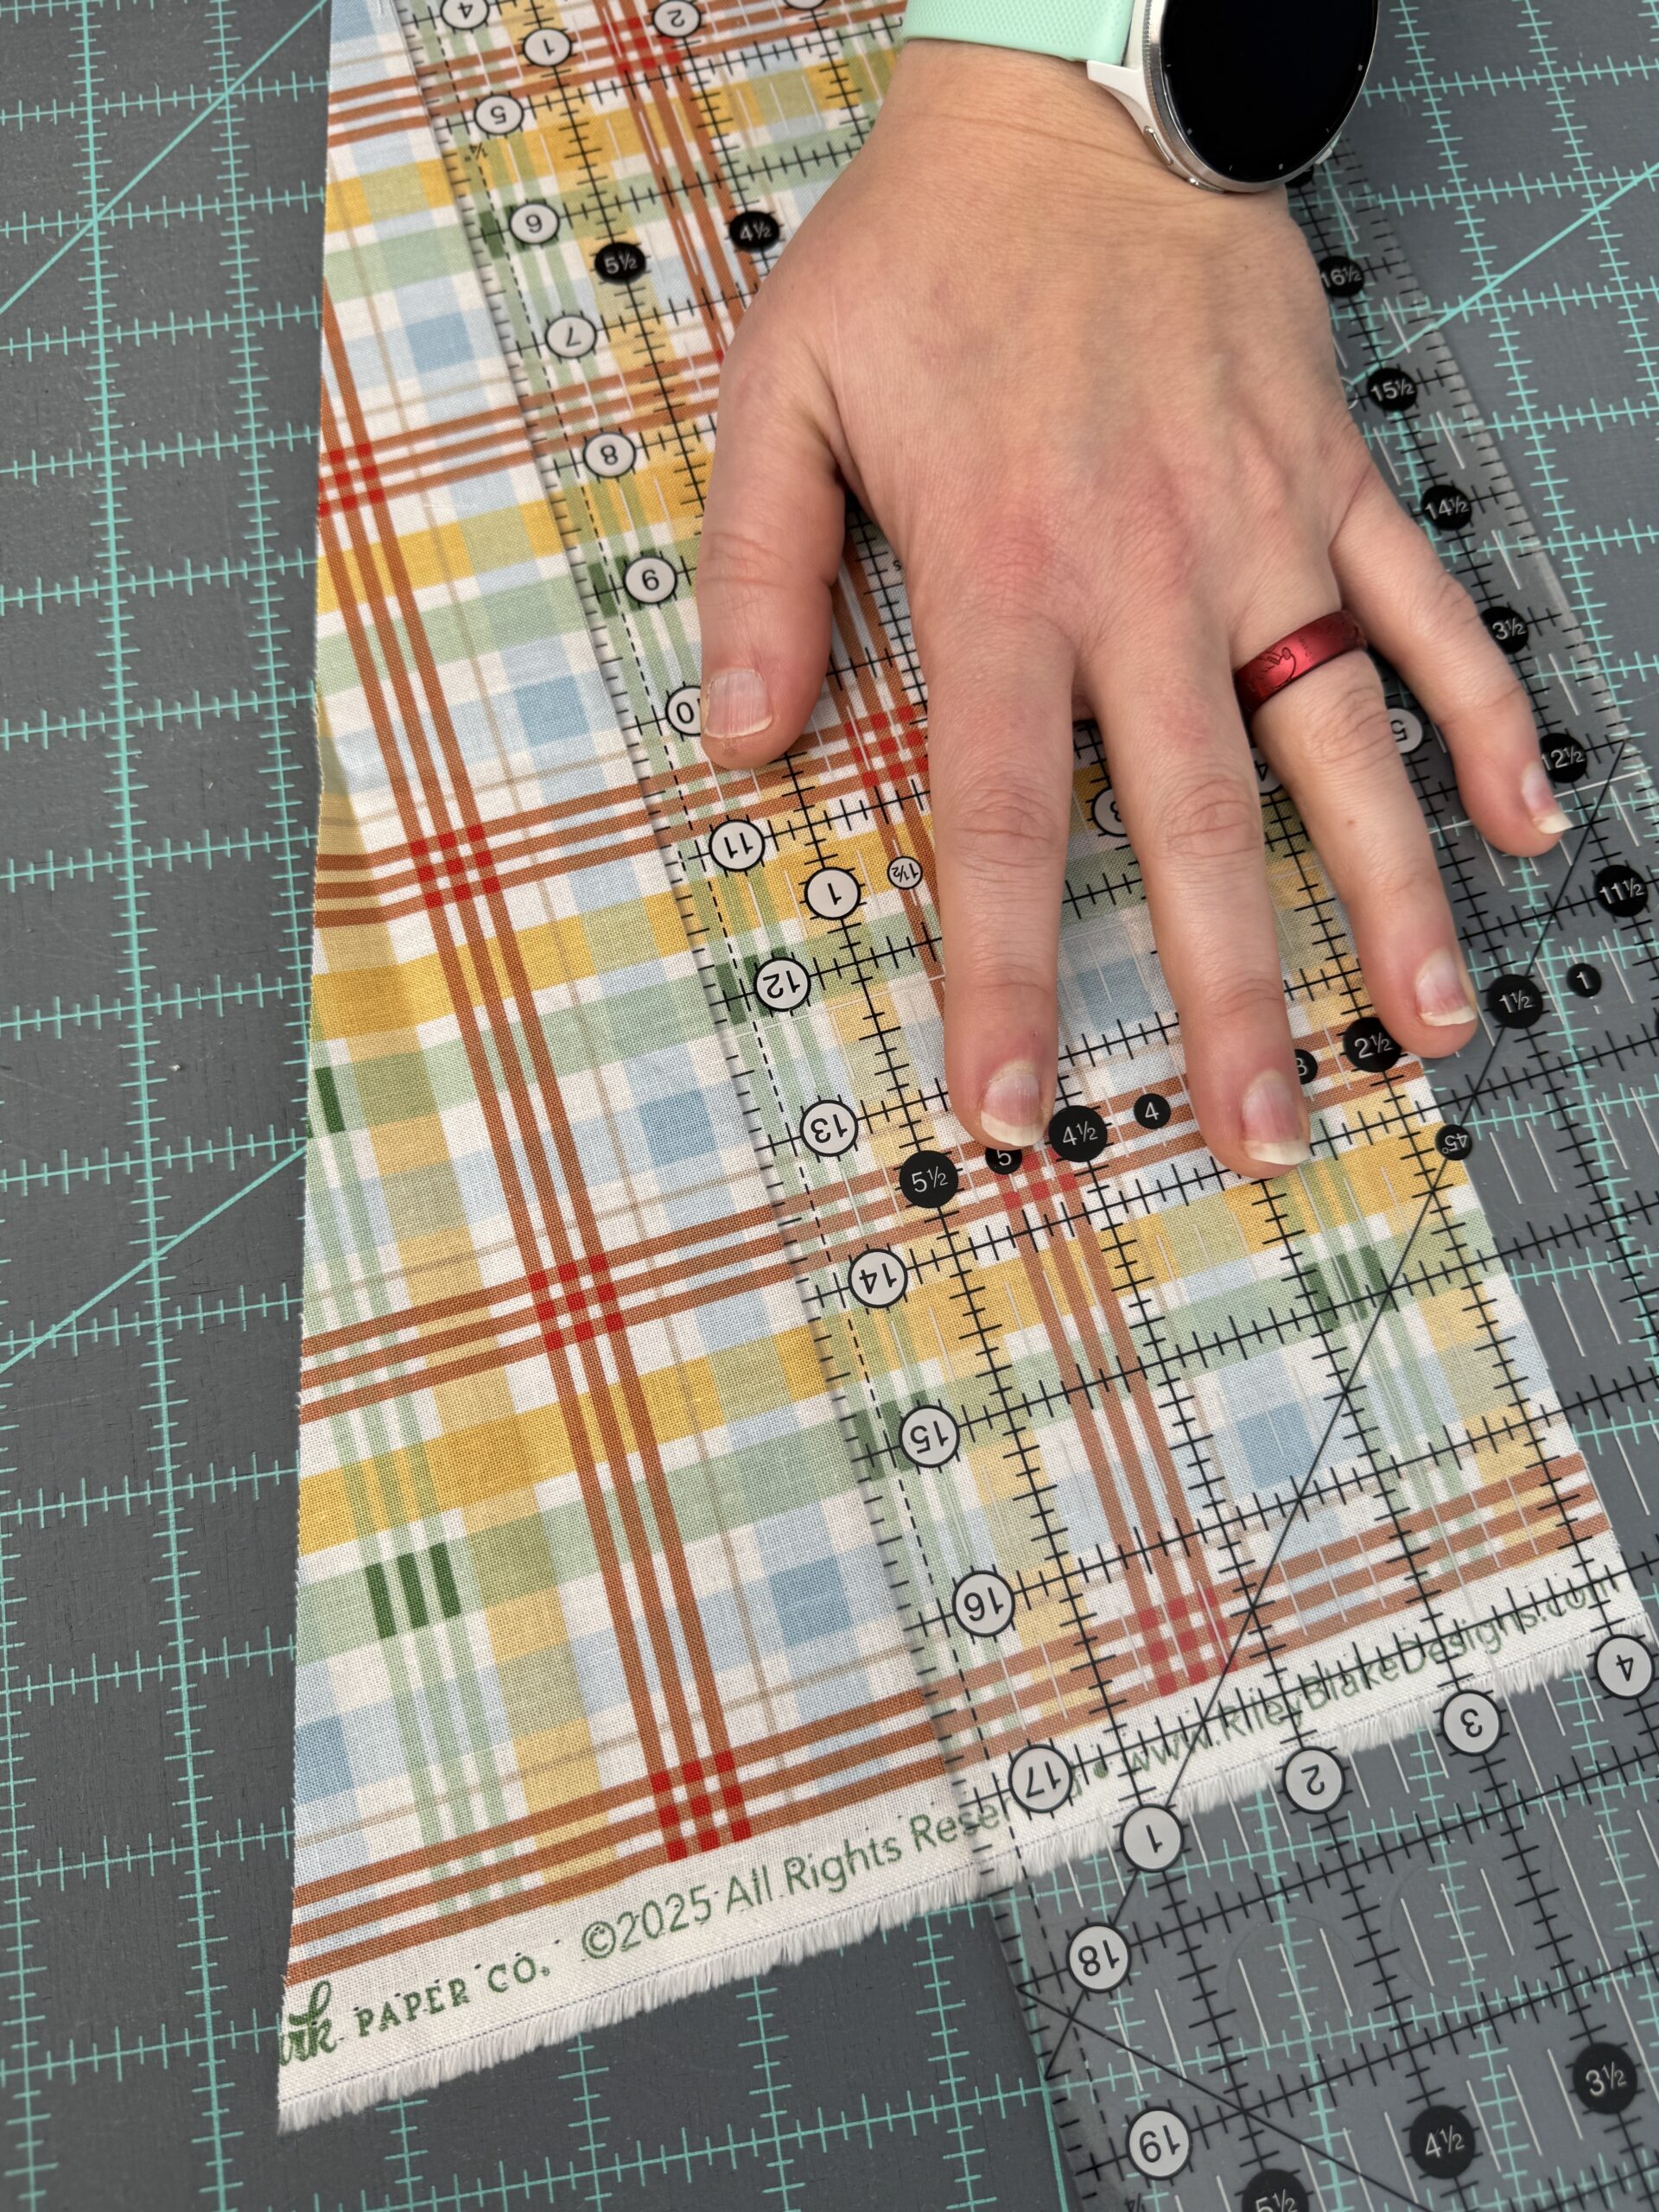
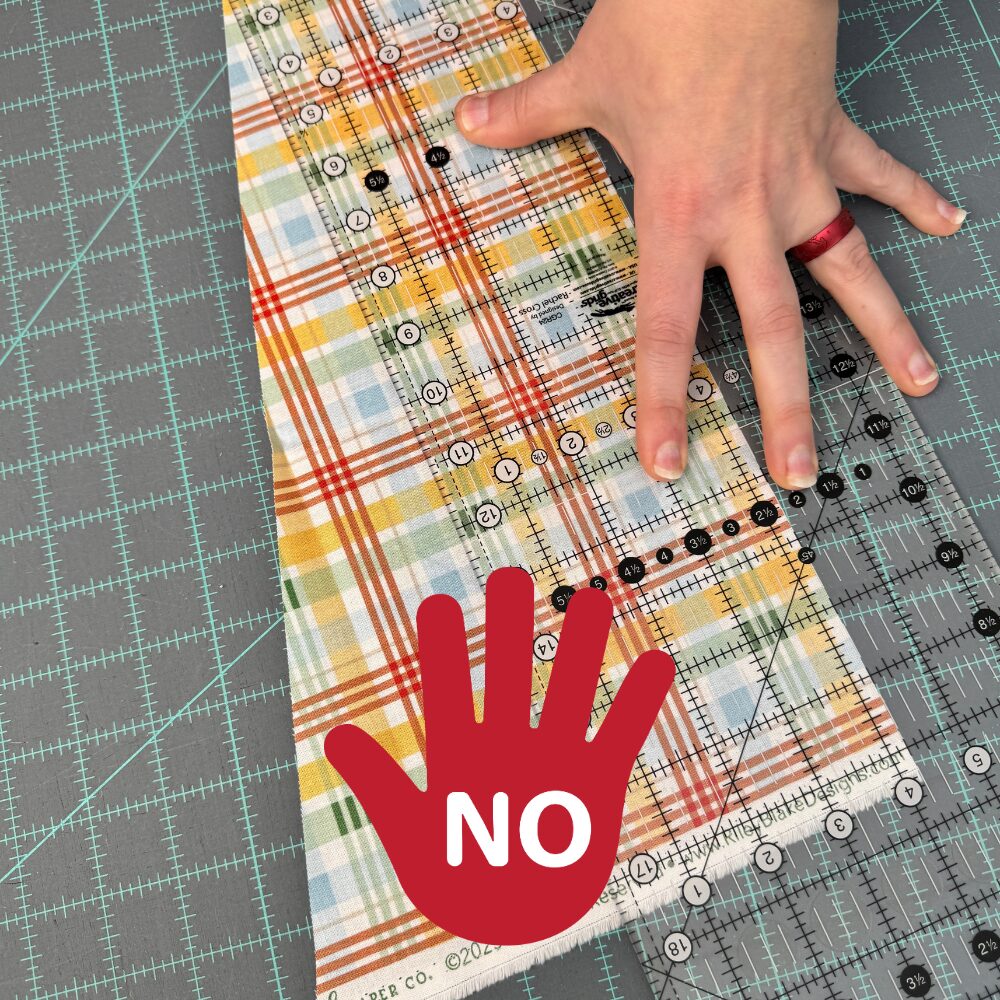
2. Anchor Closest to the Blade Edge
Your hand should be closer to the cutting edge of the ruler, not out on the opposite end.
3. Line Up Your Body
Stand square to your cutting table with good posture. Avoid leaning or stretching.
4. Keep the Ruler Still
If you need to move your hand upward while cutting a longer strip, stop cutting first, reposition your hand, then continue. Never chase your blade.
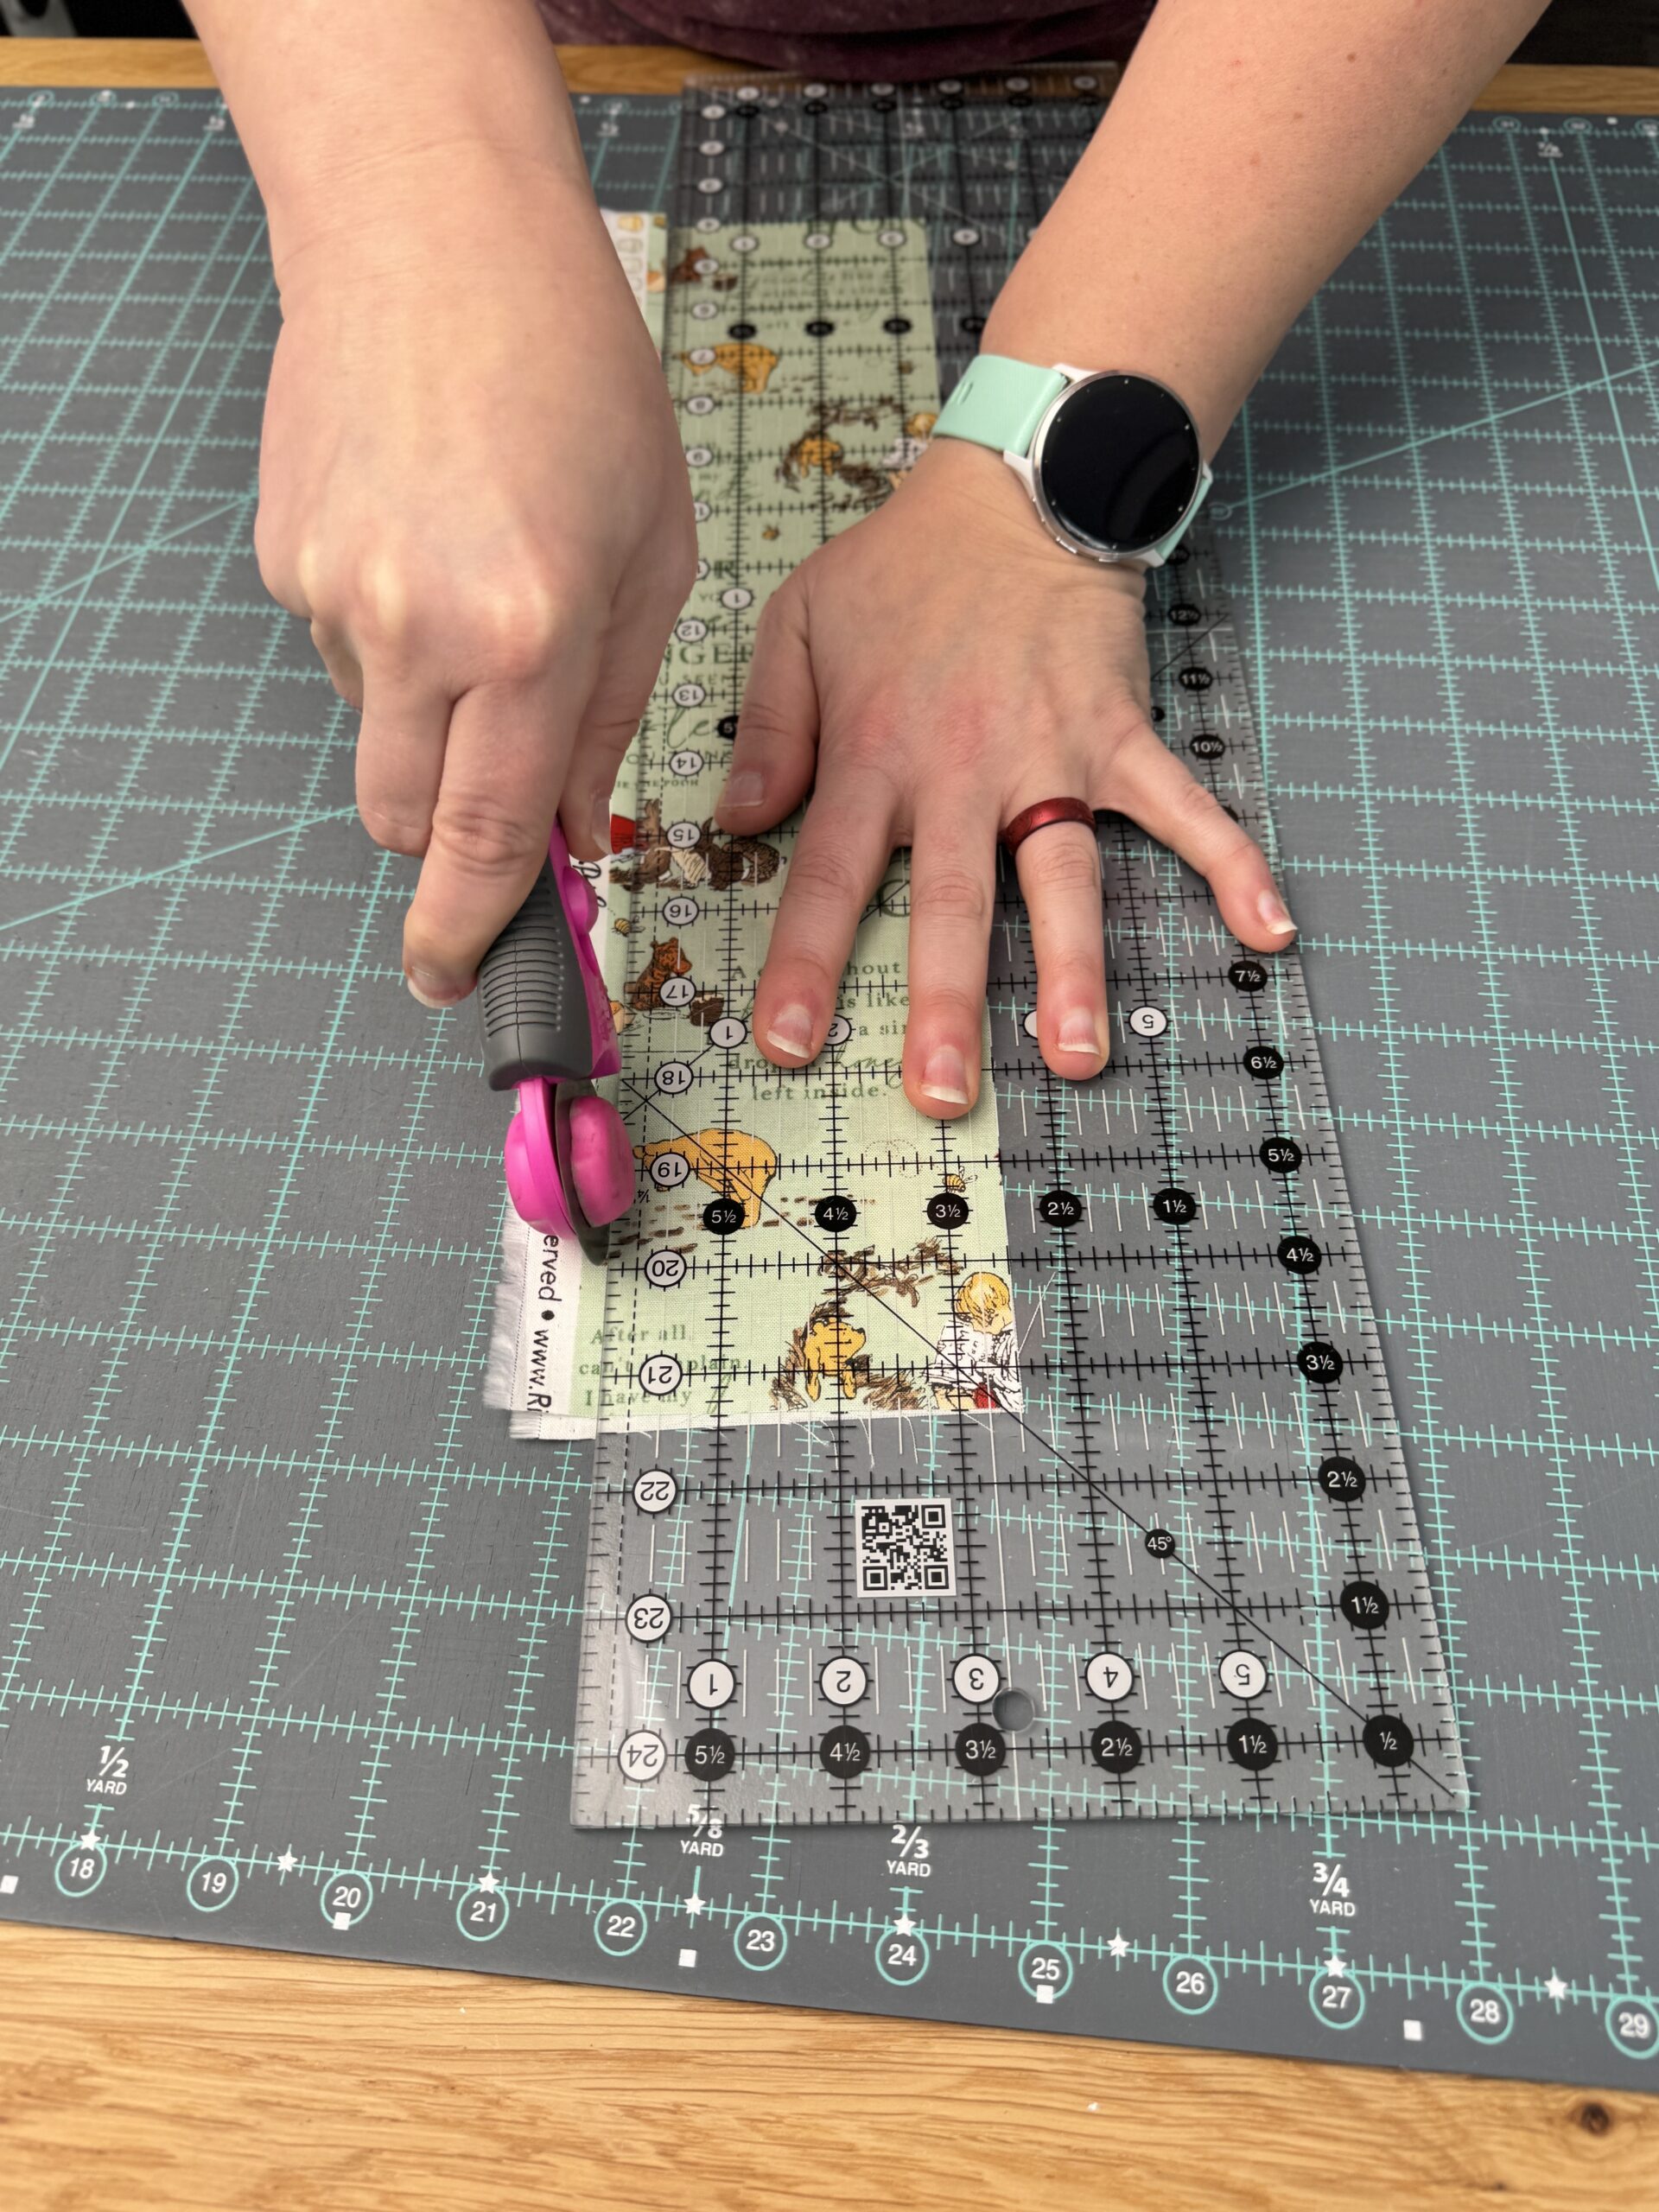
5. Let the Blade Glide
Your hand should be closer to the cutting edge of the ruler, not out on the opposite end. Use steady, firm pressure — not a sawing motion.
Common Cutting Mistakes Beginners Make (and How to Fix Them)
Mistakes are part of learning. But if you know what to look out for, you can avoid a LOT of frustration. Accurate cutting for quilting is a vital skill that comes with time and practice.
When to Change Your Rotary Blade
A dull blade will:
- Skip threads
- Leave jagged edges
- Require extra pressure
- Increase the risk of slipping
Signs It’s Time to Replace
✔ You hear a “crunching” sound
✔ Your fabric is fraying
✔ You’re cutting twice in the same spot
✔ You’re pushing harder than usual
There’s no exact rule, because everyone cuts different amounts. But if you’re sewing regularly, expect to replace blades far more often than you think.
Yes I understand…blades can be expensive. But so if fabric. And good fabric should be cut with a good blade. It makes the process a lot more enjoyable, the finished product a lot more accurate, and you also reduce your risk of injury. Have you heard the saying that more people get injured from using a dull knife in a kitchen vs. a sharp one? Same goes for a rotary cutter. You shouldn’t have to struggle to make a crisp cut. When you find yourself working harder to cut fabric, it’s time to change your blade.
Think of it like this: fresh blades are cheaper than ruined fabric or lost quilting confidence.
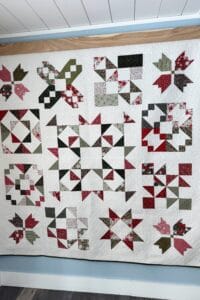
Ready to Cut With Confidence? You’ve Got This!
Accurate cutting for quilters is one of the BEST things you can improve early in your quilting journey. With the right tools, safe habits, and a little practice, you’ll see your blocks line up better, your seams match more easily, and your quilting stress melt away.
This is just Week 1 of our quilting education series, and I’m so excited you’re here learning along with me.
Stay Connected & Keep Learning
✔ Follow along weekly as we build quilting skills step-by-step
✔ Join my email list for a printable cutting checklist
✔ Shop my favorite beginner-friendly cutting tools to set yourself up for success
You don’t have to figure this out alone — we’re quilting together this year. ❤️