Stitch and Flip Flying Geese Method
Flying Geese are one of the most versatile quilt units, showing up in everything from star blocks to borders and modern geometric designs. While the no-waste method is great for making multiple matching units at once, stitch and flip flying geese is another very common way to construct Flying Geese, especially when working with scraps or directional fabrics.
When purchasing through links on this site, I may earn an affiliate commission at no cost to you.
This method creates one Flying Geese unit at a time and is easy to adjust as you go, which makes it a favorite for many quilters.
What Is the Stitch and Flip Method?
The stitch and flip method builds a Flying Geese unit by sewing smaller squares onto a rectangle or larger square, then trimming and pressing to form the triangle shapes. Each side of the unit is created individually rather than all at once.
Because you’re working one side at a time, this method gives you more control over fabric placement and print direction, which can be especially helpful when a pattern calls for specific orientation.
When the Stitch and Flip Method Works Well
The stitch and flip method is a good choice when you only need a small number of Flying Geese units and don’t want to cut for the no-waste method. It also works well when using scraps or directional fabrics, since you can focus on placement as you sew.
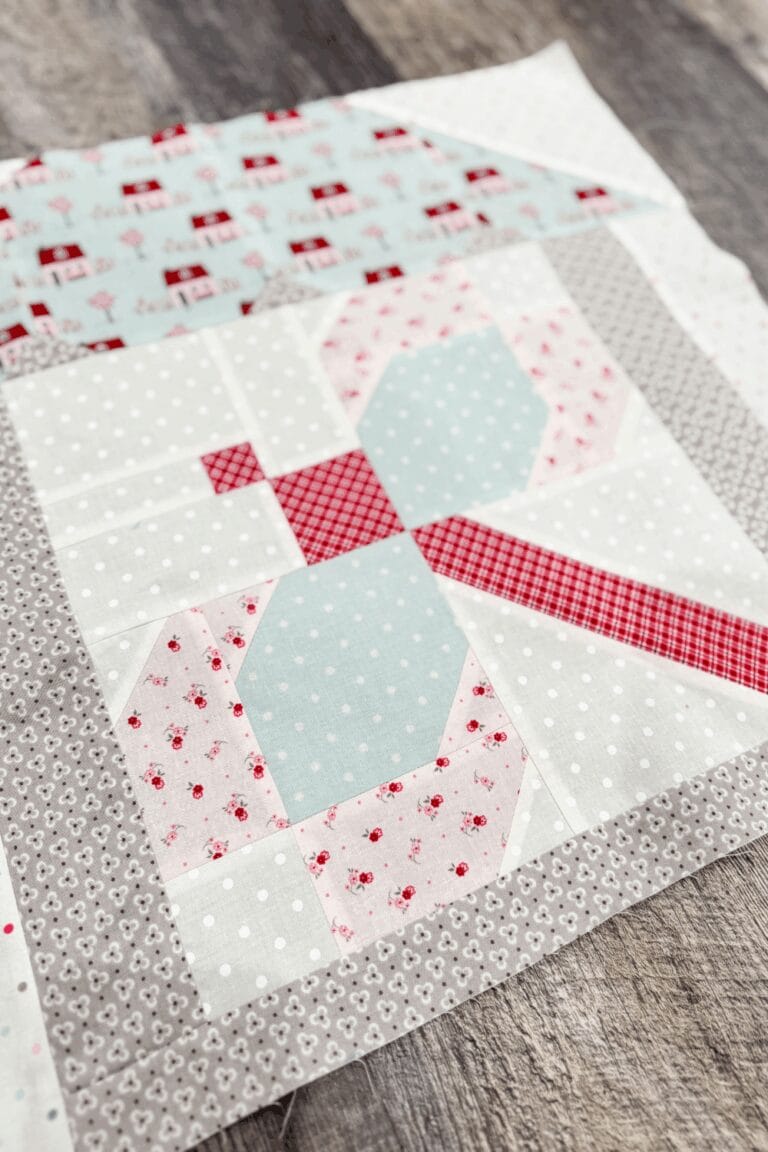
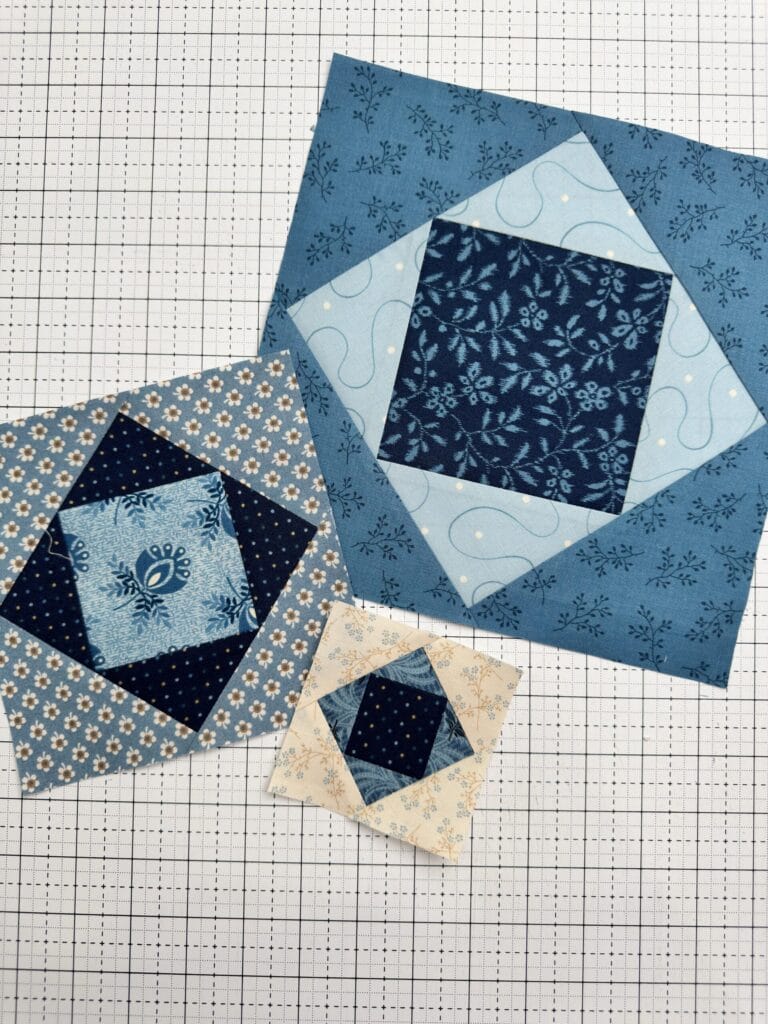
You’ll often see this method used when Flying Geese are sewn directly into a larger block rather than made as separate units first.
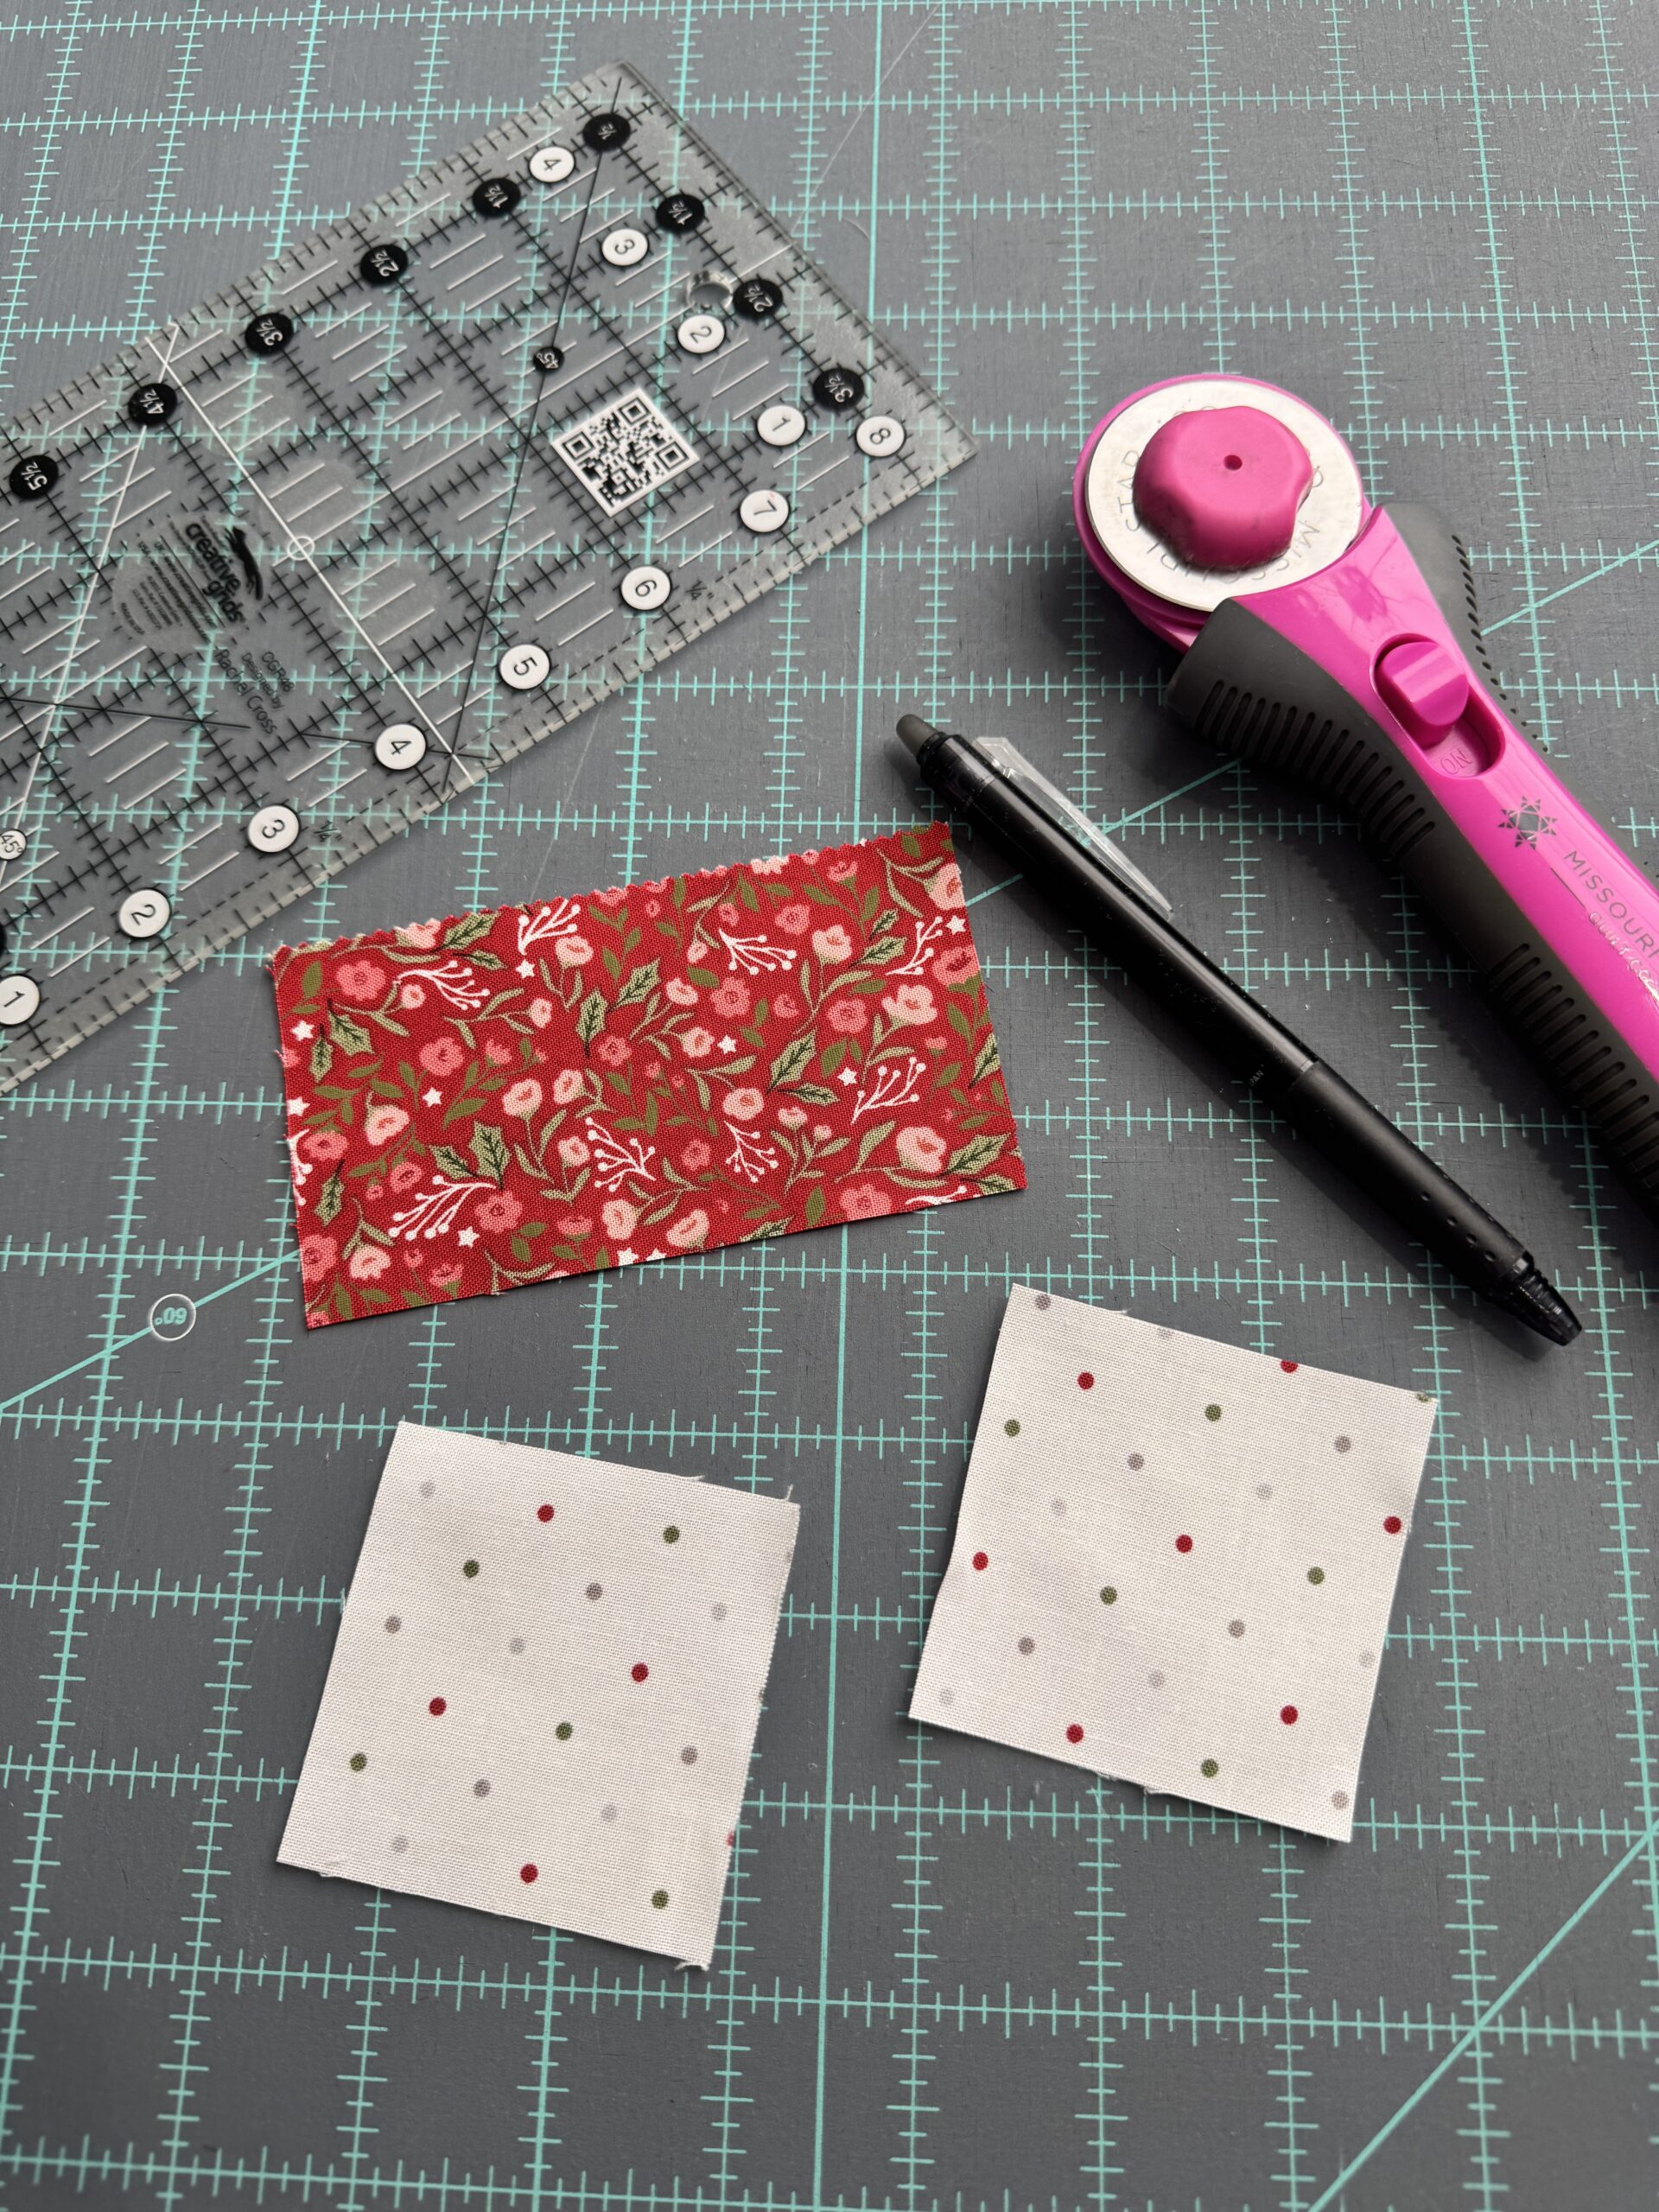
Fabric Needed
To make one Flying Geese unit using the stitch and flip method, you’ll typically need one rectangle for the center triangle, and two smaller squares for the side triangles.
The exact cutting sizes will depend on the finished size of the Flying Geese unit called for in your Pattern
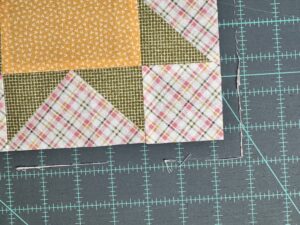
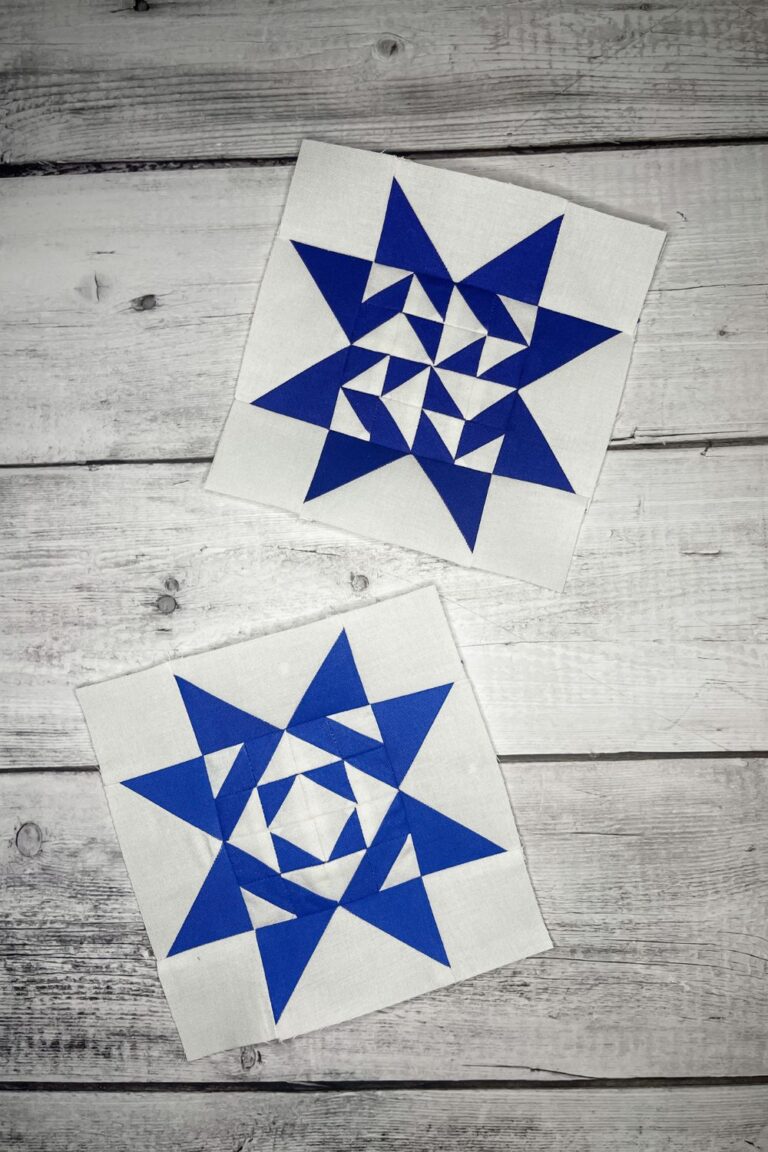
How to Make Flying Geese Using the Stitch and Flip Method
How to Make Flying Geese Using the Stitch and Flip Method
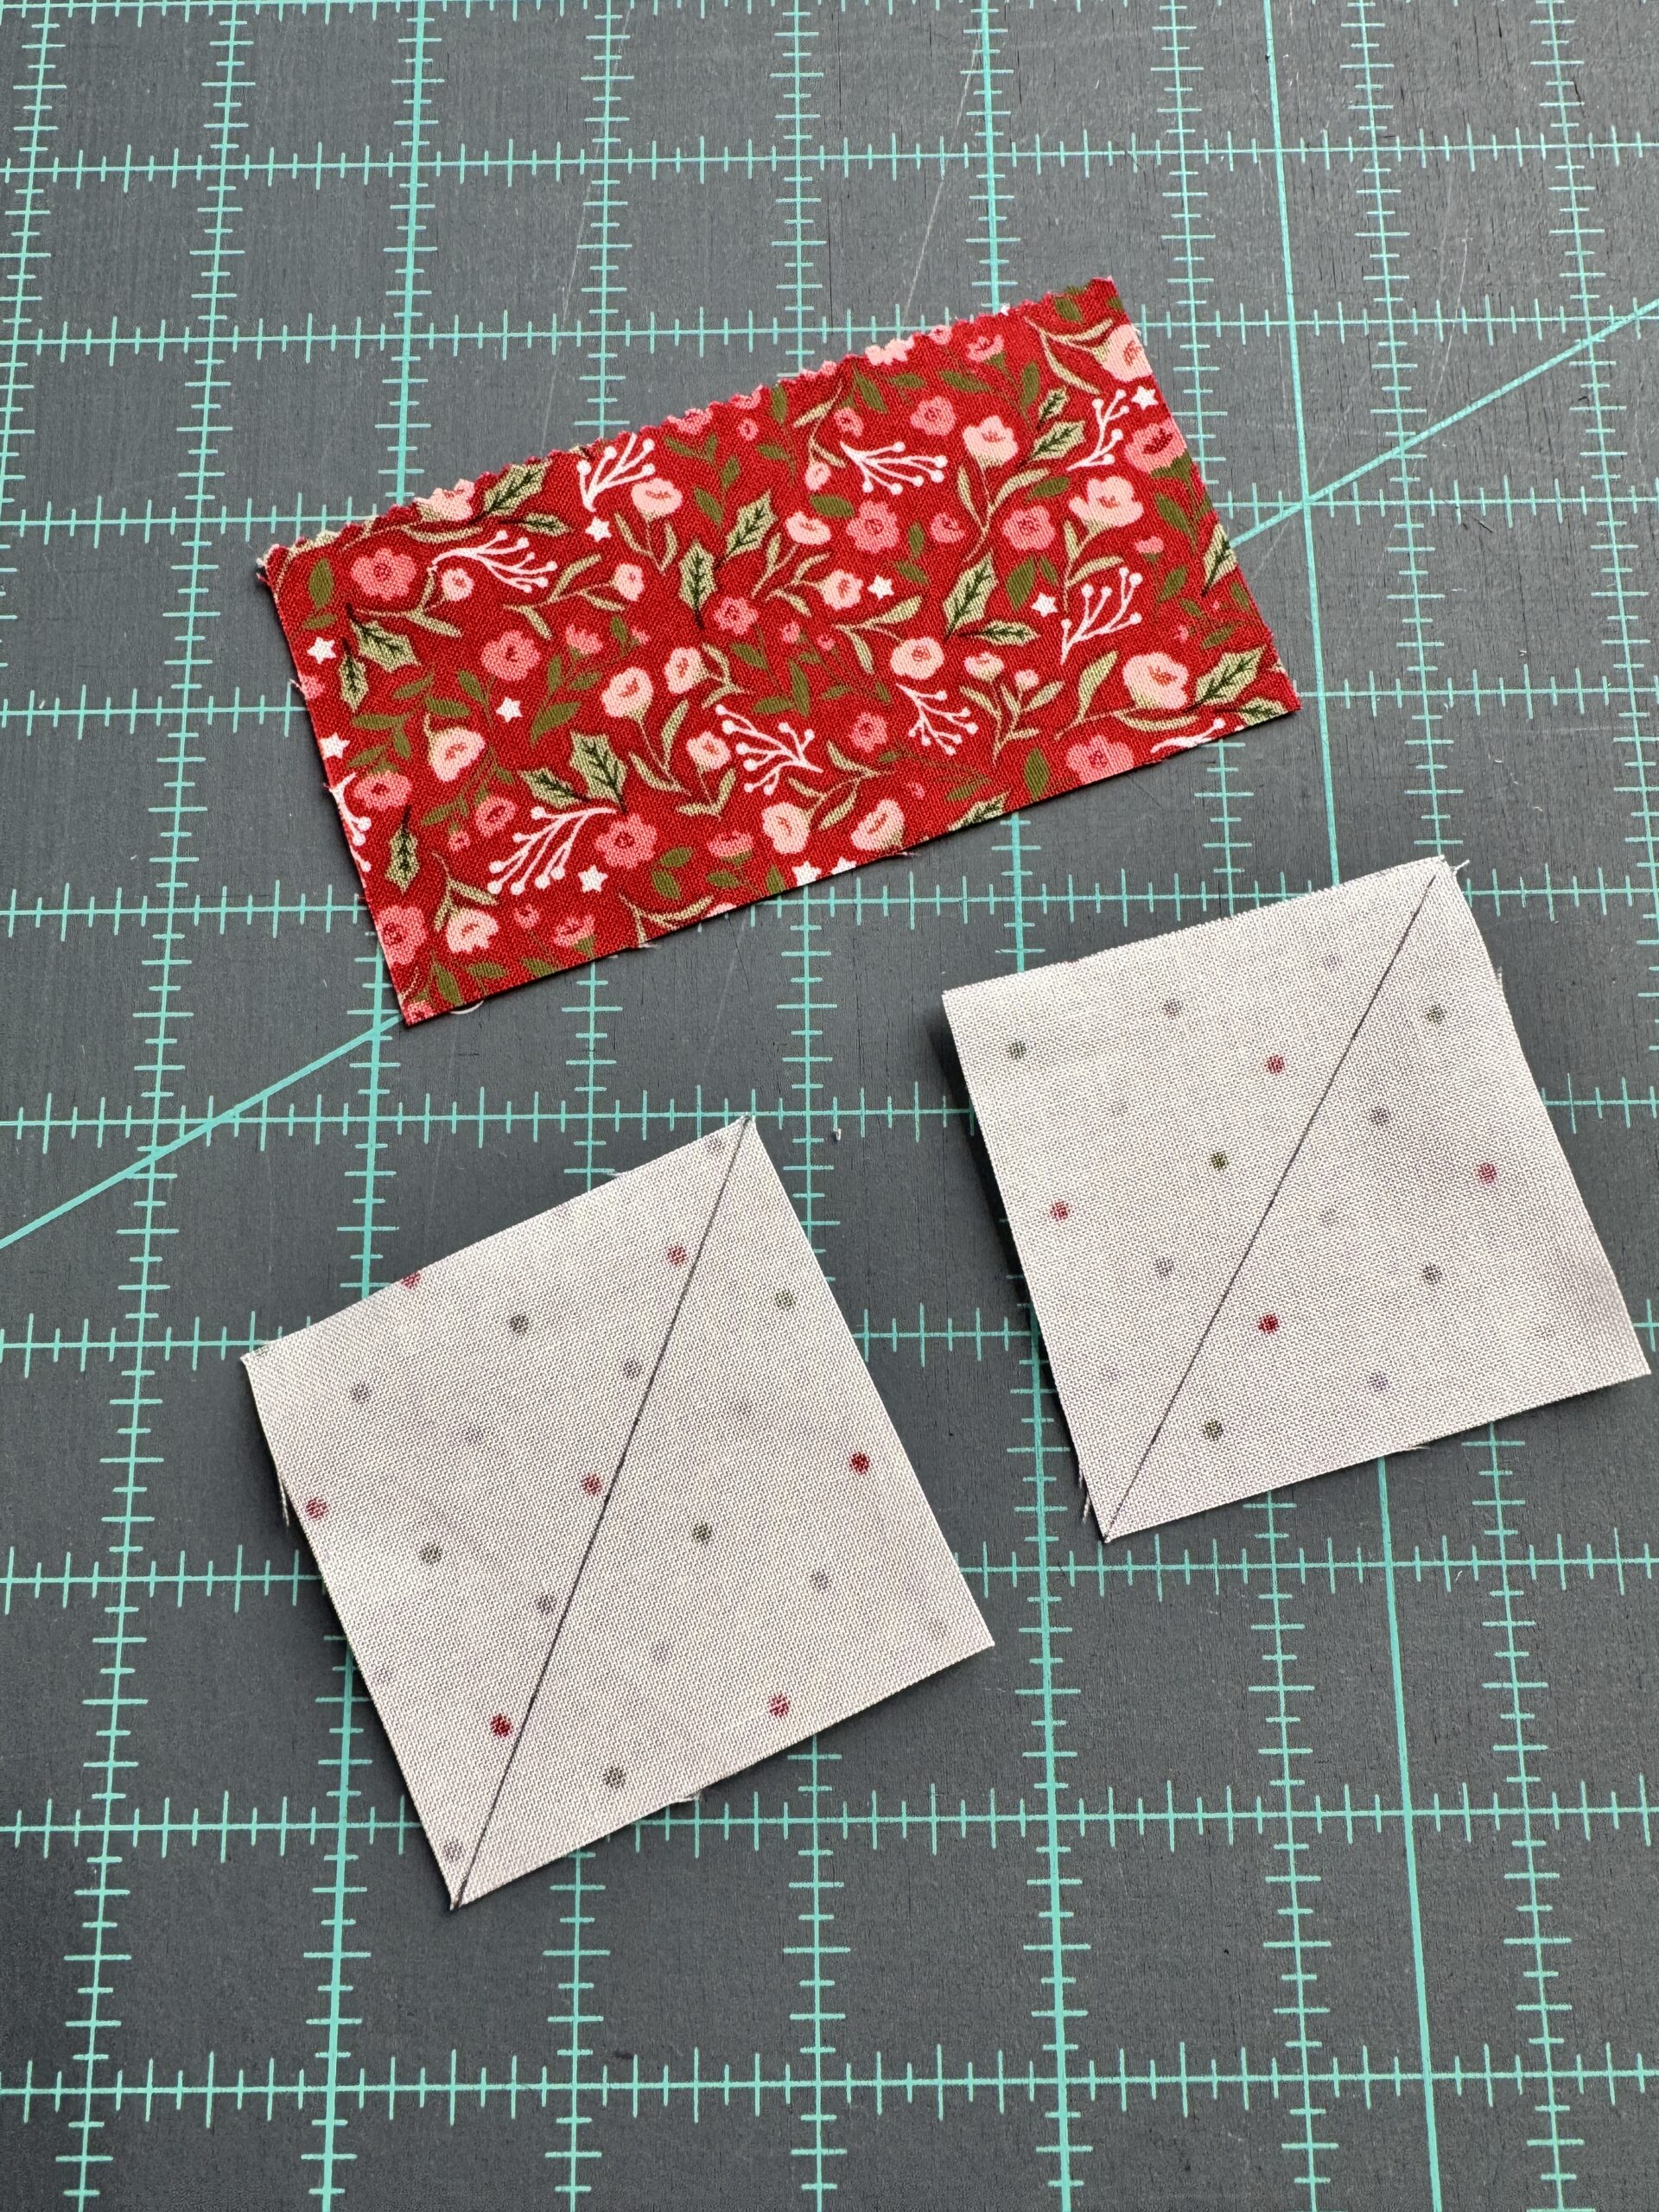
Start by drawing a diagonal line on the wrong side of each of the two small squares.
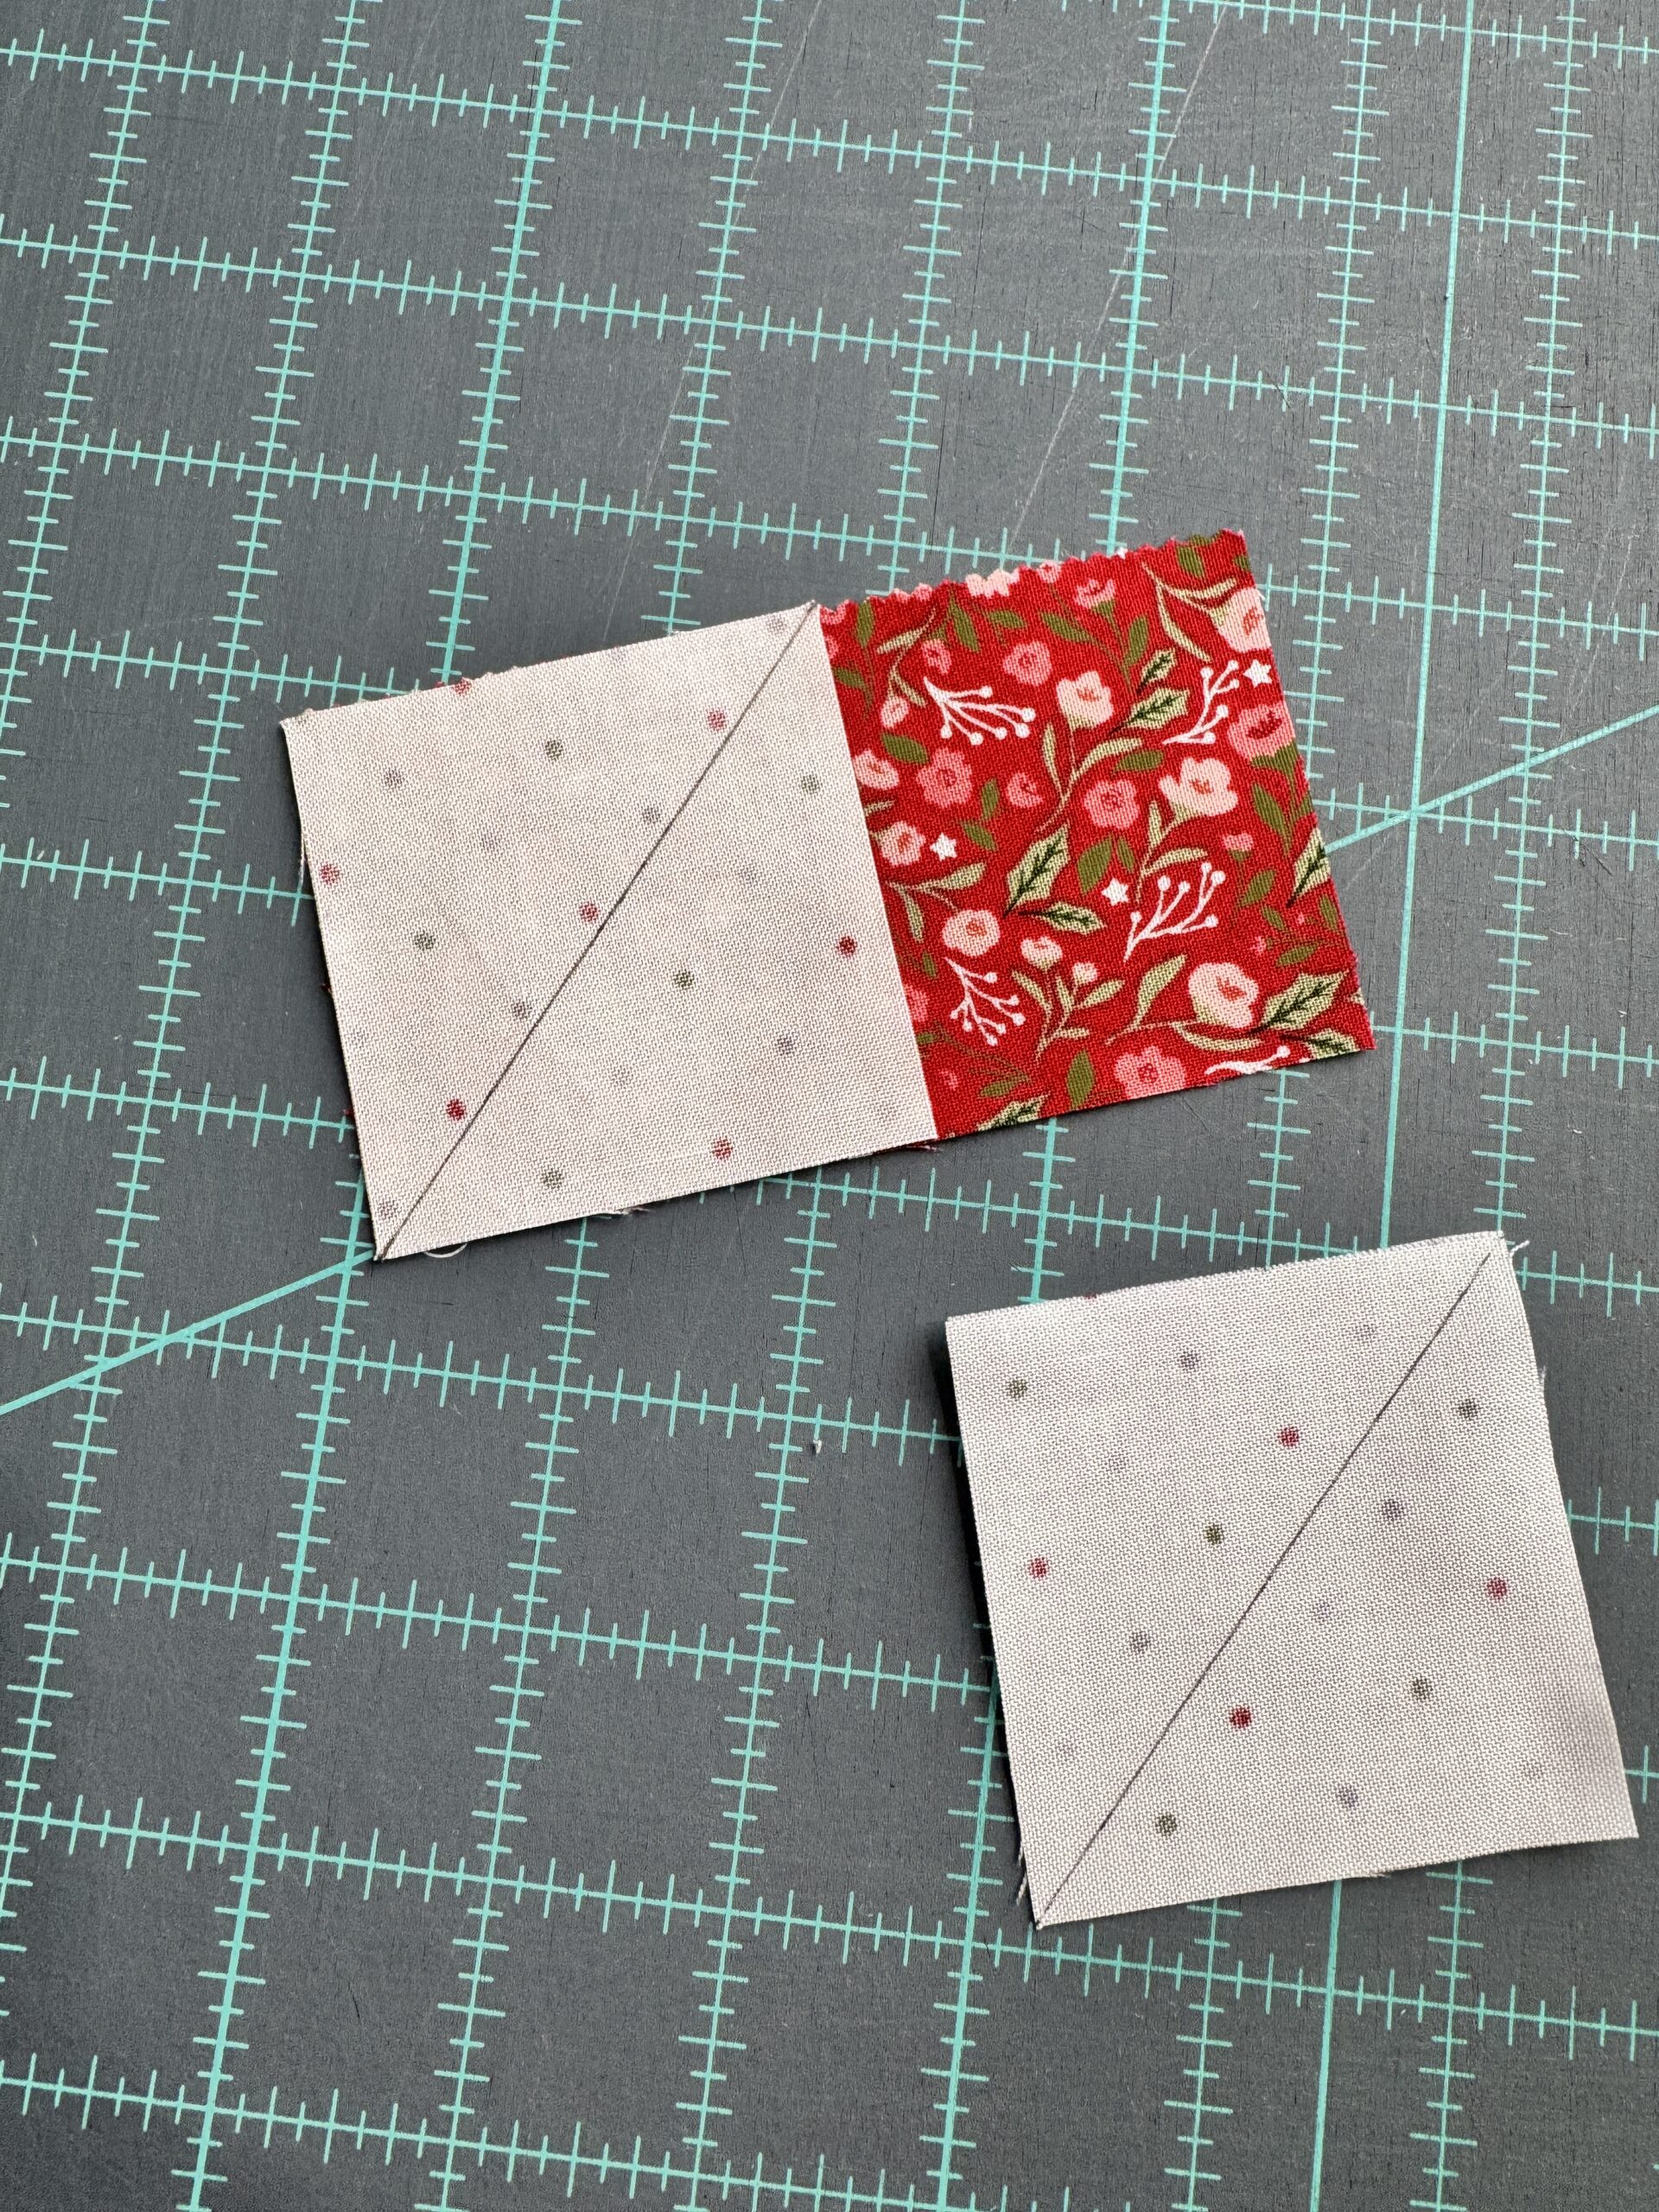
Place one small square on one end of the larger rectangle or square, right sides together, aligning the corners. Sew directly on the drawn diagonal line.
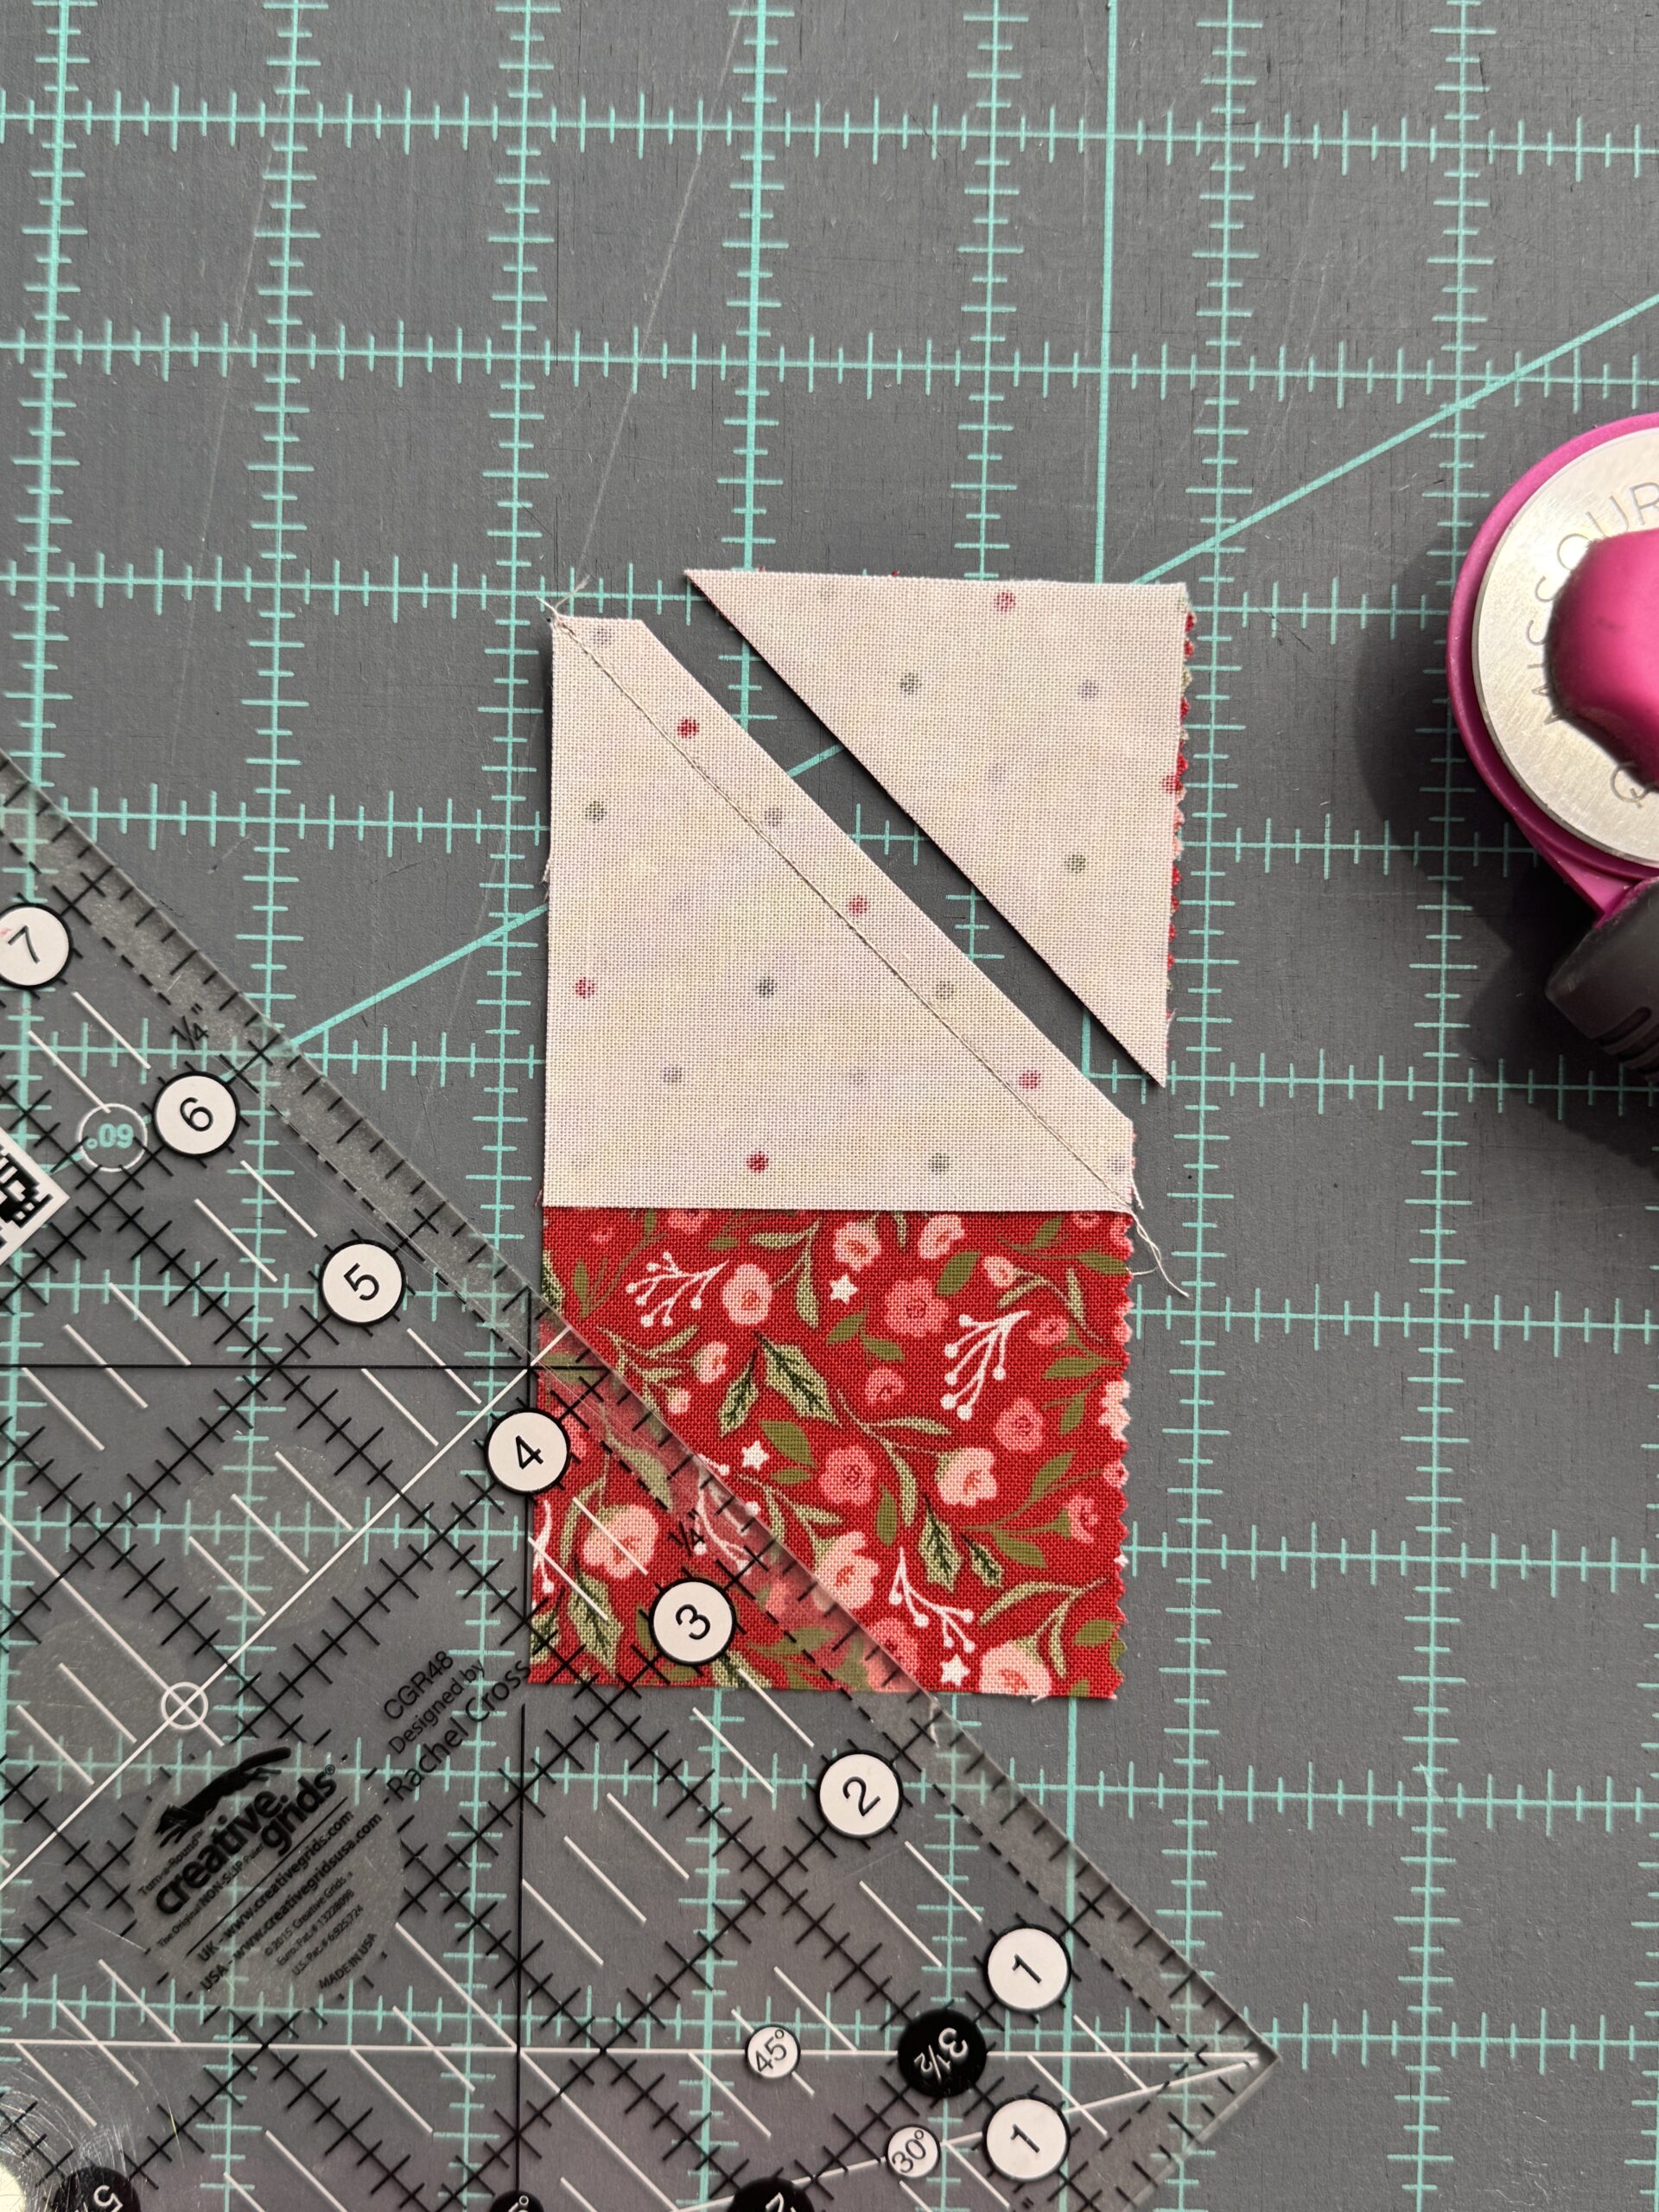
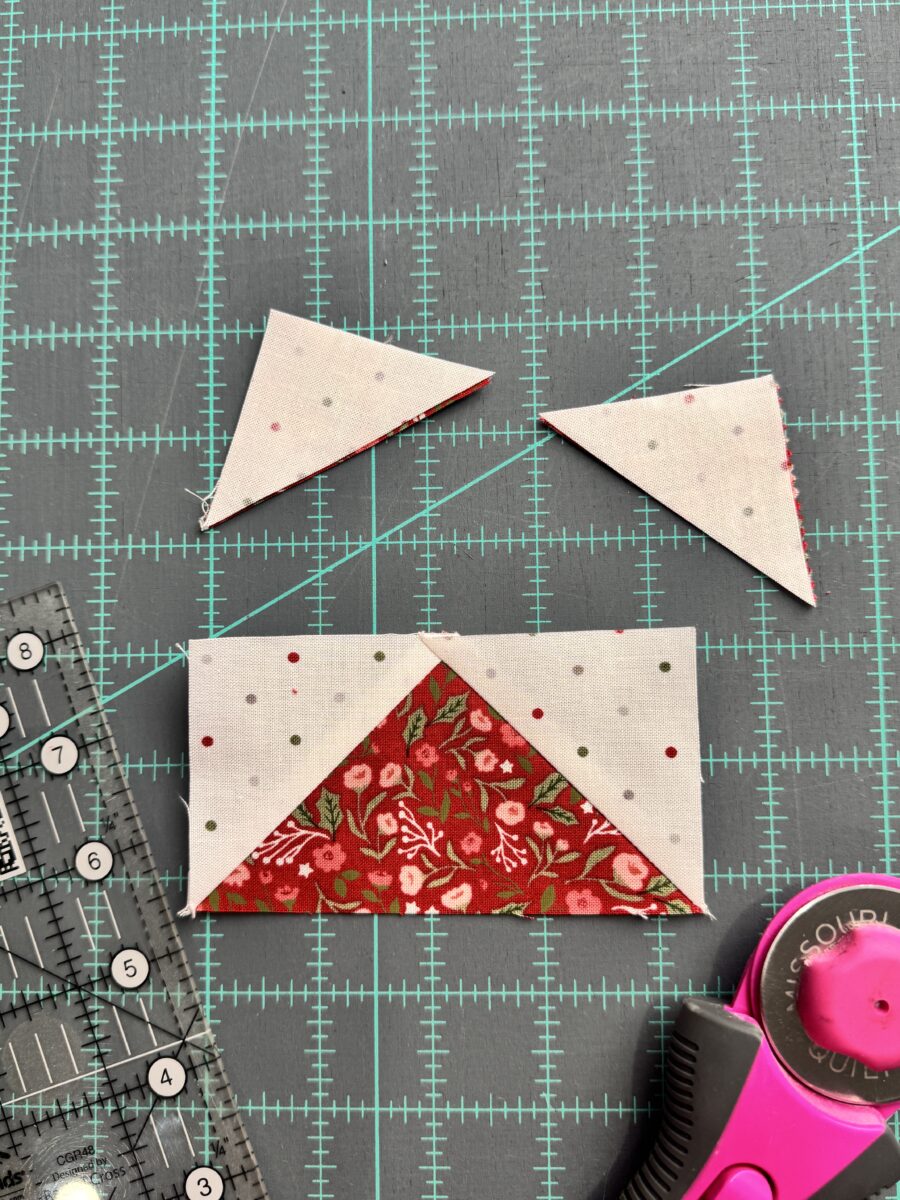
Trim away the excess fabric, leaving a ¼” seam allowance, and press the small triangle open.
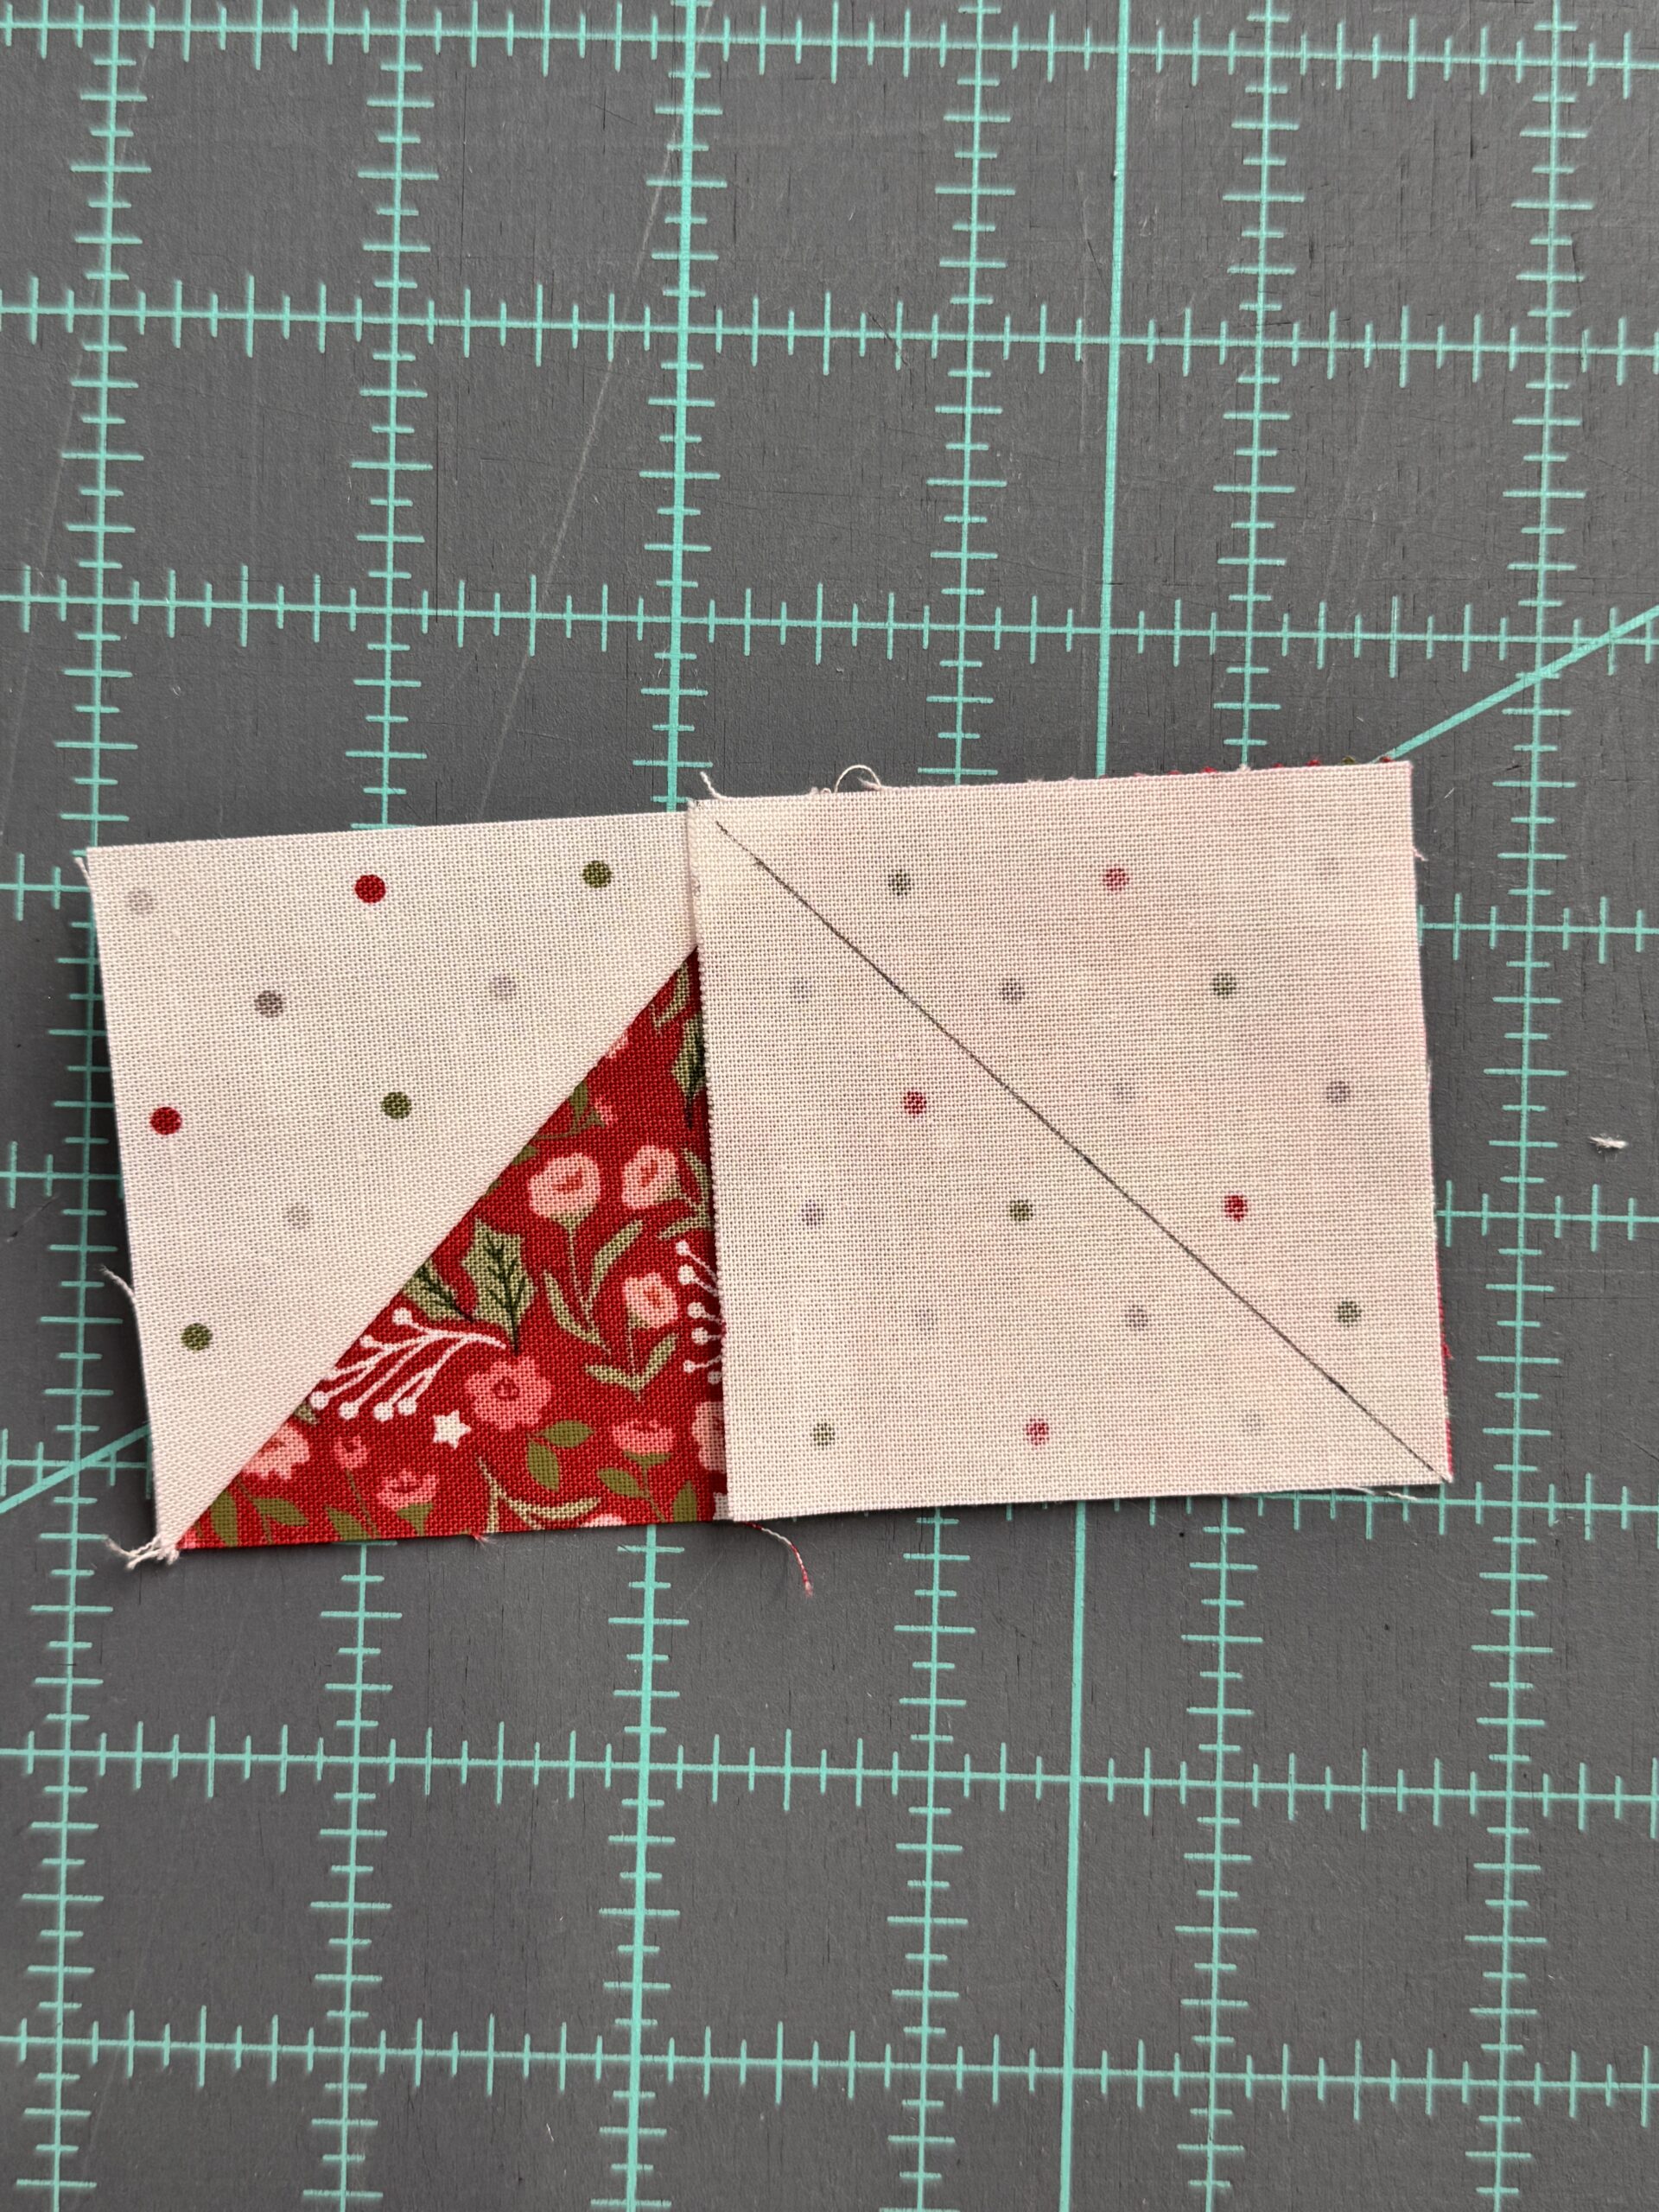
Next, place the second small square on the opposite end of the unit, right sides together, again aligning the corners. Sew directly on the drawn diagonal line.
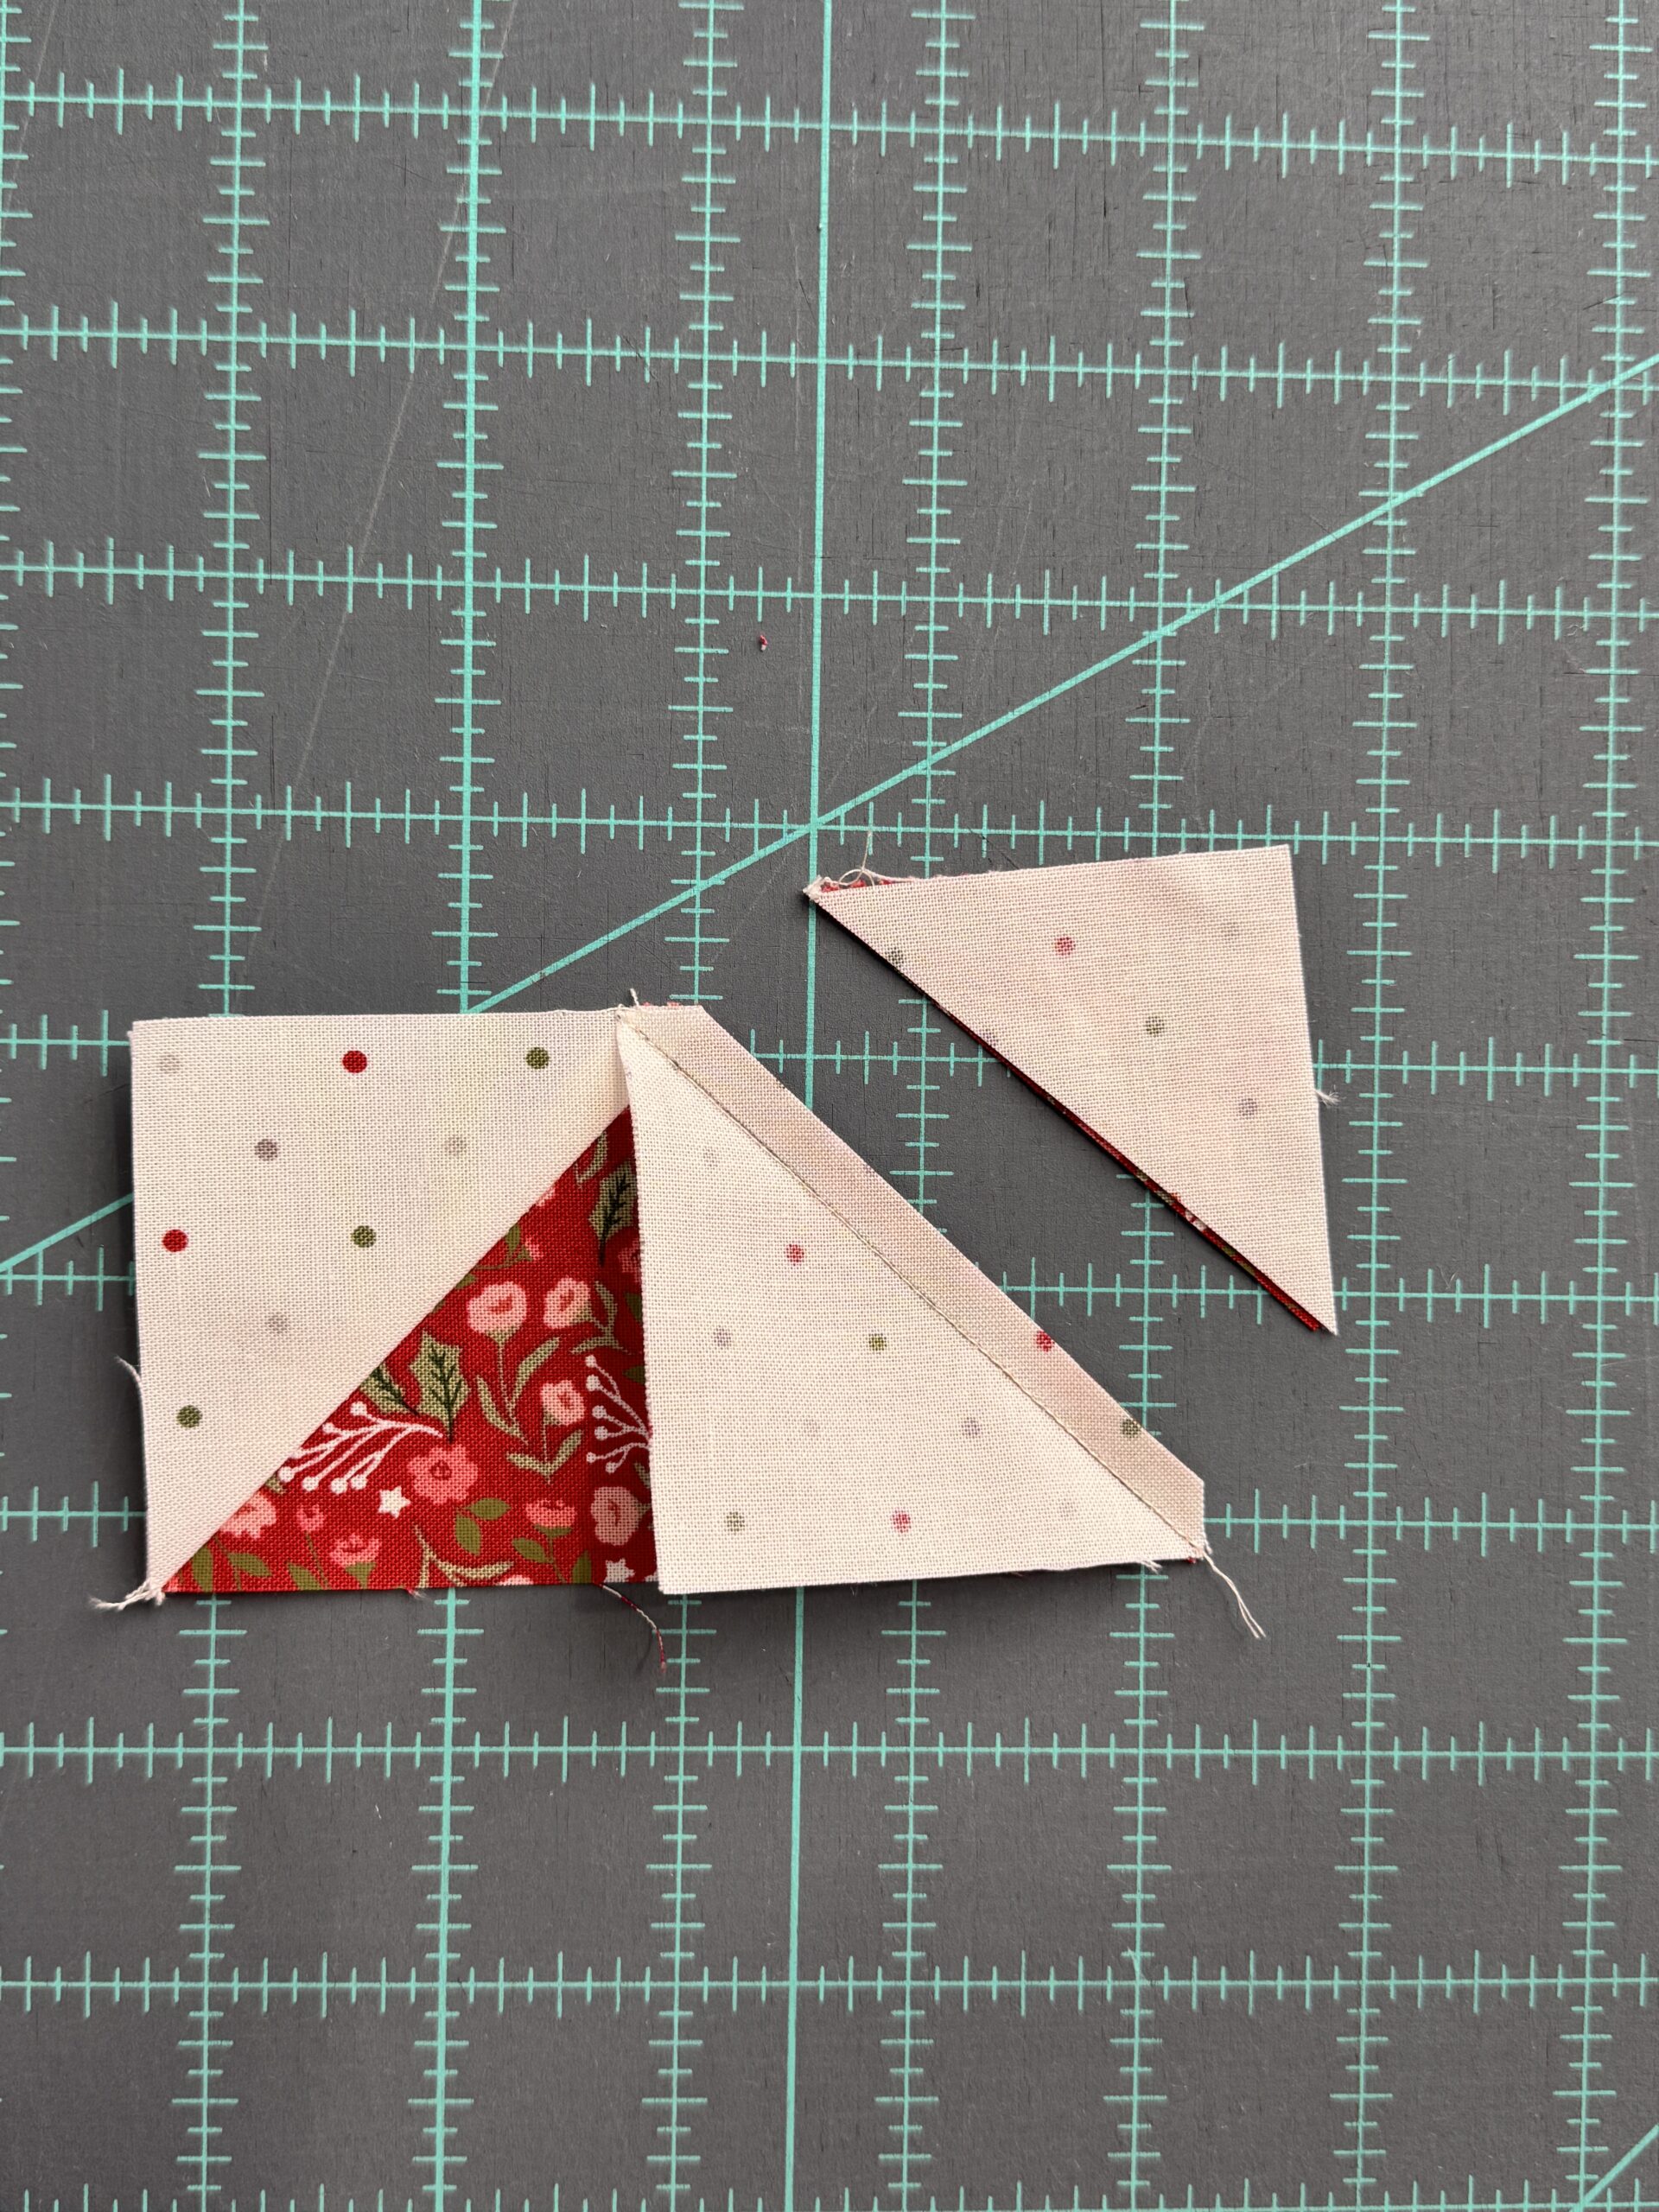
Trim away the excess fabric and press the second small triangle open.
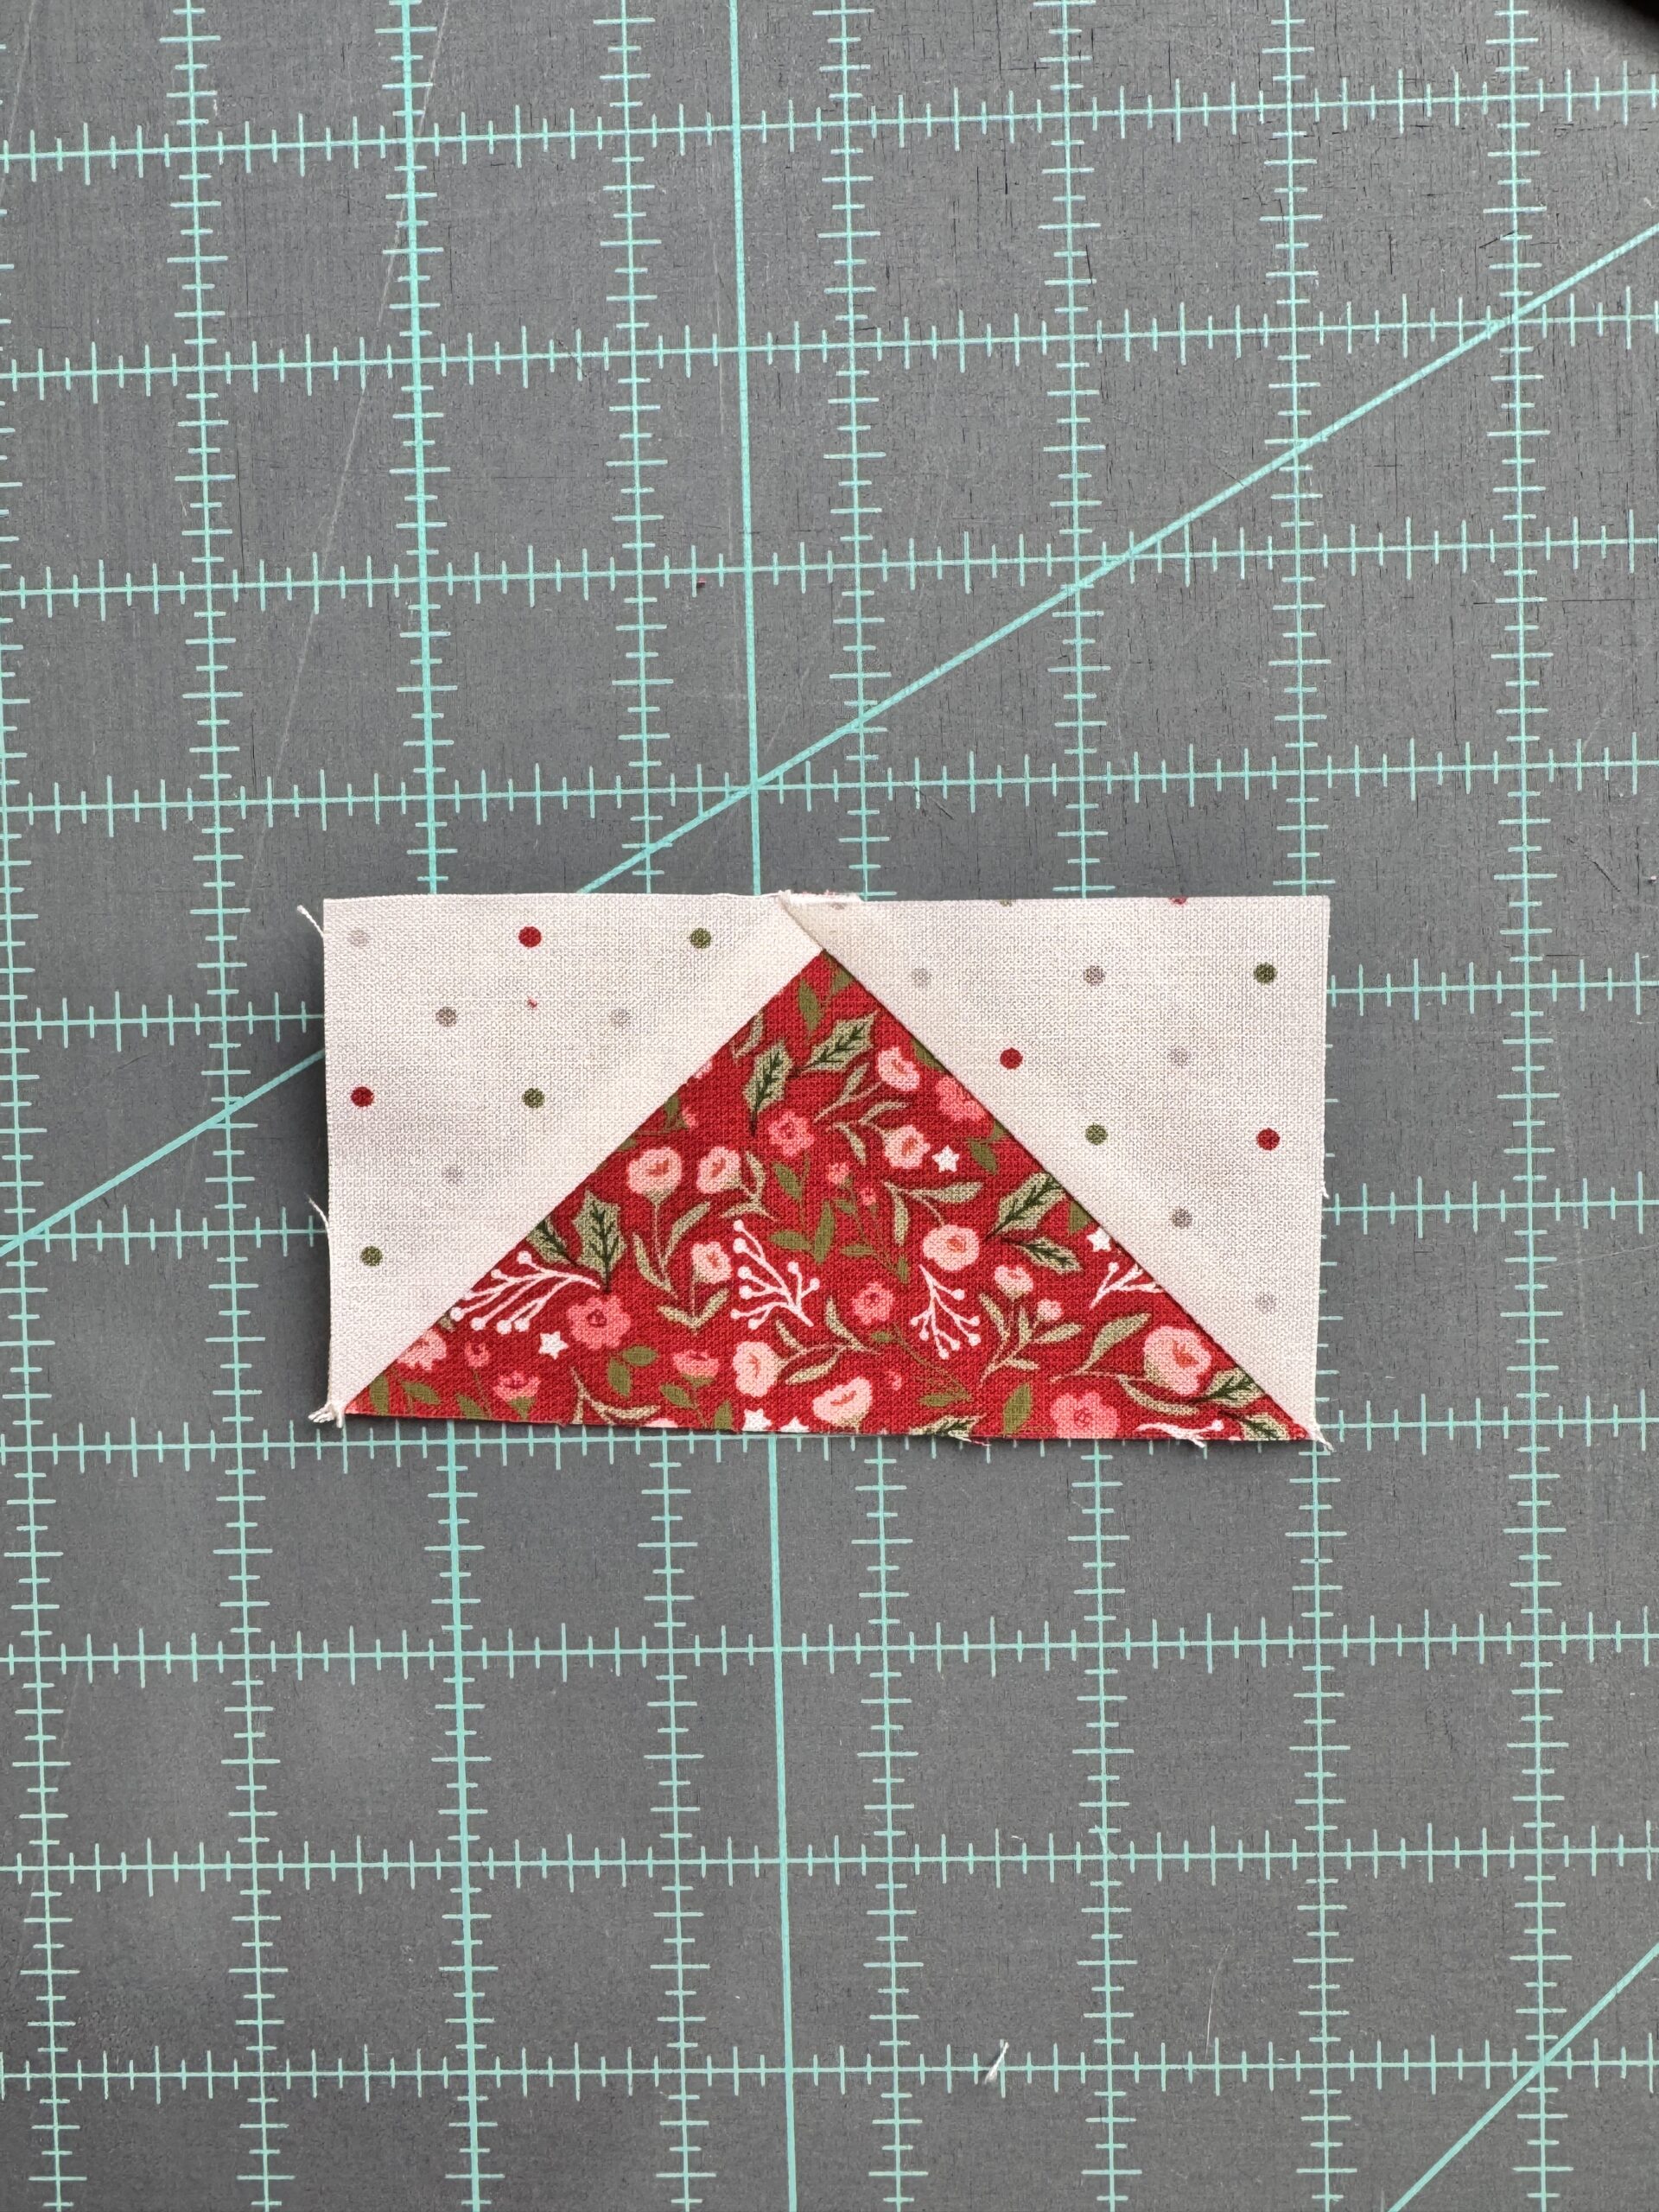
You’ll now have a completed Flying Geese unit.
Pressing Tips
Pressing carefully helps keep Flying Geese units flat and accurate. Press seams flat before pressing them open or to the side, and lift and set the iron rather than sliding to avoid stretching the bias edges.
Many patterns will also recommend pressing seams in a specific direction so units nest together more easily when sewn into blocks or rows. Following those pressing instructions can help reduce bulk and make matching points easier.
Press seams flat first, then press open or to the side. Lift and set the iron rather than sliding to avoid stretching the bias edges.
Stitch and Flip vs. No-Waste Flying Geese
Both methods create the same finished unit, but they shine in different situations.
The stitch and flip method works well for small quantities, scraps, or directional fabrics, while the no-waste method is more efficient when you need multiple matching units.
Knowing both methods gives you flexibility, and over time you’ll naturally reach for the one that best fits your project.
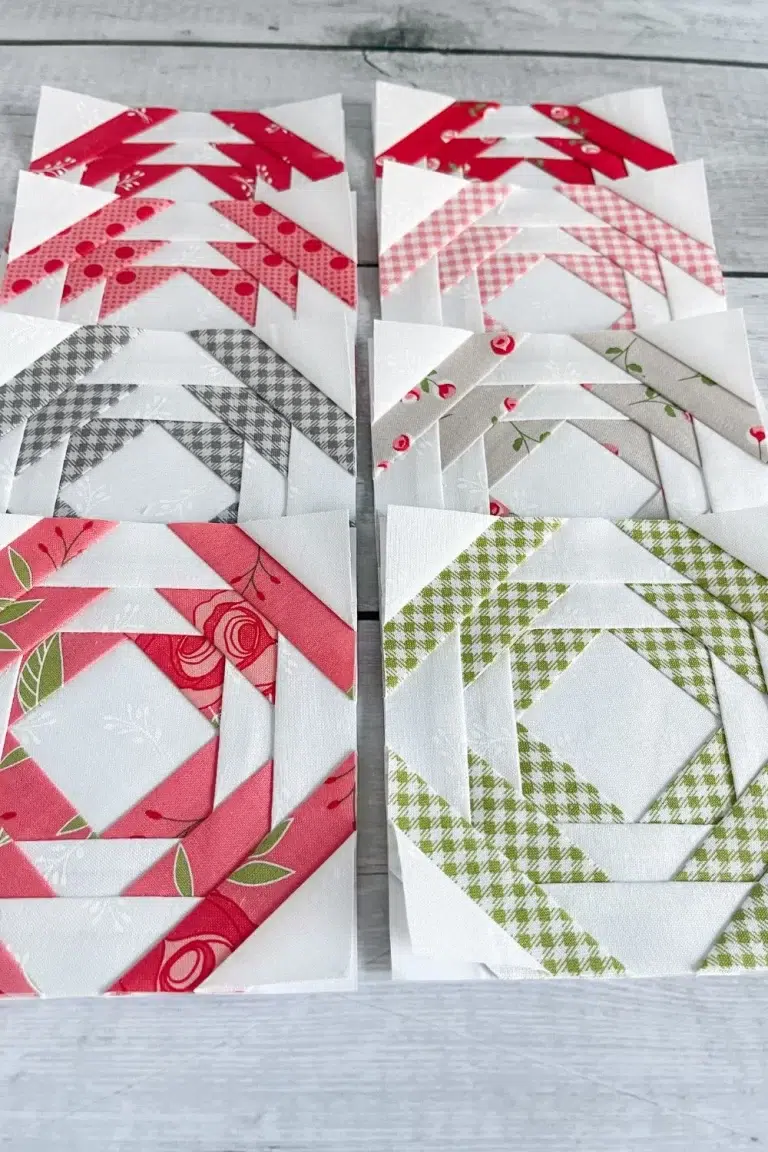
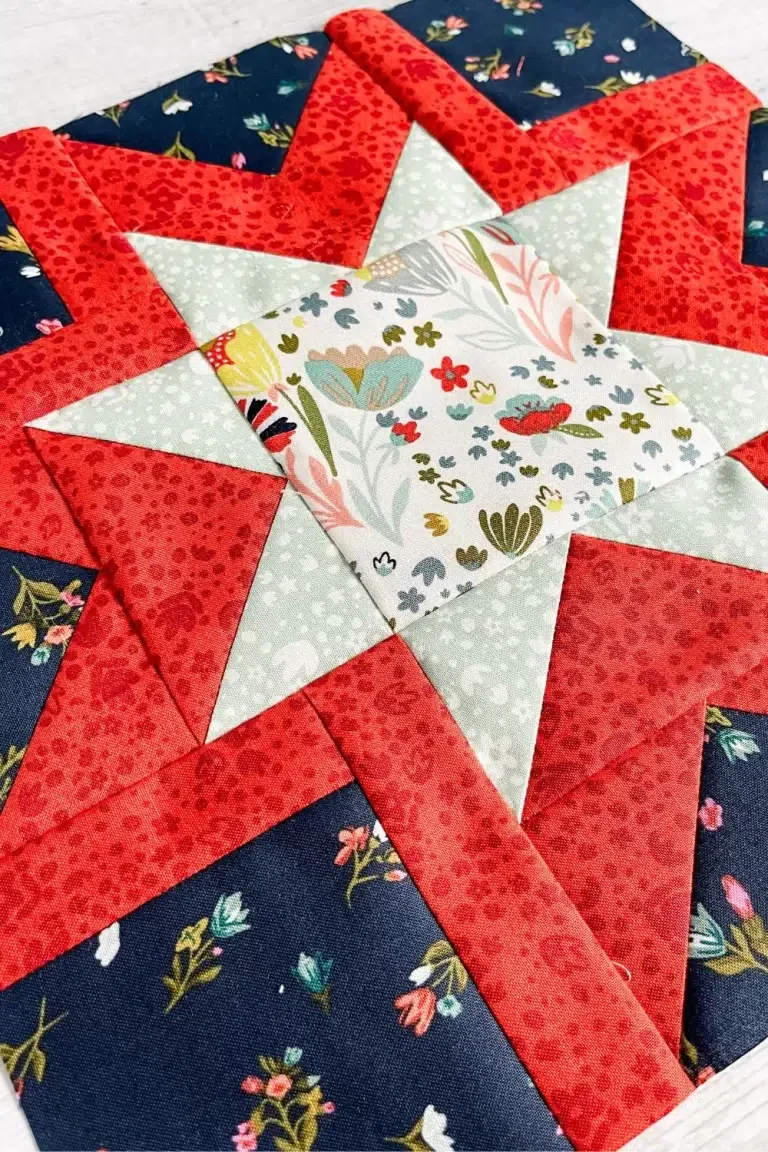
Where You’ll See Stitch and Flip Flying Geese Used
Stitch and flip Flying Geese commonly appear in
- Star blocks
- Sampler quilts
- Borders
- Accent rows
- Blocks with feature or directional fabrics
This method is often integrated directly into larger blocks rather than used to create standalone units.
Free Printable Stitch & Flip Flying Geese Guide
If you’d like a simple reference to keep by your sewing machine, I’ve created a free printable PDF cutting chart and instruction guide for the stitch and flip Flying Geese method. It includes cutting sizes and concise step-by-step instructions you can download and print.
You can sign up below to have the PDF sent straight to your inbox.
Wrapping It Up
The stitch and flip method is a simple, reliable way to make Flying Geese units and is well worth adding to your quilting toolbox. Whether you’re working with scraps, following a pattern that calls for this method, or prefer building units one at a time, it’s a technique you’ll likely come back to again and again.