

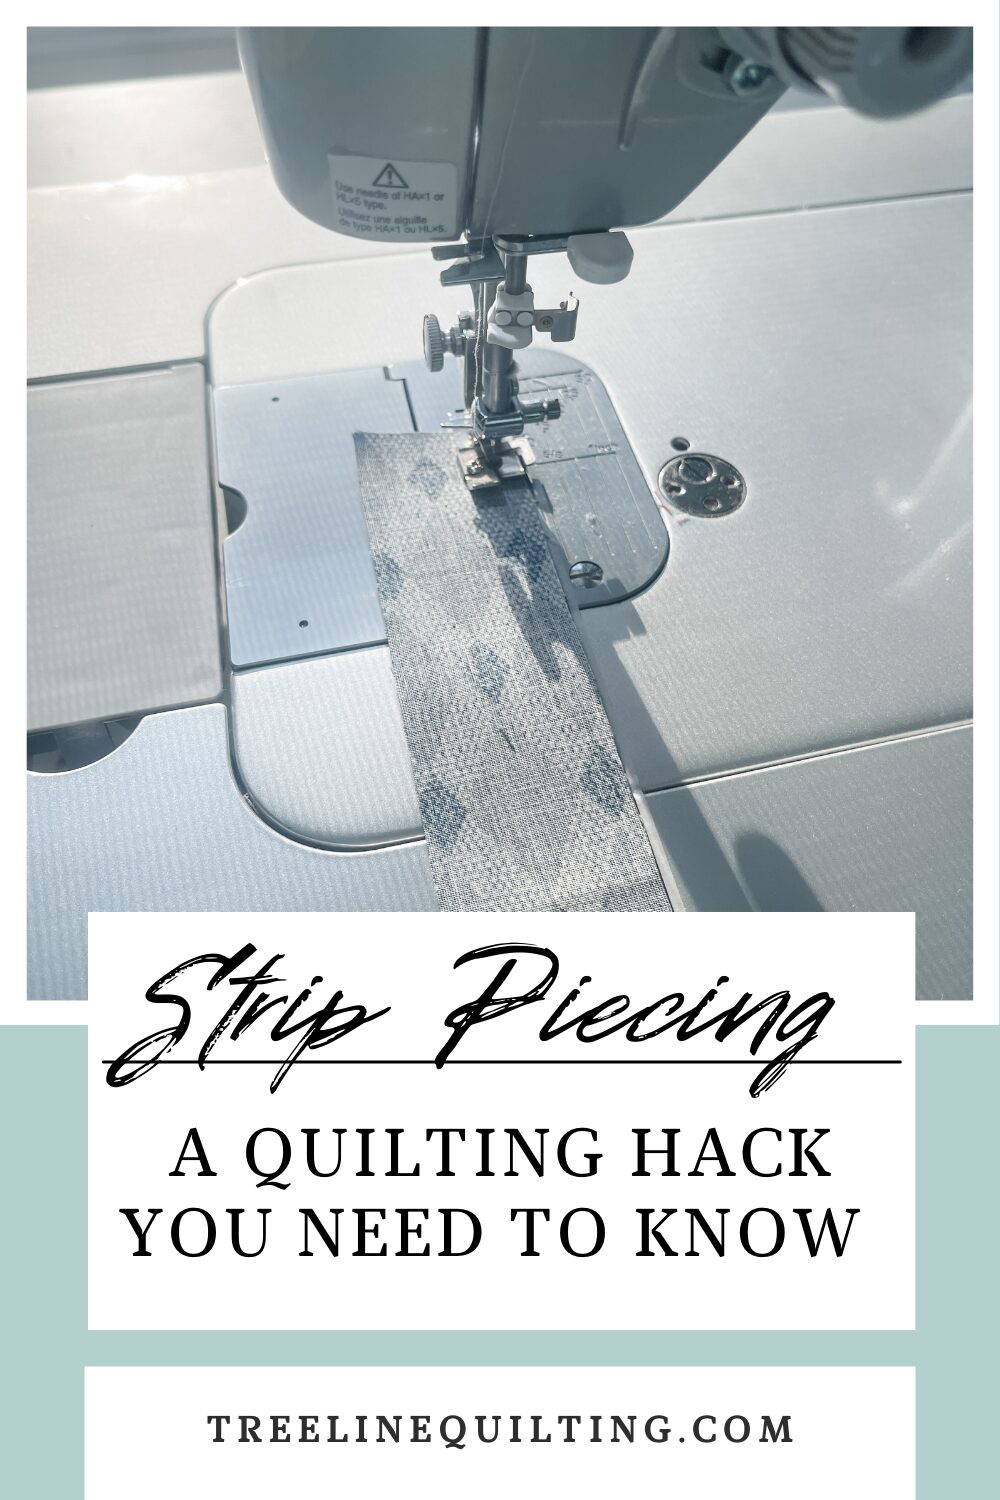
Strip Piecing for Quilting: Quilting Quick Tip
Have you ever heard of strip piecing for quilting? Don’t know what that even means? Let me help you out with a quick picture tutorial of how strip piecing can help you make quilt pieces quicker and more precisely.
When purchasing through links on this site, I may earn an affiliate commission at no cost to you.
When purchasing through links on this site, I may earn an affiliate commission at no cost to you.
What is Strip Piecing?
A brief description of strip piecing is where you sew strips of fabric together in long lengths. Then using a ruler and rotary cutter, you cut across the strip set to make precise sized blocks or pieces of a quilt block quickly and easily.
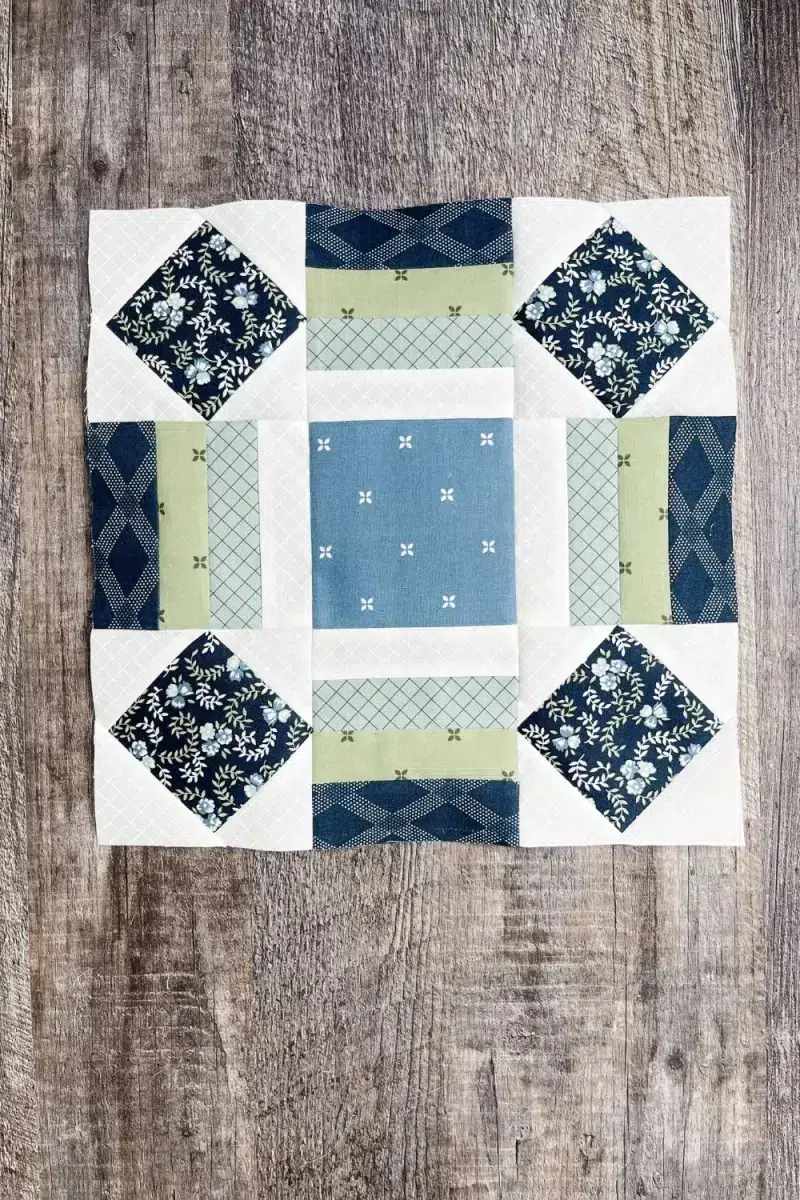
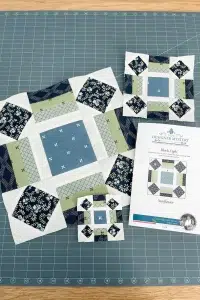
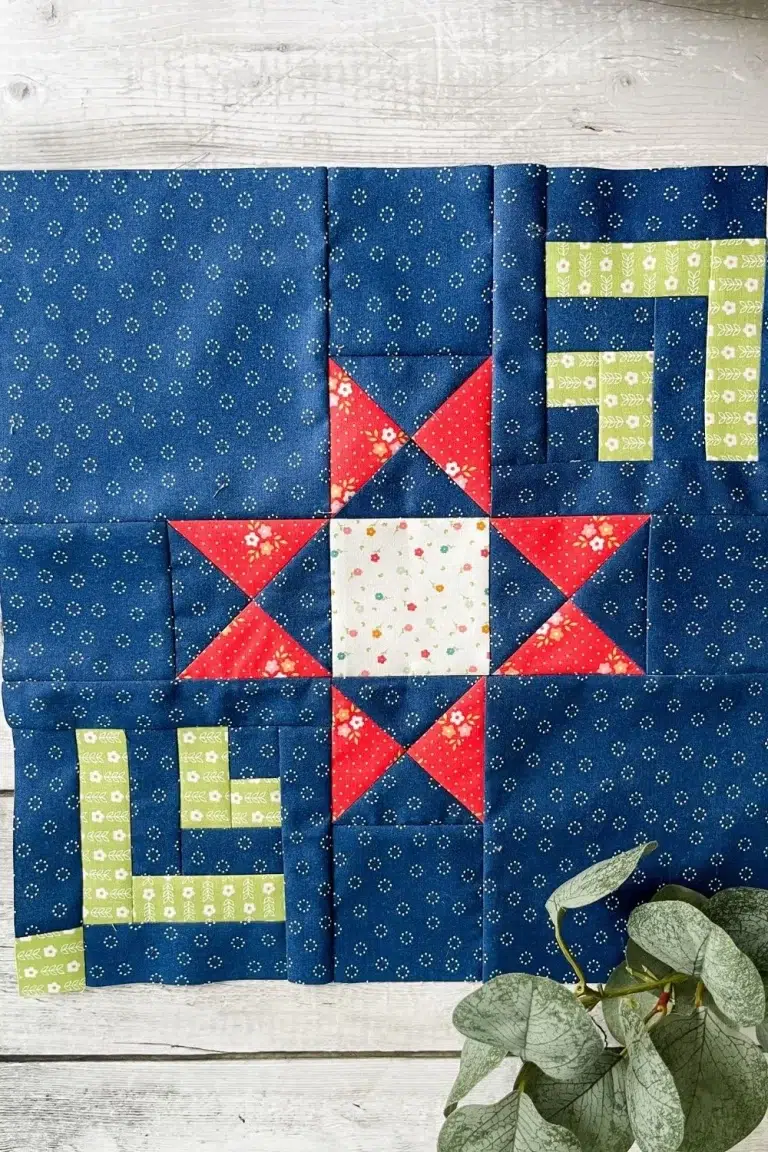
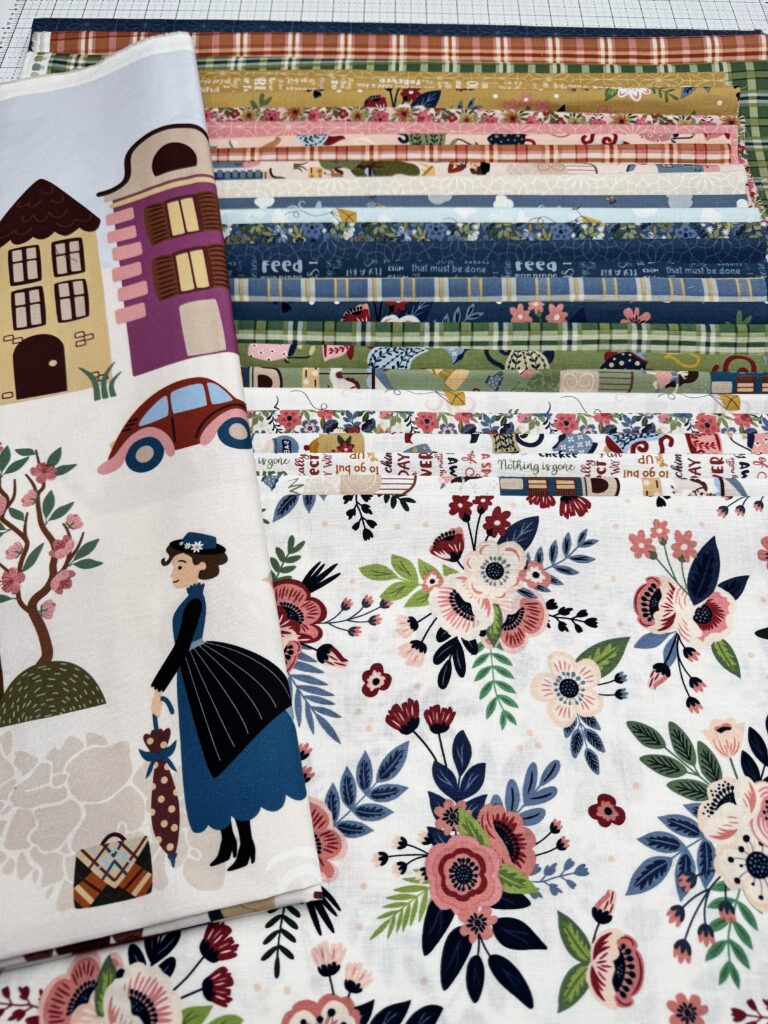
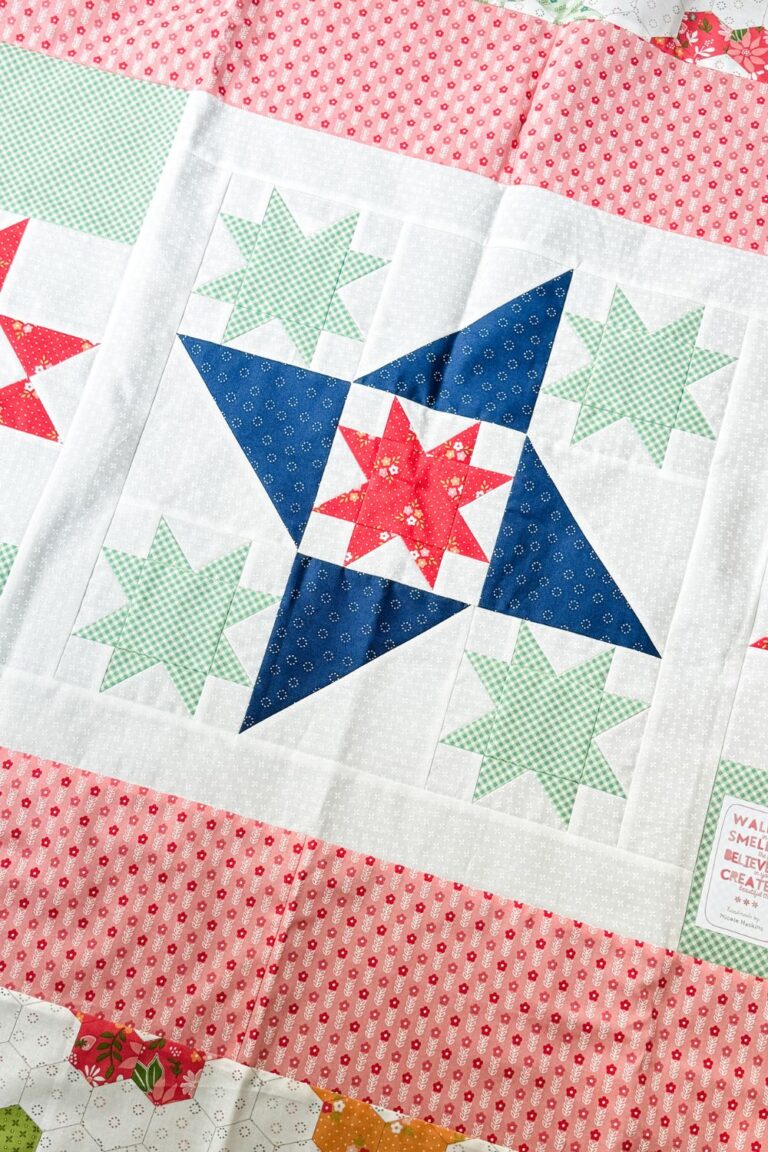
Let’s start with our strips. These can be any width. Often times, patterns will use jelly rolls (2.5″ wide strips) sewn together to make blocks like the rail fence block. But other times a quilt block pattern will use multiple strips sewn together to make a portion of a block. The Sunflower block below from Designer Mystery 2023 Month 8 is one example. Notice how the sides of the block are made up of four fabric strips in various colors.
Strip Piecing Math
The first step to making a strip set is to determine how wide the strips need to be. Next, how long do you make your strip sets?
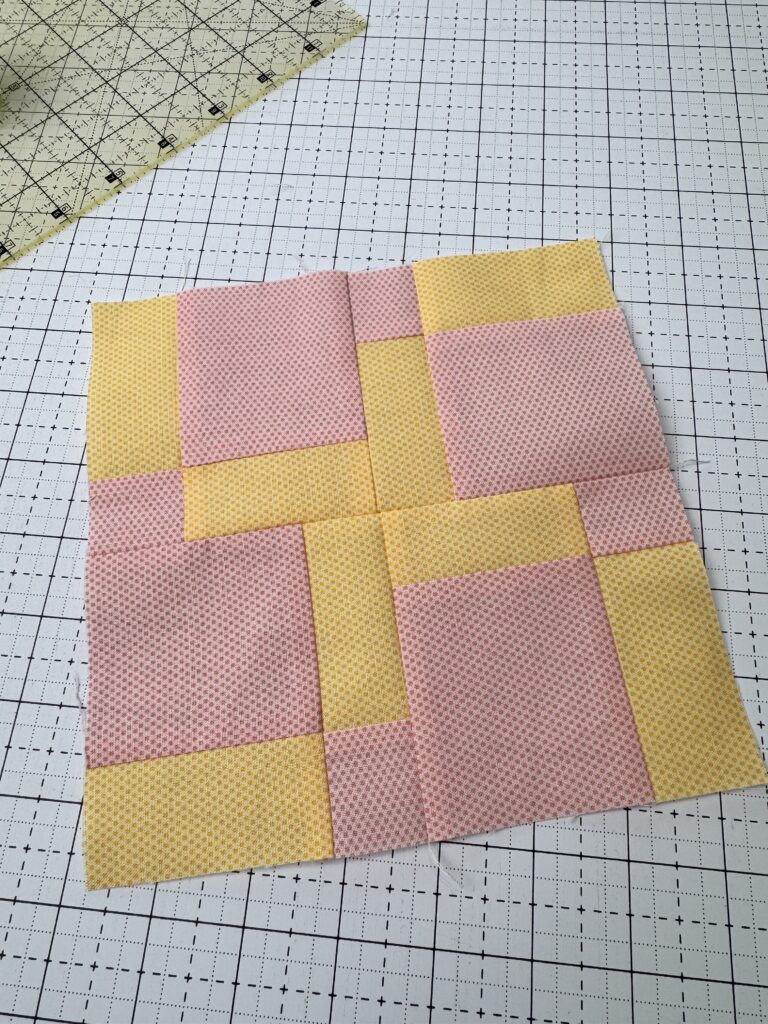
To determine how wide the strips each need to be, you need to know how wide the each of the finished pieces are. Then add half an inch to the width of the strip. In the block above, each of the 4 colors are 1 inch wide. Therefore the strips were cut at 1.5″ wide.
Next how long of a strip should you use? Each of the 4 pieces above were cut down to 4 1/2″ wide. Therefore we need 18 inches total (4.5 x 4 = 18). Then we need to add a little extra to trip perfectly square ends. I usually add a half inch to an inch for trimming. This means we would need a strip approximately 19 inches long in each of the four fabrics.
Strip Piecing Steps
The first step, after cutting, is to sew the strips together. Using an accurate 1/4 inch seam, sew together as many strips as you need for the final product. This can be as few as two strips and up to as many as your pattern calls for.
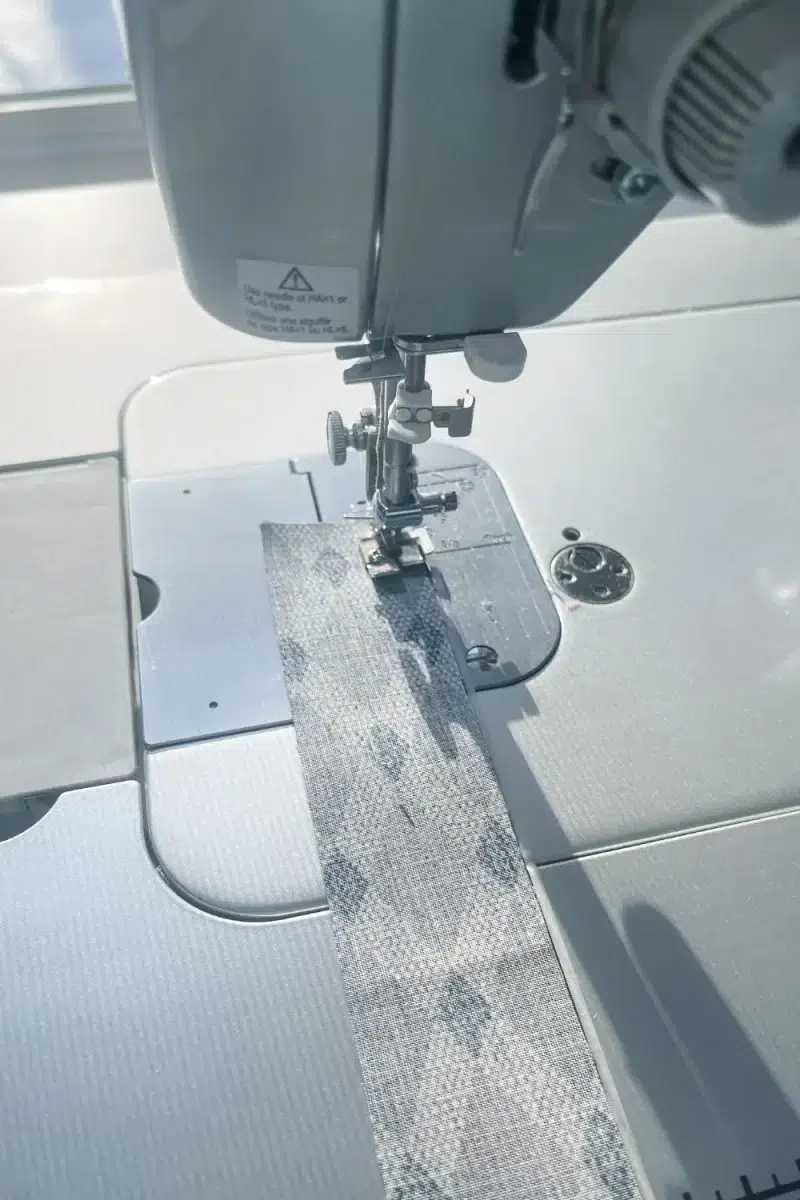
After your strips are all sewn together, press the seams according to your pattern. If your pattern doesn’t indicated a direction, you can press them all to one side, towards the darker fabrics, or even press them open to reduce bulk in the seams.
Cutting Down the Strip Set
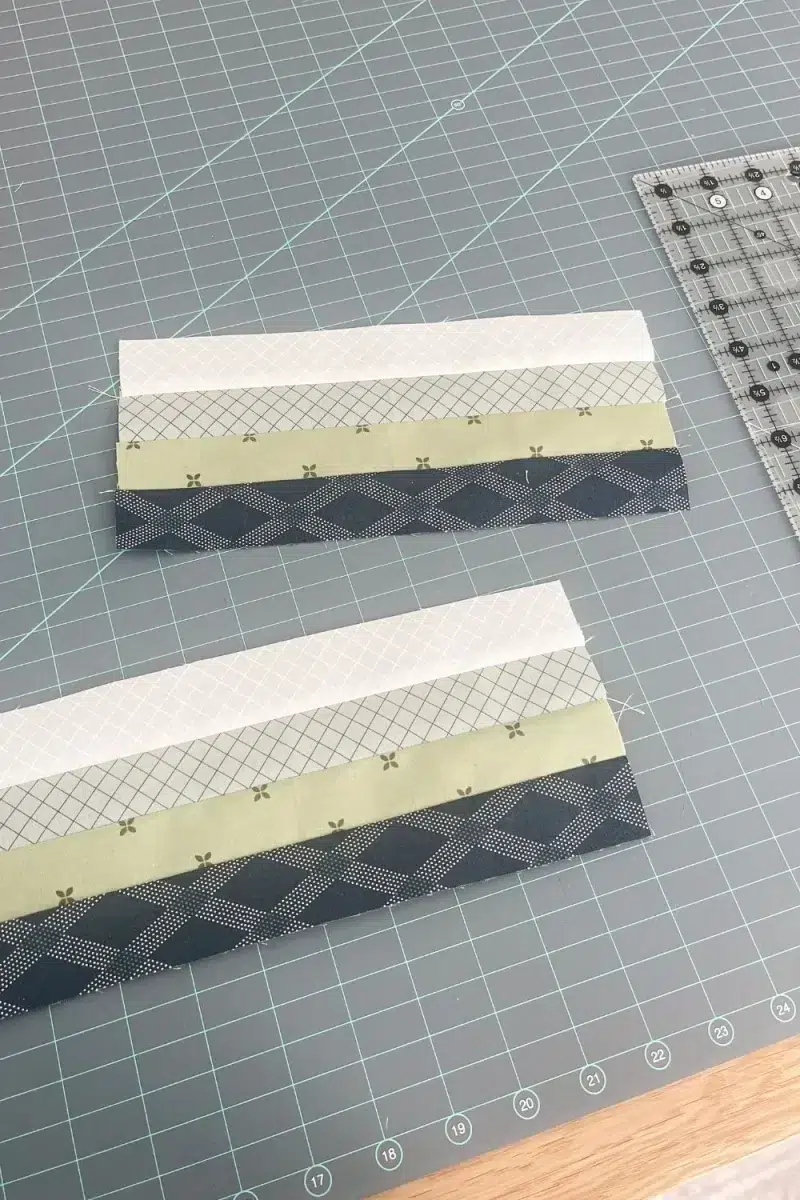
Next you need to cut across your strip set to make a nice square edge. Using a ruler, align a horizontal mark along the bottom of the strip set with the cutting edge near the end of strip set. Cut off the uneven edge so that you now have a nice square edge to cut from.
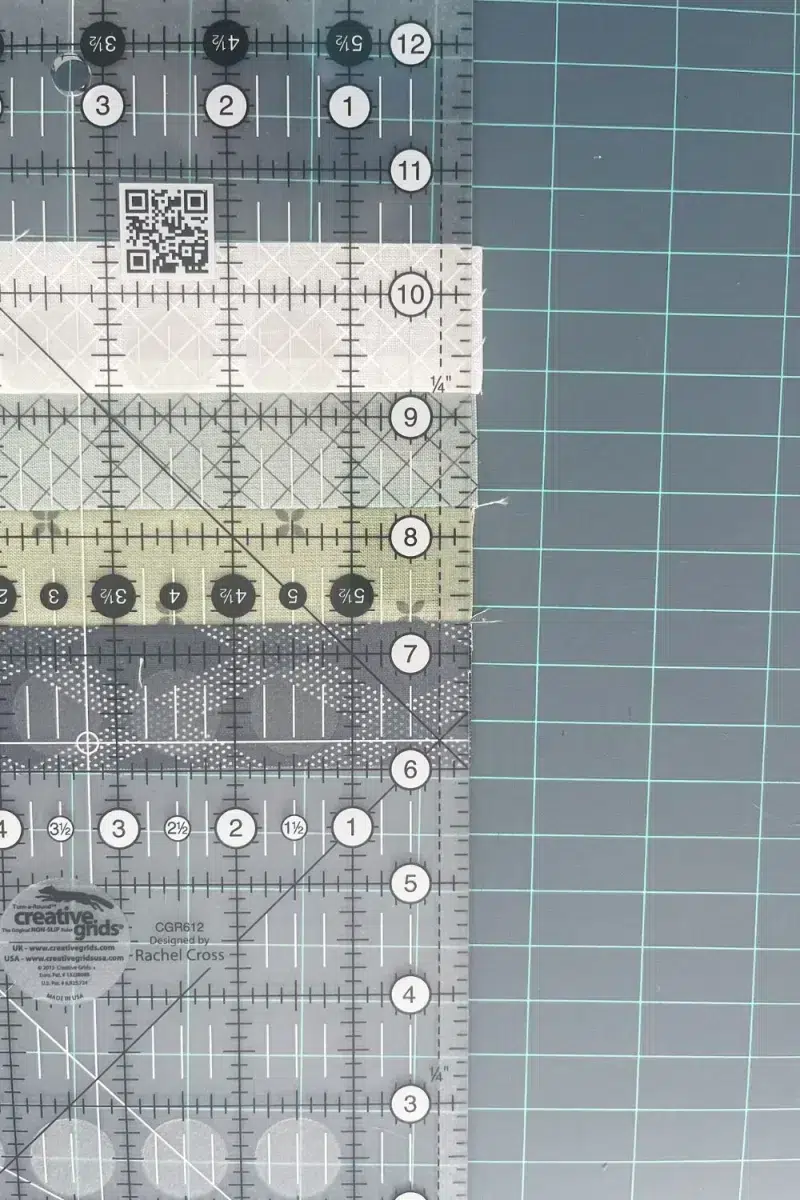
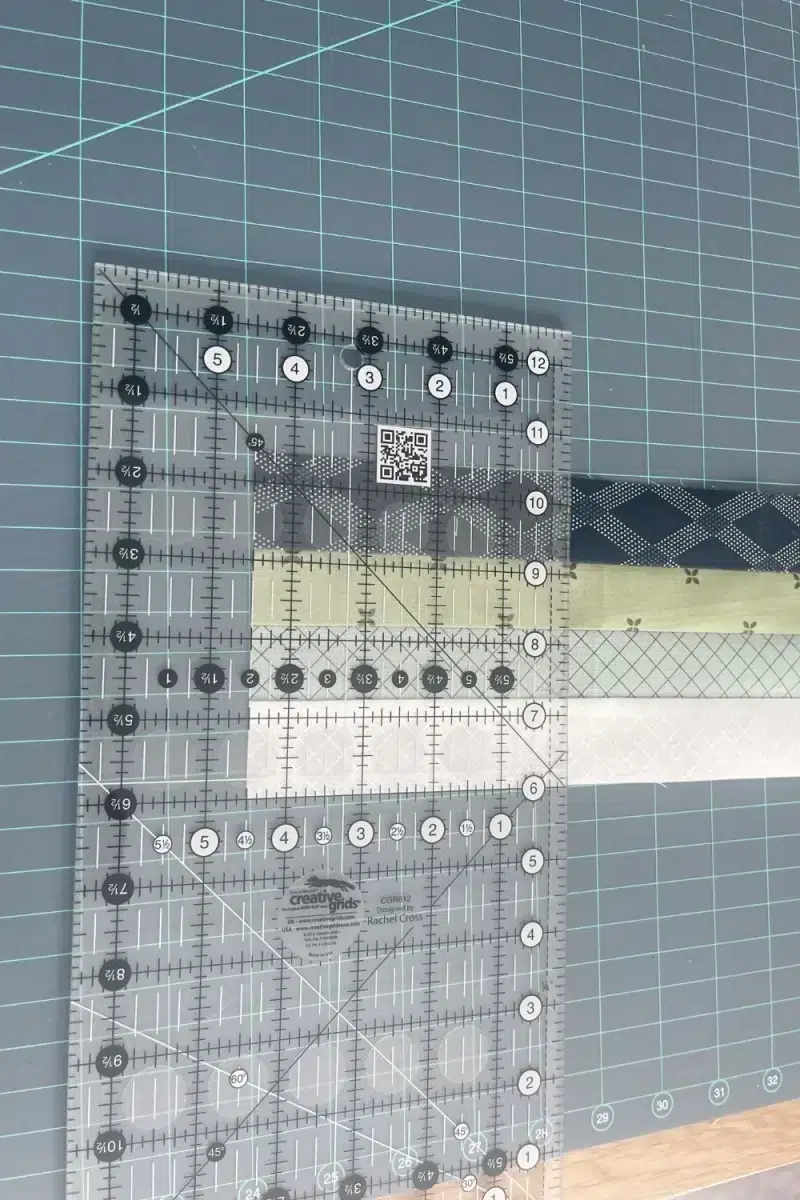
At this point, I usually flip my piece around so the nice square edge is on the left and I can measure over to the width of block I need to cut. In this case, I was cutting out 4.5″ blocks. In the image below you can see how I lined up a horizontal line of the ruler along the bottom edge of my strip set and the 4.5″ line on the left most edge of the fabric.
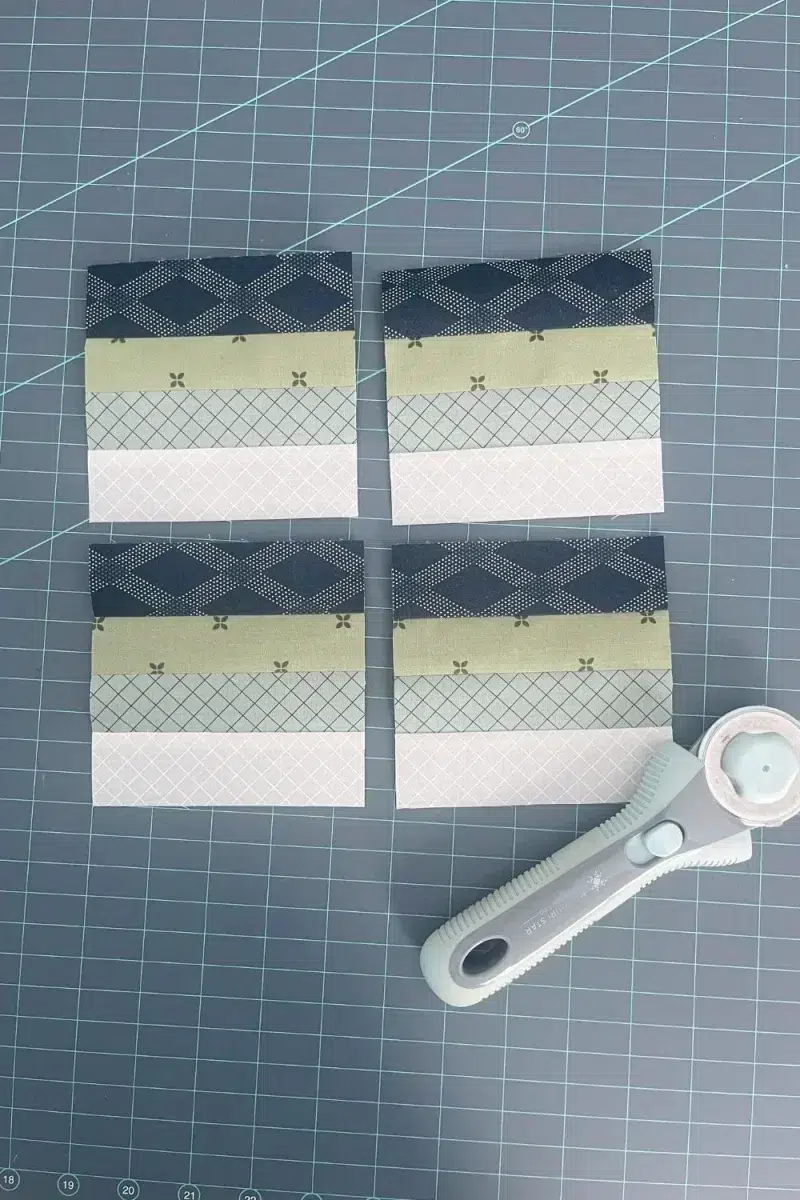
Continue trimming down blocks until you have the desired quantity. For this quilt block I need 4 pieces of strip pieced sections.
I hope you find this quick picture tutorial helpful in strip piecing for quilting. As your pattern reading skills improve, you will find many times throughout quilt patterns where this technique can be helpful to make more precise blocks in a more efficient manner.
Happy quilting!
One Comment
Comments are closed.