Quilt Scrap Organization
Quilt scrap organization is the bane of my existence some days.
When purchasing through links on this site, I may earn an affiliate commission at no cost to you.
If you’re a quilter, then you have scraps.
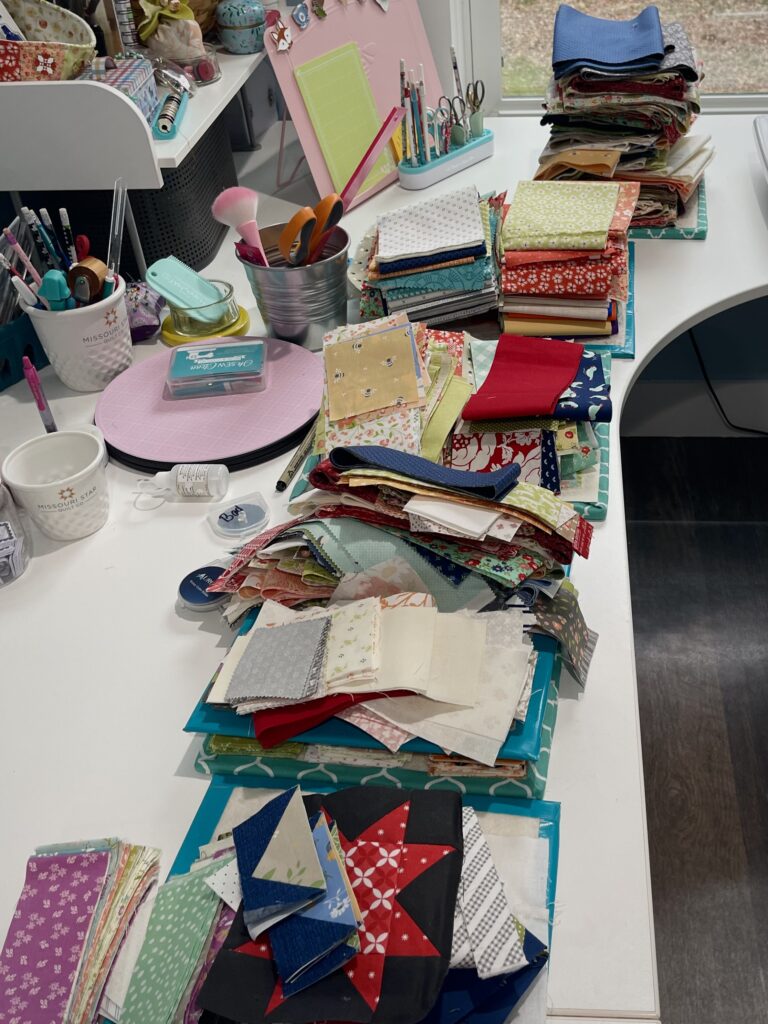
Sometimes you end up with more scraps on a project than you plan on. And then the next project comes and you have more fabric scraps. Over time they grow and take on a life of their own. And if you don’t have a plan for them, it gets overwhelming to have a stack (ahem, bins and buckets) of scraps taking over your creative space.
That’s where I found myself. I had scraps in a basket by my sewing machine, two boxes in my cube storage, and multiple Art Bin containers full of scraps and unused fat quarters from a previous project. It was getting overwhelming and something had to be done about it.
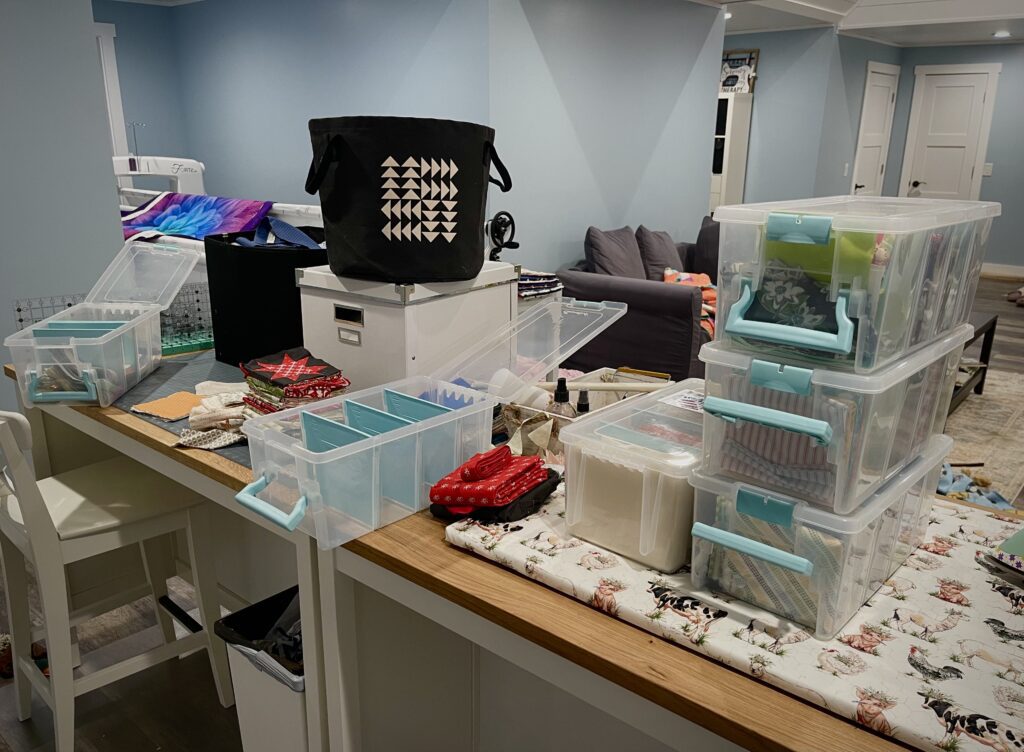
I decided to pause everything crafty and get to work on getting my fabric scraps under control. I had previously seen how Lori Holt of Bee in My Bonnet sorted and contained her scraps. I adopted most of her principles as I set about sorting and cutting down my scraps.
She has an excellent YouTube video explaining her process here.
Related Post: Precut Fabric Sizes
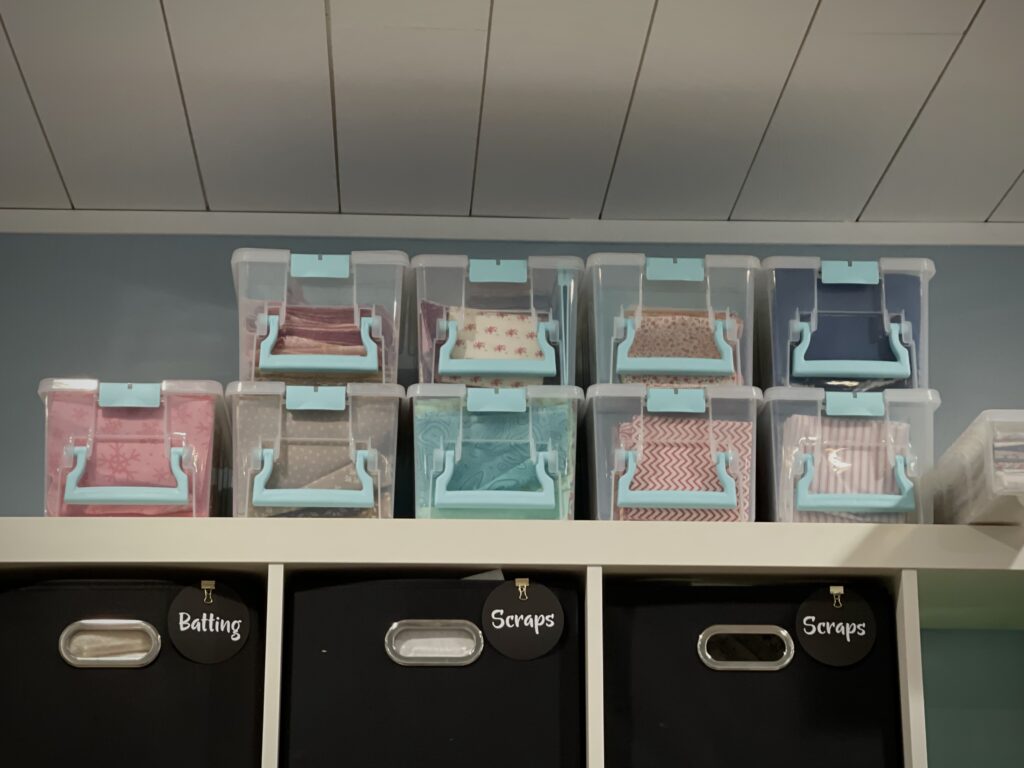
My Method for Scrap Organization
- First, pull all of the scraps I have together in one spot.
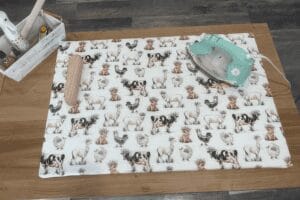
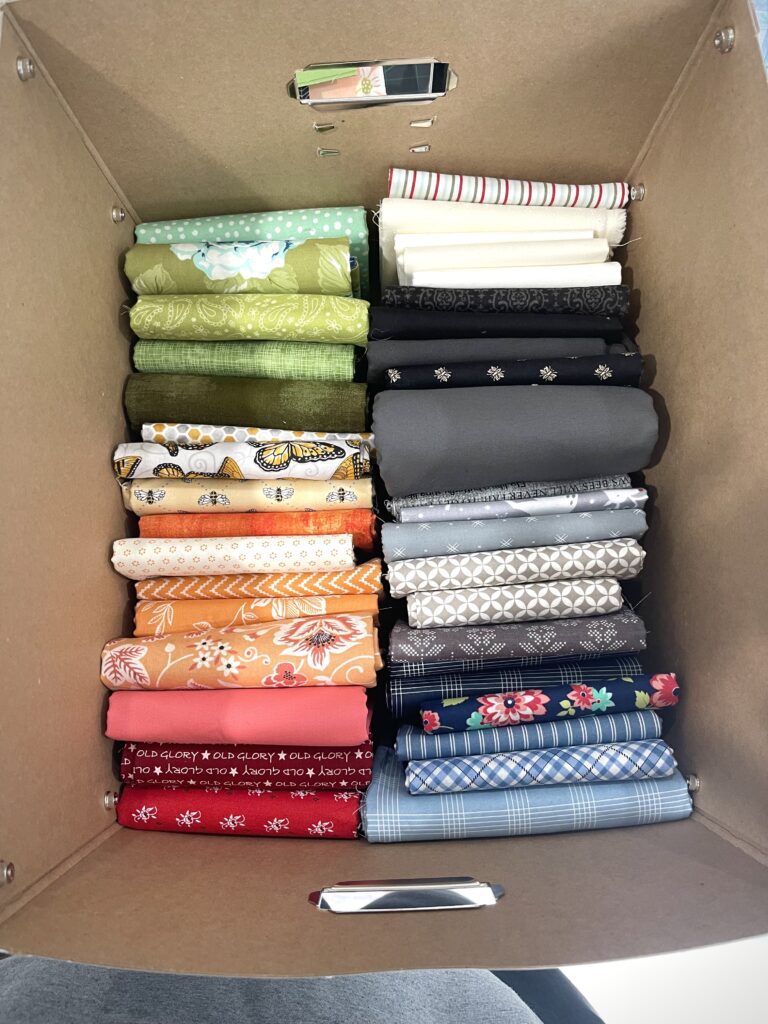
- Anything over a half yard – iron and fold, then store in a large 12″x12″ box.
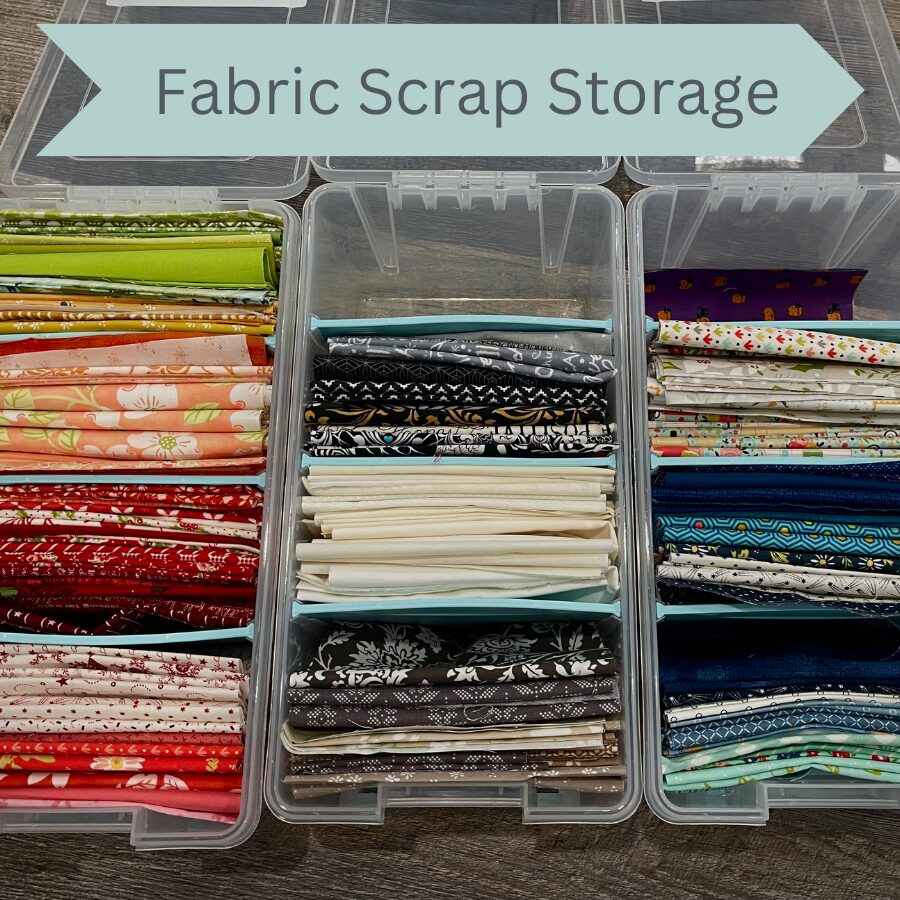
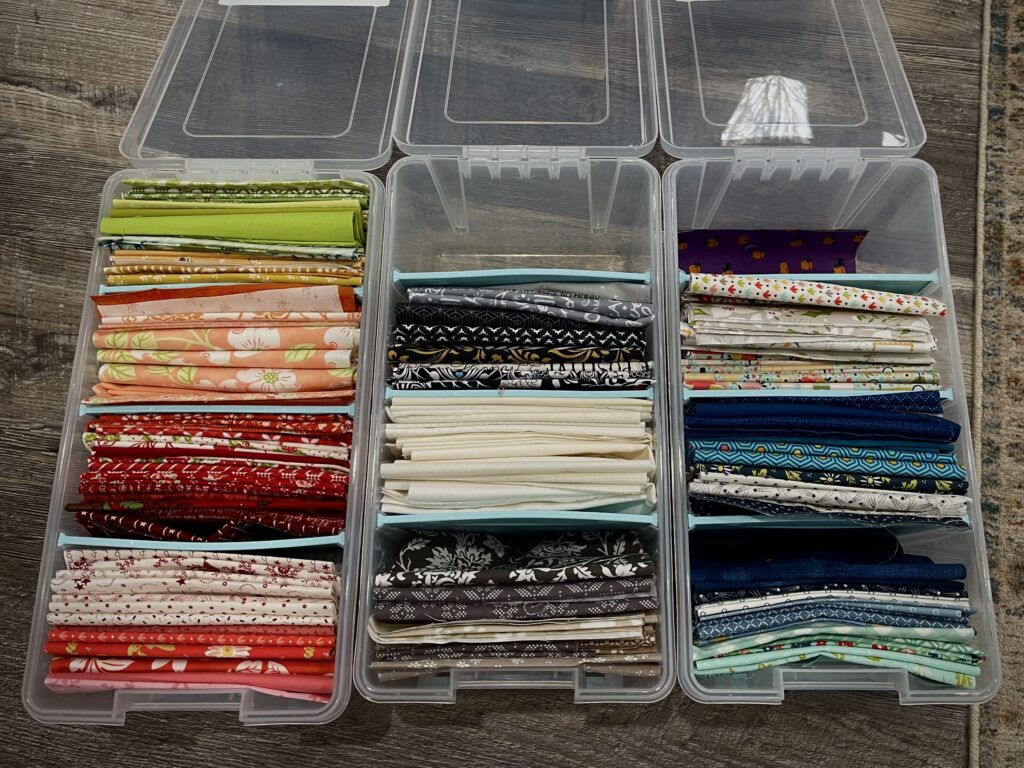
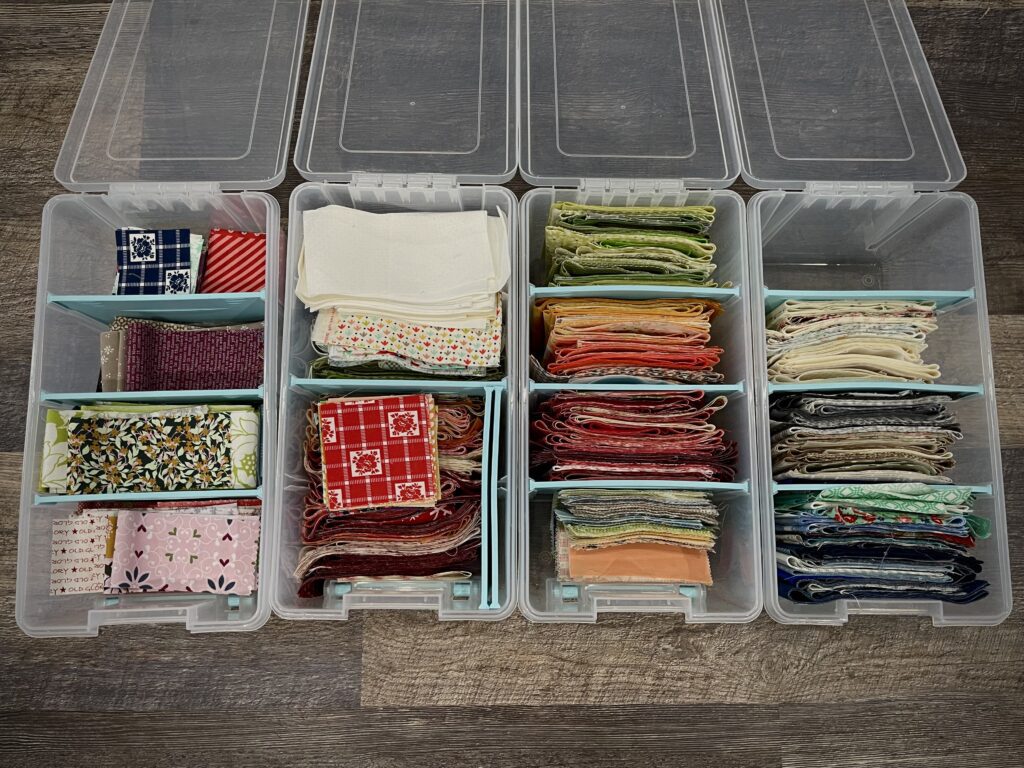
- Fat Quarters – iron and fold, sort by rainbow color and store in an Art Bin tote
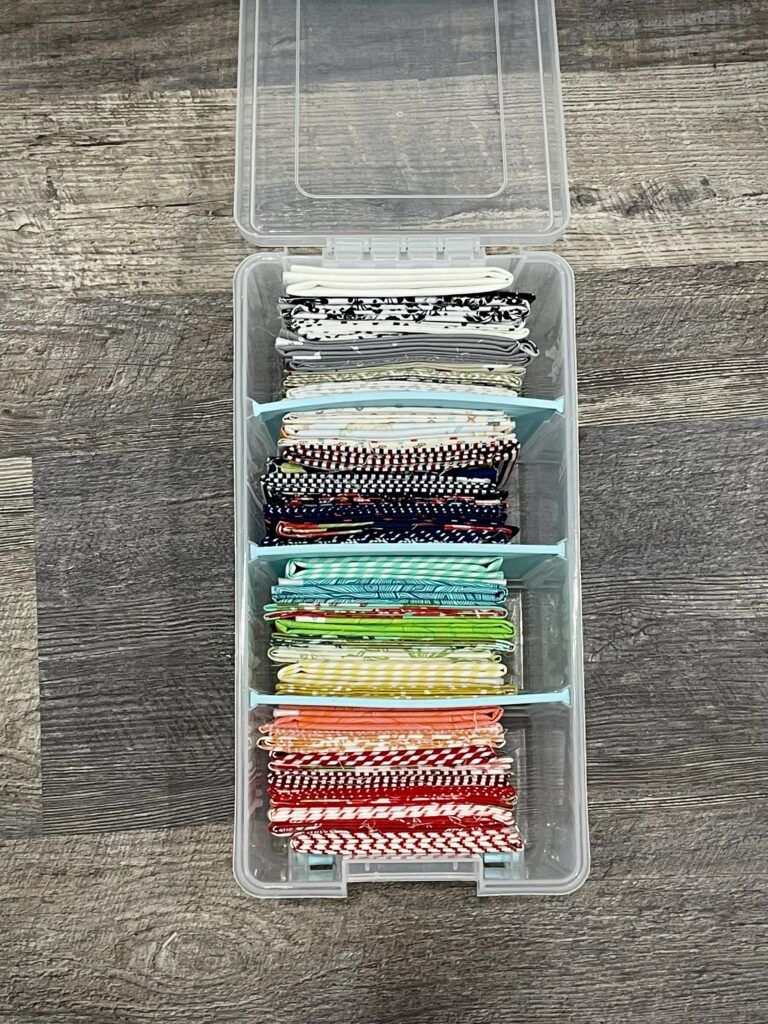
- Smaller than a fat quarter – iron and cut into strips or squares depending on how large each piece was. The strip sizes I chose to do were 7″, 5″, 3 1/2″, and 2 1/2″
- After cutting all of the strips to size, I organized them all by rainbow color, loosely folding them over to fit into Art Bin totes by size. It worked best for me to sort the containers by size, but you could also do one container per color if that works better for the containers you have.
Why specific sized strips and squares?
The strip sizes work well because they can be used for or reduced down to common quilting piece sizes. For example a 7″ strip can be cut to the commonly used 6 1/2″ square or rectangle, or it can easily be cut into two 3 1/2″ strips which is also a common quilt piece dimension. Obviously it can be used for anything smaller than 7″.
I didn’t want to save anything smaller than 2 1/2″. It might seem wasteful to some, and I struggled with the decision to not also do 1 1/2″ strips, but in the end, I didn’t have much left that could have made that size and scraps will always grow with each project and I had to be realistic on how many scraps I really wanted to keep and would actually use.
All in all this project took about 4 days of work. My bins still need labeled for sizes, but it has contained my scraps and made them more accessible for use. I’m on the hunt for some easy scrappy patterns to use some of these up. I love the look of this free pattern on Fat Quarter Shop’s website.
I encourage you to take the leap and get a handle on your quilt scrap organization. It takes away the mental burden of having them disorganized and scattered in your sewing space.
Happy Quilting! (and Scrap Organizing!)