Square-in-a-Square Quilt Block
Size Chart, Cutting Guide & Tips for Perfect Points
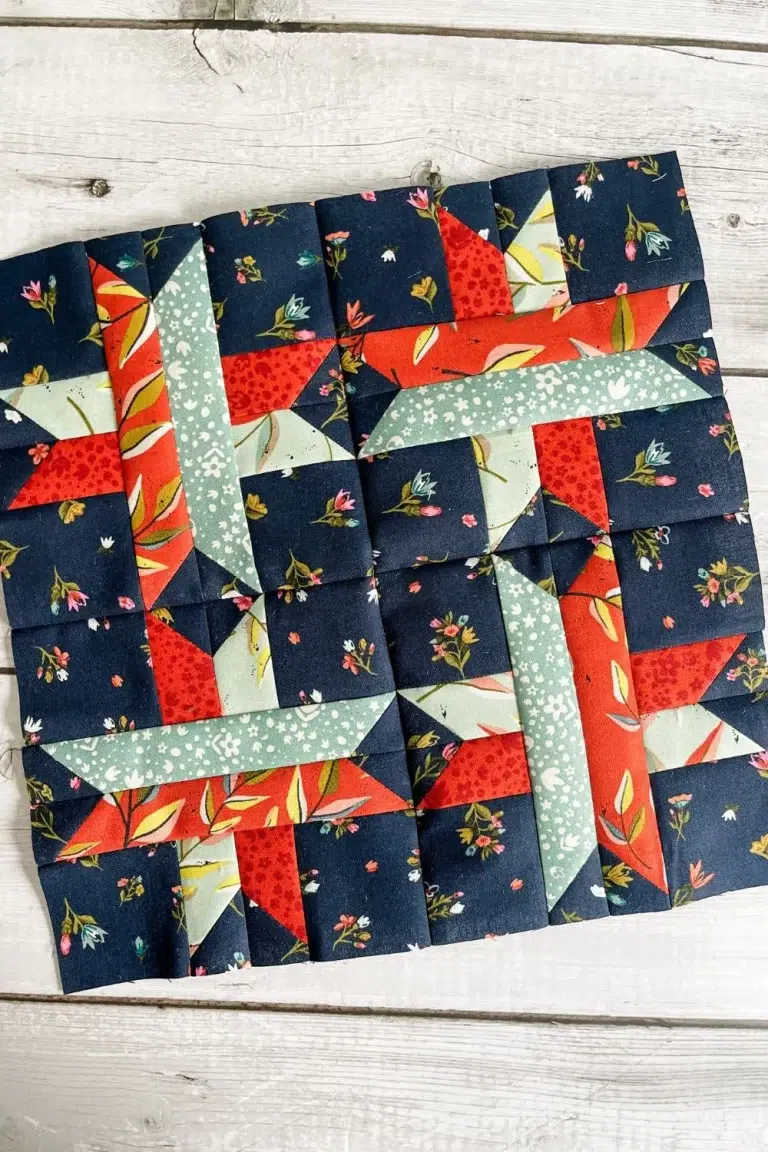
The square-in-a-square block is one of those foundational quilt blocks that shows up everywhere—from simple beginner quilts to more advanced designs with lots of movement and contrast.
When purchasing through links on this site, I may earn an affiliate commission at no cost to you.
At first glance, it looks straightforward… but if your points are getting chopped off or your block isn’t finishing the right size, it can get frustrating quickly.
The good news? Once you understand the math behind it and a few key techniques, this block becomes really reliable.
In this post, I’m going to walk you through:
- The correct cutting formula
- A size chart you can reference anytime
- How to sew it accurately using stitch-and-flip corners
- A few small adjustments that make a big difference
And I’ll also include a printable version you can save for later.
What Is a Square-in-a-Square Block?
A square-in-a-square block is exactly what it sounds like—a center square with triangles added to each corner to create a larger square on point.
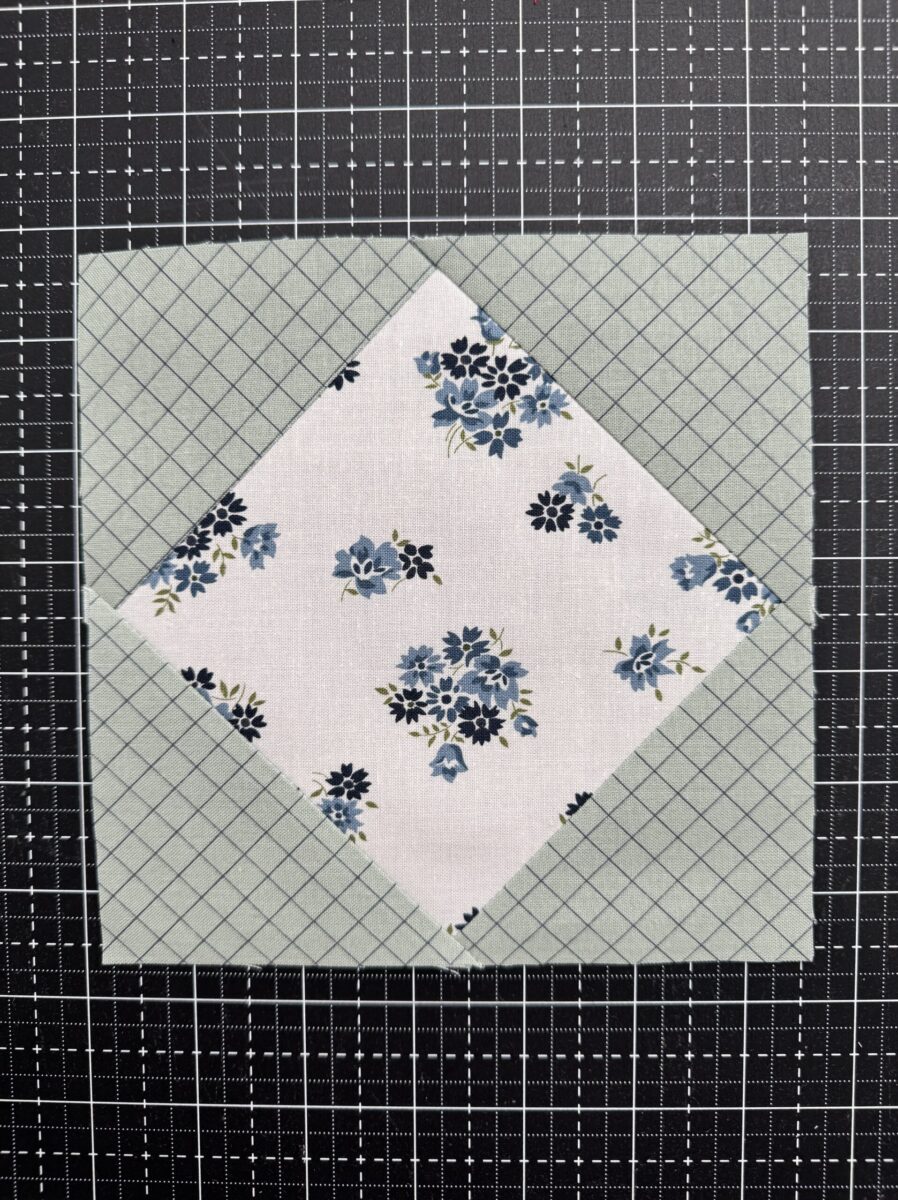
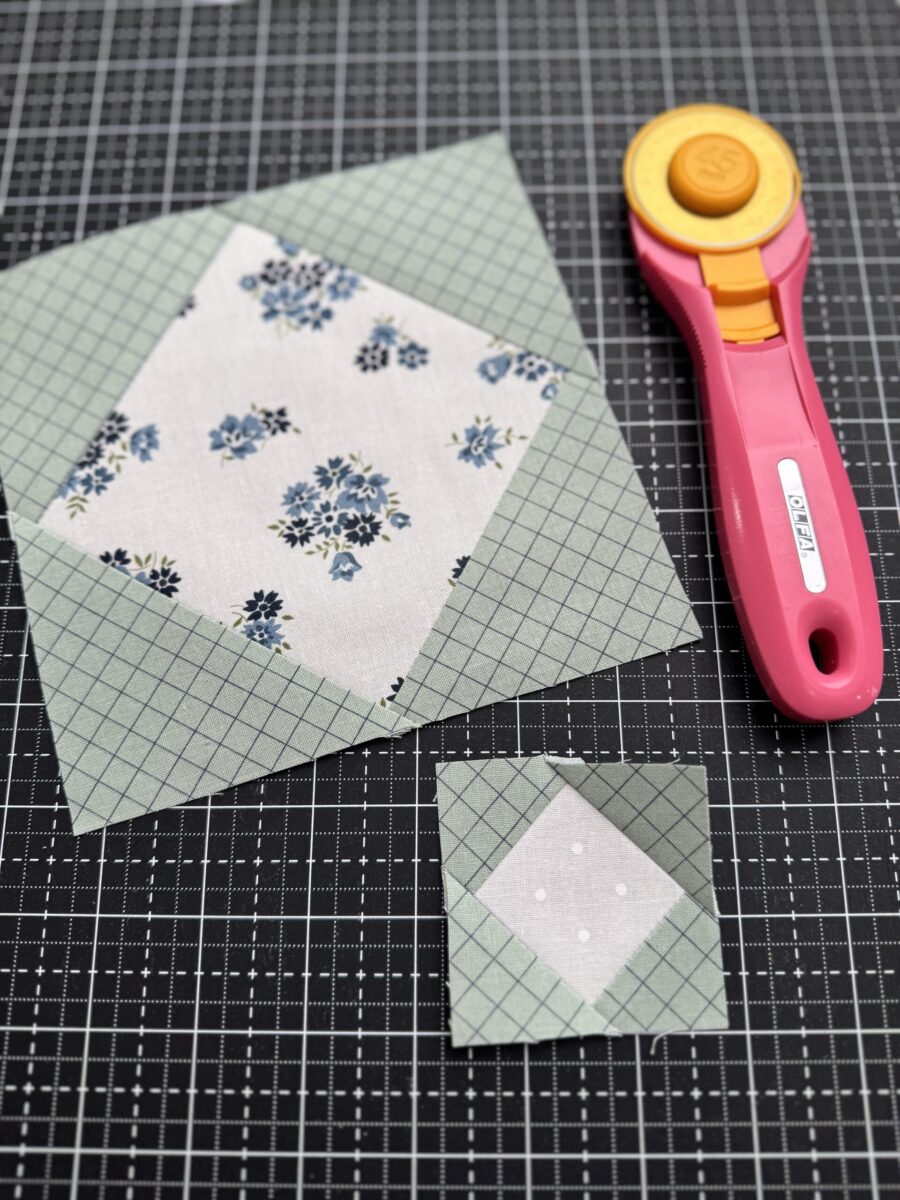
Most commonly, this is made using the stitch-and-flip method, where smaller squares are sewn onto each corner of a larger square and then trimmed.
This method is beginner-friendly, but it does introduce bias edges, which is where accuracy really matters.
Square-in-a-Square Cutting Formula
Let’s start with the part that makes everything else work.
For a square-in-a-square block using stitch-and-flip corners:
Center Square (cut size) = Finished Block Size + 1/2″
Corner Squares (cut 4) = (Finished Block Size ÷ 2) + 1/2″
This formula gives you the correct proportions so your block finishes at the right size without trimming.
How to Sew a Square-in-a-Square Block
This is where a lot of accuracy is either gained… or lost.
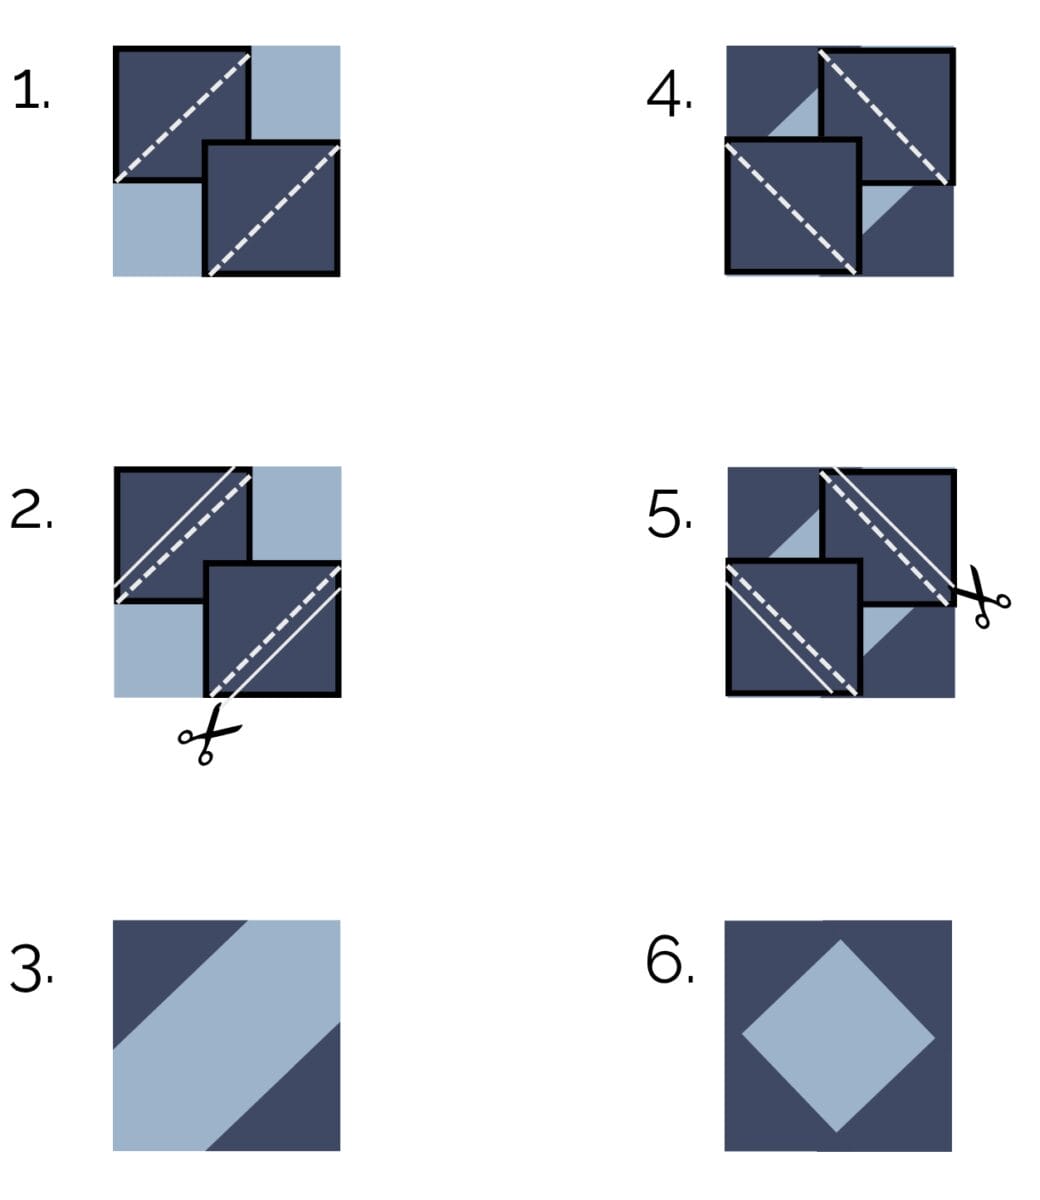
Start by drawing a diagonal line on the back of each corner square.
Place one square right sides together on a corner of your center square, aligning the edges. Sew directly on the drawn line.
Before trimming, take a quick second to flip the corner open and check that it fully covers the edge of the block. This is one of those small habits that saves a lot of frustration later.
Trim 1/4″ away from the seam, press, and repeat for the remaining corners.
By the time you finish all four corners, you’ll have your completed square-in-a-square block.
A Small Adjustment That Makes a Big Difference
If your points tend to get cut off, this is often a stitching issue rather than a cutting issue.
Instead of sewing directly on the drawn line, try stitching just a thread outside the line, toward the outer corner of the block.
This gives the folded corner fabric a tiny bit of extra room to reach the edge of the block and helps keep your points from disappearing into the seam allowance.
It’s a subtle adjustment, but it can make a noticeable difference.
Working With Bias Edges
This block creates bias edges along all four sides once the corners are added.
That means the edges can stretch more easily than straight-of-grain fabric.
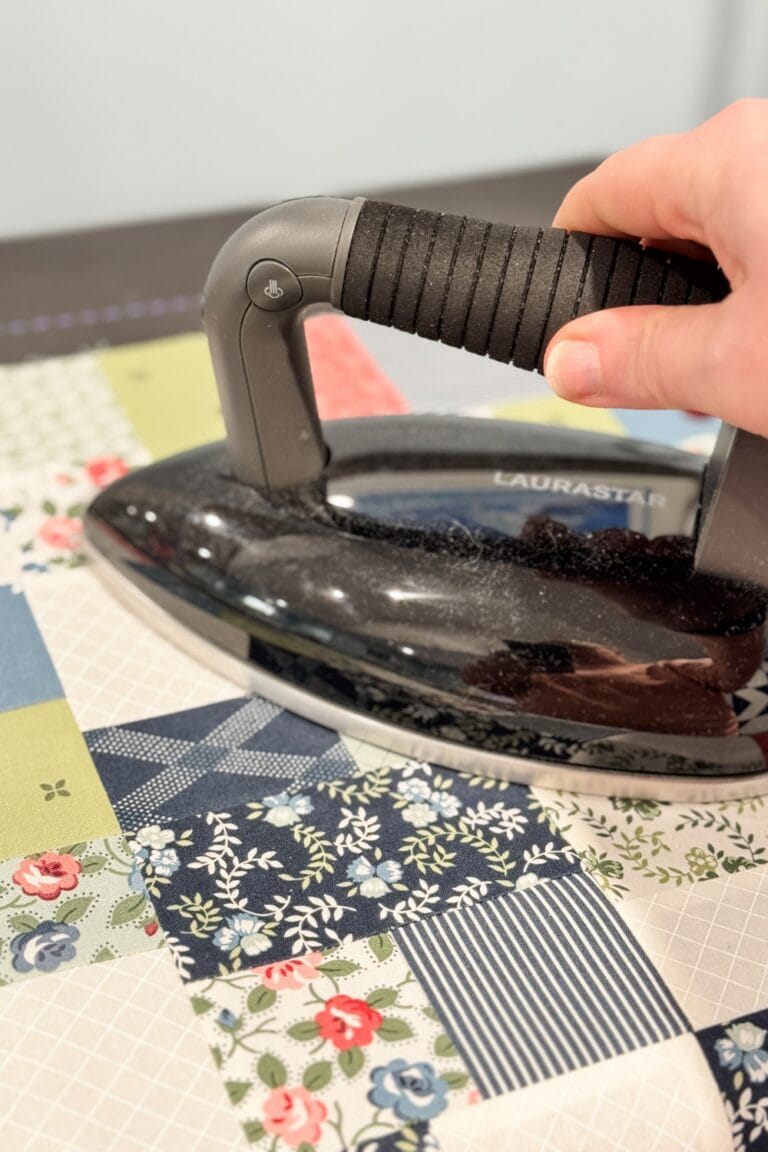
This is where a lot of distortion can sneak in, especially if you’re pressing too aggressively or handling the block a lot before it’s sewn into a quilt.
Try to press, not iron.
Lifting and setting your iron instead of pushing it across the fabric helps prevent stretching along those bias edges.
If you’ve ever had a block that looked fine at first but ended up slightly wavy or oversized later on, bias stretch is usually the reason.

Tips for Accurate Square-in-a-Square Blocks
There are a few habits that really help keep everything consistent:
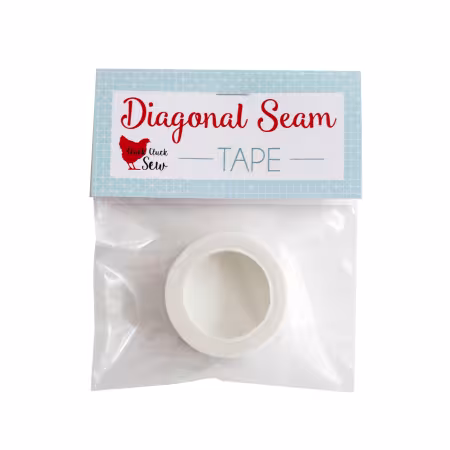
- Use a diagonal seam guide or seam tape to stay accurate on your stitch line
- Don’t sew too slowly—fabric tends to shift more when the machine hesitates
- Trim carefully and consistently after each corner
- Press after each step to keep everything flat and controlled
None of these are complicated, but together they make a big difference in how clean your final block looks.
When This Formula Doesn’t Apply
This chart is based on the stitch-and-flip method with no trimming.
If you’re working from a pattern that:
- has you oversize and trim down
- uses foundation paper piecing
- or uses specialty rulers
…the cutting sizes will be different.
So if something doesn’t match exactly, it’s usually because the method is different—not that anything is wrong.
Printable Square-in-a-Square Size Chart
If you want a quick reference to keep in your sewing space, I’ve put together a printable version of this chart along with the basic instructions.
It’s something you can keep next to your cutting mat or tuck into your quilting binder for easy access.
Final Thoughts
The square-in-a-square block is simple in construction, but it really highlights accuracy.
Once you get comfortable with the sizing and make that small adjustment to your stitch line, it becomes a really reliable block that you can use in all kinds of quilt designs.
And like a lot of these foundational blocks, the more you make them, the easier they get.