Why Your Quilt Seams Are Puckering (and How to Prevent It)
There’s nothing more frustrating than sewing a seam, pressing it open… and seeing puckers where everything should be smooth.
When purchasing through links on this site, I may earn an affiliate commission at no cost to you.
It’s easy to assume something is wrong with your machine—but in a lot of cases, puckering actually starts before you ever sit down to sew.
Once you understand what’s really causing it, you can prevent most puckering from happening in the first place.
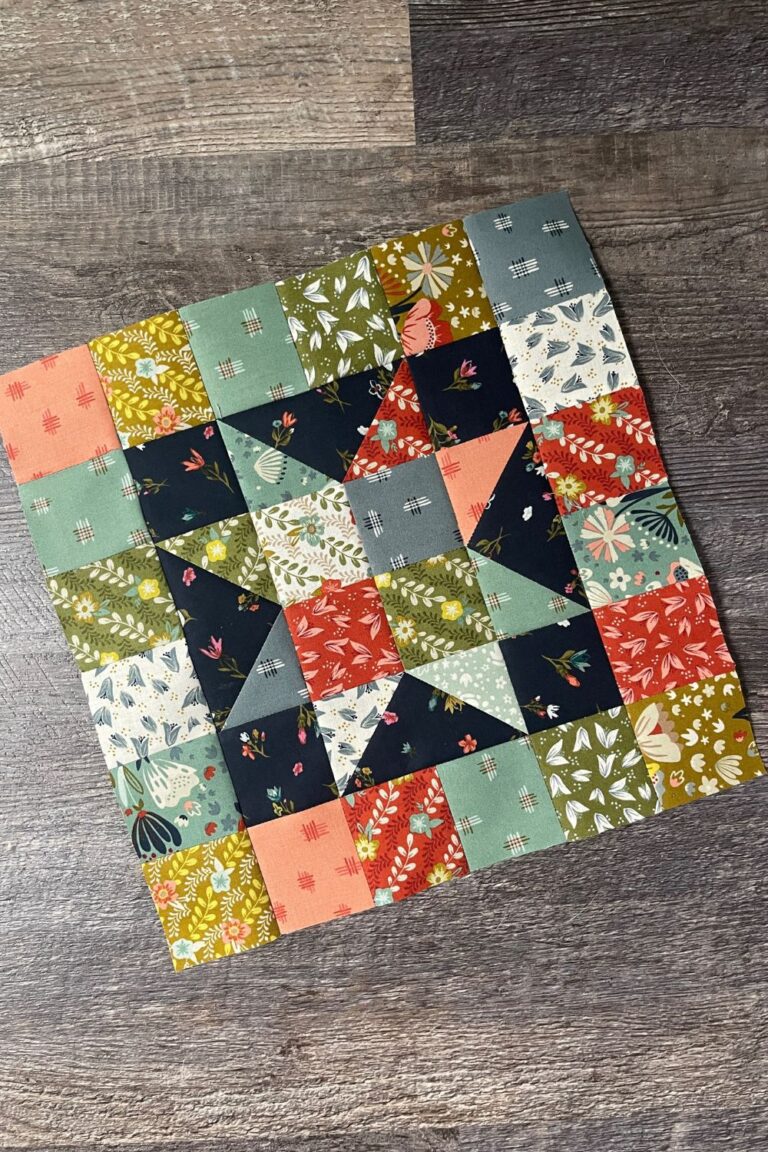
The Most Common Cause I See (Especially in Borders and Sashing)
In my experience, puckering shows up most often when adding borders or sashing.
And it usually comes down to this:
your pieces don’t actually match in size—even if they’re supposed to.
If your quilt blocks or quilt center end up just slightly smaller than intended (which is very common), and you cut your borders to the pattern size instead of the actual size, you’re forcing those pieces to fit together.
That’s where the puckering starts.
Measure What You Have—Not What the Pattern Says
Before cutting borders or sashing, take a minute to measure your quilt or blocks as they actually are.
Not what they should be.
Not what the pattern says.
What they are.
When your pieces match in size, everything goes together smoothly. When they don’t, the fabric has to go somewhere—and that usually shows up as puckers or ripples.
This one small step can eliminate a huge percentage of puckering issues.
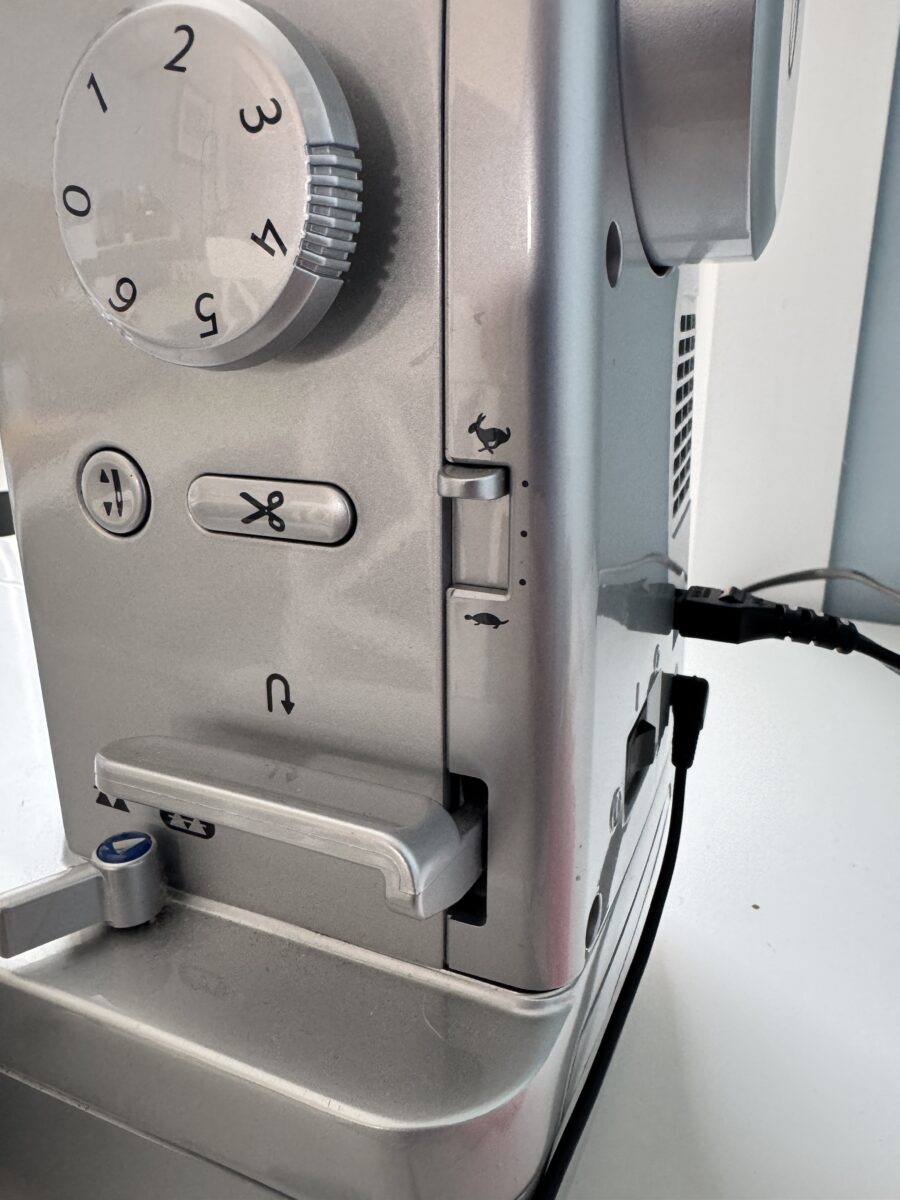
Find the Right Sewing Speed (Slower Isn’t Always Better)
Another thing that can cause puckering—especially in longer seams like borders—is how you’re feeding the fabric through the machine.
It’s really common to think that sewing slower automatically means more accuracy. But in some cases, sewing too slowly can actually create more problems.
If your machine is trying to feed the fabric through, but there’s a pause between stitches, even a small one, that moment gives your hands just enough time to accidentally push or shift the fabric out of position.
So instead of the machine doing the work, your fabric ends up being slightly distorted as you sew.
I’m definitely not saying you need to go full speed—but I do think there’s a balance between speed and control.
In my experience, a steady, moderate pace—where the machine can feed the fabric smoothly—tends to produce more consistent results than going extremely slow and over-controlling every stitch.
Let the machine do its job, and focus on guiding the fabric rather than pushing or pulling it through.
Puckering Often Starts Before You Sew
One thing I’ve noticed over the years is that puckering is rarely just a “sewing problem.”
It’s usually the result of small things adding up earlier in the process.
If your fabric is slightly stretched, your cuts are slightly off, or your seams aren’t pressed well, those tiny inaccuracies compound—and by the time you’re sewing longer seams like borders, they become visible.
This is why I tend to focus on getting everything as accurate as possible before I start sewing.
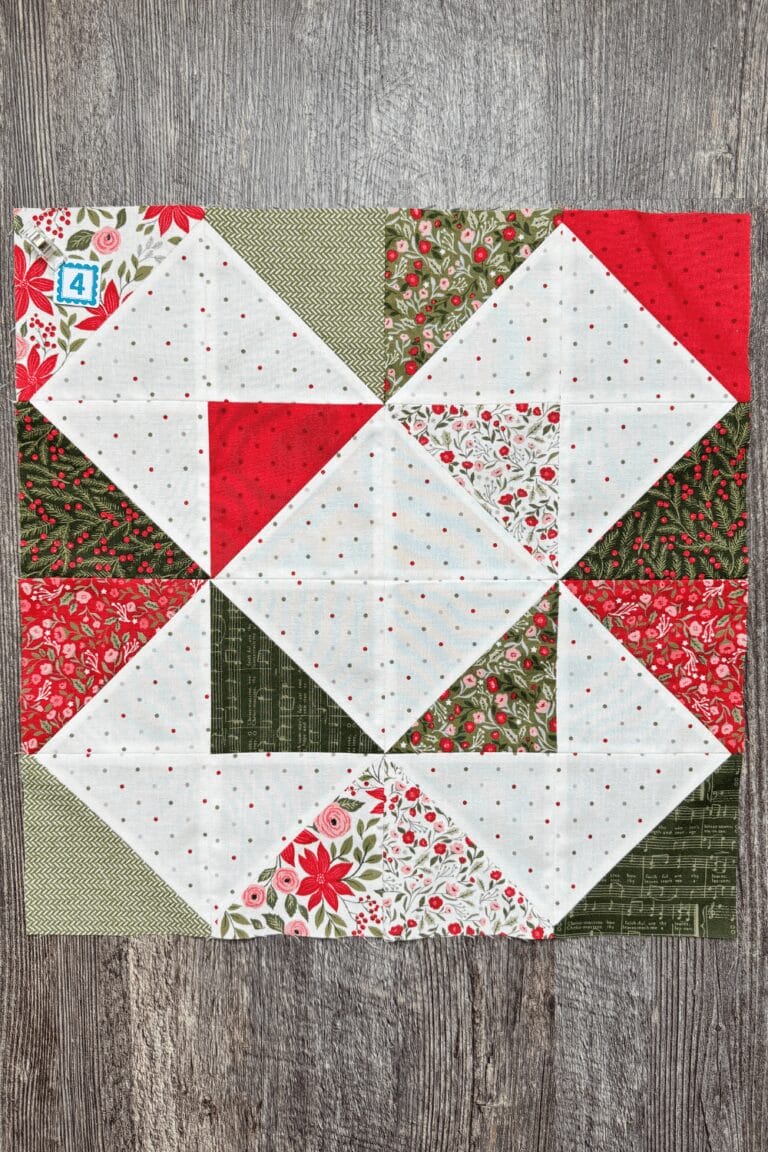
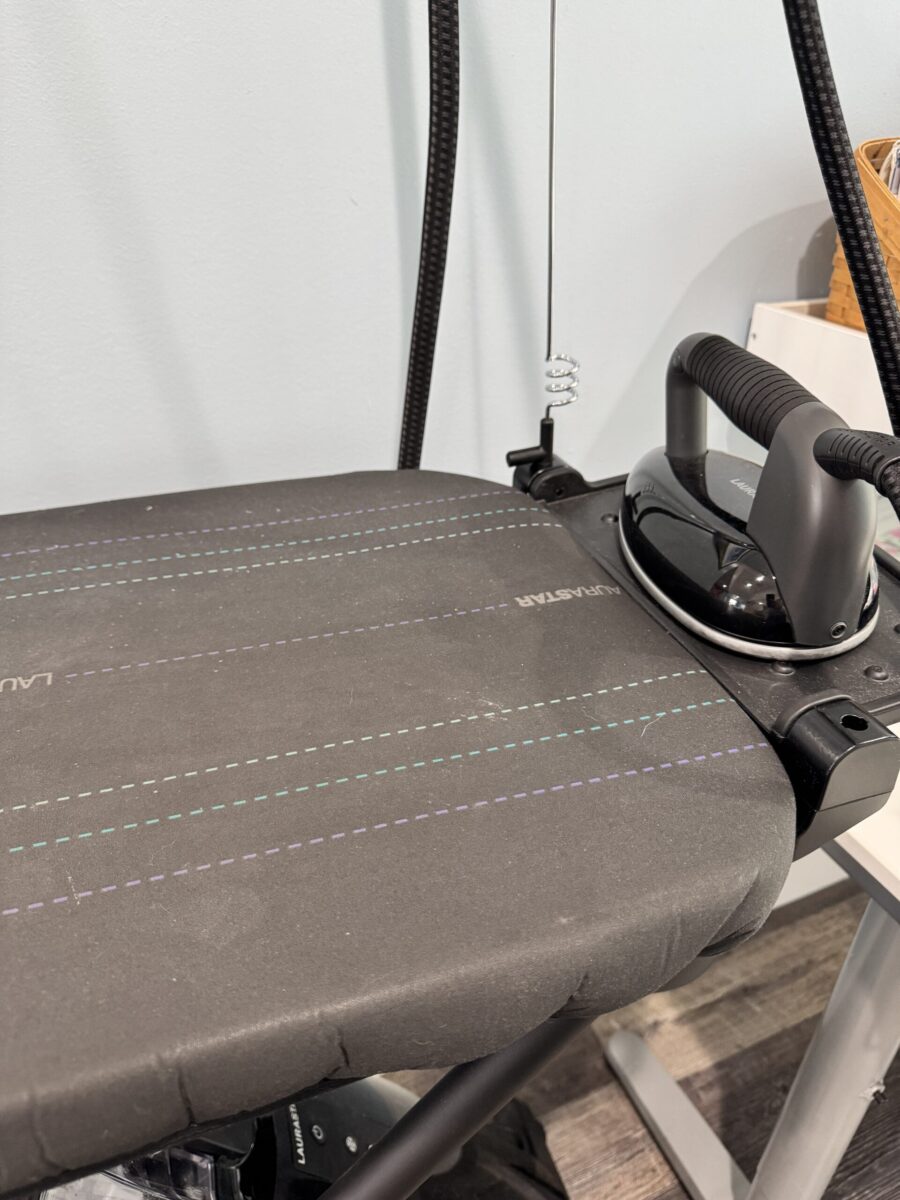
Pressing vs. Ironing (This One Matters)
This is a big one.
If you’re moving your iron back and forth across your fabric, especially with pressure, you’re very likely stretching and distorting it—particularly along bias edges.
That distortion can make pieces slightly larger or misshapen, which then leads to puckering when you try to sew them together.
Instead, think of pressing as a lift-and-set motion. Let the heat do the work, then move the iron without dragging it across the fabric.
It feels like a small change, but it has a big impact on how your pieces behave when you sew them together.
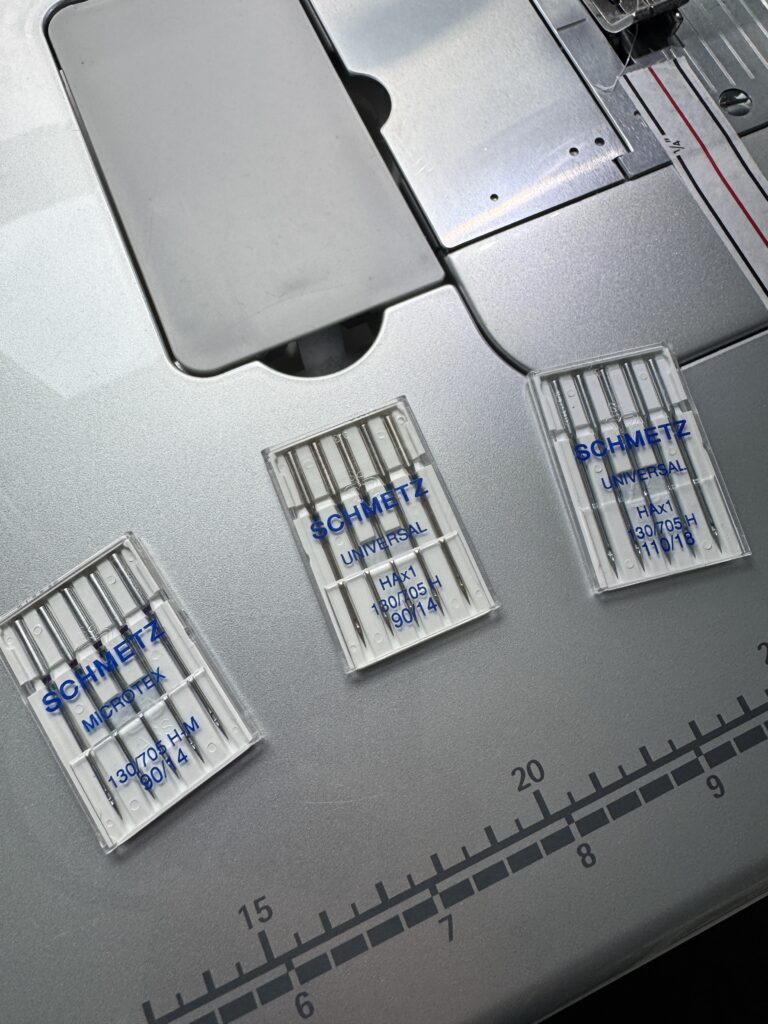
A Quick Note on Machines and Tension
Puckering can sometimes be related to tension, but in my experience, that’s not usually the first place to look.
Different machines behave differently. Some machines are more sensitive to thread type or setup than others.
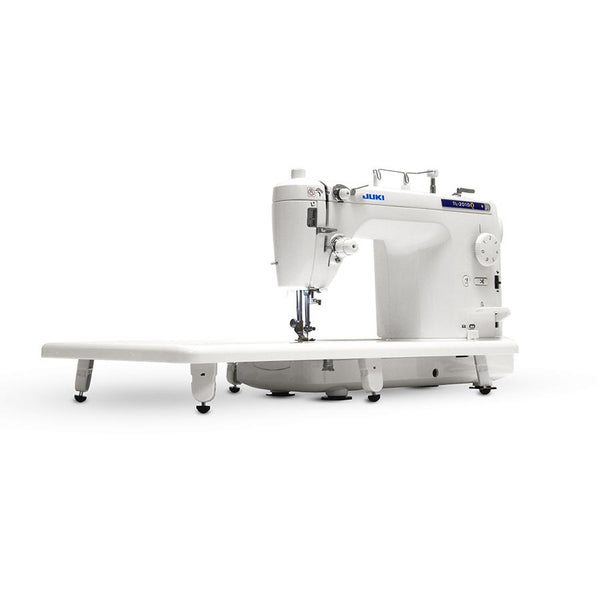
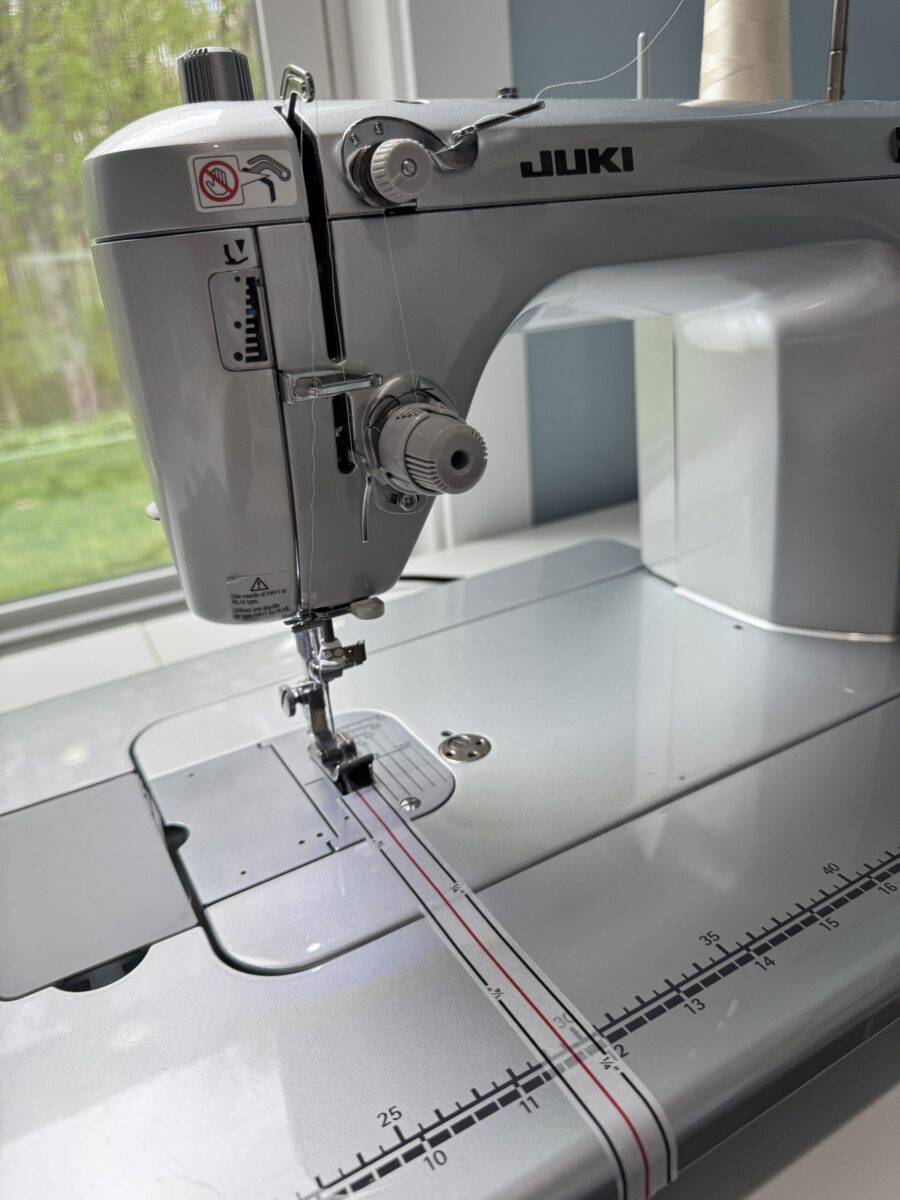
For example, I’ve never had tension issues on my Juki straight stitch machine. But the Singer I started on had frequent tension frustrations—even after being serviced.
Sometimes simply switching thread types can help if you suspect tension might be involved.
But for most quilting puckering—especially in borders and sashing—I’ve found it’s more about accuracy and preparation than machine settings.
Before You Start Adjusting Tension…
If your sewing machine is normally making balanced, even stitches, tension usually isn’t the cause of puckered quilt seams. Most seam puckering in quilting comes from fabric shifting, pressing issues, pulling while sewing, incorrect stitch length, or bulky seam allowances — not a machine that suddenly “forgot” how to sew. Always check the basics first before reaching for the tension dial.
My Preventative Approach
I tend to do everything I can up front to make the sewing process easier and more accurate.
When those pieces are in place, the actual sewing becomes much more straightforward—and a lot less frustrating.
And Honestly… Sometimes It Doesn’t Matter
Even when you do everything “right,” you might still get a small pucker here or there.
And that’s okay.
Once your quilt is quilted and washed, those little imperfections tend to blend right in. They’re rarely noticeable unless you’re actively looking for them.
My general rule is: try fixing it once if it’s bothering you.
If it’s still not perfect… just keep going.
Unless you’re trying to win a blue ribbon at a quilt show, it’s not worth the frustration.
Finished is always better than perfect.