
DIY Quilt Hanger: An Easy Way to Display Quilts Without a Sleeve
If you’re anything like me, you probably have more quilts than places to display them.
When purchasing through links on this site, I may earn an affiliate commission at no cost to you.
Over the years I’ve made quilts for beds, couches, gifts, and wall hangings. While some quilts get used every day, others deserve to be displayed where they can be enjoyed as artwork.
The challenge is finding a hanging method that is secure, easy to use, and doesn’t require sewing a hanging sleeve onto every quilt.
This simple DIY quilt hanger solves that problem.
Instead of using a rod and sleeve, this wooden hanger gently clamps the quilt between two boards. It can be customized to any width, holds quilts securely, and allows you to swap quilts out whenever you want.
Want to Skip the Scroll?
Want a printer-friendly version? Skip the scrolling with my low cost printable Compression Quilt Hanger Build Plans, complete with diagrams, measurements, and a workshop-ready cut list.
DIY Quilt Hanger at a Glance
|
Feature
|
Details
|
|---|---|
|
Skill Level |
Confident Beginner – Intermediate |
|
Build Time |
1-2 Hours |
|
Cost |
Approximately $50-60 depending on wood species |
|
Quilt Sizes |
Any Size |
|
Hanging Method |
Compression Style Hanger |
Why I Like This Quilt Hanging Method
I’ve tried several ways to hang quilts over the years, but I keep coming back to this design for a few reasons.
- No hanging sleeve required
- Easy to change quilts seasonally
- Can be made to fit any quilt width
- Supports the quilt across the entire top edge
- Inexpensive to build
- Can be stained or painted to match your décor
If you enjoy rotating quilts throughout the year, this hanger makes the process quick and easy.
Materials Needed
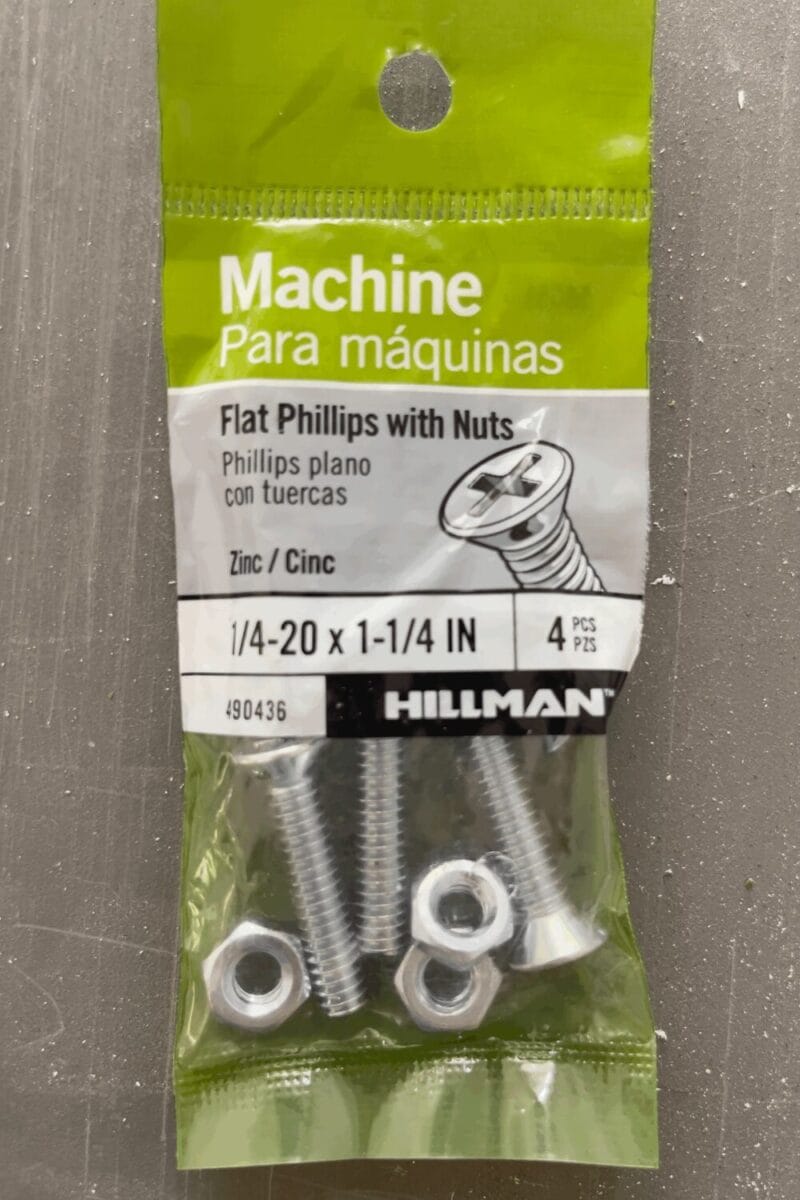
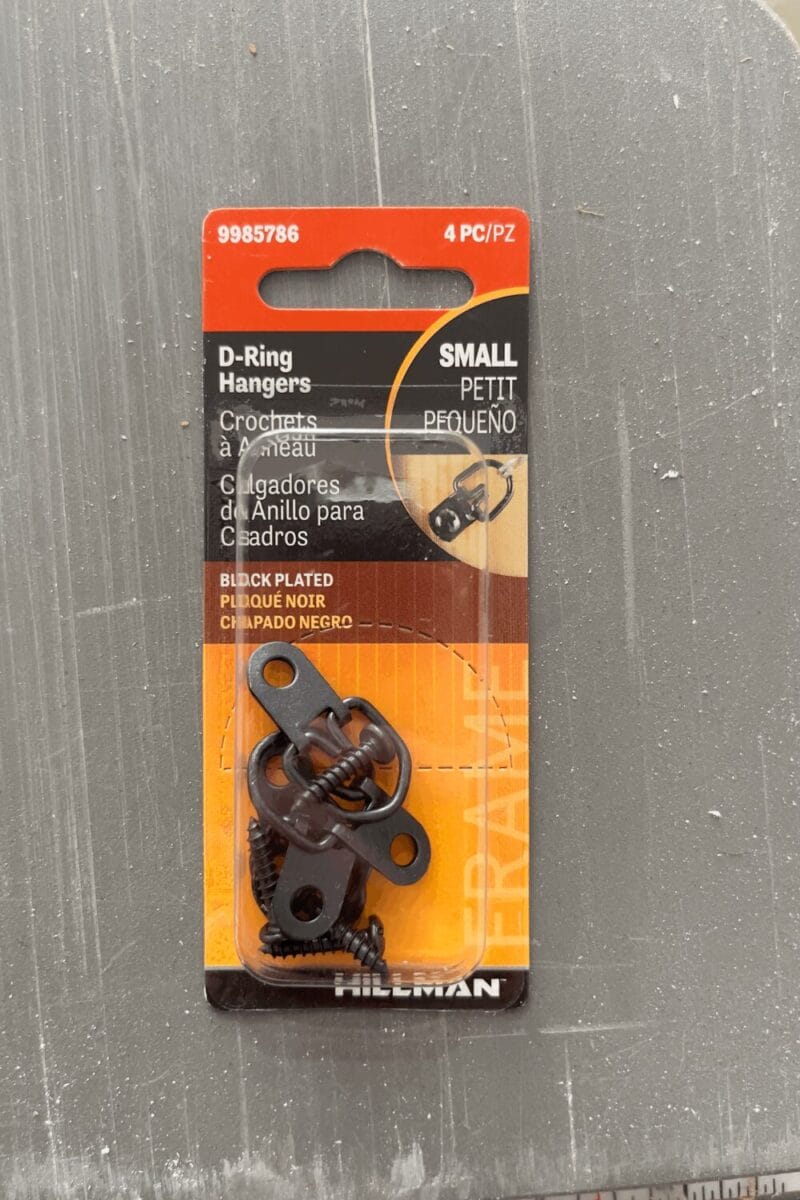
Choosing Your Wood
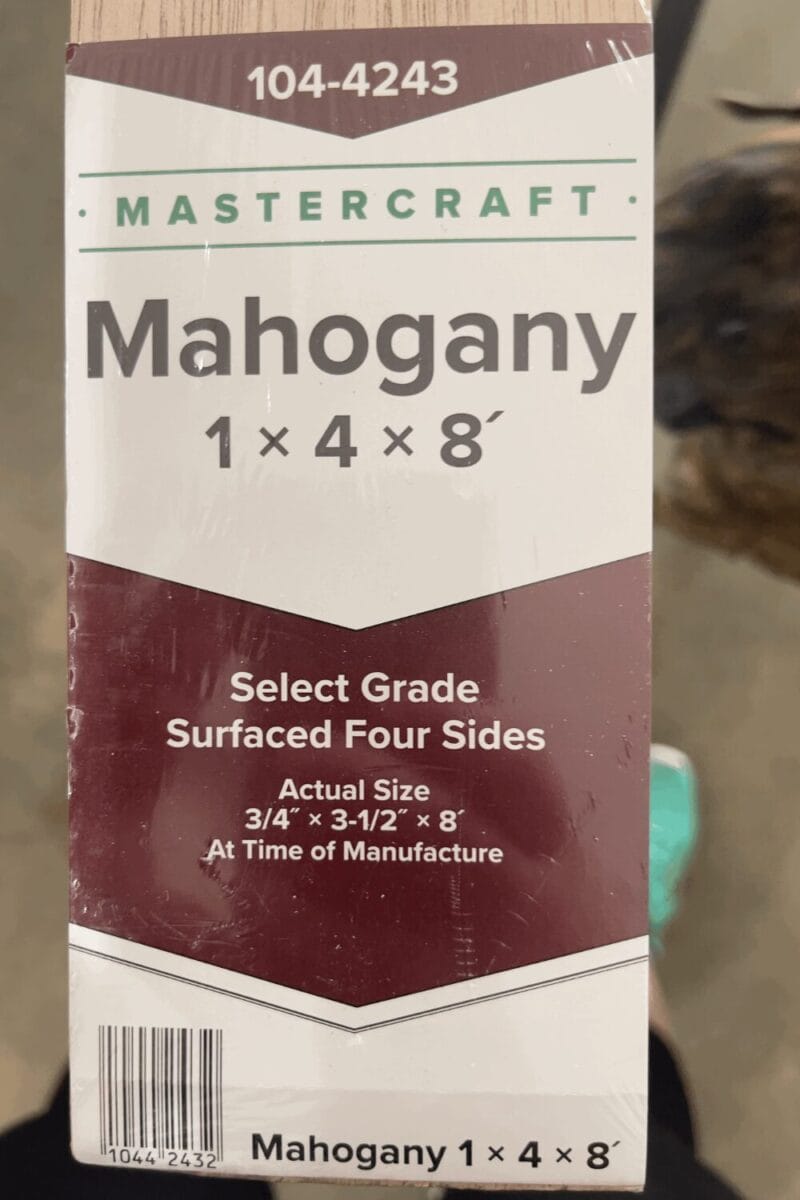
I built my hanger from mahogany, but any hardwood will work well. Oak, maple, walnut, or poplar are all good choices.
The length of the boards will depend on the width of the quilts you plan to display.
Step 1: Mark the Screw Locations
For my quilt hanger, I used five screws spaced across the length of the board.
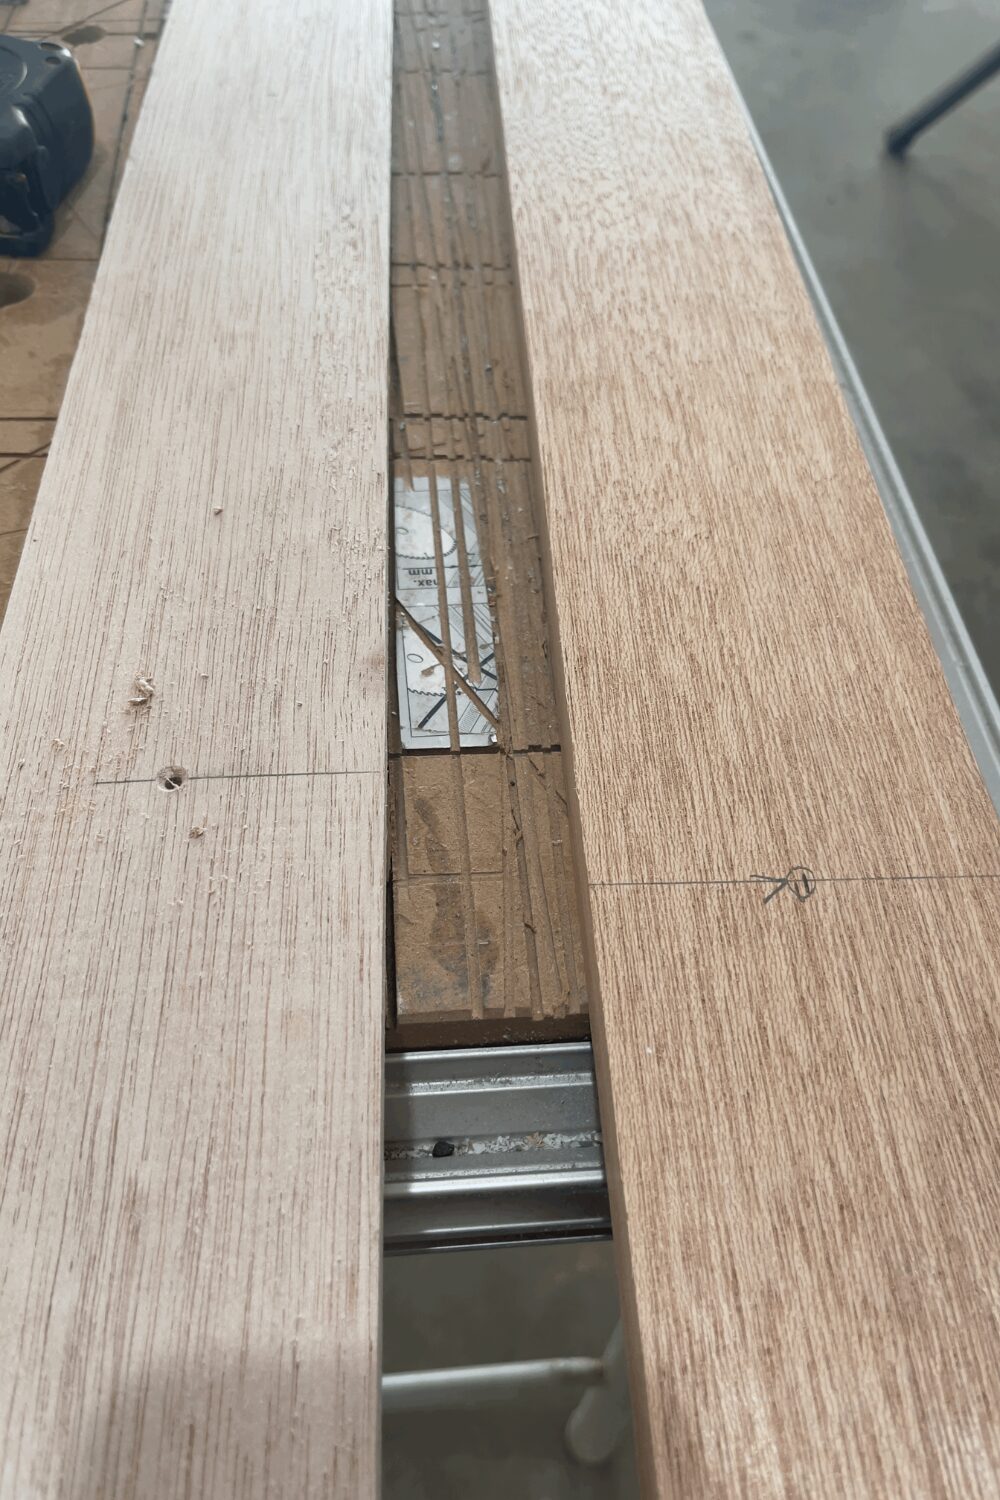
Starting with one board, measure 6″ from each end and mark the center of the board at those locations. Next, find the center of the board and mark that location as well.
To locate the remaining two screws, measure halfway between the center mark and each end mark. On my hanger, these locations ended up being approximately 21″ from the center mark.
You should now have five screw locations:
- 6″ from the left end
- Approximately 21″ left of center
- Center of the board
- Approximately 21″ right of center
- 6″ from the right end
These measurements worked well for my 72″ quilt hanger. If you are building a shorter or longer version, adjust the spacing so the screws are distributed evenly across the length of the hanger.
Step 2: Drill the Pilot Holes
Align the two boards with the ends and edges flush and place the board you marked in Step 1 on top. Clamp the boards securely together to prevent them from shifting while drilling.
Using a 1/8″ drill bit, drill at each of the five marked locations. Drill completely through the back board and only slightly into the front board. The hole should be approximately 1″ deep overall. (approximately 1/4″ into the front board)
Drilling both boards at the same time ensures the holes will line up perfectly when the hanger is assembled later.
Step 3: Prepare the Back Board for the Hardware
Separate the two boards. Set aside the front board and work with the back board.
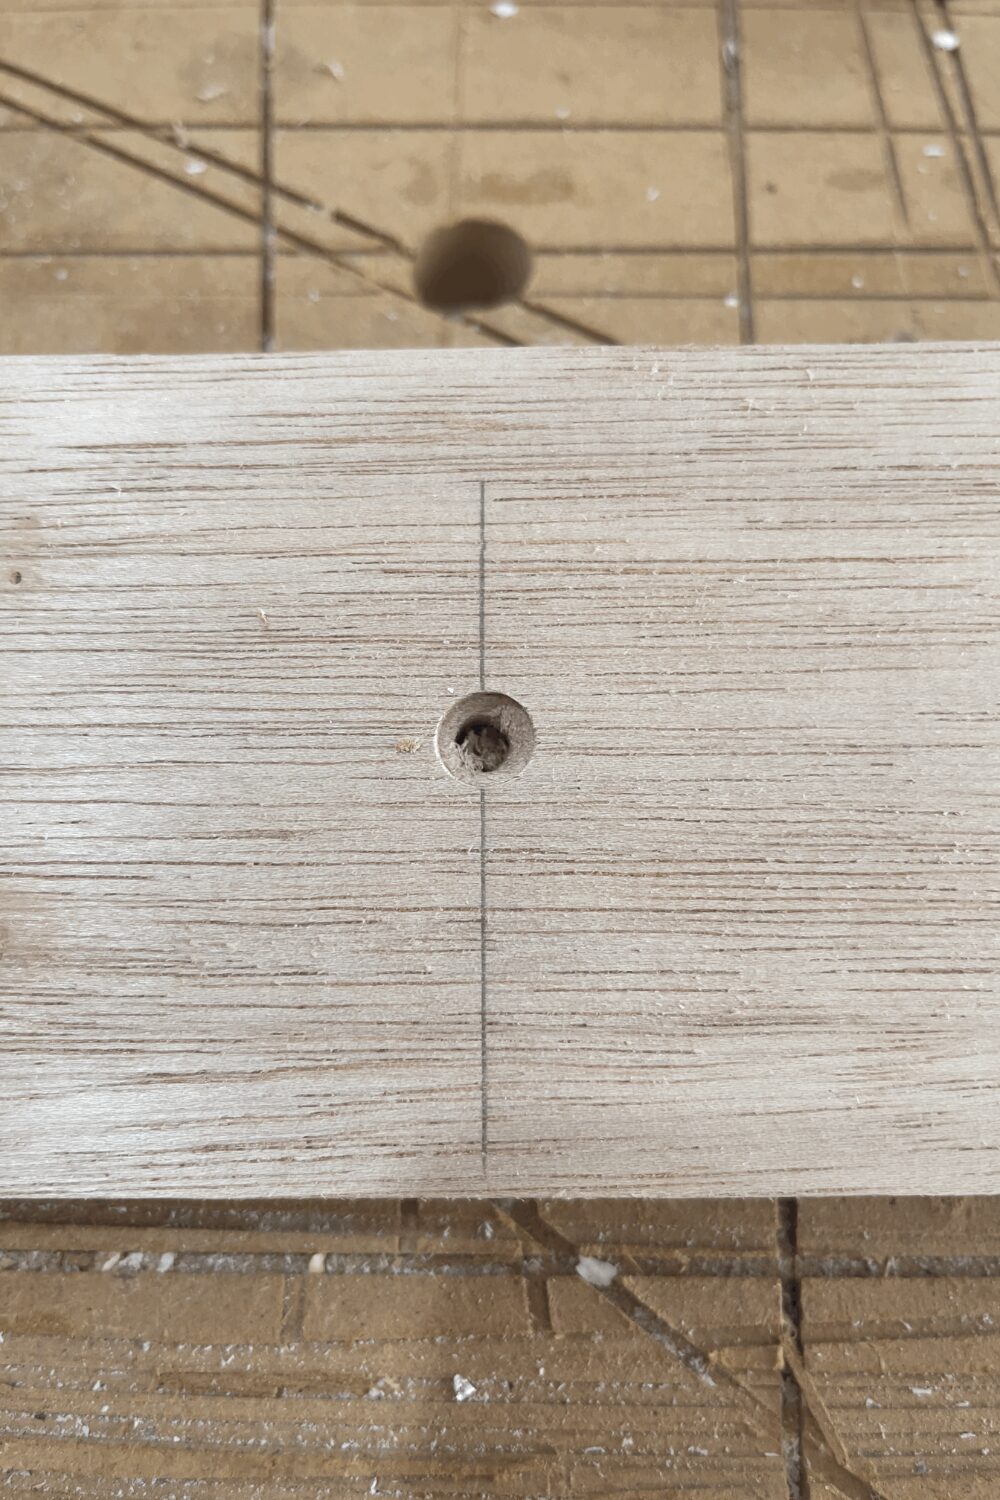
Using a 1/4″ drill bit, enlarge each of the five pilot holes by drilling through the existing holes in the back board.
Next, use a countersink bit on the back side of the board to create a shallow funnel-shaped recess around each hole. This allows the screw heads to sit flush with the back of the hanger so the board can rest flat against the wall when installed.
Take your time with the countersink bit and test fit a screw occasionally. You only need to remove enough material for the screw head to sit flush with the surface.
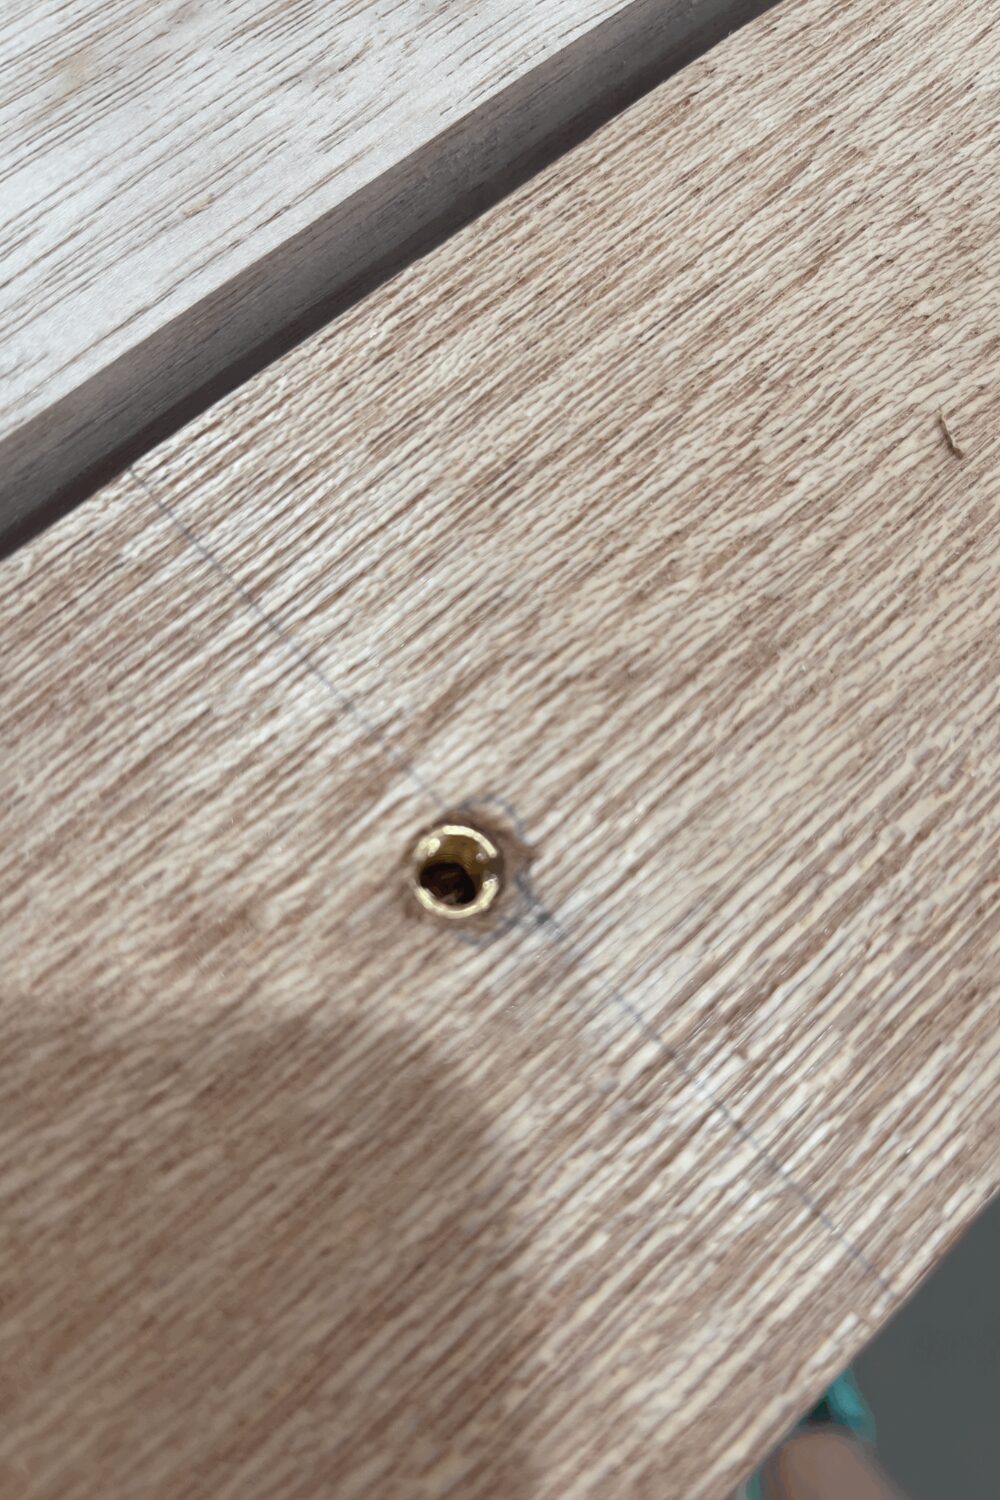
Step 4: Install the Threaded Insert Nuts
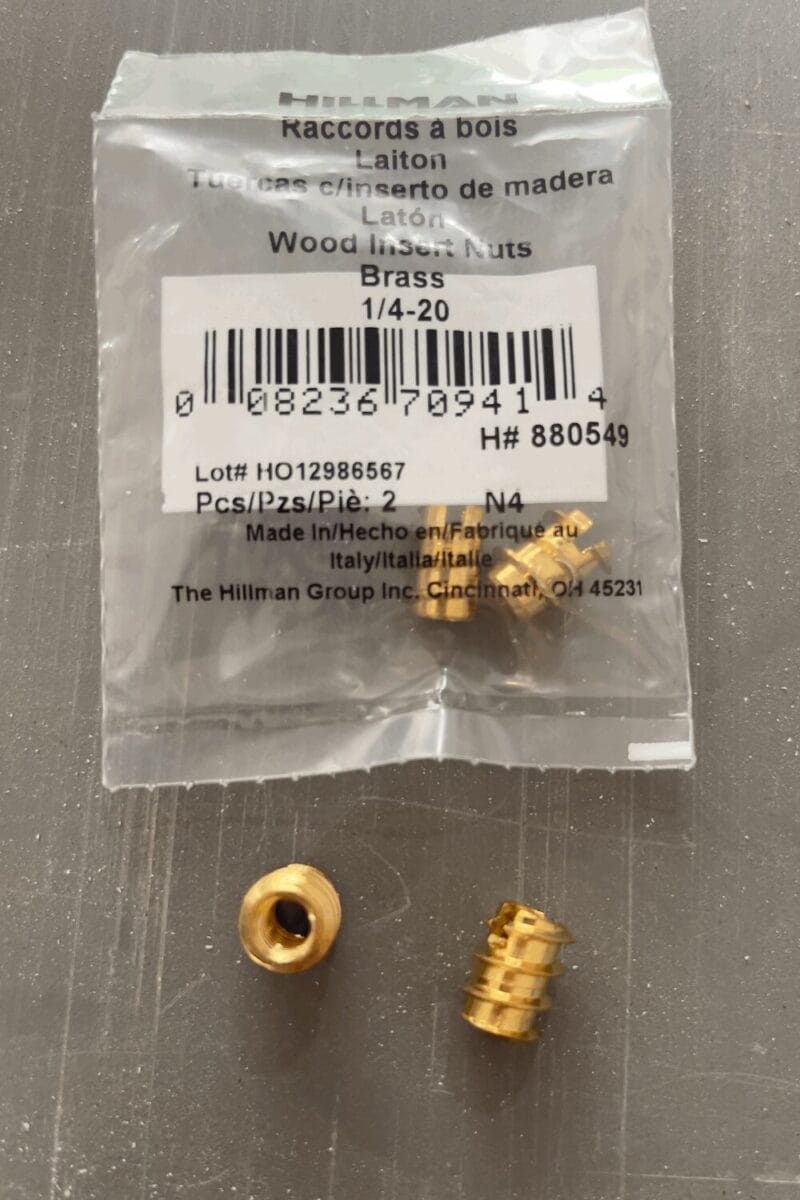
The threaded insert nuts will be installed in the front board. These inserts create durable metal threads in the wood, allowing the hanger to be assembled and disassembled repeatedly without wearing out the screw holes.
Using a 5/16″ drill bit, enlarge each of the five pilot holes on the back side of the front board. Drill only 1/2″ deep—do not drill all the way through the board.
To help maintain a consistent depth, wrap a small piece of electrical tape around the drill bit 1/2″ from the tip. When the tape reaches the surface of the wood, stop drilling.
Once all five holes have been enlarged, install the threaded insert nuts according to the manufacturer’s instructions. The inserts should sit flush with or slightly below the surface of the wood.
Take care to keep the inserts straight as they are installed. Properly aligned inserts will make final assembly much easier and ensure the screws thread smoothly into place.
A quick word of caution: The threaded inserts I used were made of brass, which is a fairly soft metal. I broke a couple of them during installation because I was installing them into hardwood and tried to force them when they became difficult to turn.
If you encounter significant resistance while installing an insert, stop and back it out rather than forcing it. Widen the hole slightly with the drill bit and try again. A properly sized hole will allow the insert to thread in firmly without excessive force.
Step 5: Cut the Quilt Channel
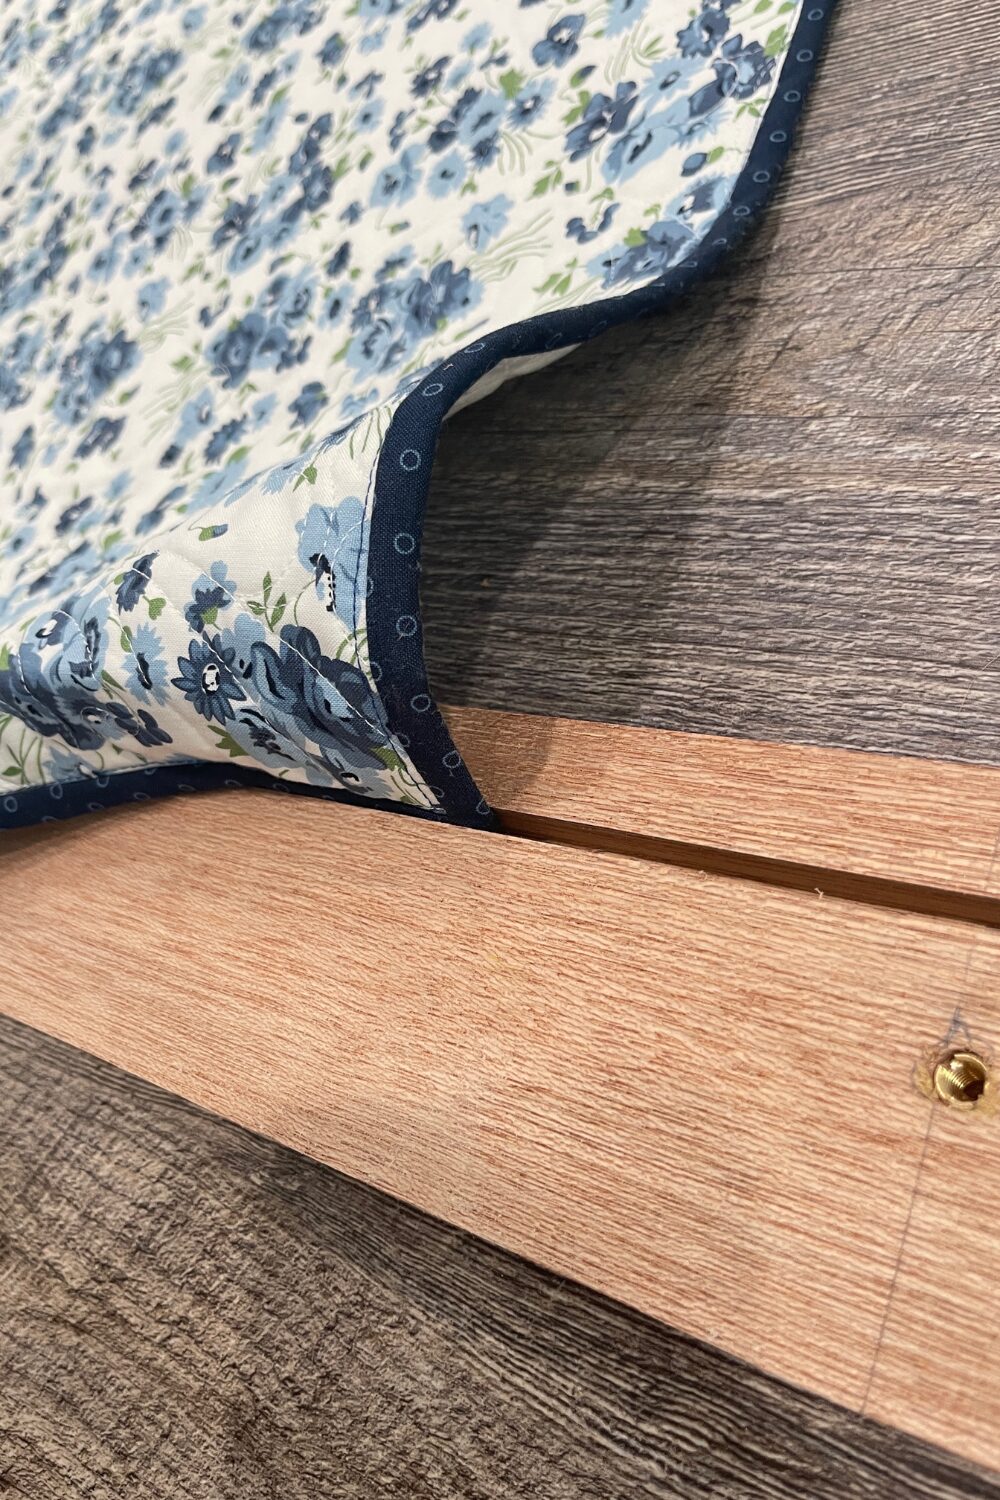
The next step is to create the channel that will hold the top edge of the quilt.
Using either a table saw or a router, cut a 1/4″ wide channel into the back side of the front board. This is the same side of the board where the threaded insert nuts were installed.
Position the channel approximately 3/4″ to 1″ above the bottom edge of the board and run it the full length of the hanger.
Be sure to keep the channel, threaded inserts, and all other hardware on the back side of the front board. The front face of the board will remain visible when the hanger is installed, so keeping this surface smooth and free of holes creates a cleaner finished appearance.
The channel should be deep enough to securely capture the binding edge of your quilt when the two boards are tightened together. I recommend testing the fit with a scrap quilt sandwich or the edge of a finished quilt before moving on. The quilt should slide into the channel easily while still being held securely once the screws are tightened.
If your quilts tend to have thicker bindings or heavier batting, you may need to make the channel slightly deeper or wider to accommodate the extra bulk.
Sand and Finish the Wood
Sand all surfaces smooth and remove any sharp edges.
At this point you can leave the wood natural or apply your preferred finish. I highly recommend you seal the wood with a water based sealer or paint. Overtime, tannins from the wood could leach into the fabric of your quilt. In the same manner an oil based finish may leave a residue on your quilt.
Allow any finish to fully cure before placing a quilt in the hanger.
Step 6: Install the Hanging Hardware
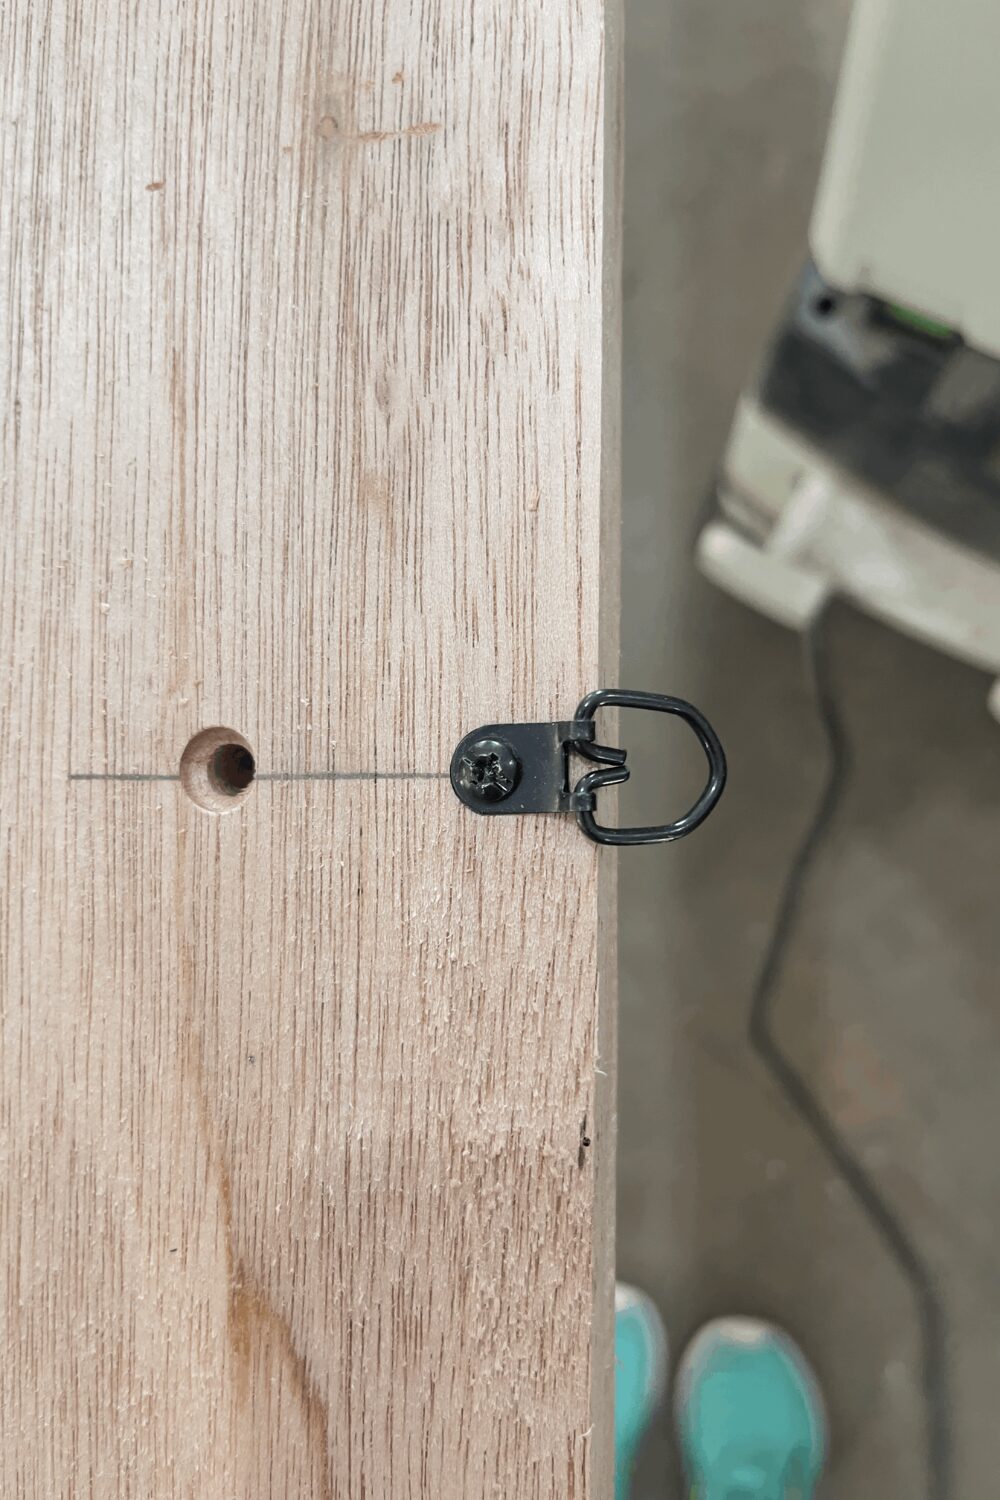
Attach D-ring hangers or your preferred wall hanging hardware to the back of the hanger.
Be sure the hardware is installed evenly so the quilt hangs level.
Step 7: Install the Quilt
To install the quilt, completely remove the screws and separate the two boards.
I like to lay the boards on the floor with the back board positioned directly above the front board in the same orientation they will be assembled. Keeping the boards arranged this way makes it easy to place the back board back on top without accidentally flipping it around or misaligning the screw holes.
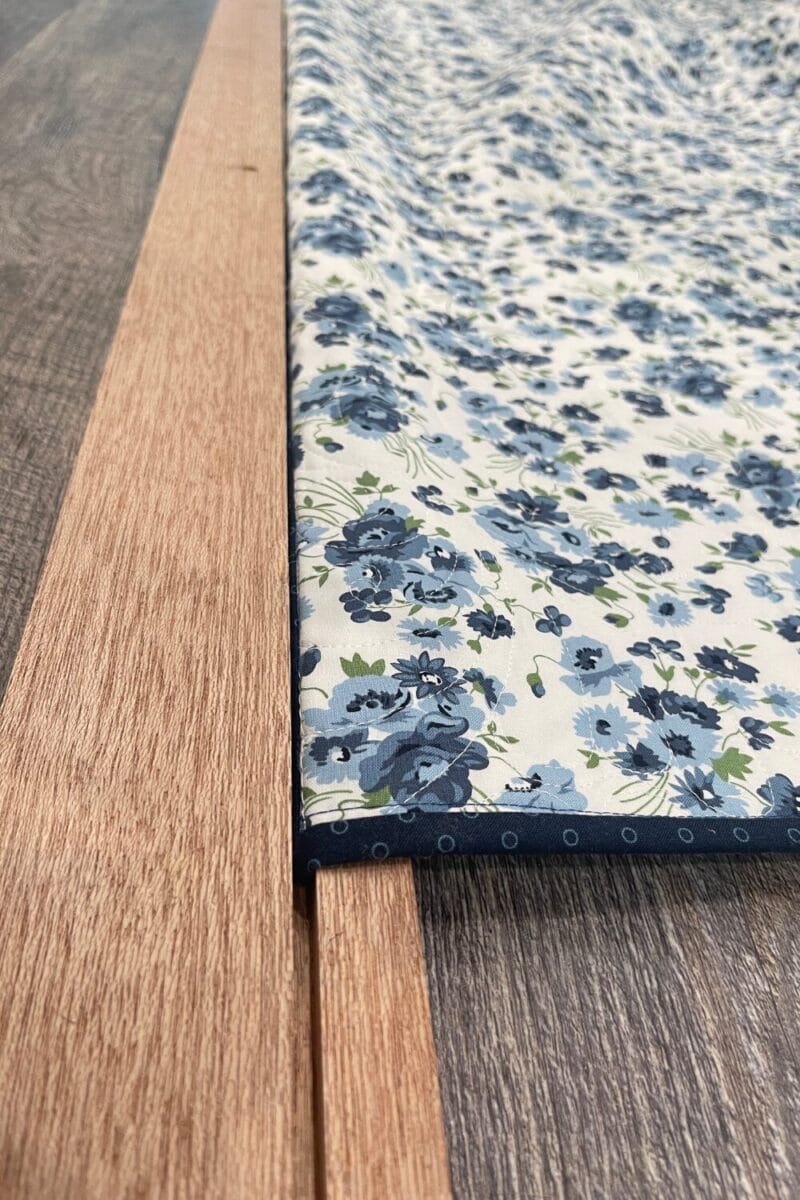
Next, tuck the top edge of the quilt into the channel on the front board. Make sure the quilt is centered and hanging straight before reassembling the hanger.
I highly recommend doing this step on the floor rather than on a workbench or countertop. The weight of the quilt naturally wants to pull the edge out of the channel, and the floor provides support for the quilt while you position everything. Trying to load the hanger on a table often means fighting gravity as the quilt slides out of place.
Once the quilt is positioned correctly, place the back board on top and reinstall the screws. Tighten the screws gradually, alternating between them so pressure is applied evenly across the width of the quilt.
The screws only need to be snug enough to hold the quilt securely. Overtightening is unnecessary and may leave impressions in the quilt over time.
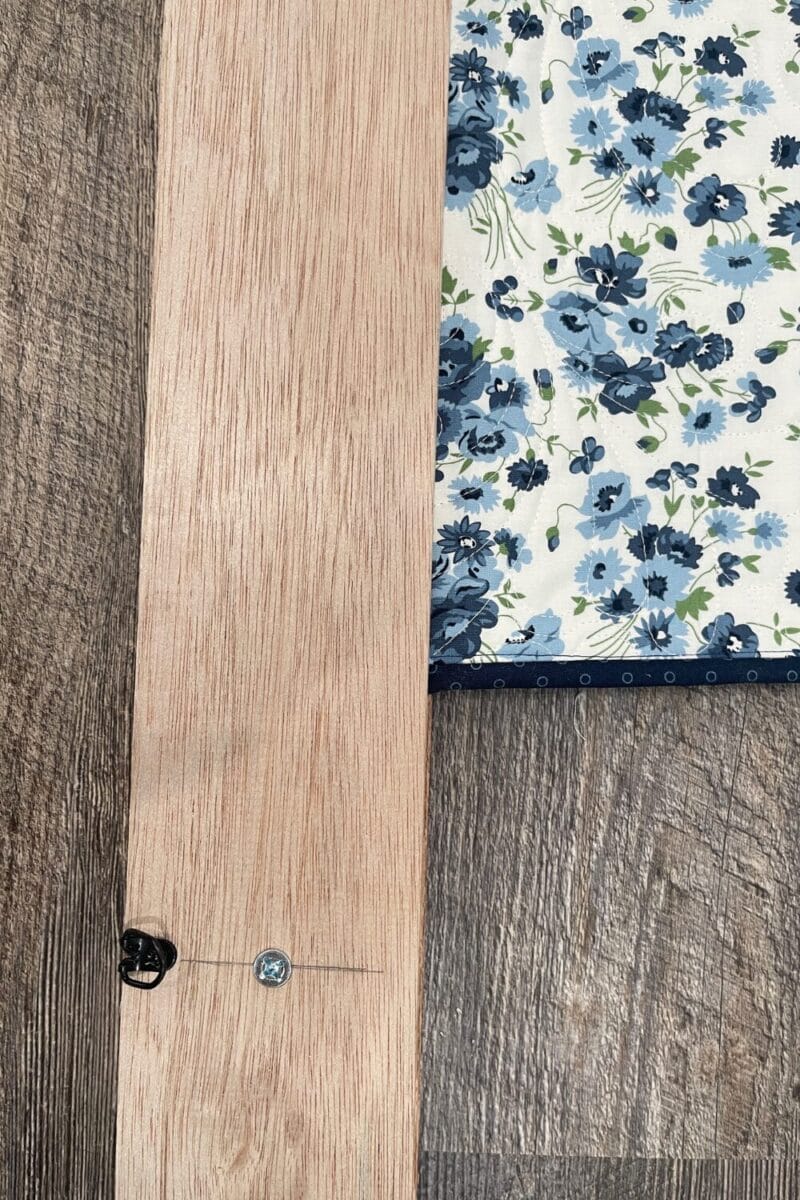
Finished DIY Quilt Hanger
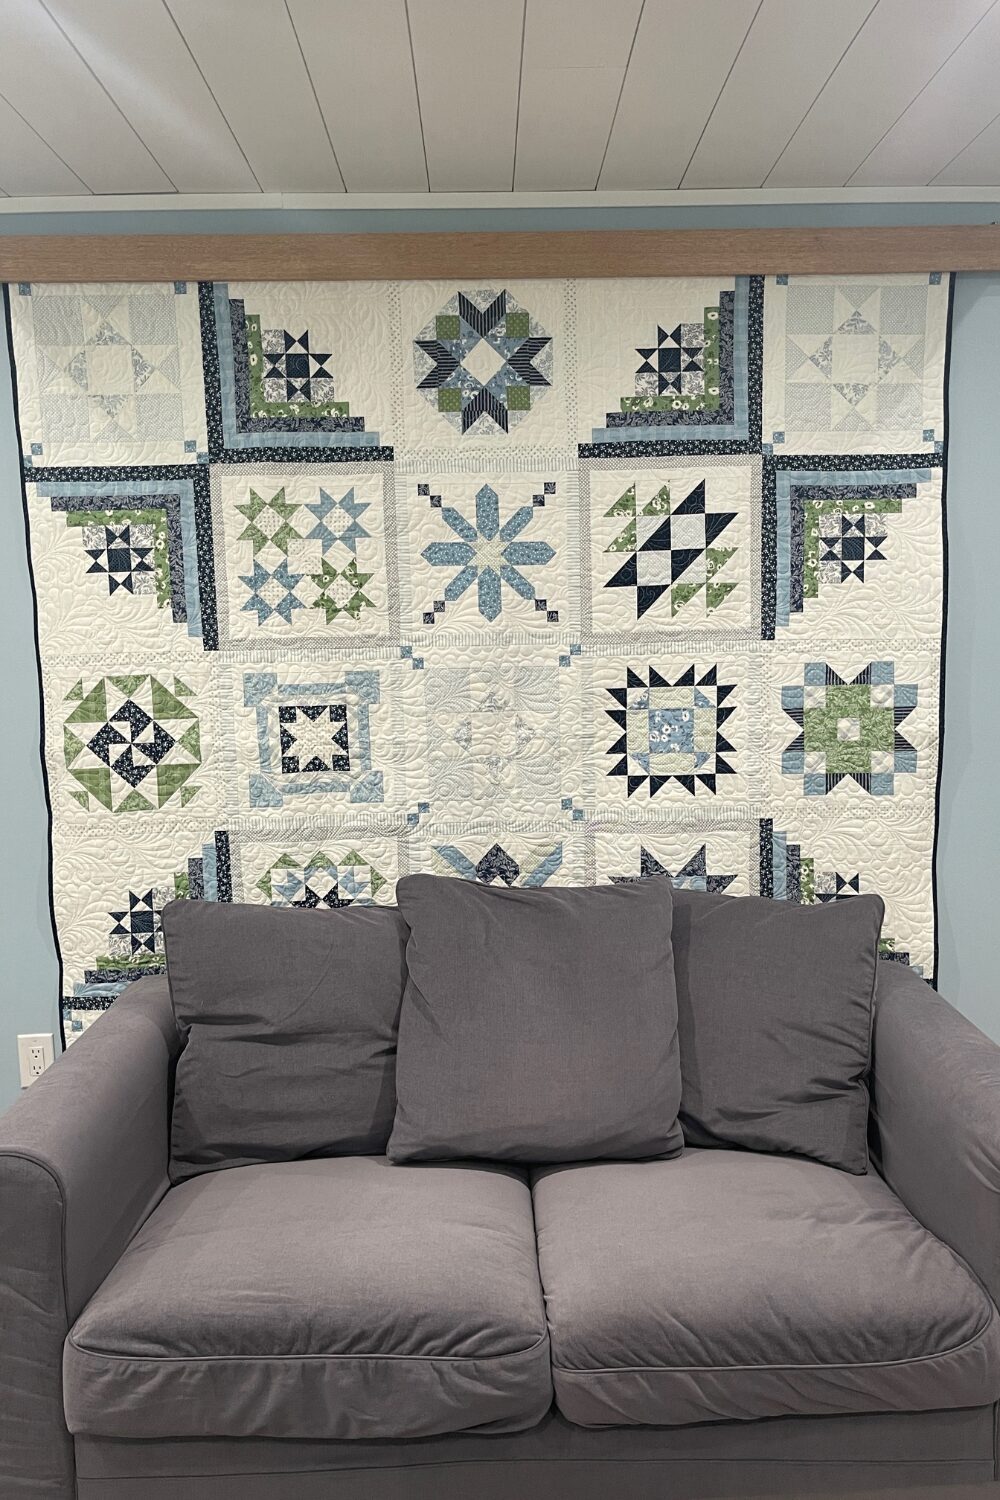
Once mounted to the wall, the quilt is displayed cleanly and securely without the need for a hanging sleeve.
To hang the quilt hanger, I installed two drywall anchors in the wall and partially drove screws into the anchors, leaving enough of the screw head exposed for the D-rings to hook onto. The hanger can then be lifted into place and hung directly from the screws.
Be sure to choose drywall anchors that are rated to support the combined weight of the quilt and the wooden hanger. Depending on the size of your quilt and the wood you use, the finished hanger can be surprisingly heavy. If possible, mounting directly into wall studs is even better.
One of my favorite things about this design is how easy it is to switch quilts throughout the year. Seasonal quilts, wall hangings, and special projects can all be displayed using the same hanger. Simply remove the screws, swap the quilt, and reassemble the hanger.
Tips for Success
- Use hardwood whenever possible for added durability.
- Test fit the quilt before applying finish.
- Tighten screws evenly across the hanger.
- Mount into wall studs when possible.
- Add additional screws for extra-wide hangers.
- Avoid overtightening, which can leave impressions in delicate quilts.
FAQ
Final Thoughts
Quilts deserve to be seen and enjoyed, not folded away in a closet.
This DIY quilt hanger is an inexpensive project that makes it easy to display your favorite quilts without adding a hanging sleeve or permanently altering the quilt.
If you make your own version, I’d love to hear how it turned out and what quilt you chose to display.