

Hourglass Quilt Block Tutorial
The Hourglass quilt block is one of the most classic triangle quilt units in quilting. Also called a Quarter Square Triangle (QST) block, the Hourglass block is made from four triangles sewn together to create the appearance of an hourglass shape.
When purchasing through links on this site, I may earn an affiliate commission at no cost to you.
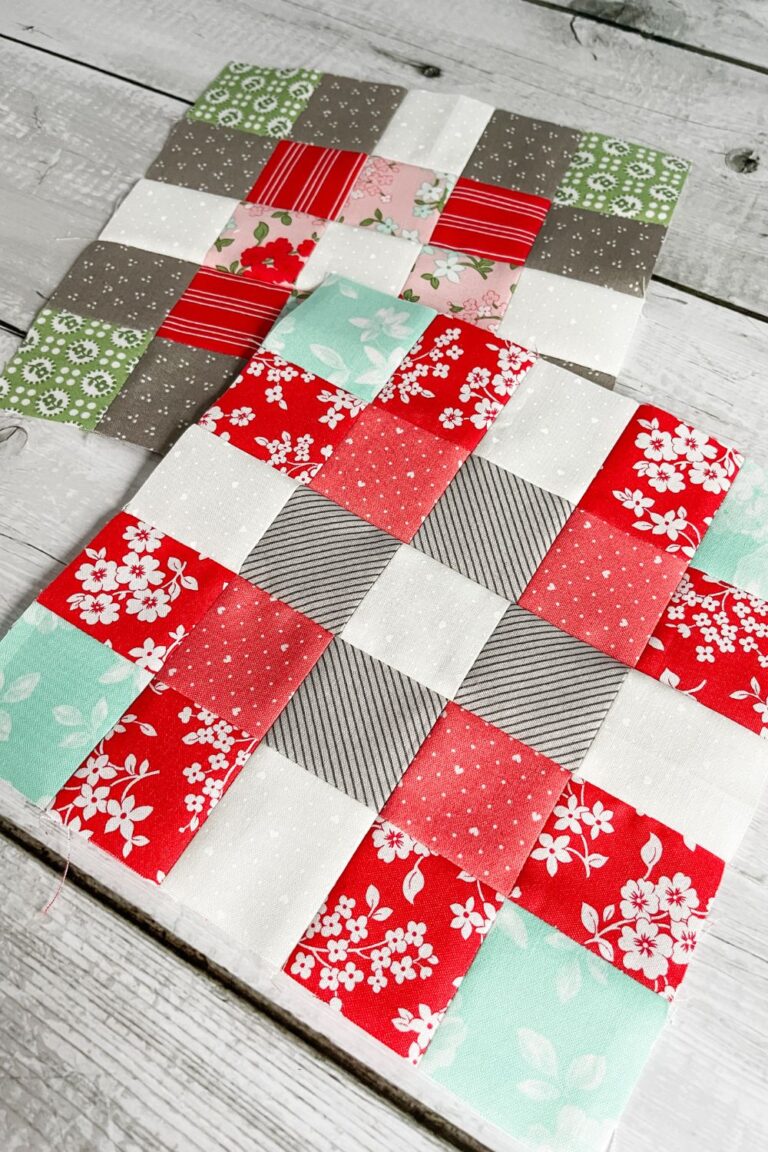
Hourglass blocks can be used as standalone quilt blocks, repeated across an entire quilt, or incorporated into larger pieced blocks and star designs. Once you understand the construction, they’re surprisingly simple to sew and incredibly versatile.
One thing that often causes confusion is that Hourglass blocks are different from Half Square Triangles. While Half Square Triangles contain only two triangles, an Hourglass or Quarter Square Triangle block contains four separate triangles meeting at the center point.
What Is a Quarter Square Triangle?
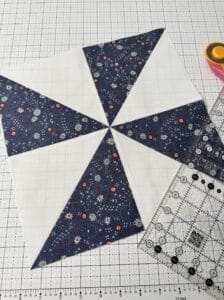
A Quarter Square Triangle (QST) block is created by combining four triangles into a single square unit. In a traditional Hourglass block, opposite triangles use matching fabrics, creating the characteristic “hourglass” appearance.
These blocks are commonly used in:
- sampler quilts
- star blocks
- secondary quilt designs
- traditional quilt patterns
- modern geometric layouts
Because the block contains multiple bias edges, accuracy and careful pressing matter a bit more than with simpler patchwork blocks.
Supplies Needed
You won’t need any specialty rulers or expensive tools to make Hourglass quilt blocks. Basic quilting supplies work perfectly.
You’ll need:
- Rotary cutter
- Cutting mat
- Quilting ruler
- Sewing machine
- Two contrasting fabric squares
- Iron and pressing surface
I recommend choosing fabrics with fairly strong contrast so the Hourglass shape stands out clearly in the finished block.
Starting Fabric Squares
To begin, choose two contrasting fabric squares. Strong contrast helps define the shape of the final Hourglass block and keeps the design from visually blending together.
Each square will be cut diagonally twice to create four quarter square triangles from each fabric.
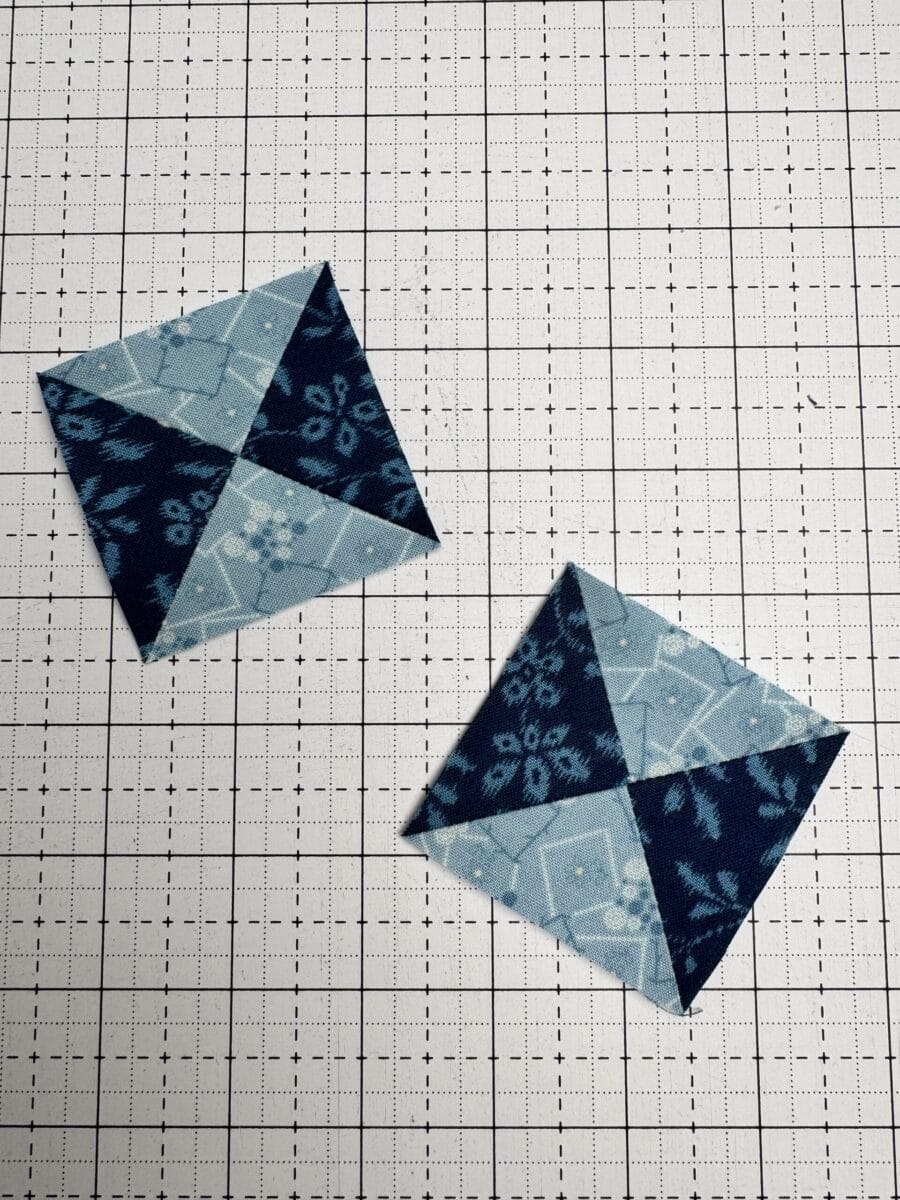
Once the pieces are cut, arrange the triangles so matching fabrics are positioned opposite one another. This arrangement is what creates the traditional Hourglass appearance in the finished block.
Since this method creates two Hourglass blocks at a time, you’ll have enough pieces for both units already prepared.
Sewing the Hourglass Blocks
Start by sewing the smaller triangle pairs together. I like to chain piece this step to keep the construction quick and organized.
One thing that helps tremendously here is consistency. Feed each unit through the sewing machine in the same direction every time. If the pieces get rotated accidentally, it’s surprisingly easy to mix up the fabric placement. Ask me how I know.
After sewing the first seams, press the units carefully. I usually press toward the darker fabric so the seam allowance stays hidden beneath the darker print or I press open to get a flatter block.
If pressing to one side, the units will “nest” together where the seams meet. Nesting the seams helps lock the center point into place and creates a much cleaner intersection where all four triangles meet.
If you’re newer to quilting, pinning the center intersection can help prevent shifting while sewing.
Pressing the Final Seam
For Hourglass blocks, I typically press the final seam open to reduce bulk in the center of the block. Since four triangles meet at one point, the center can become fairly thick otherwise.
Some quilters prefer to spin the seams at the center intersection, but pressing open works beautifully and keeps the process beginner friendly.
The biggest thing to avoid is aggressively ironing back and forth. Because the block contains multiple bias edges, sliding the iron can distort the shape of the block very quickly.
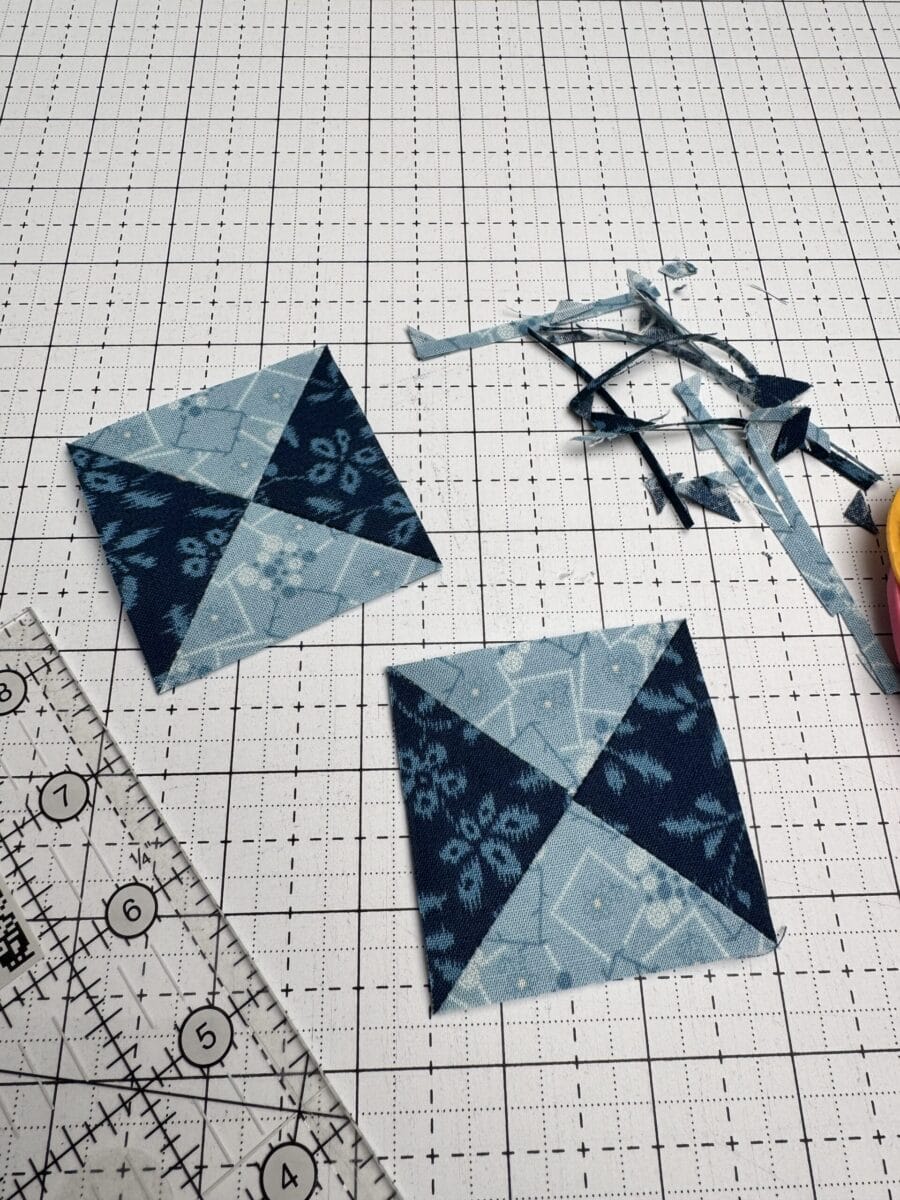
Trimming the Hourglass Block
Trimming is one of the most important steps for accurate Hourglass blocks.
After sewing, place the 45-degree line on your quilting ruler directly along one of the diagonal seams in the block. Then line up the center measurement with the intersection point of the four triangles.
From there, trim all four sides evenly until the block reaches the correct unfinished size.
For example, if you need a 2″ finished block in your quilt, you’ll trim the Hourglass block to 2 1/2″ unfinished before sewing it into the quilt top.
I don’t use any specialty rulers for this process. Most of the time I simply grab whichever rectangle ruler is large enough for the size block I’m trimming.
Why Hourglass Blocks Can Feel Trickier Than Half Square Triangles
Even though Hourglass blocks are considered beginner friendly, they usually feel slightly more challenging than Half Square Triangles because of the additional bias edges and center intersection.
That’s completely normal.
The good news is that accuracy improves quickly with practice, and trimming oversized units makes a huge difference.
Once you become comfortable with Hourglass blocks, they’re also a great stepping stone toward more advanced triangle units like Split Quarter Square Triangles and other complex pieced blocks.
Hourglass Quilt Block Sizes
One of the nicest things about Hourglass blocks is that they’re very forgiving when trimmed properly. By starting slightly oversized, you can trim the finished block down to the exact size needed for your quilt project.
I created a free printable Hourglass Cutting Chart that includes multiple finished block sizes along with quick cutting measurements and trimming information.
Want a quick reference guide for your sewing room? Download my free Hourglass Quilt Block Cutting Chart with cutting sizes and trimming measurements for multiple finished block sizes. It’s perfect to keep near your cutting table for future projects.
Final Thoughts on Hourglass Quilt Blocks
Hourglass quilt blocks are one of those timeless quilting units that never really go out of style. They can look traditional, modern, scrappy, bold, or subtle depending entirely on fabric placement and color choices.
They’re also an excellent skill-building block because they teach accurate piecing, trimming, nesting seams, and handling bias edges all in one approachable unit.
And once you understand the construction, they become incredibly fun to incorporate into larger quilt designs.
Next, rearrange your pieces so that they are laid out in the color configuration that you want. Place two identical colors on the left and right, and two of the other fabric on the top and bottom. Reminder, this method makes two Hourglass blocks.


One Comment