Inside My Quilting Studio: A Full Tour of My Creative Space
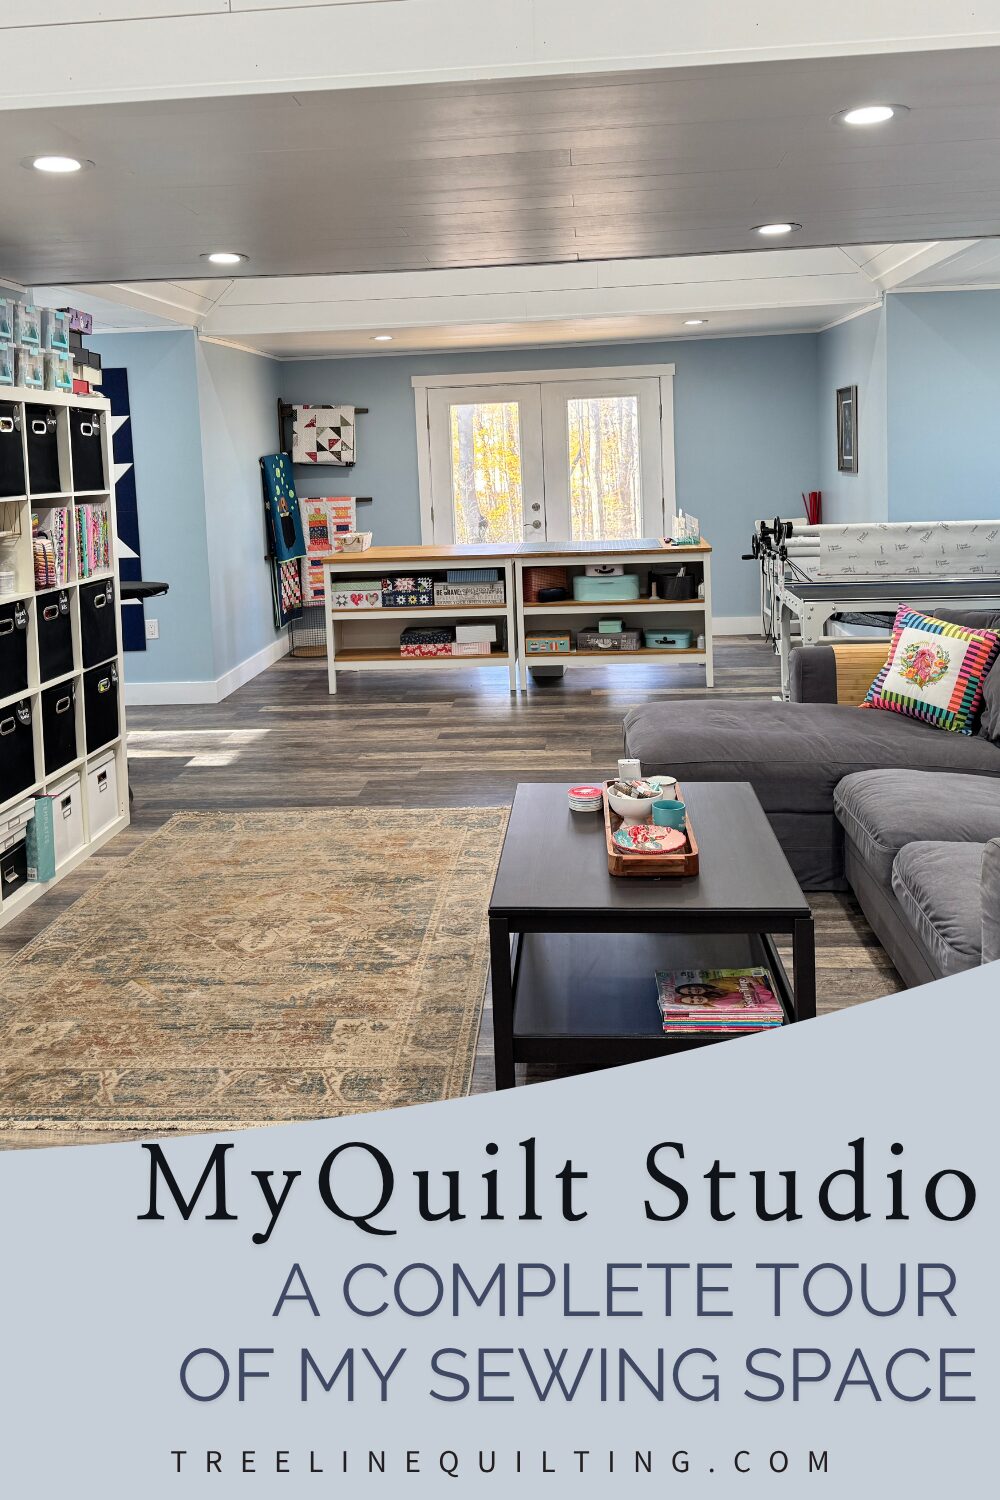
Welcome to my quilting studio! After a major cleanout and organizational overhaul, I’m excited to finally share the full tour of my sewing and quilting space. This room is where I dream, design, and stitch my heart out—and after this big reset, it’s finally as functional as it is inspiring.
When purchasing through links on this site, I may earn an affiliate commission at no cost to you.
Whether you’re here for studio layout inspiration, storage ideas, or just a peek into another quilter’s creative corner, I hope you enjoy this deep dive into my sewing space!
The Layout: A Room with Dormer Charm
My sewing room is located above the garage and is completely separate from the main part of the house, making it the perfect dedicated space for my quilting life. The room is a large rectangle—about 15 feet wide and 36 feet long—with four generously sized dormers branching off the long sides. Each dormer is approximately 7 feet by 11 feet, and they’re evenly spaced across the room, which gives me lots of cozy nooks to define different functions.
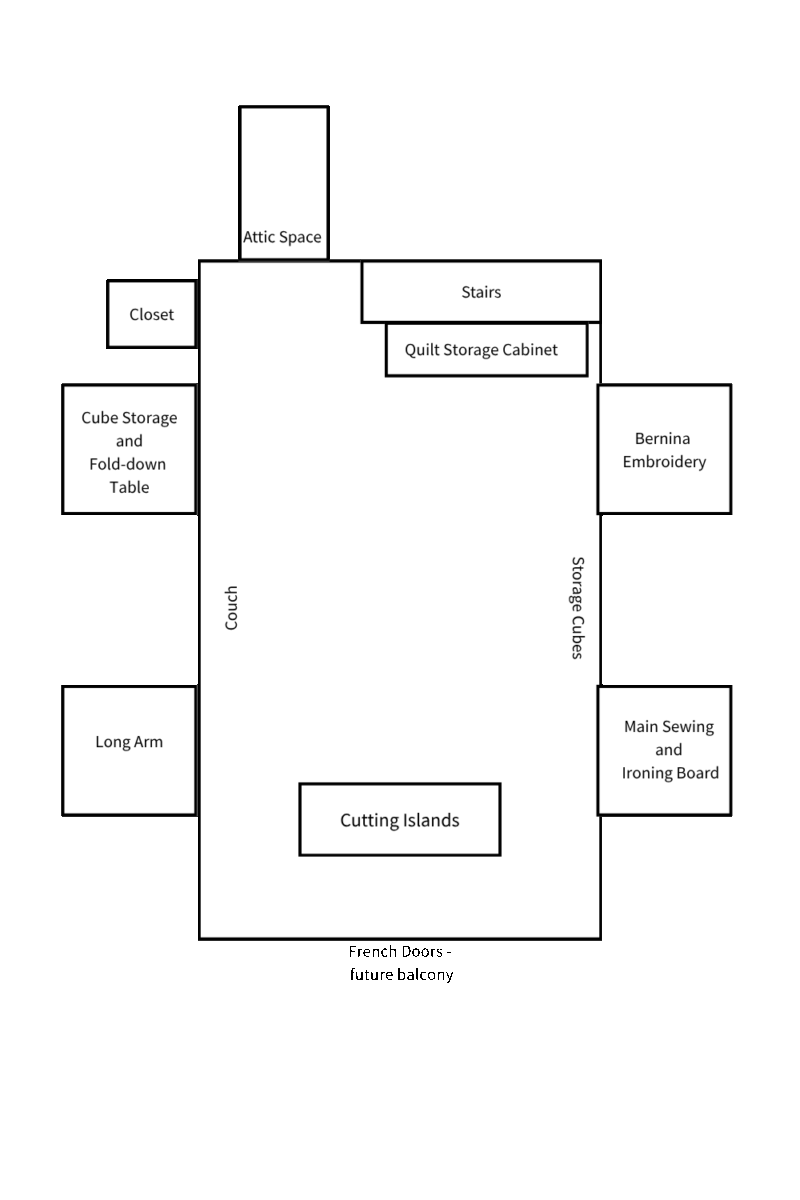
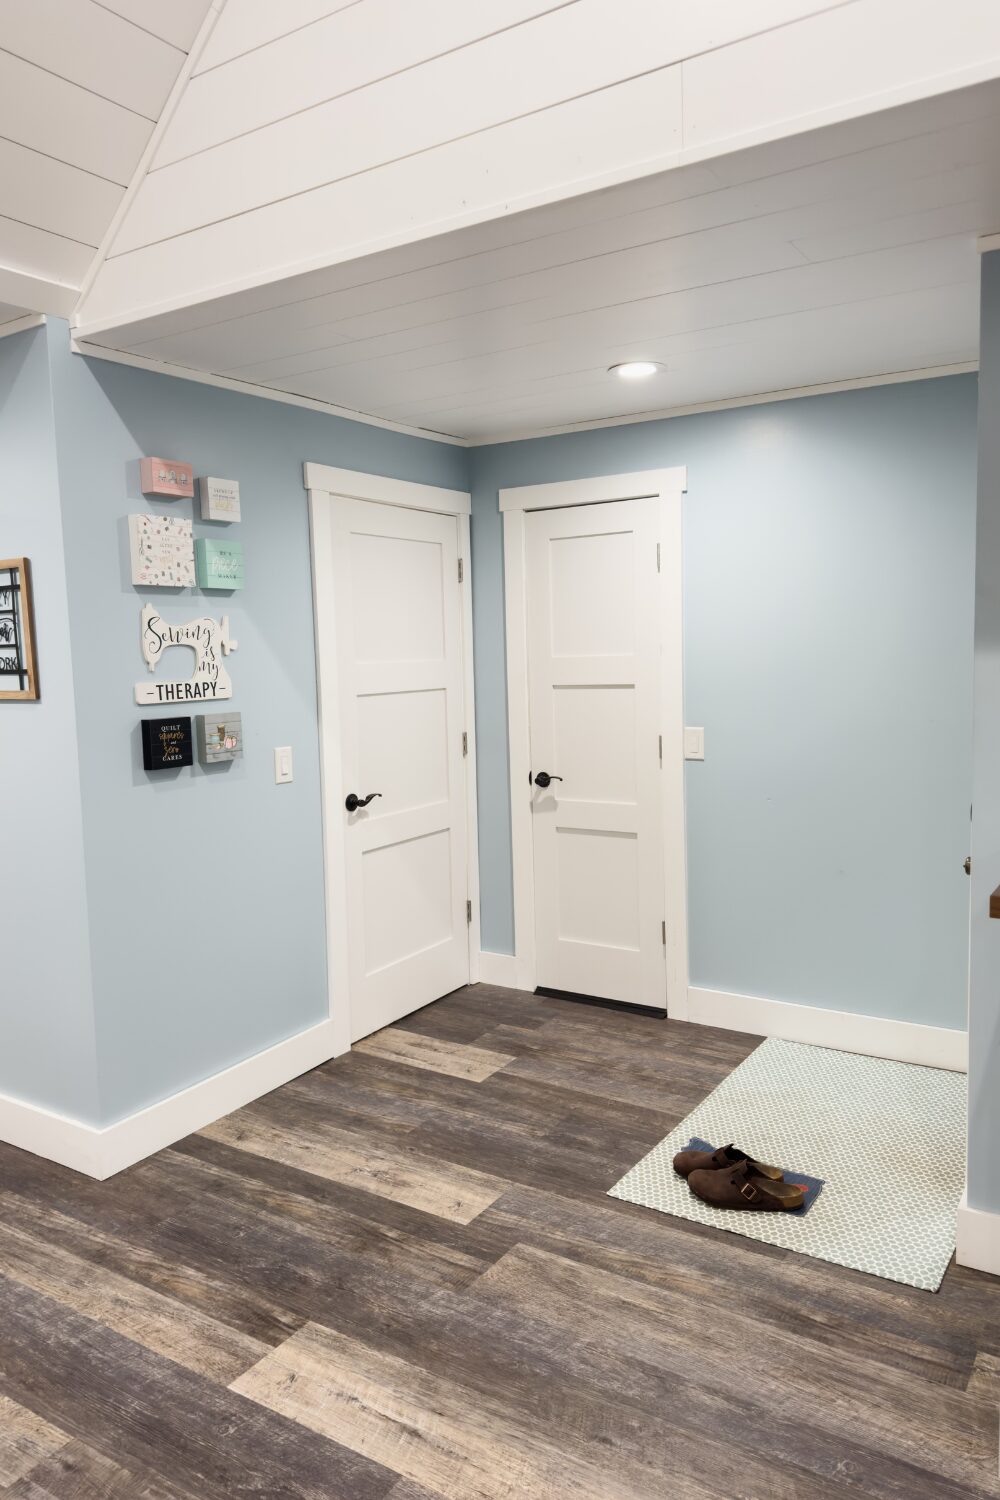
Coming up the stairs from the garage, the door opens into the main room, and directly across is a large closet (the door on the left). That closet is command central for overflow and large storage. It holds my Janome machine, bolts of fabric, poly-fil, my Bernina embroidery module, and other bulky or less frequently used items. The other door leads to attic space between the house and garage.
Dormer 1: Multi-Craft Storage + Fold-Down Workspace
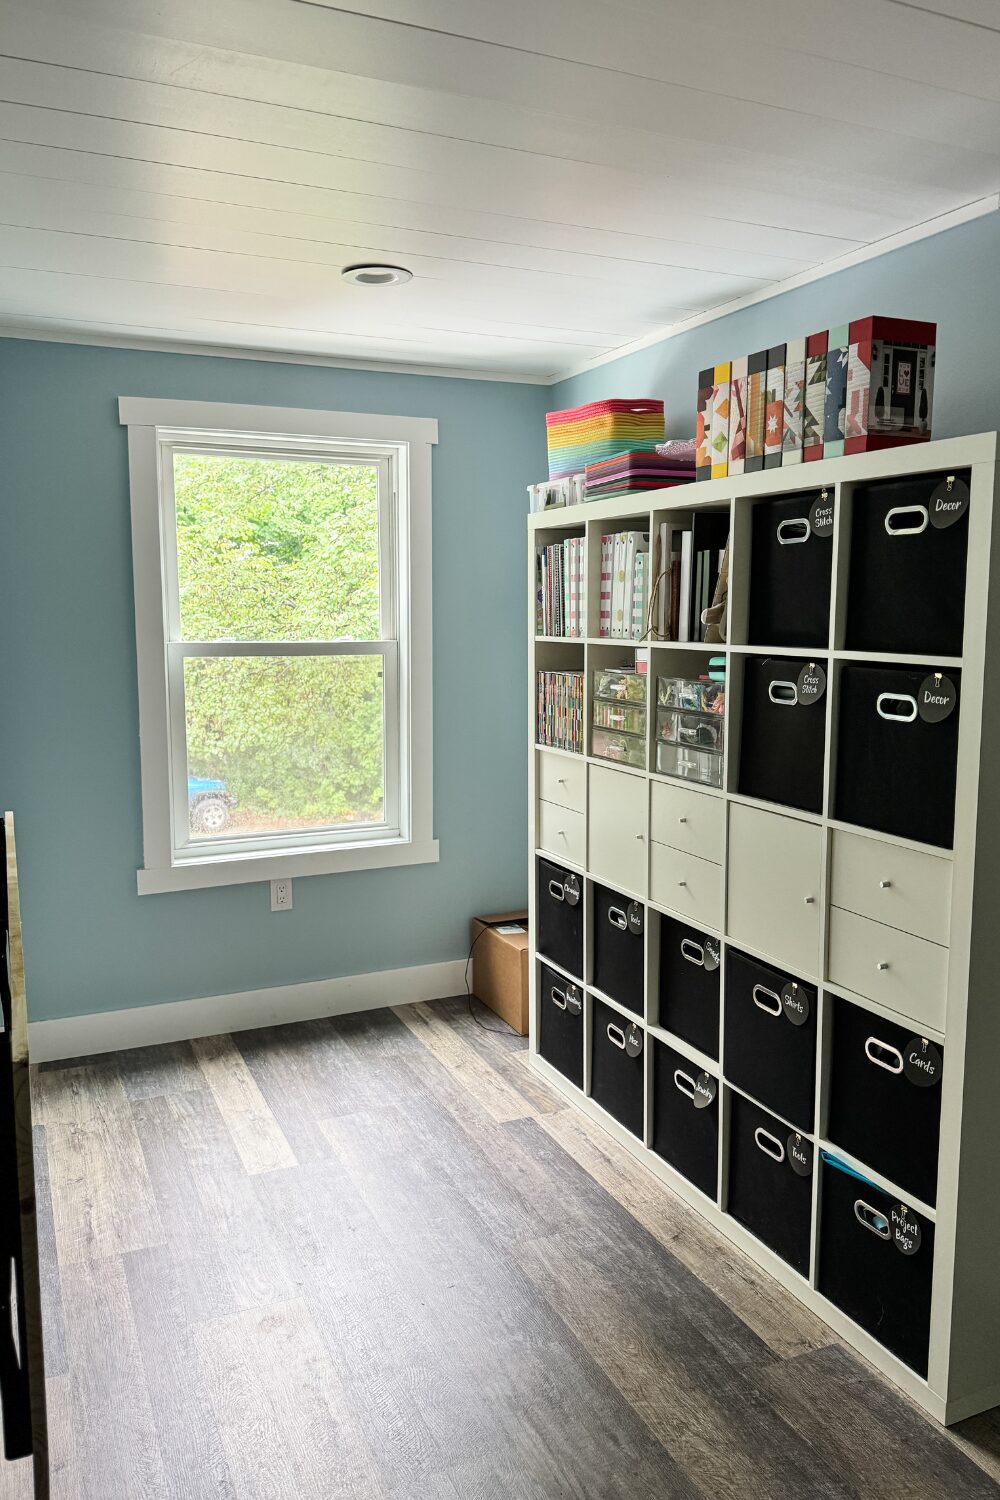
To the left of the closet is the first front dormer, which I’ve outfitted with a 5×5 IKEA cube unit along the right wall. This area houses my cross-stitch supplies, home decor items, cleaning products, other craft materials, and my patterns and books. It’s not my primary quilting zone, but it’s where all the other creativity lives!
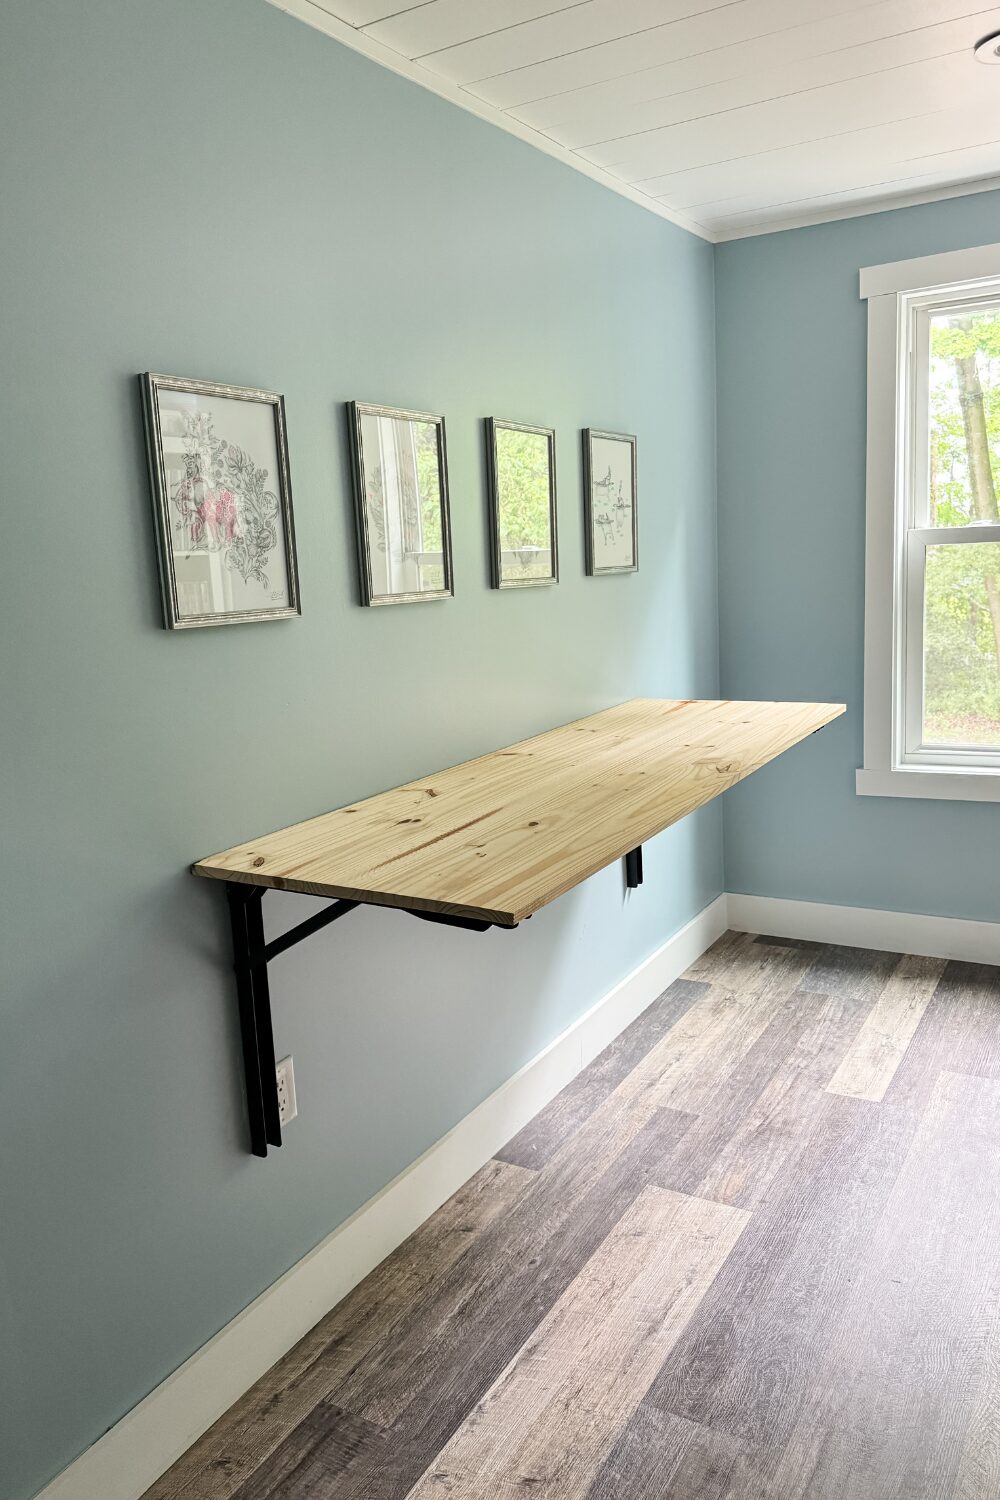
On the opposite wall, I’ve installed a fold-down countertop that’s perfect for starching fabric, staging photos for blog content, and giving myself extra work surface when needed. It folds down completely when not in use, giving me floor space flexibility.
Relaxation & Longarm Zone: Couch + Dormer 2
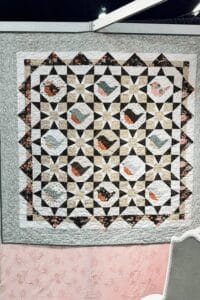
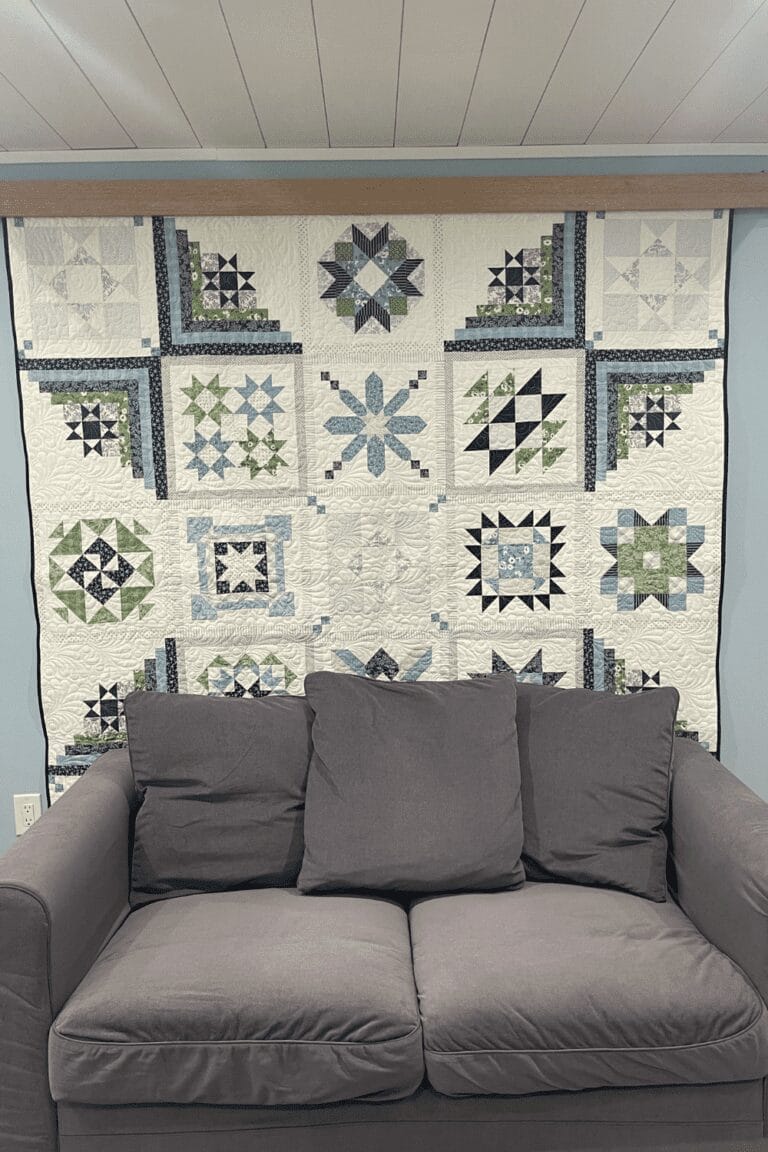
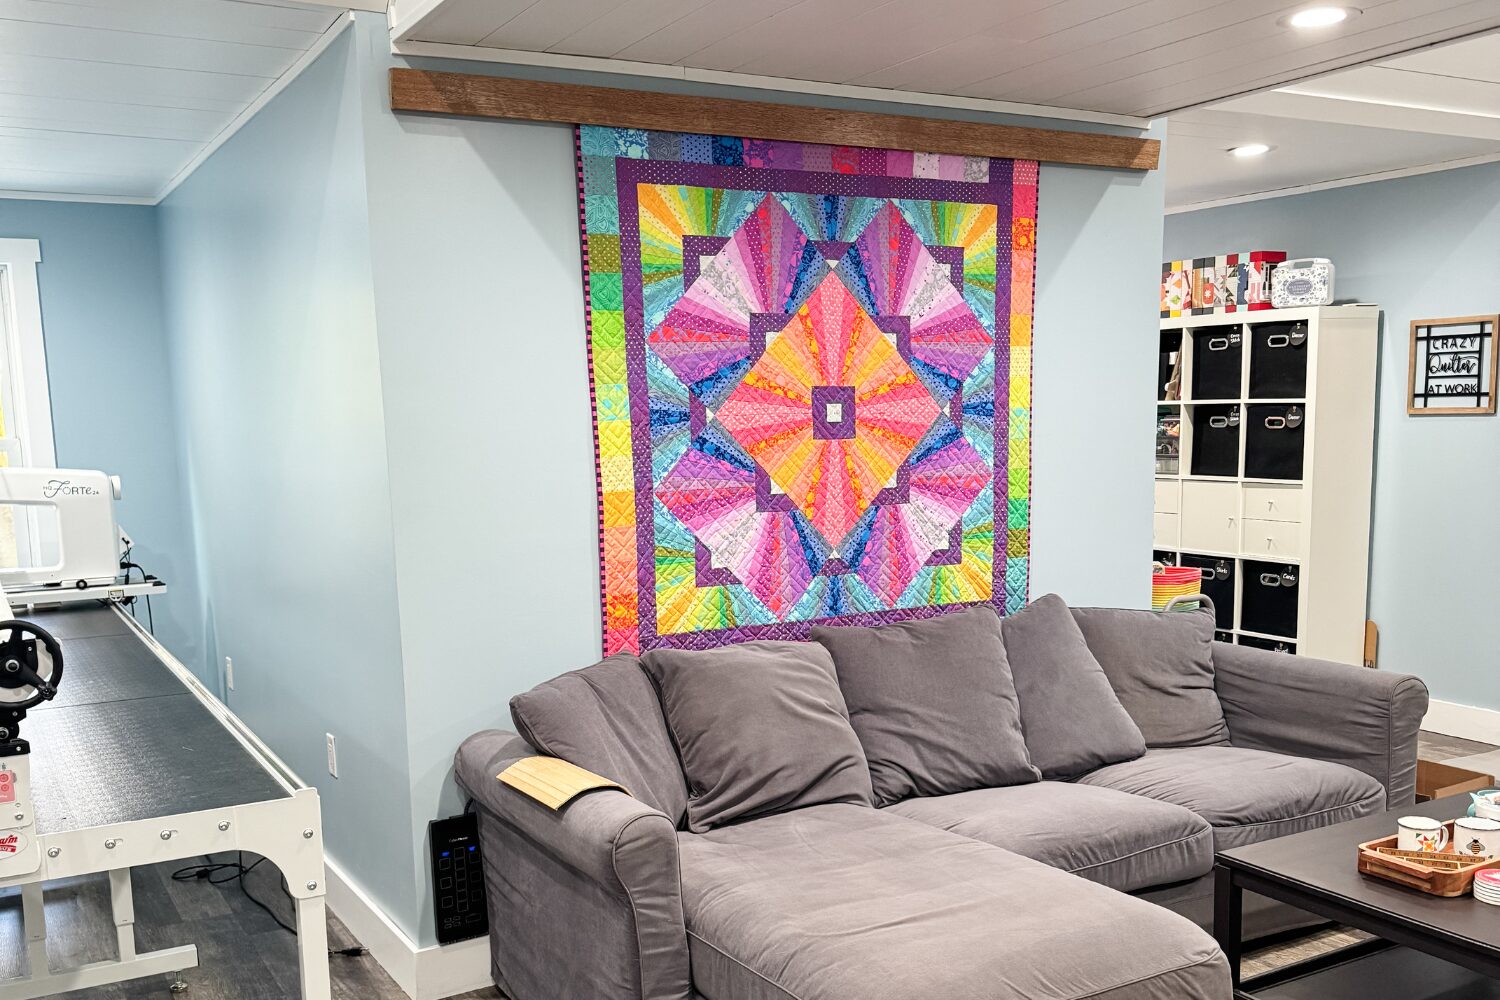
Moving counterclockwise, the next area is my little relaxation corner. On the far right side of the room sits a comfy couch with an attached chaise—my go-to spot for handwork and cross-stitching. A nearby coffee table holds my stitching supplies and a few decorative touches. Above the couch is one of my favorite features: a handmade compressing quilt hanger, where I display one of my current quilt finishes.
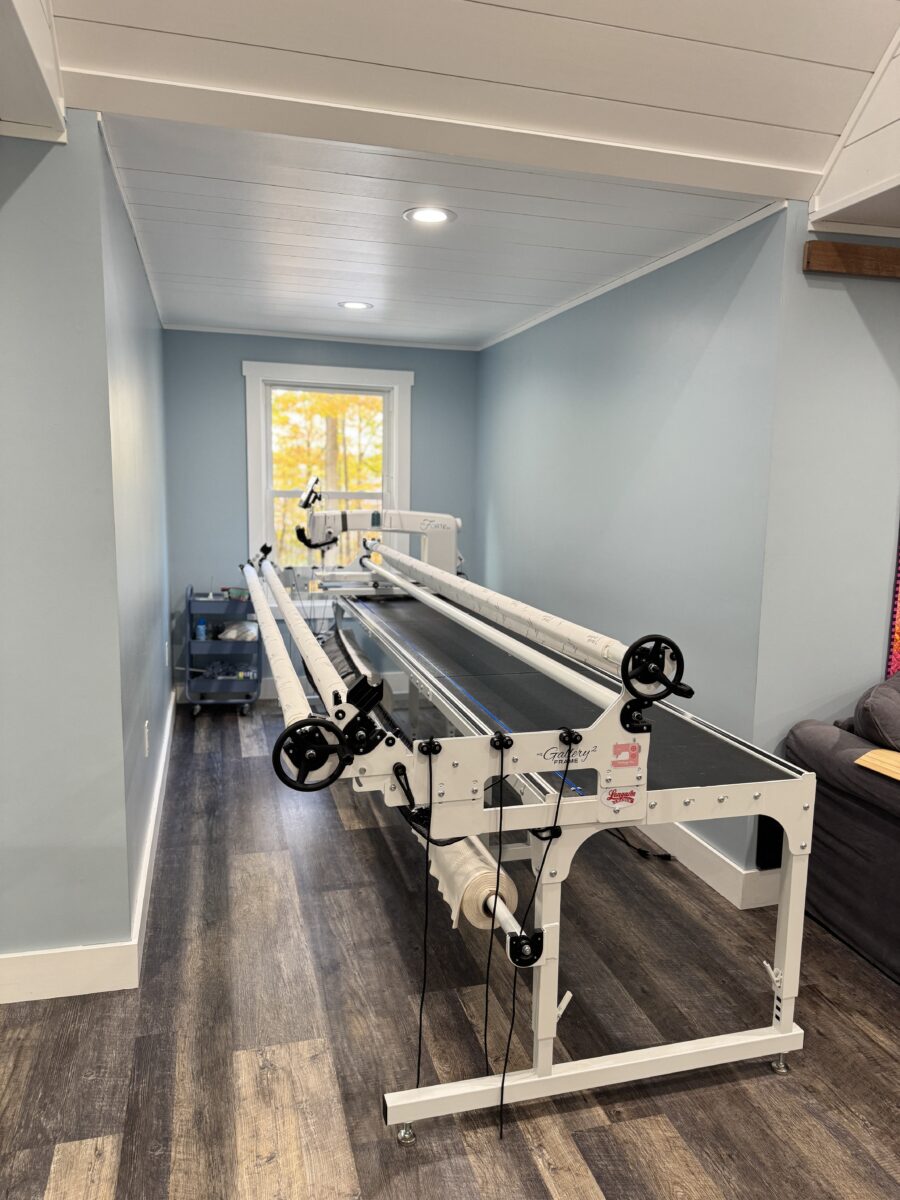
To the left of the couch is the second front dormer, which houses my longarm machine. I have a Handi Quilter Forte 24 on a 12 foot table. I use Pro-Stitcher for all of my computerized quilting. It’s a tight fit, but it works! I also keep a rolling cart here with my longarm essentials—threads, tools, and bobbins. The machine does extend slightly into the main room, but I’ve planned for that in the layout.
French Doors + Center Work Zone
At the far end of my quilting studio, centered on the back wall, are a set of French doors. One day I hope to add a balcony here, but for now, they let in beautiful natural light that brightens up my main workspace.
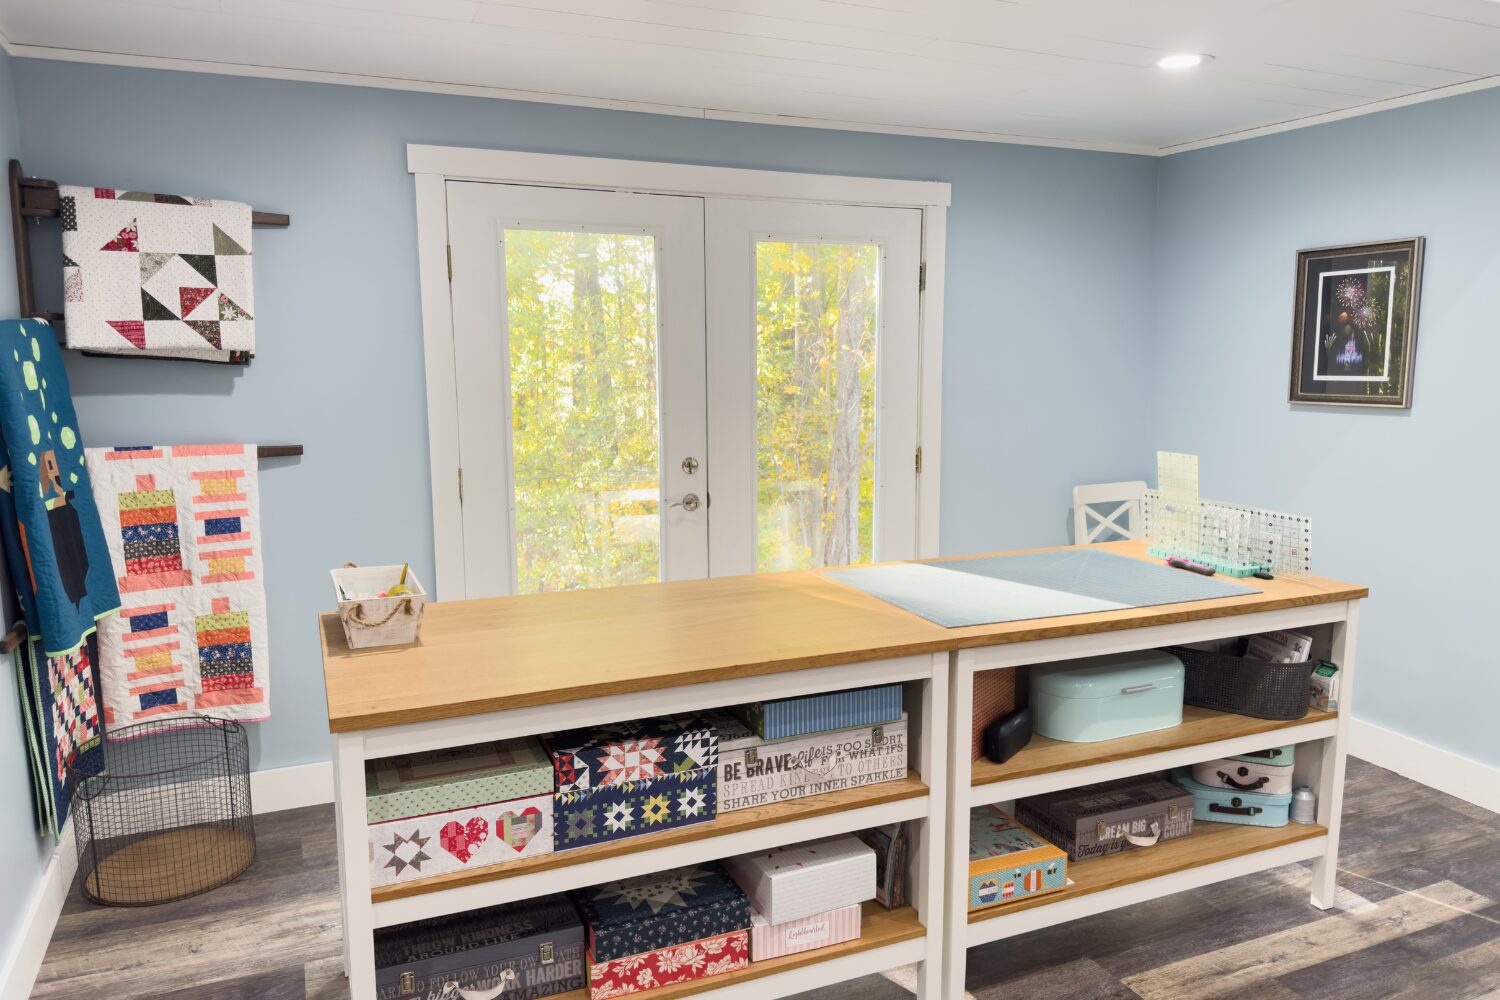
Floating in front of the doors are two IKEA kitchen islands. These are my main cutting and layout stations, and they’ve been a total game-changer. The sides facing into the room are outfitted with shelves that hold WIP boxes, a bread box with my foundation paper and Triangles on a Roll, and other prep tools. I love being able to cut, lay out, and organize in one central spot.
Dormer 3: Sewing Desk + Design Wall + Ironing Station
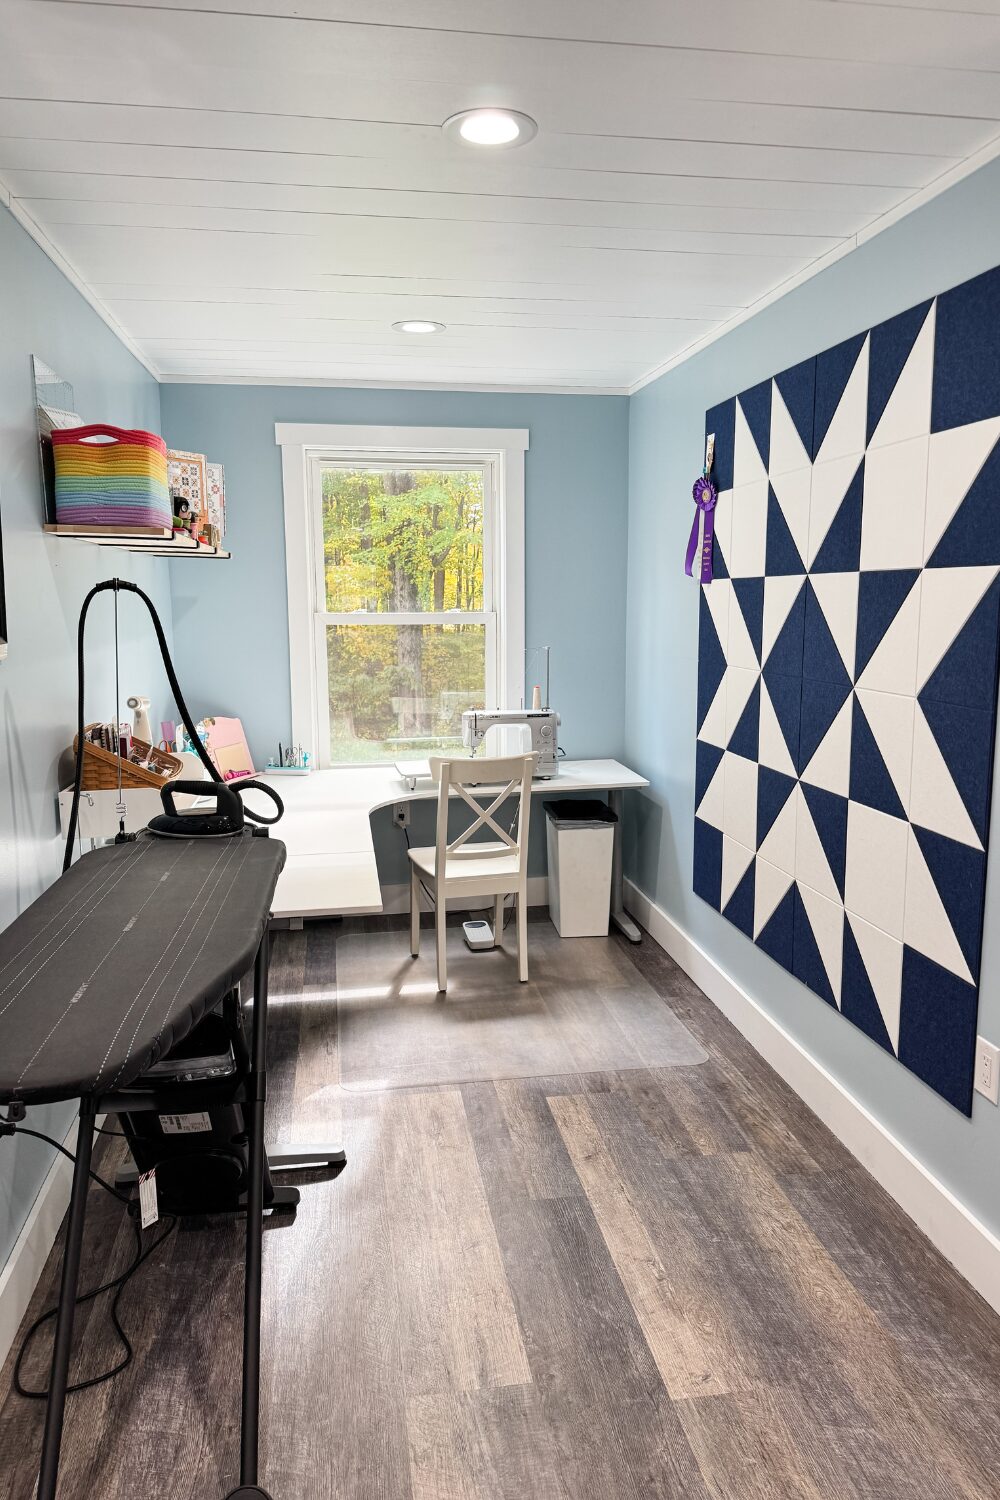
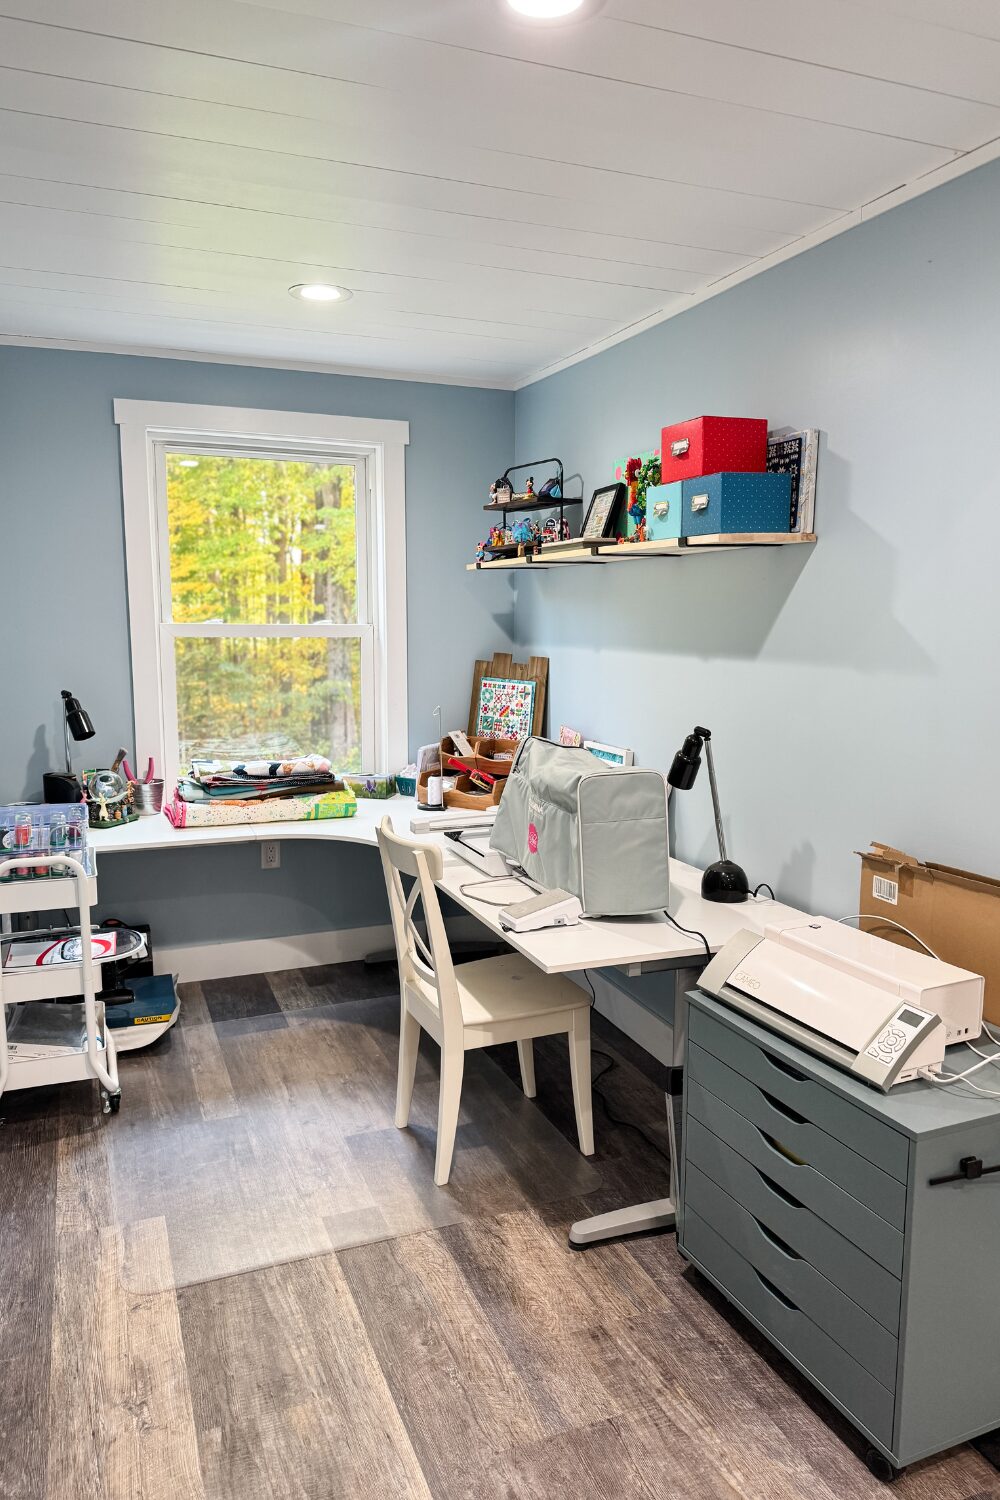
On the left of the rear wall, directly across from the longarm dormer, is Dormer 3. This is where the magic happens! I have a large L-shaped desk here, with my Juki TL2020 Platinum Edition under the window. It is a similar machine to the Juki TL2010Q. This is my primary sewing machine, and it gets used nearly every day. I highly recommend this machine. It is such a work horse.
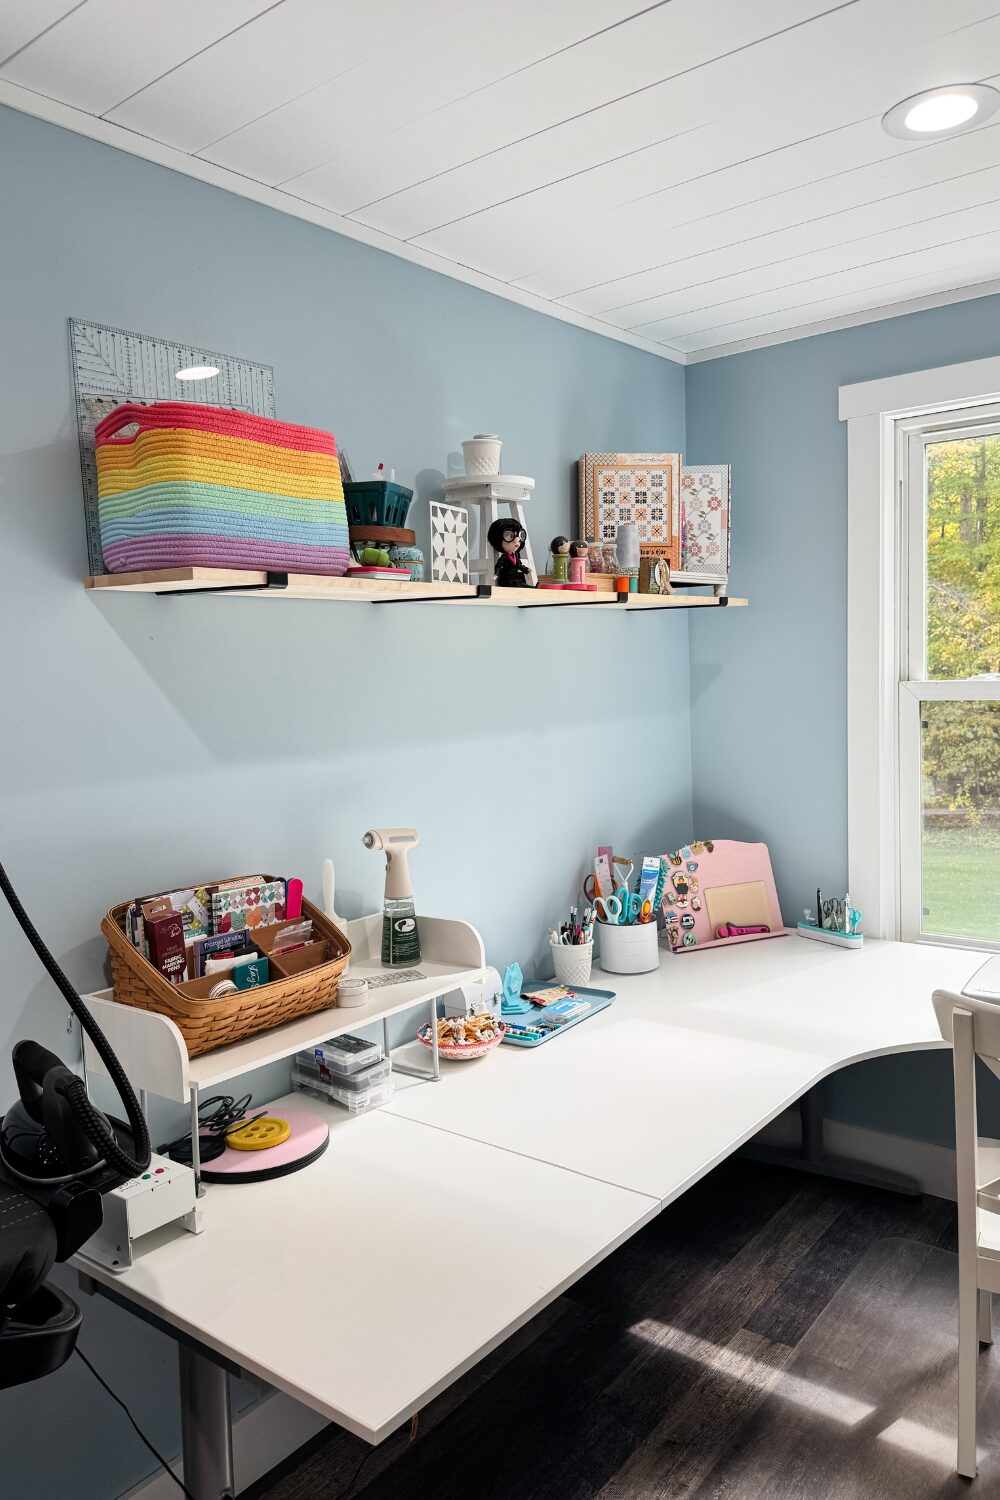
The left side of the desk gives me plenty of room to stack WIPs and keep notions at arm’s reach. Above it, I installed a shelf to store lesser-used rulers, containers of Alphabitties, Wonder Clips, and a couple of quilt kits I plan to make this year.
On the right wall of the dormer is my Felt Right design wall—perfect for keeping current projects visible and organized. It’s both functional and inspiring. At the far left end of the desk, just outside the dormer opening, I keep my LauraStar ironing board system. It’s incredibly efficient to have it close by when I’m sewing.
Wall Storage: Quilting Central
Directly across from the couch, along the side wall between the two rear dormers, is another 5×5 IKEA cube unit. This one is dedicated entirely to quilting.
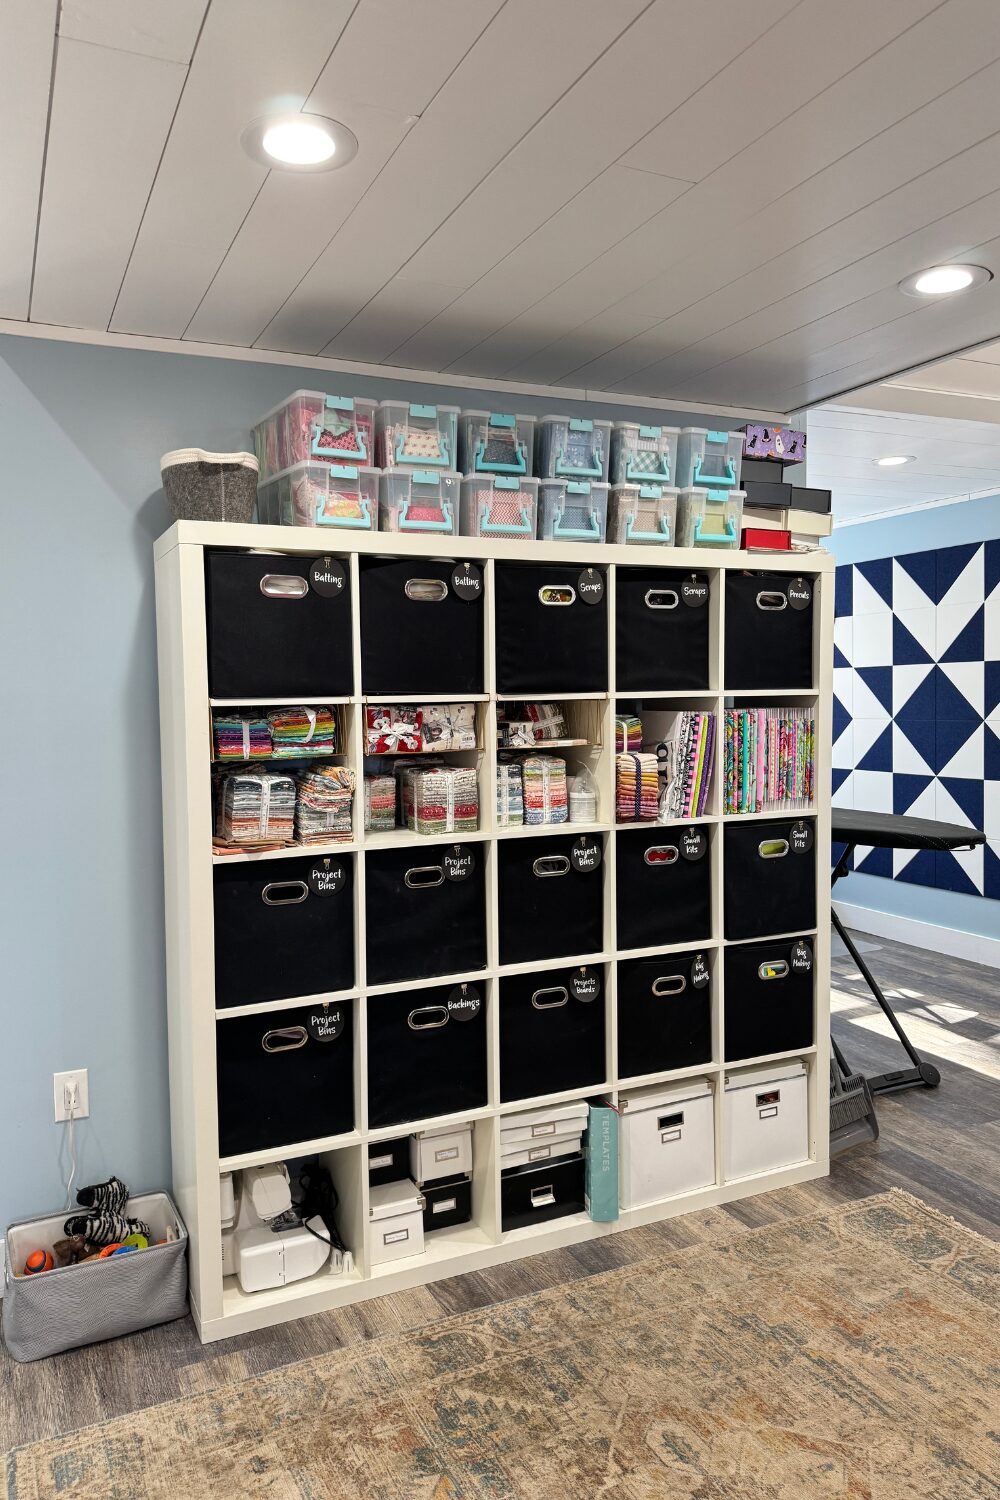
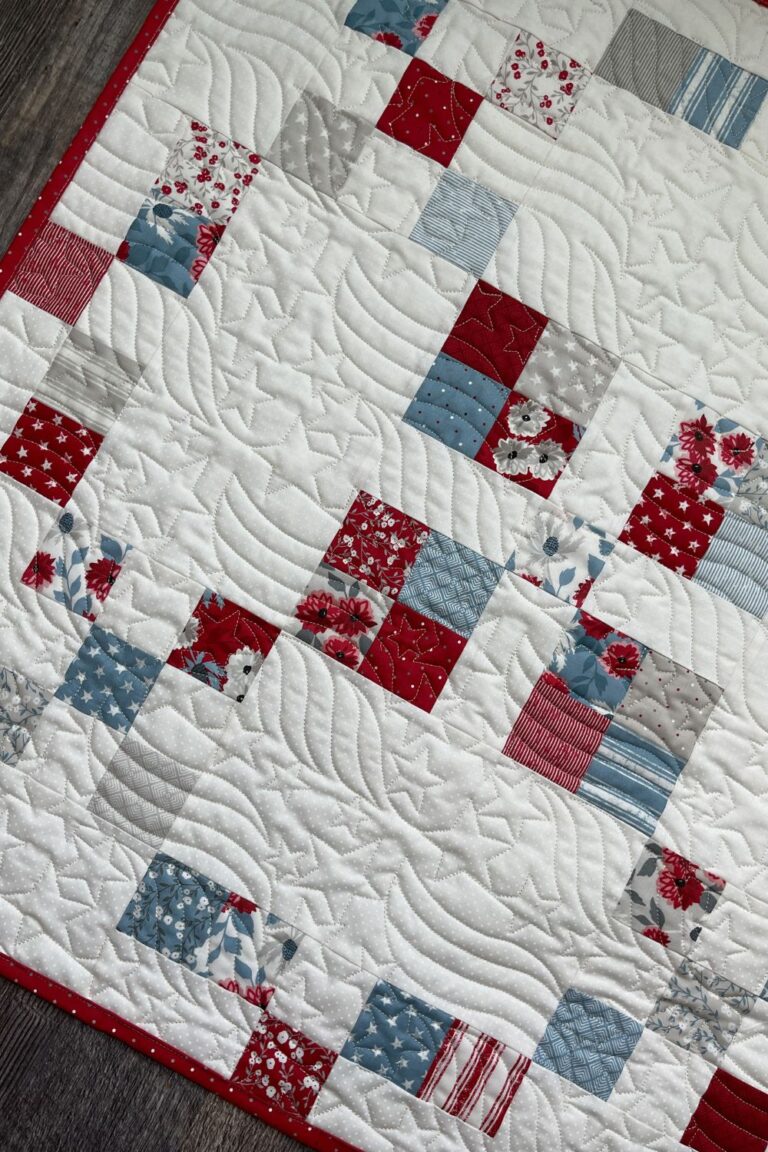
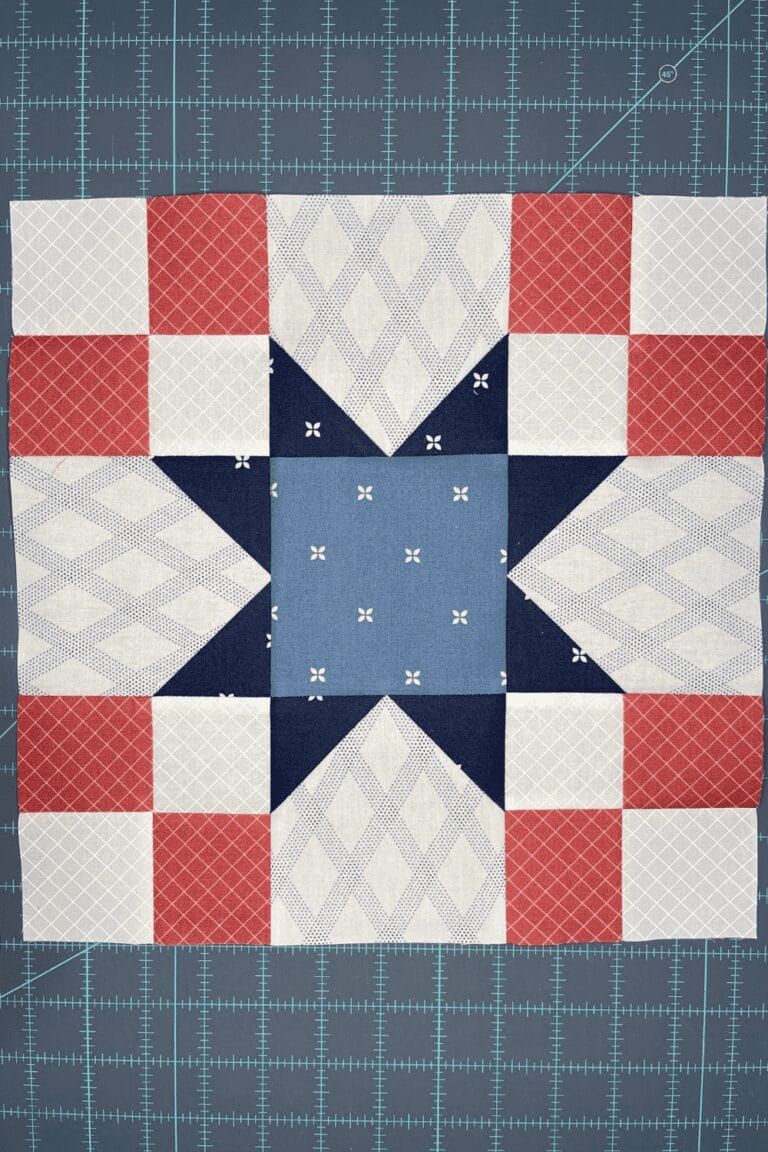
Inside these cubes, I store everything from neatly folded scraps and batting to precuts, fat quarter bundles, books, magazines, quilt kits, templates, and WIPs. Several bins contain subscription box quilt kits that I’m slowly working on using this year. On top of the unit are Art Bin containers full of pre-cut scraps, sorted by size for easy use.
Dormer 4: Embroidery Station
The final dormer of my sewing studio, on the rear side opposite the fold-down counter dormer, is home to my Bernina 770 QE Tula Pink machine and embroidery setup. I have another L-shaped desk here, with the machine placed on the long side of the desk for plenty of space. All of my embroidery tools and supplies stored in the drawers and on nearby shelves.
While I haven’t spent much time learning embroidery yet, everything I need is here and ready for when I do. It’s important to me that each zone of my room is functional—even if I’m not using it daily.
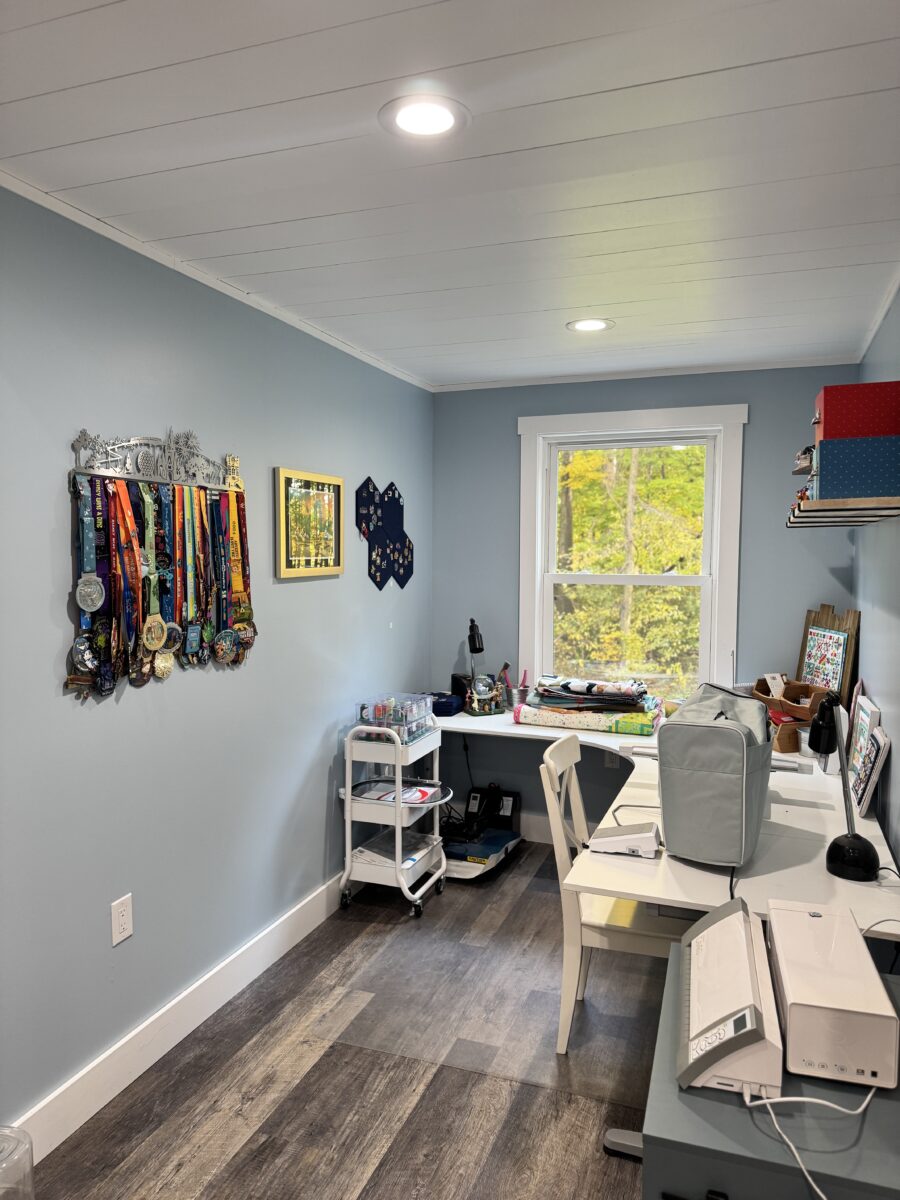
In this dormer, quilting meets a bit of magic. On the opposite wall from my embroidery setup, I’ve displayed my runDisney medals and Disney pin collection—a fun reminder of my favorite races and memories. Below the display, a rolling cart holds embroidery essentials, making this dormer both personal and perfectly practical.
Final Wall: Mini Split + Custom Quilt Cabinet
The wall to the left of Dormer 4 holds my mini split heating and cooling system, which keeps the room comfortable year-round. Beneath it, I’ve placed a custom-designed quilt cabinet that I’m currently developing into a blueprint for DIYers to build their own quilt storage.
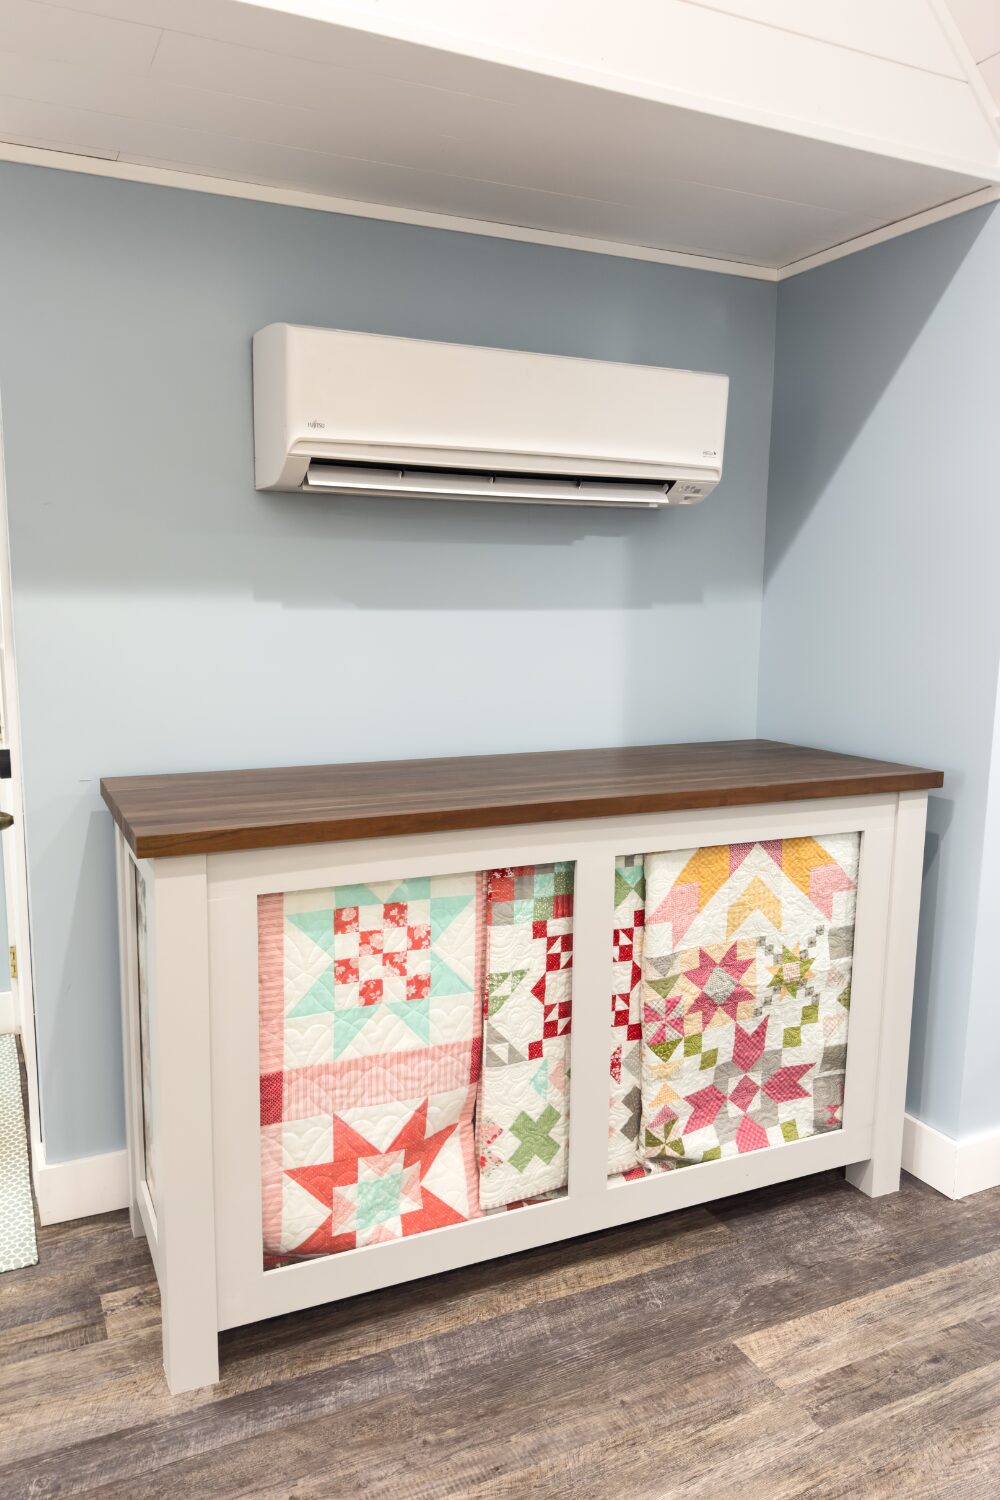
This cabinet provides additional storage for quilts, backing fabrics, or overflow items. It’s also a great visual anchor for this part of the room—and I’m so excited to eventually offer the pattern for others to make one too!
Closing Thoughts: A Space That Supports Creativity
This quilting studio is a reflection of years of quilting, collecting, and learning what systems work for me. It’s evolved alongside my skills, my stash, and my schedule—and after this cleanout, I feel more energized and focused than ever.
Having designated zones has made it so much easier to stay organized, and I hope this tour sparks ideas for your own creative space. Whether you sew in a spare bedroom, a corner of your living room, or a dedicated studio like mine, it’s all about creating a space that supports your creativity.
Thanks for stopping by my quilting studio! I’d love to hear your favorite part of the room—or what ideas you’d love to try in your own space.