Pinwheel Quilt Block: A Classic Block Built with Half-Square Triangles
The Pinwheel Block is one of the most recognizable quilt blocks in quilting. With its spinning appearance and endless color possibilities, it’s a block that works equally well in traditional, modern, baby, seasonal, and scrap quilts.
When purchasing through links on this site, I may earn an affiliate commission at no cost to you.
The best part is that if you’ve already learned how to make Half-Square Triangles, you already have the skills needed to make a Pinwheel Block.

What Is a Pinwheel Block?
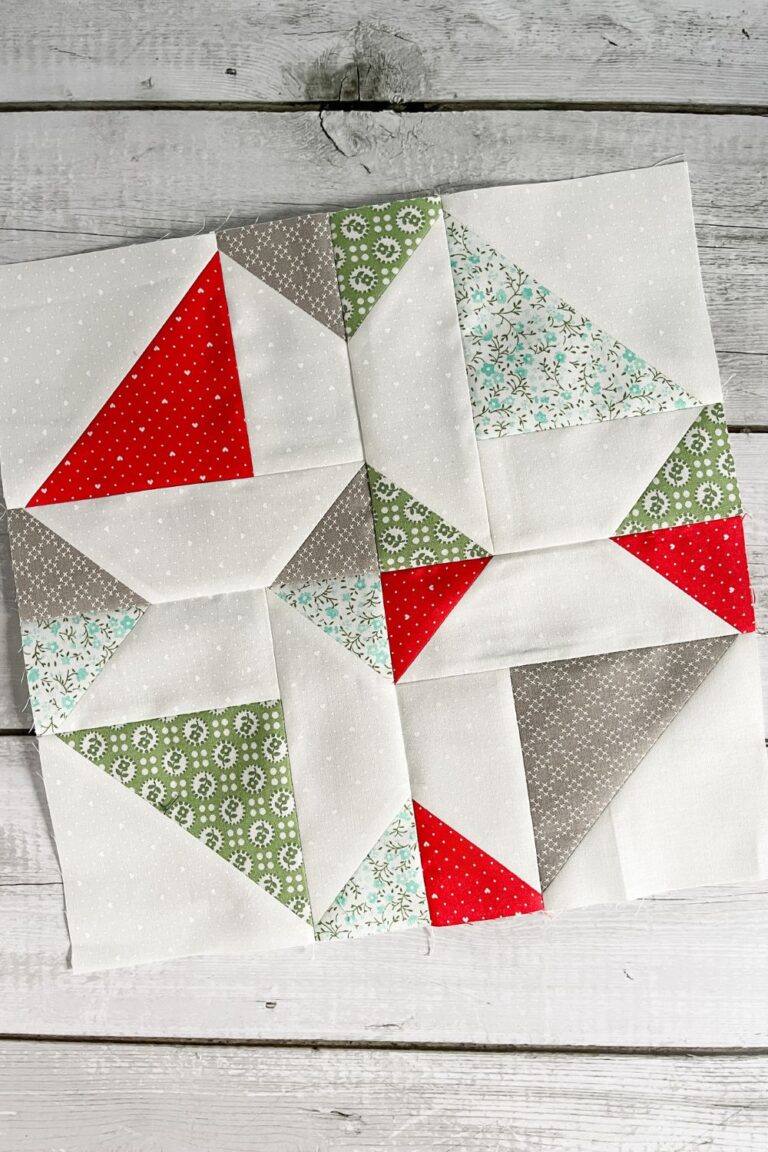
A Pinwheel Block is created by arranging four Half-Square Triangles so the diagonal seams create the appearance of rotating blades.
By simply changing the colors and fabric placement, you can create dramatically different looks while using the exact same construction method.
Some Pinwheel blocks appear bold and graphic, while others create subtle movement through color value and fabric selection.
Materials You’ll Need
To make a basic Pinwheel Block, you’ll need just a few basic quilting supplies:
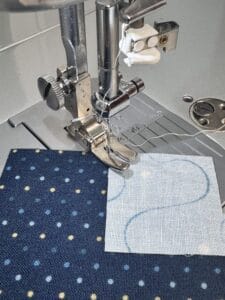
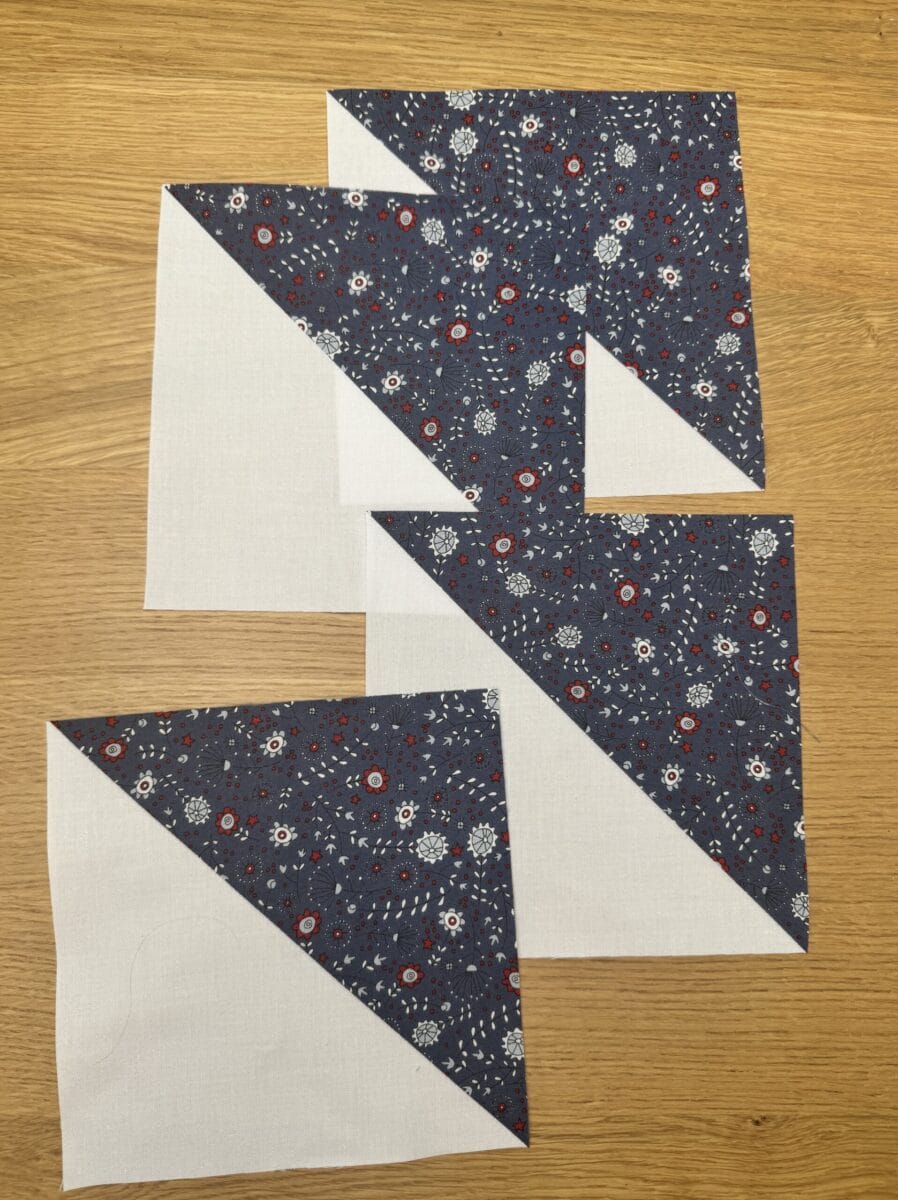
Building the Half-Square Triangles
A Pinwheel Block starts with four matching Half-Square Triangles.
The size of your HSTs will depend on the finished size of the Pinwheel Block you want to make.
If you need a refresher on making Half-Square Triangles, be sure to check out my detailed HST tutorial, where I cover both one-at-a-time and two-at-a-time methods.
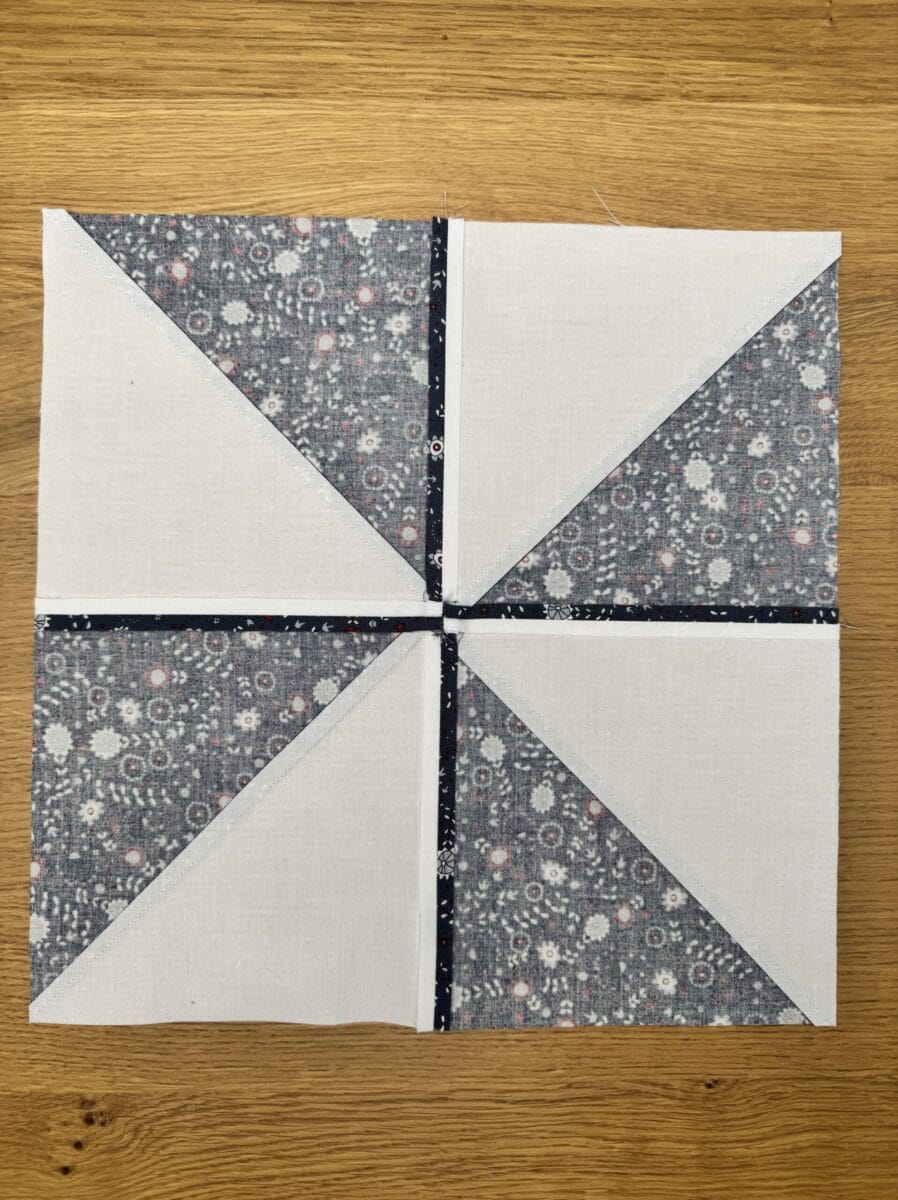
Arranging the Pinwheel
Once your four HSTs are complete, lay them out in a two-by-two arrangement.
Rotate each unit so the dark triangles form a spinning motion around the center of the block. This is where the Pinwheel design begins to appear.
Before sewing, take a moment to step back and verify the direction of the rotation. It’s surprisingly easy to rotate one unit incorrectly and accidentally create a completely different block.
Sewing the Block Together
Sew the top two units together to create one row.
Repeat for the bottom two units.
Press the row seams in opposite directions so they nest together when the rows are joined.
Then sew the two rows together to complete the block.
Getting a Flat Center
The center intersection is the most noticeable area of a Pinwheel Block.
Many quilters choose to “spin” the center seam allowance after sewing. This allows the seams to distribute around the center point rather than stacking on top of one another. The result is a flatter block with less bulk in the middle.
Alternatively you can press seams open to have the least amount of bulk possible. This is usually my choice.
Pinwheel Tip:
After joining the rows, gently open the seam allowances on the back of the block and rotate them in a circular direction around the center point. This helps reduce bulk and creates a flatter block.
Playing with Color and Layout
One of the things I love about Pinwheel Blocks is how dramatically the overall quilt can change with just a few adjustments to fabric placement.
In the first example, two different Pinwheel Blocks alternate throughout the quilt. One uses blue and white fabrics while the other uses blue and navy. Because each block maintains the same orientation and color placement, the individual pinwheels remain easy to see, creating a playful repeating design across the quilt.
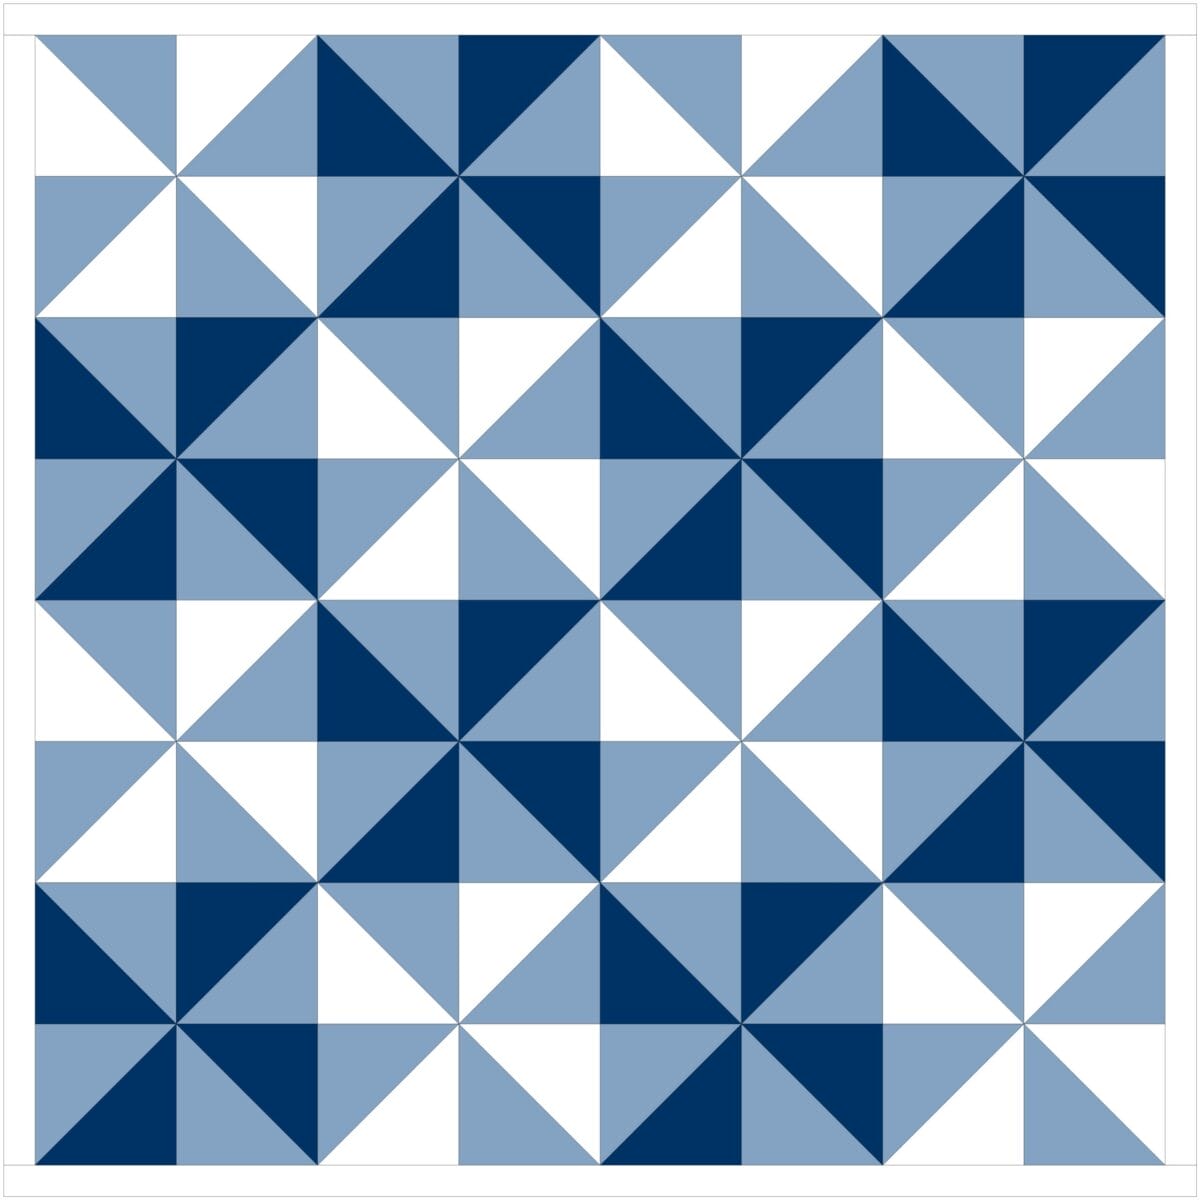
Adding sashing between the blocks creates a completely different effect. The extra space helps separate each block visually, making the individual pinwheels stand out instead of blending together with neighboring blocks.
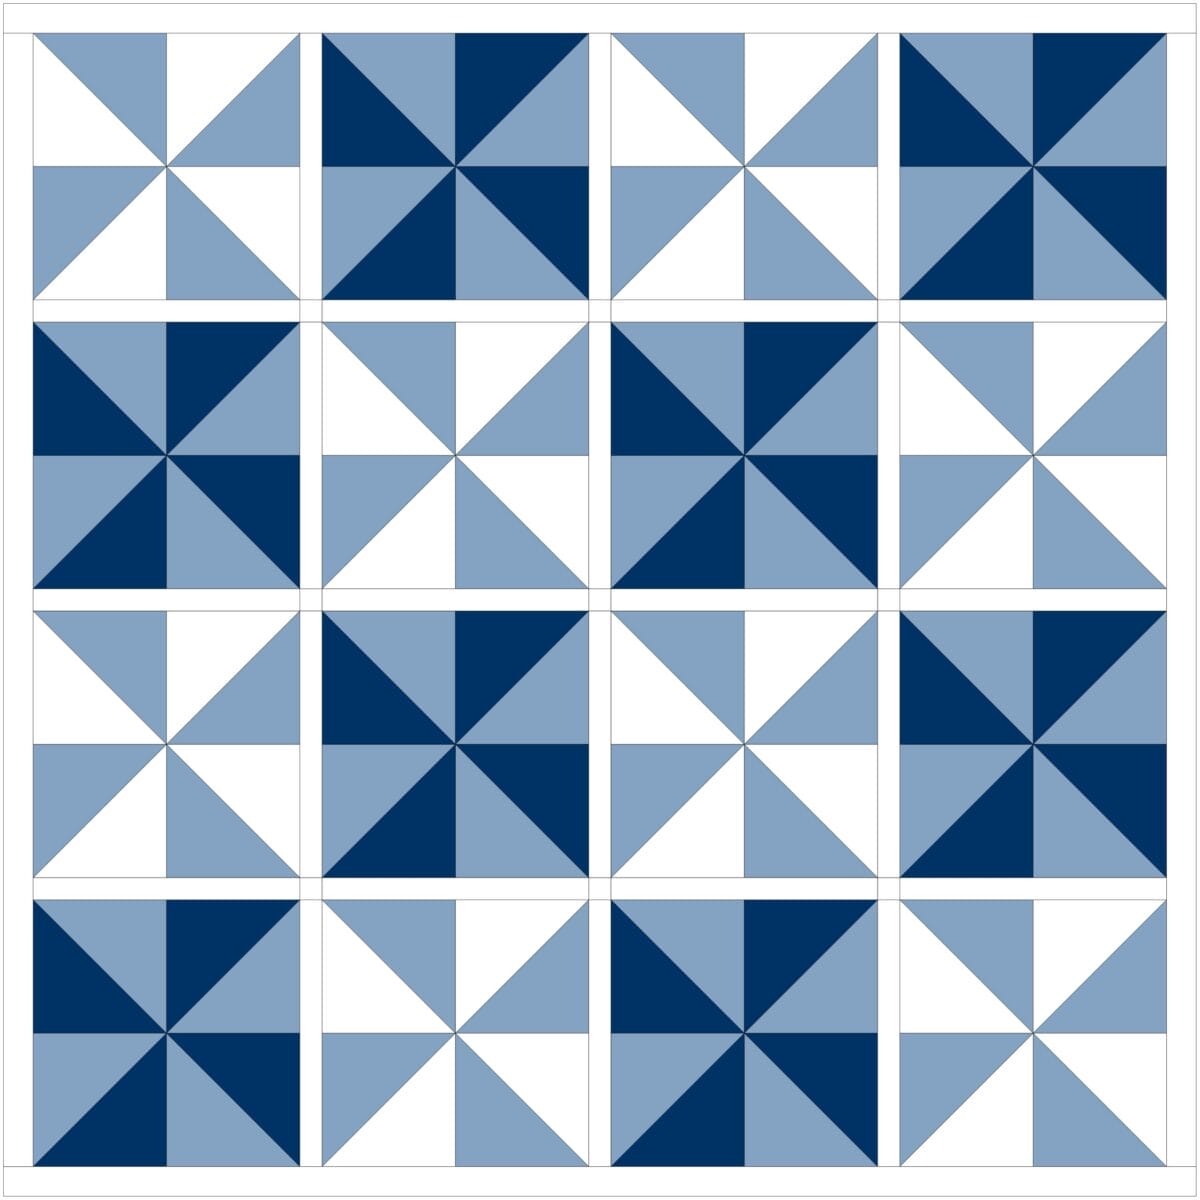
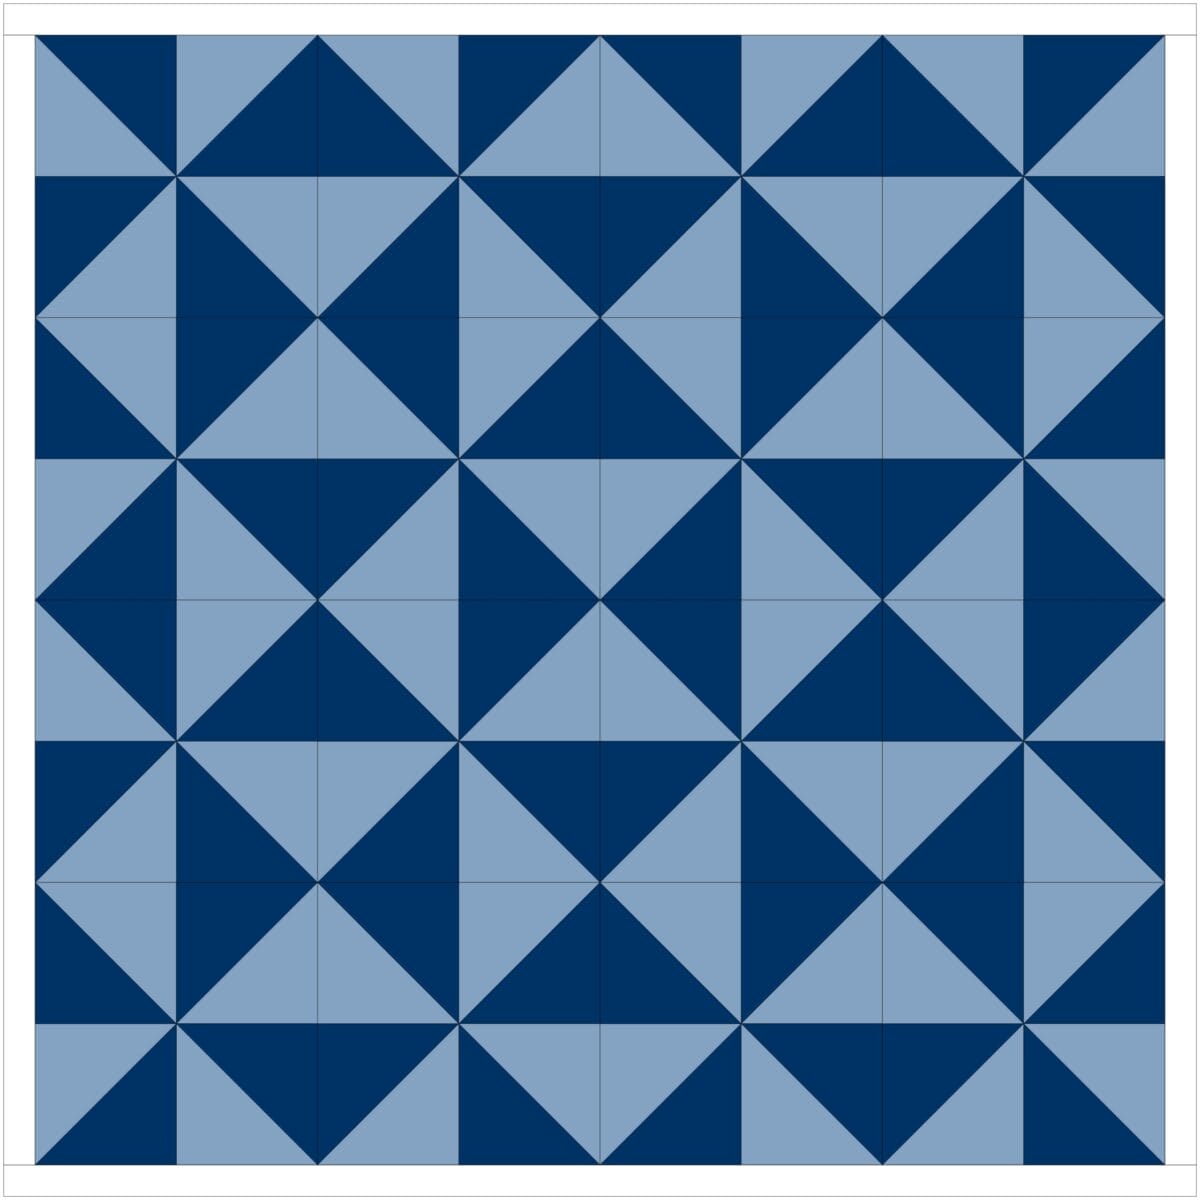
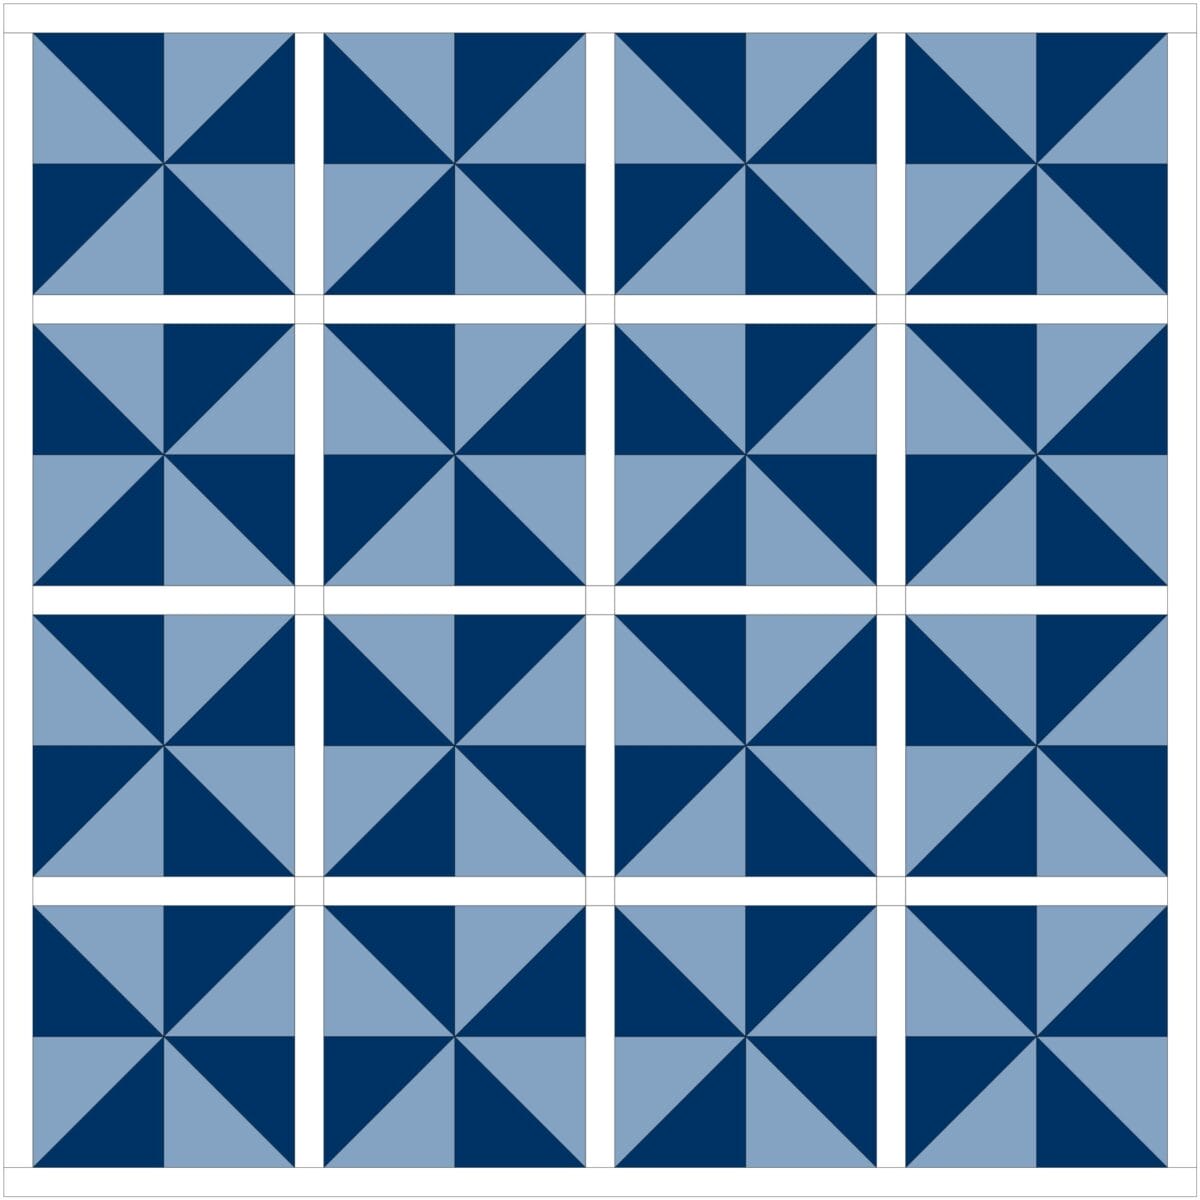
In the next example, the fabrics are inverted in every other block. Instead of alternating two different color combinations, the light and dark fabrics switch positions from block to block.
At first glance, the pinwheels almost seem to disappear. The layout begins to resemble a series of Hourglass Blocks, and the eye is drawn to larger secondary shapes that emerge across the quilt. Looking more closely, you can still see the individual Pinwheel Blocks, but the overall design creates an almost optical illusion effect.
Adding sashing to this version helps reveal the construction of the quilt more clearly. The pinwheels become easier to identify because each block is visually separated from its neighbors.
These examples use the exact same block, yet each quilt has a completely different personality. Before settling on a final layout, try arranging a few blocks on a design wall or using quilt design software. Small changes in color placement can completely transform the finished quilt.
Common Ways to Use Pinwheel Blocks
Pinwheel Blocks work beautifully in:
- Baby quilts
- Sampler quilts
- Scrappy quilts
- Table runners
- Seasonal projects
They can be used as standalone blocks or combined with other units such as Four Patches, Flying Geese, and Nine Patches.
Why The Pinwheel Block Belongs in Your Quilt Library
The Pinwheel Block is a great example of how simple units can create striking designs. With just four Half-Square Triangles, you can create a block that feels energetic, timeless, and endlessly adaptable.
Once you’ve made one, you’ll quickly see why Pinwheels have remained a quilting favorite for generations.