How to Keep Fabric from Getting Eaten by Your Sewing Machine
Few things are more frustrating than starting a seam and watching fabric getting eaten by the sewing machine through the needle plate.
When purchasing through links on this site, I may earn an affiliate commission at no cost to you.
Usually it happens right at the corner of a small triangle or snowball corner, and suddenly the fabric is jammed, tangled, or pulled completely off track before you even get the seam started.
The good news is that this is a very common quilting problem — and usually an easy one to fix.
Most of the time, the issue comes down to fabric stability during the first stitch or two.
Why Small Pieces Get Pulled Into the Machine
Your sewing machine needs enough fabric under the presser foot and feed dogs to move the fabric smoothly.
With larger pieces, this usually isn’t a problem. But tiny pieces — especially triangle points — don’t give the machine much surface area to grab onto at the beginning of the seam.
Instead of feeding cleanly across the needle plate, the fabric can flex downward into the opening around the needle.
Softer fabrics and looser weaves tend to make this even worse because the fabric is more flexible and easier for the needle to push downward.
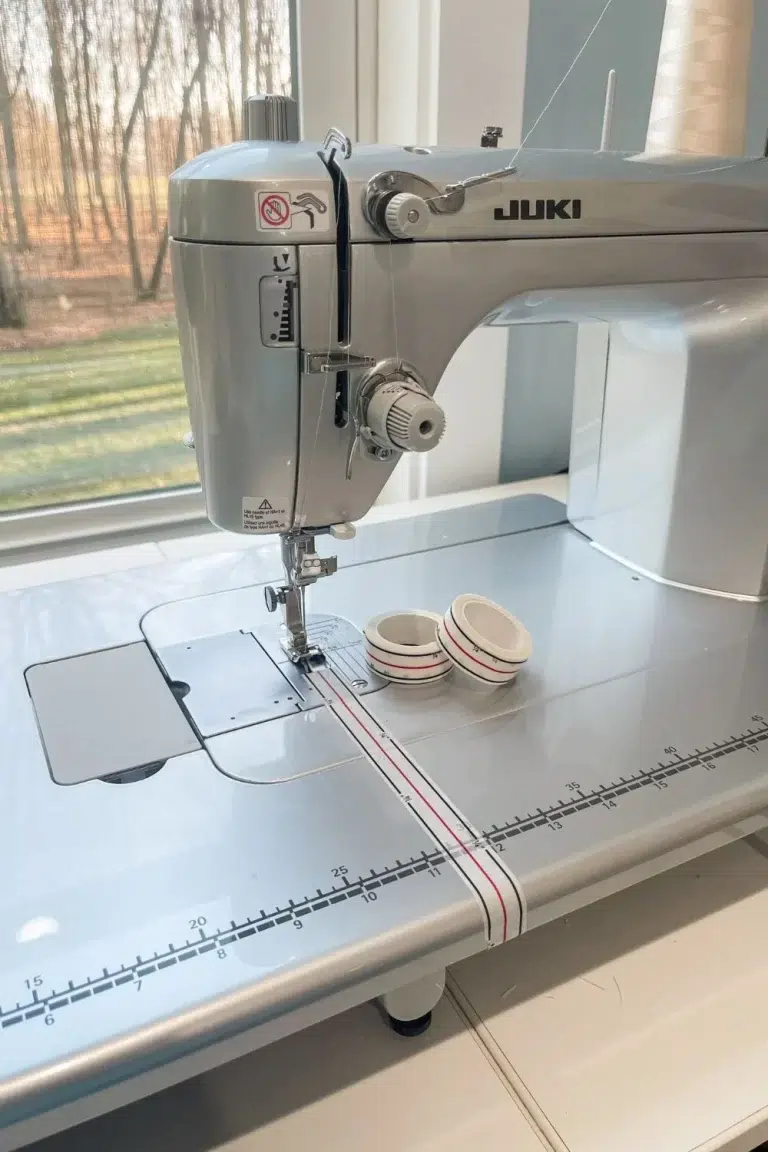
A Single Hole Needle Plate Makes a Huge Difference
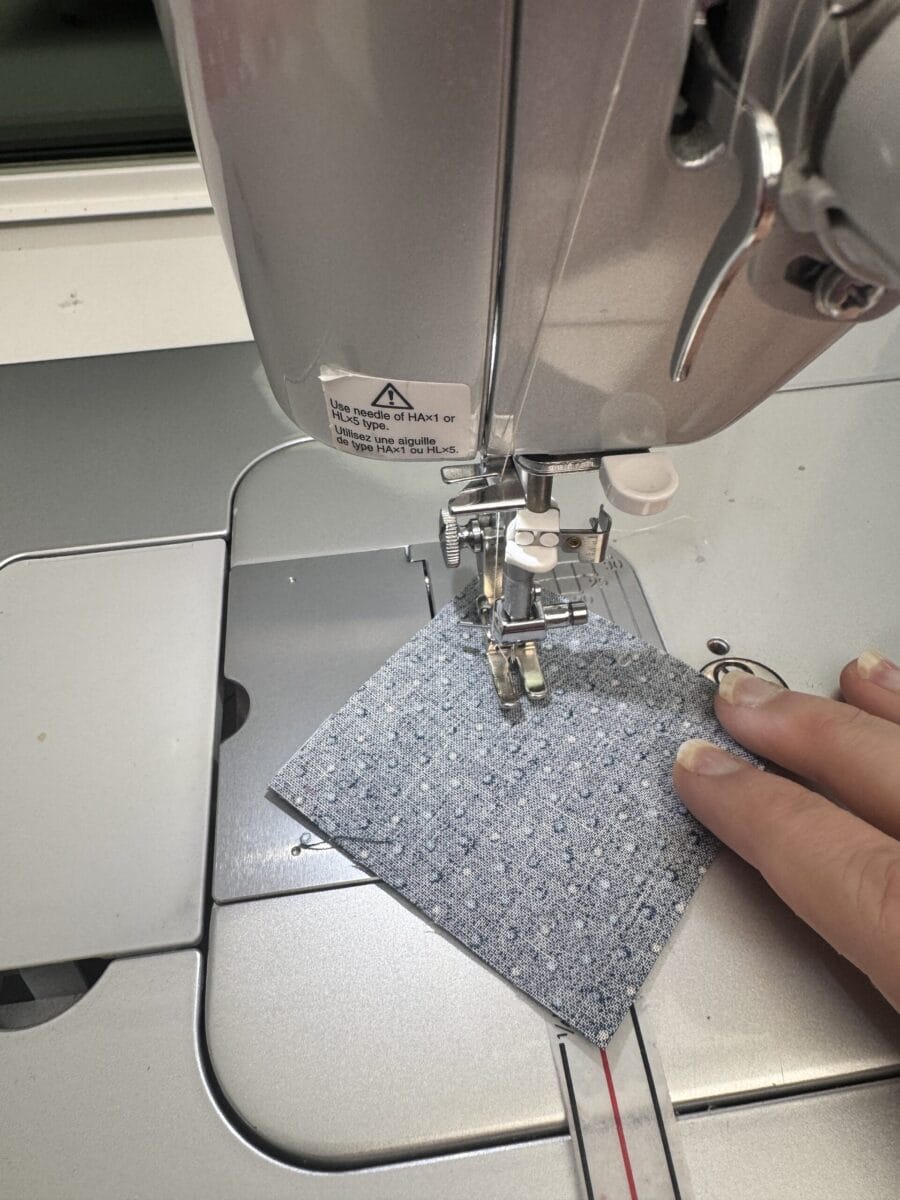
One of the biggest things that helps prevent this problem is using a single hole needle plate instead of a wider zig zag style opening.
I sew primarily on a straight stitch machine, so the needle opening is very small. That smaller opening gives the fabric more support right around the needle and helps keep tiny pieces from being pushed down into the machine.
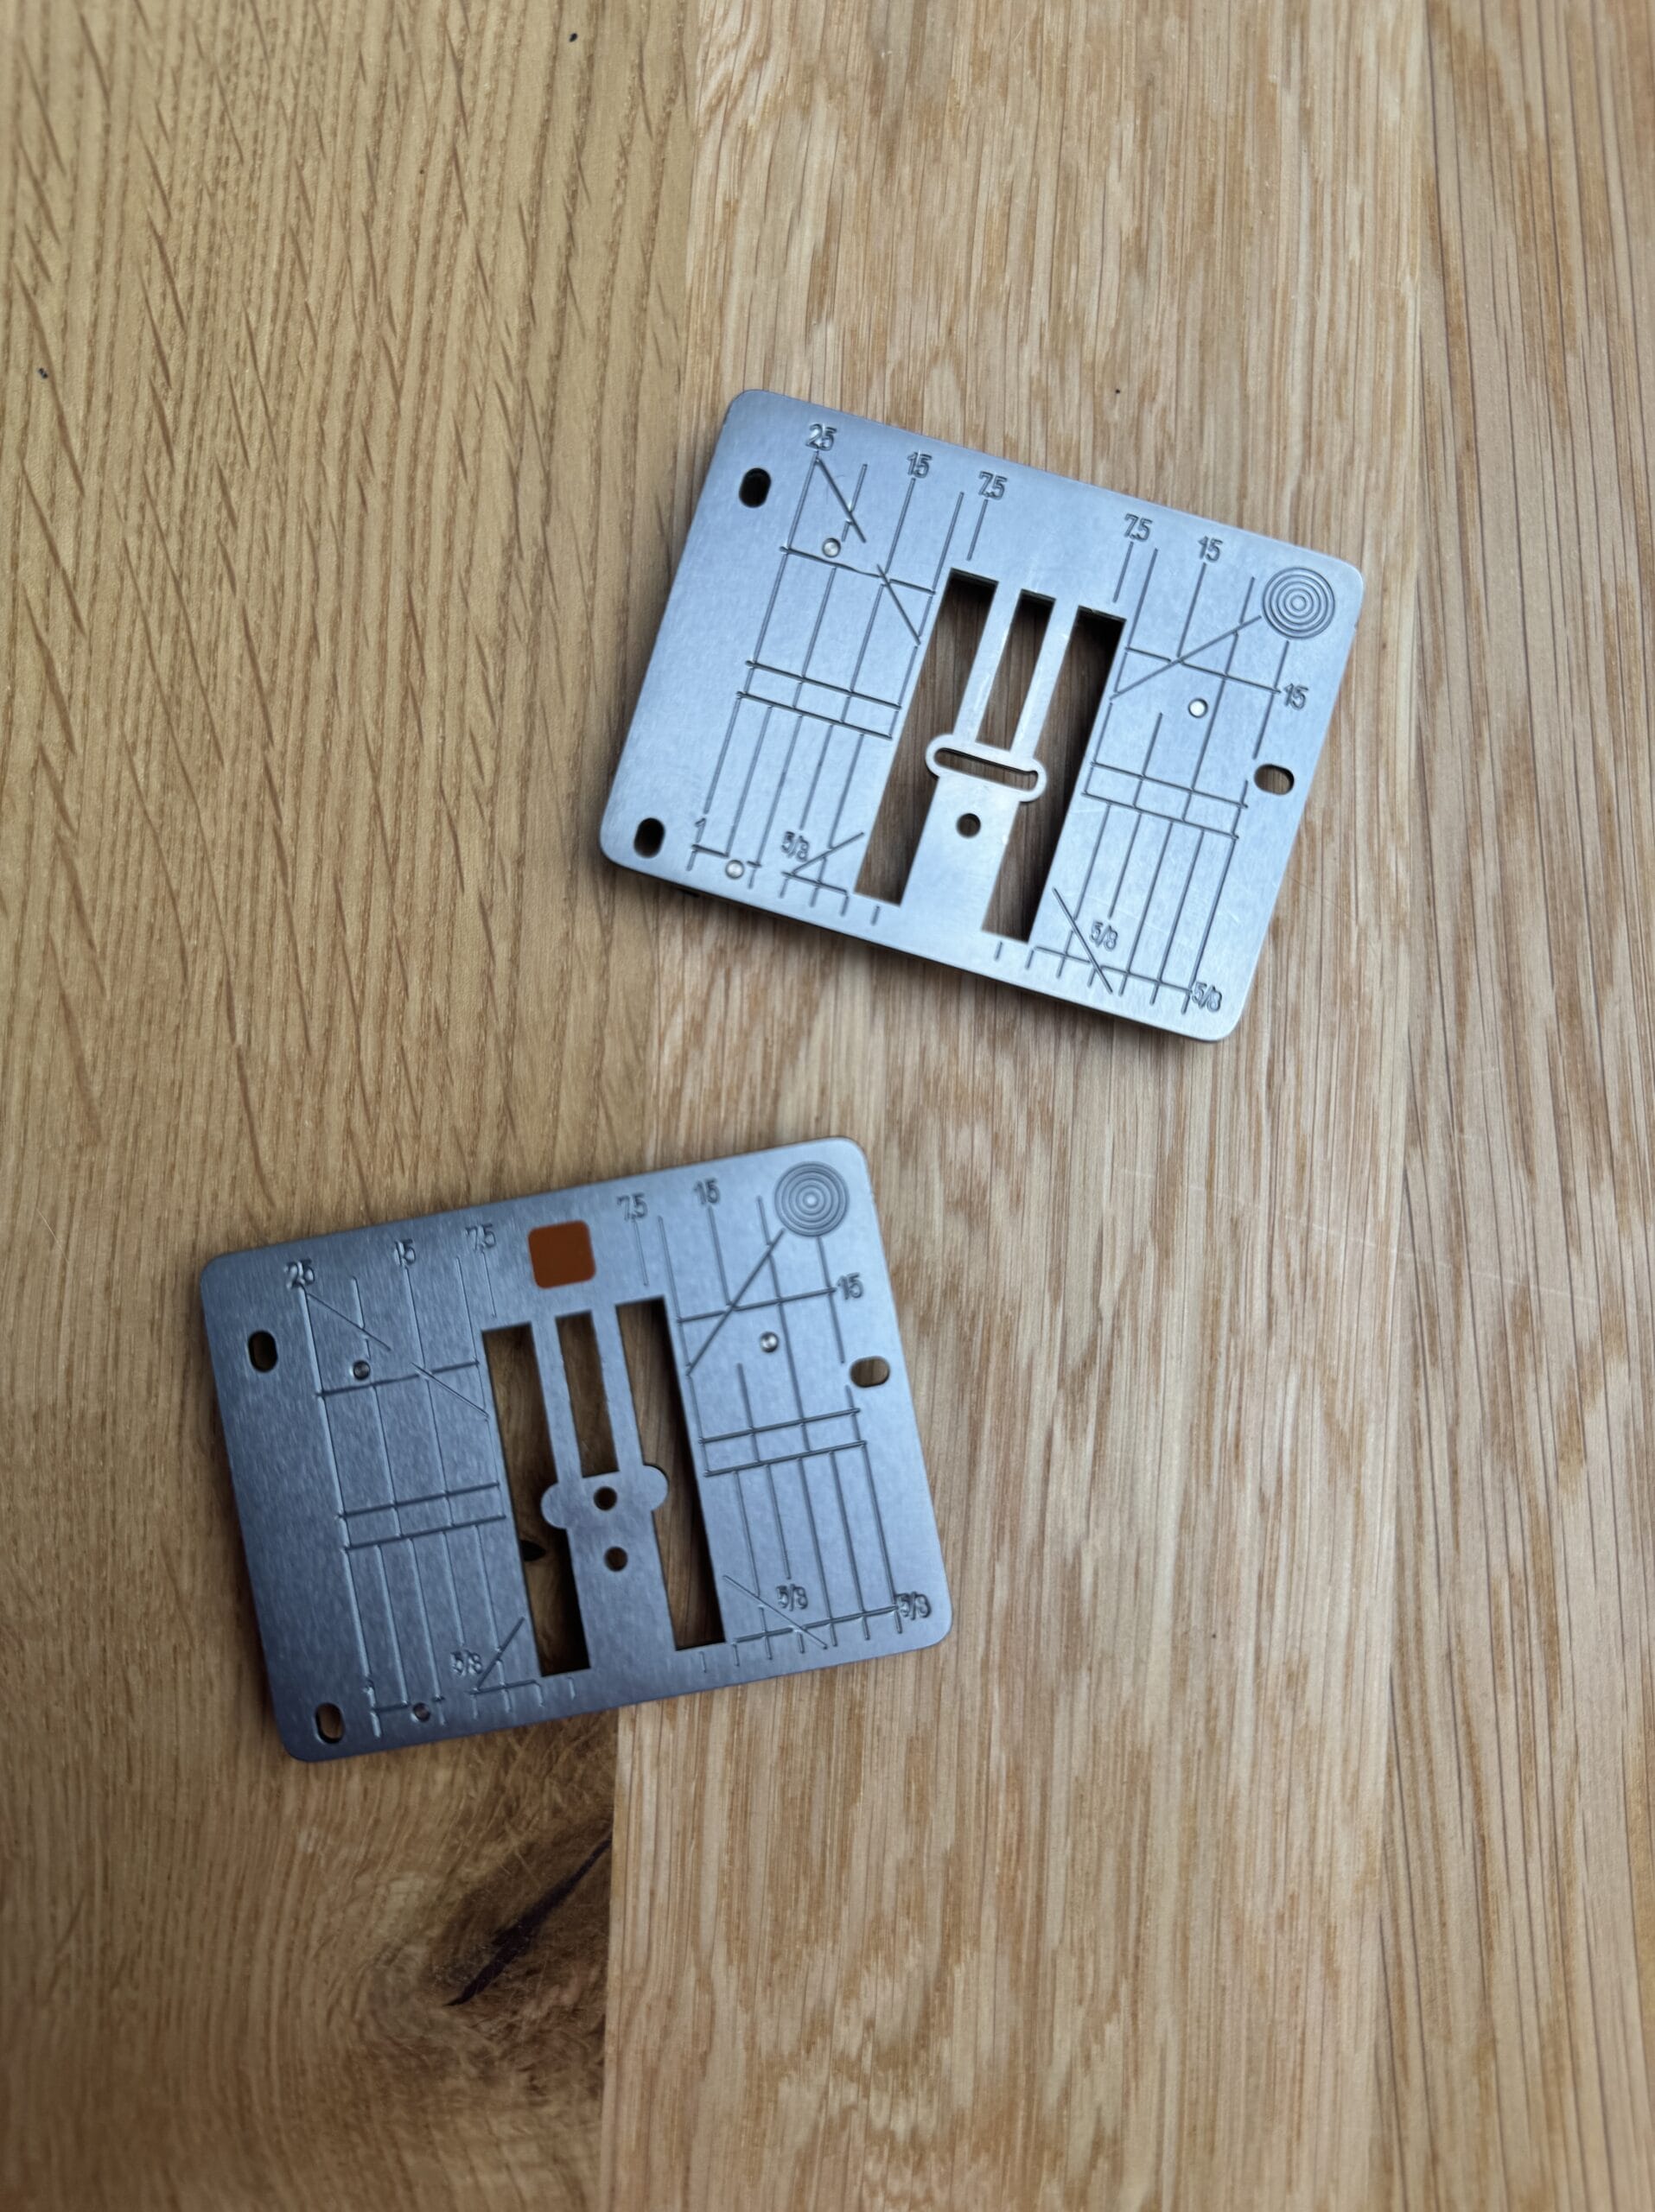
If your sewing machine has interchangeable needle plates, switching to a straight stitch or single hole plate for piecing can make a noticeable difference.
If your machine didn’t come with one, it might be worth checking to see if it’s an add-on option!
The less open space around the needle, the better supported your fabric will be.
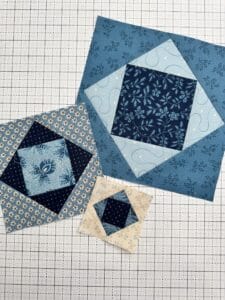
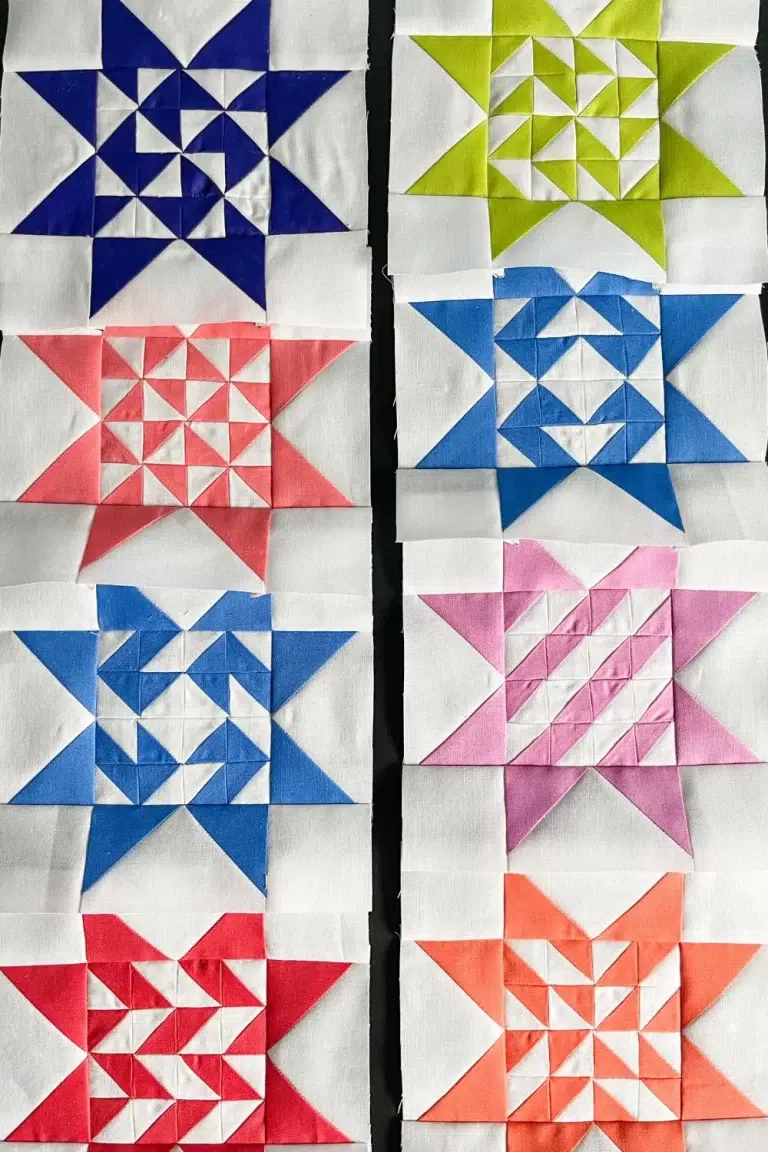
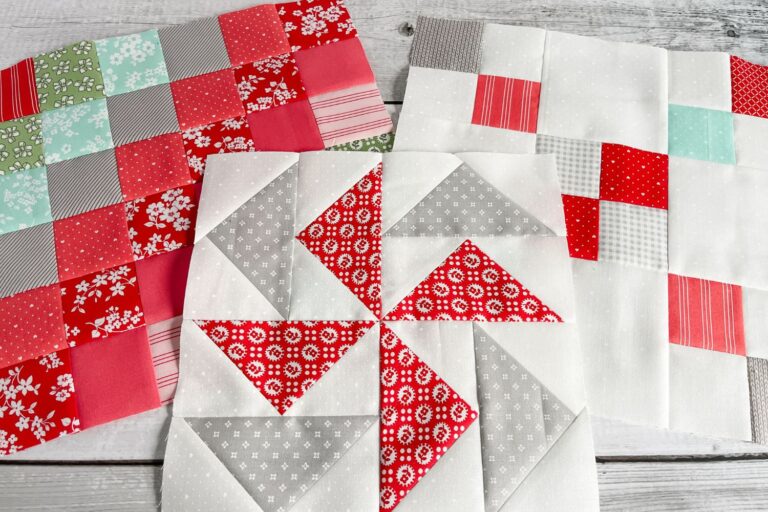
Snowball Corners Are Especially Tricky
Tiny snowball corners can be particularly frustrating because you’re often starting with only the point of a triangle feeding into the machine first.
That sharp point has very little stability compared to feeding in from the flat edge of a square or rectangle.
This is one of the most common situations where fabric wants to dip into the machine instead of feeding forward cleanly.
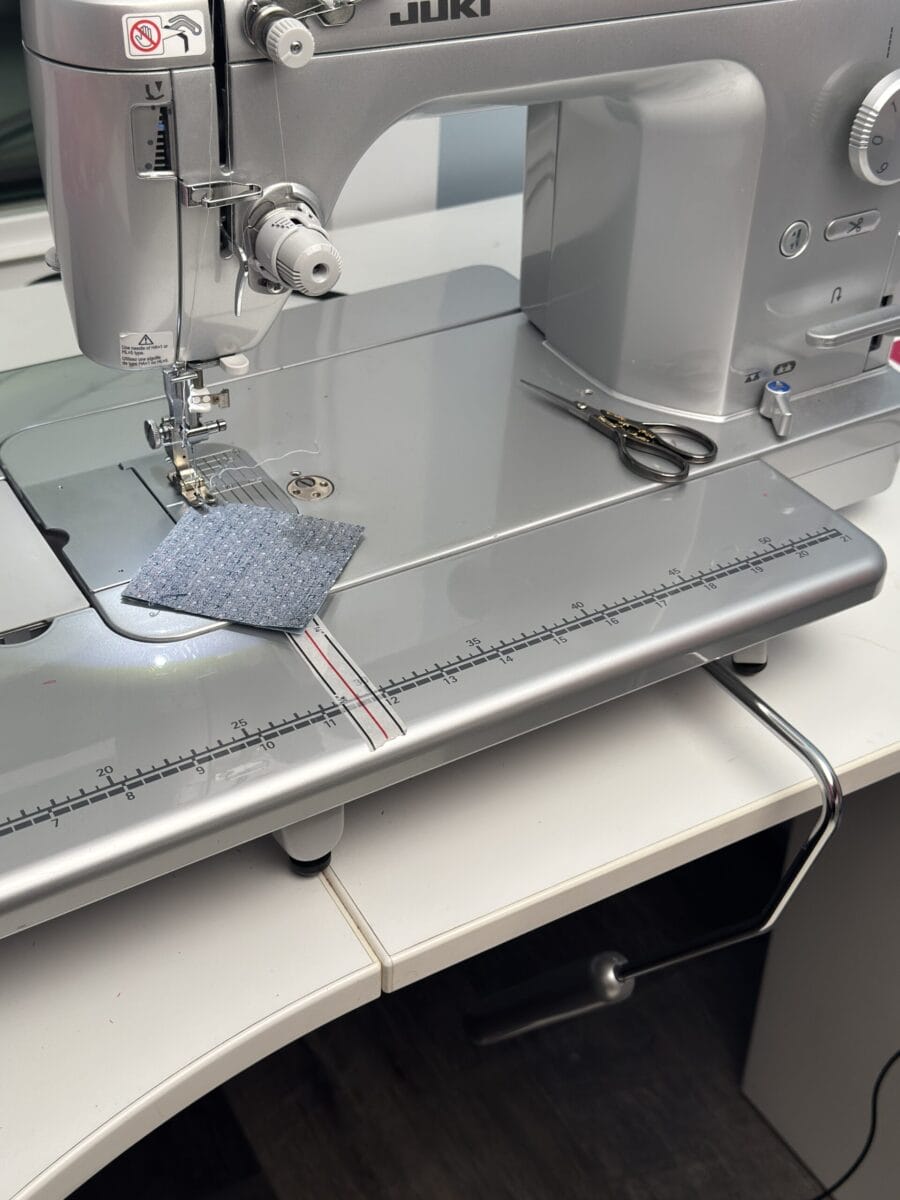
Start Close to the Needle
When sewing very small pieces, I position the fabric right up near the needle before starting.
Instead of slowly easing the fabric toward the machine while stitching, I begin with the fabric already in place and sew a bit slower for the first stitch or two to make sure everything feeds correctly.
Let the Machine Feed the Fabric
One of the biggest mistakes beginners make is trying to push the fabric through the machine. That usually creates more problems.
Pushing can distort the seam, bend tiny points, or force the fabric downward into the needle opening. Instead, let the machine do the feeding.
Tools That Help Control Tiny Pieces
Sometimes small pieces just need a little extra support.
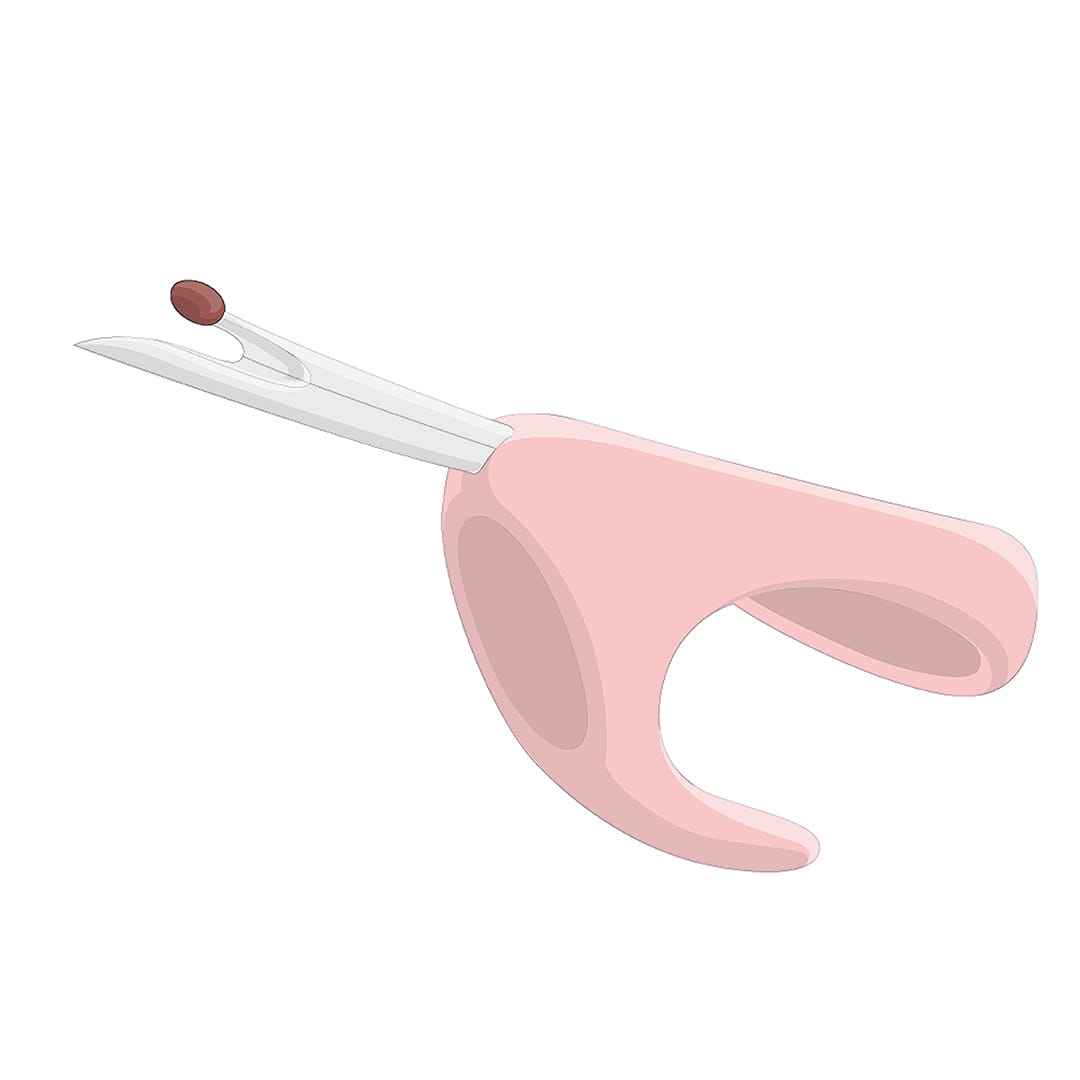
A stiletto works wonderfully for holding tiny sections steady near the needle without putting your fingers too close. Honestly, sometimes I grab the point of a seam ripper if that’s what I have nearby — just keeping it safely away from the needle itself.
For extremely small pieces, I also like using Acorn Seam Align glue. A tiny amount of glue holds the fabric flat without the distortion that pins can sometimes create.
Pins can lift small pieces slightly off the needle plate, which can actually make feeding problems worse. Glue keeps everything flatter and more stable.
Reducing Presser Foot Pressure
On difficult pieces, I’ll occasionally use the knee lift on my machine to gently raise the presser foot just slightly during the first stitch or two.
Not enough to stop the fabric from feeding — just enough to slightly reduce the downward pressure while the machine starts the seam.
That tiny adjustment can help the fabric move smoothly instead of getting pushed downward into the machine bed.
Starching Helps More Than You Think
I starch my fabric almost all the time, and honestly, I rarely deal with fabric getting eaten anymore because of it.
Starch gives fabric more structure and stability, which helps small pieces feed through the machine much more cleanly.
Floppy fabrics, soft weaves, and bias edges are all much more likely to collapse into the needle opening. A little stiffness from starch helps prevent that.
It’s one of those small habits that quietly improves accuracy and control across almost every part of quilting.
Final Thoughts
If your sewing machine keeps eating tiny pieces, it usually isn’t because you’re doing something wrong.
Most of the time, the fabric simply needs more support and stability during the first few stitches.
A smaller needle plate opening, steady speed, proper fabric positioning, and a little extra stabilization can make a huge difference.
And remember — don’t force the fabric through.
Let the machine do the work while you guide the fabric gently into place.
Once you understand why small pieces get pulled downward, it becomes much easier to prevent it from happening in the first place.