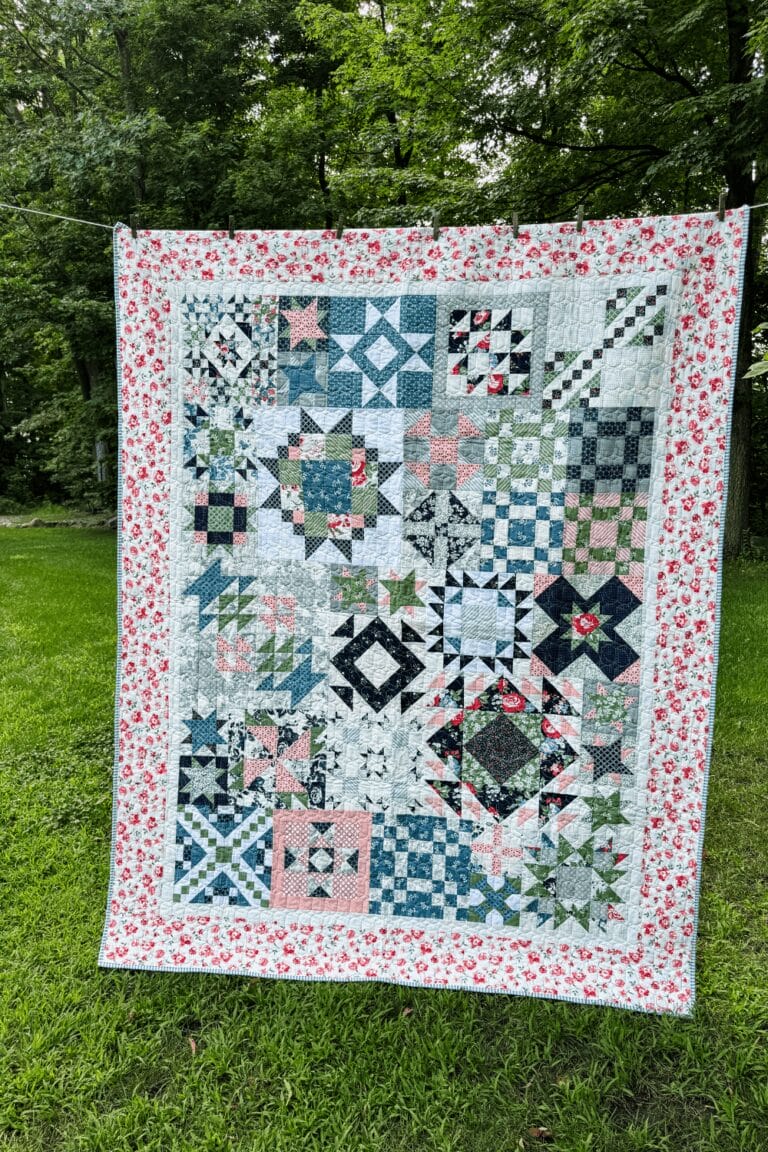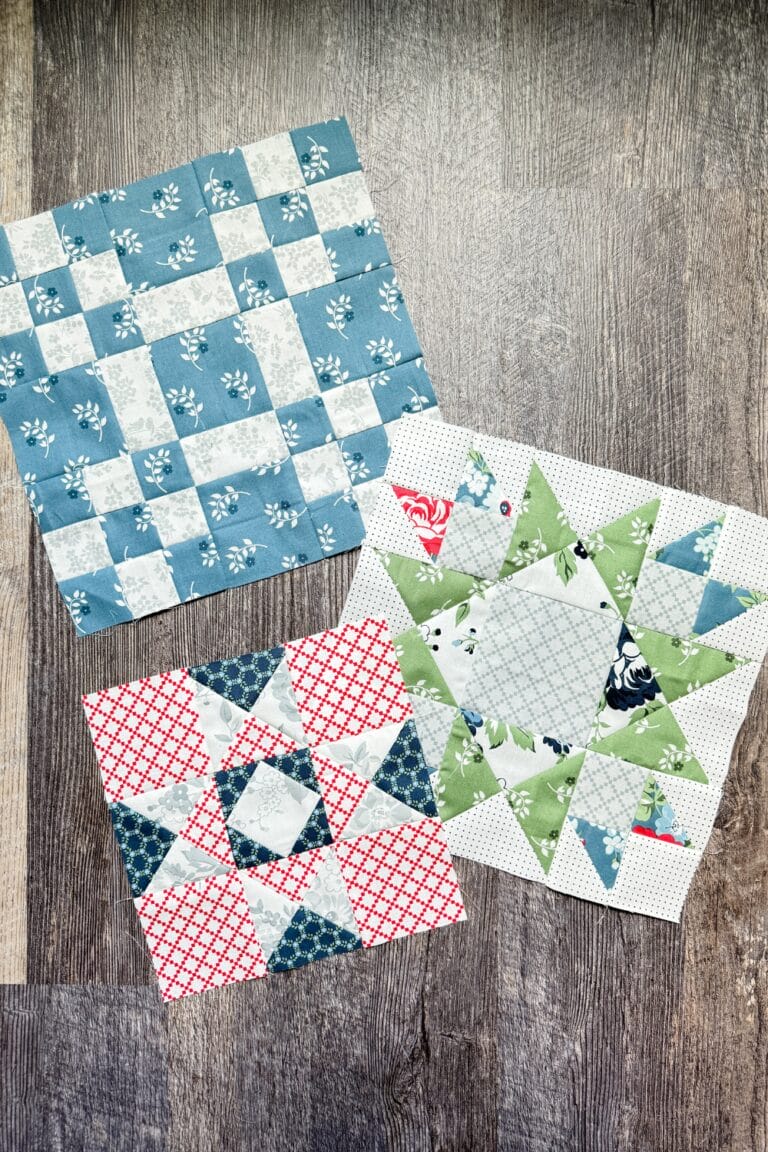

Economy Quilt Block Tutorial
The Economy quilt block is one of those classic quilt blocks that looks far more complicated than it really is. At first glance, the layered diamonds and sharp points can feel intimidating, but once you understand the construction, the block becomes surprisingly approachable.
When purchasing through links on this site, I may earn an affiliate commission at no cost to you.
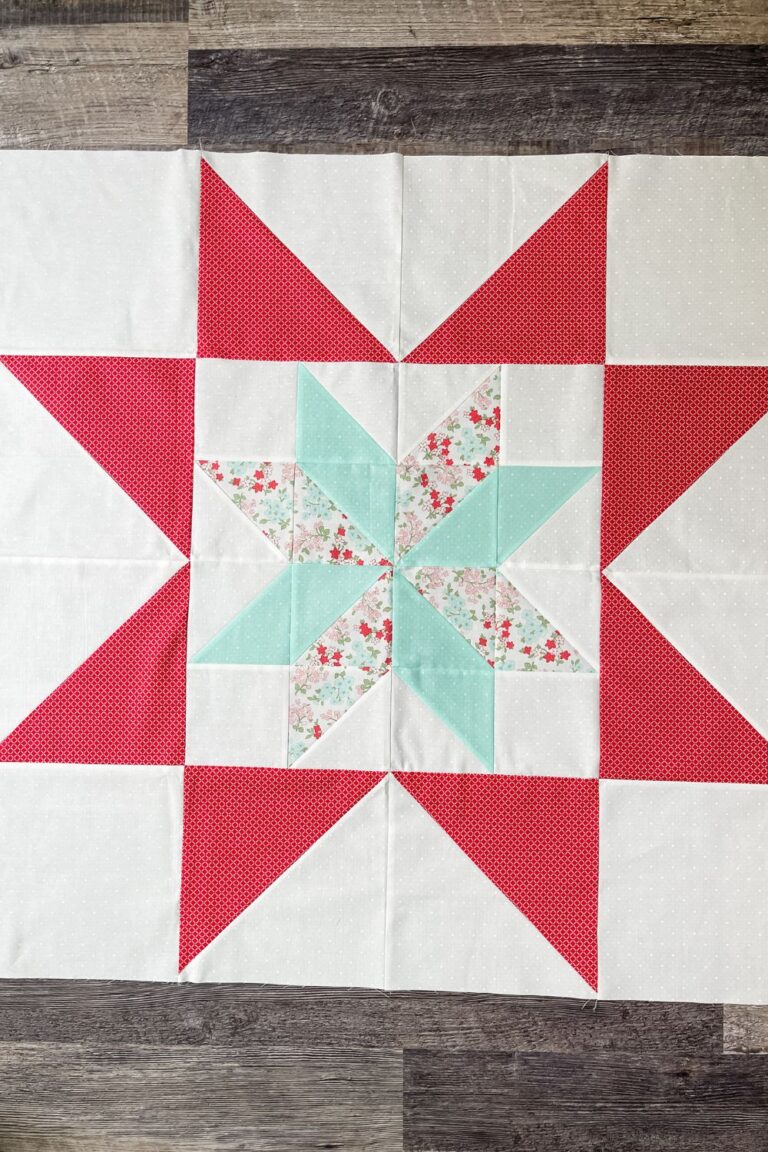
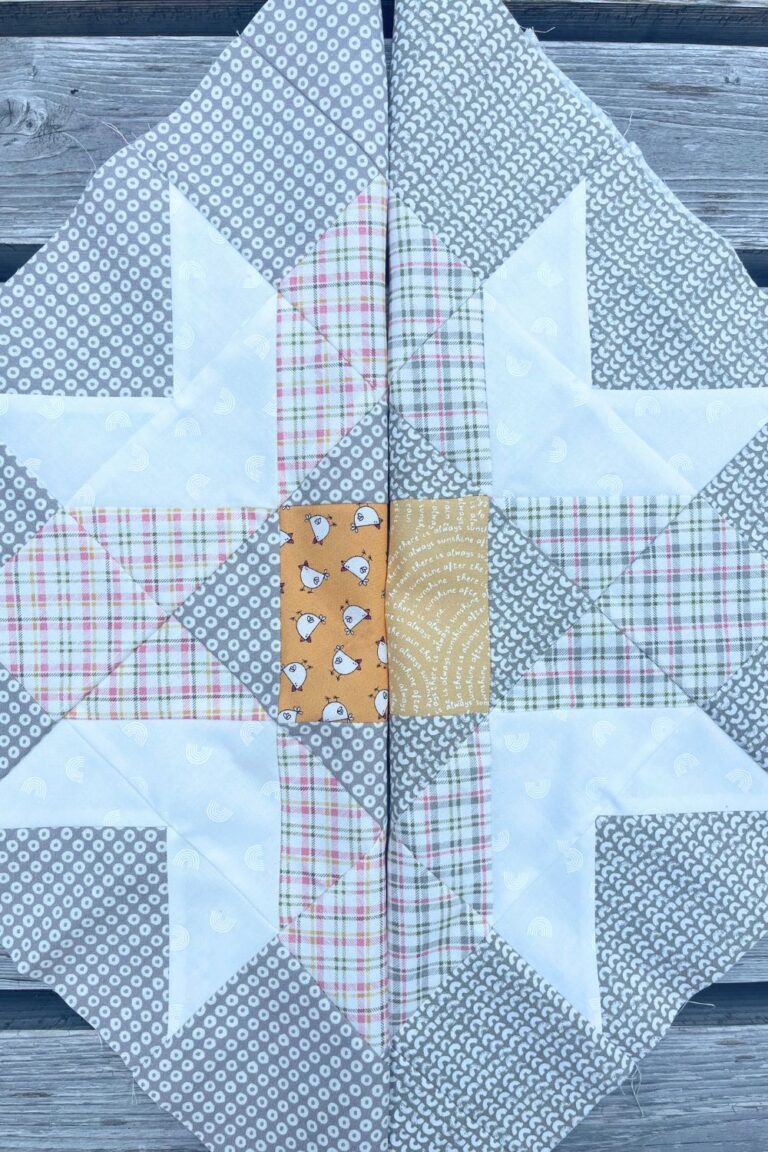
Economy blocks are especially popular for fussy cutting because the center square naturally frames a favorite print or motif. They also work beautifully in scrappy quilts, traditional layouts, and modern quilt designs depending on fabric placement and color choices.
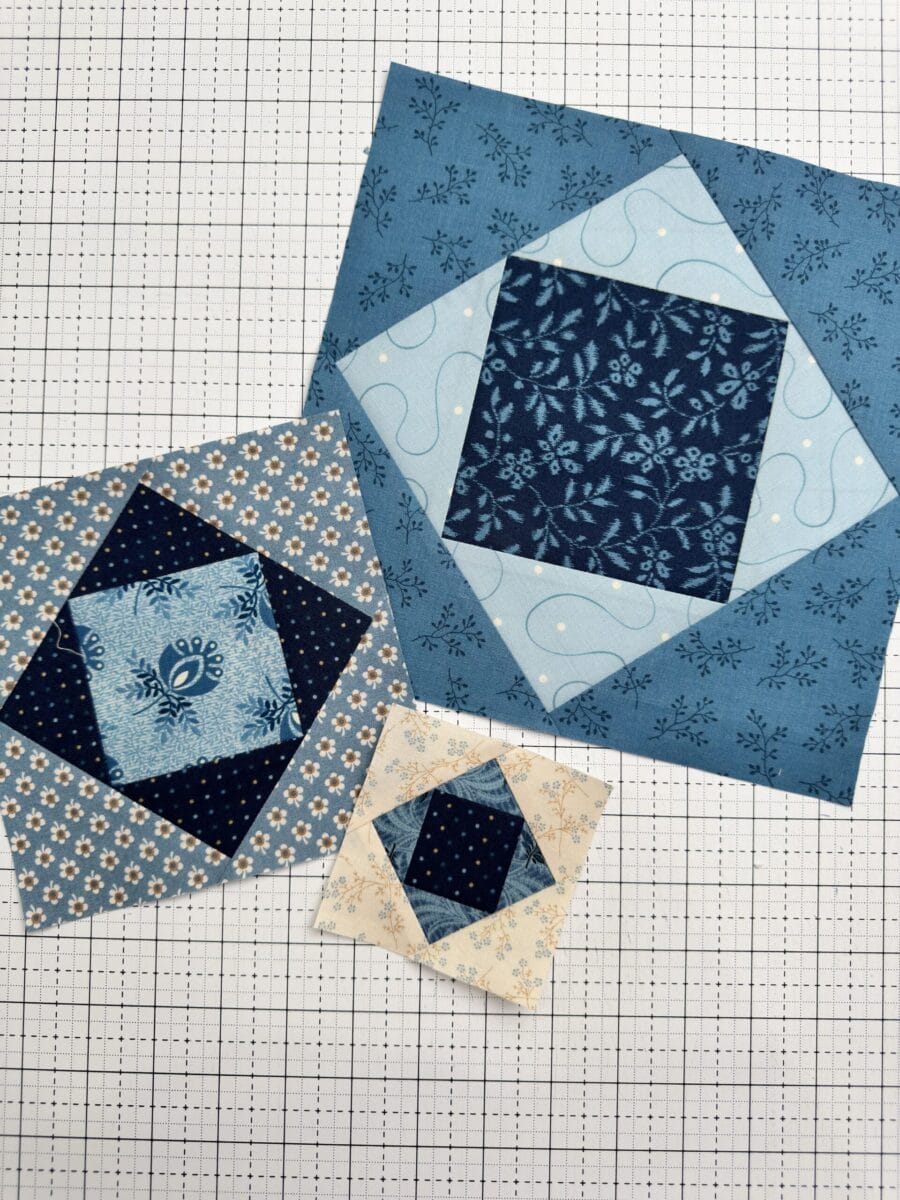
One thing I quickly discovered while working on this tutorial is that the math is what makes this complicated. It’s not simply measuring the sides of squares and adding pieces. It’s the hypotenuse (high school geometry anyone?) and 45 degree angles.
After testing several approaches, I personally prefer making the Economy block using oversized triangles and trimming between rounds for accuracy.
What Is an Economy Quilt Block?
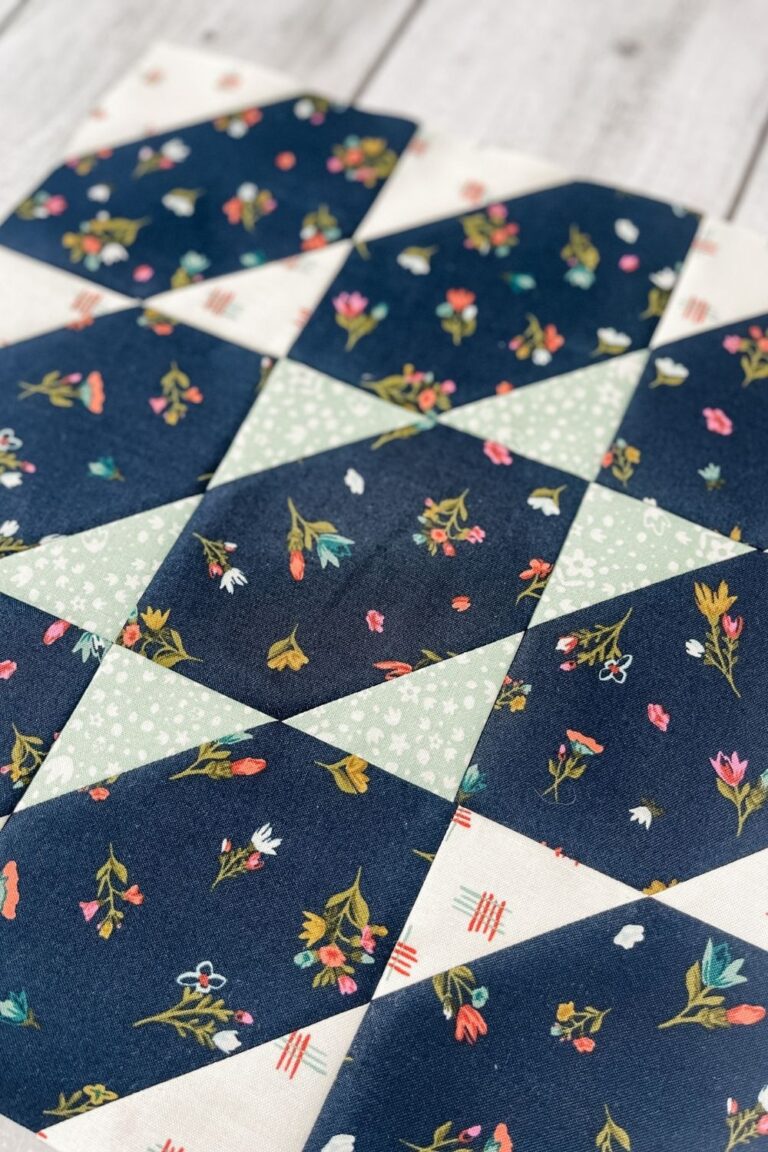
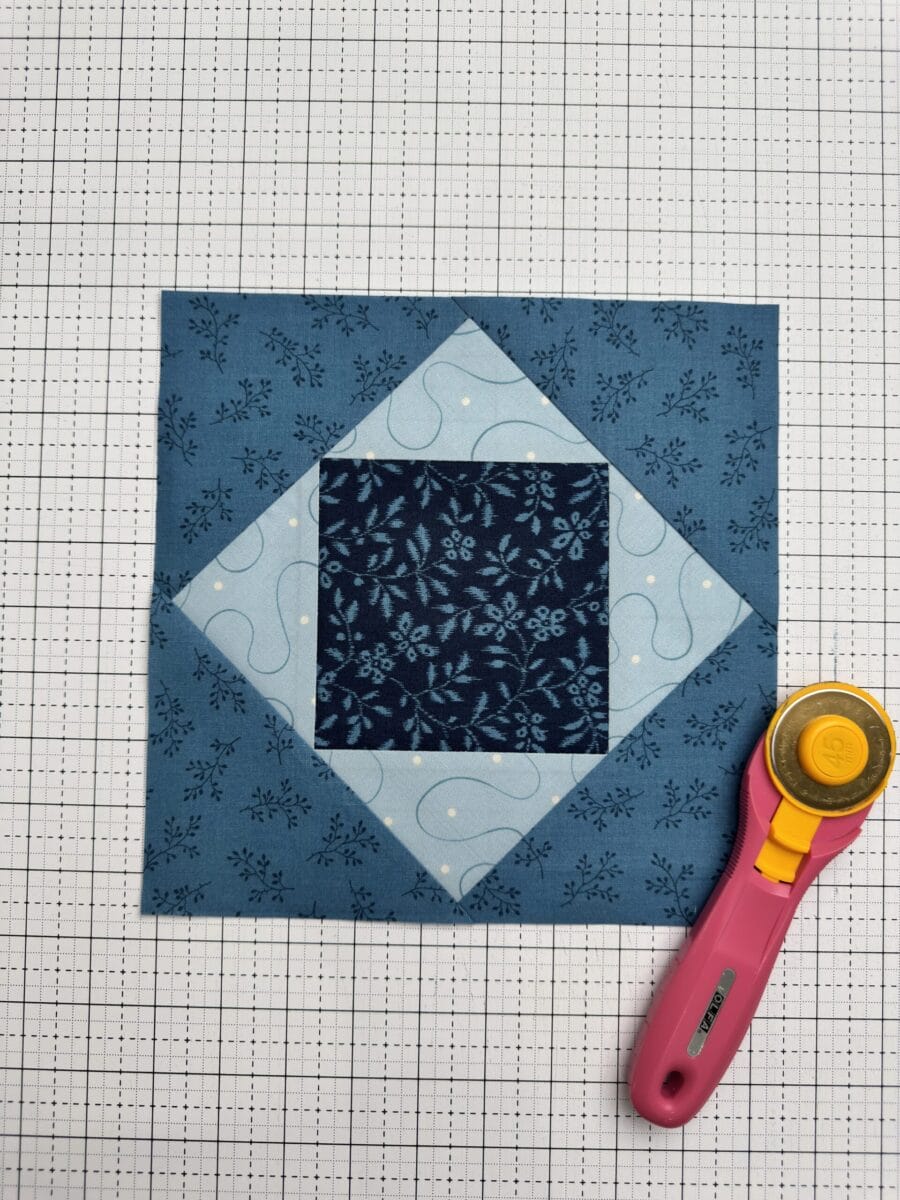
An Economy block starts with a center square that is framed by two rounds of triangles sewn around it. The finished block creates layered diamond shapes surrounding the center square.
Unlike a simple Square in a Square block, the Economy block adds a second framing round, which gives the design more movement and creates the classic layered appearance.
The block has been around for generations because it was traditionally a great way to use scraps efficiently.
Understanding Economy Block Math
Once I started testing blocks, I realized the key relationship in a true Economy block is this:
The finished size of the center square is half the finished size of the entire block.
Understanding Economy Block Math
The finished size of the center square is half the finished size of the entire block.
To cut the center square, simply add 1/2″ for seam allowance.
For example:
- a 3″ finished block starts with a 2″ center square
- a 6″ finished block starts with a 3 1/2″ center square
The surrounding triangles are intentionally cut oversized, then trimmed down after sewing. This creates much more accurate results than trying to sew exact measurements from the beginning.
Why Oversizing Works Better
Economy blocks include several bias edges, which means even tiny inaccuracies can affect the final size quickly.
Instead of trying to perfectly sew mathematically exact triangles, I found it much easier to:
- cut oversized triangle units
- sew using a scant 1/4″ seam allowance
- trim carefully after each round
This gives a little room for error while preserving the points in the finished block.
And honestly, with Economy blocks, trimming accuracy matters far more than perfect cutting math.
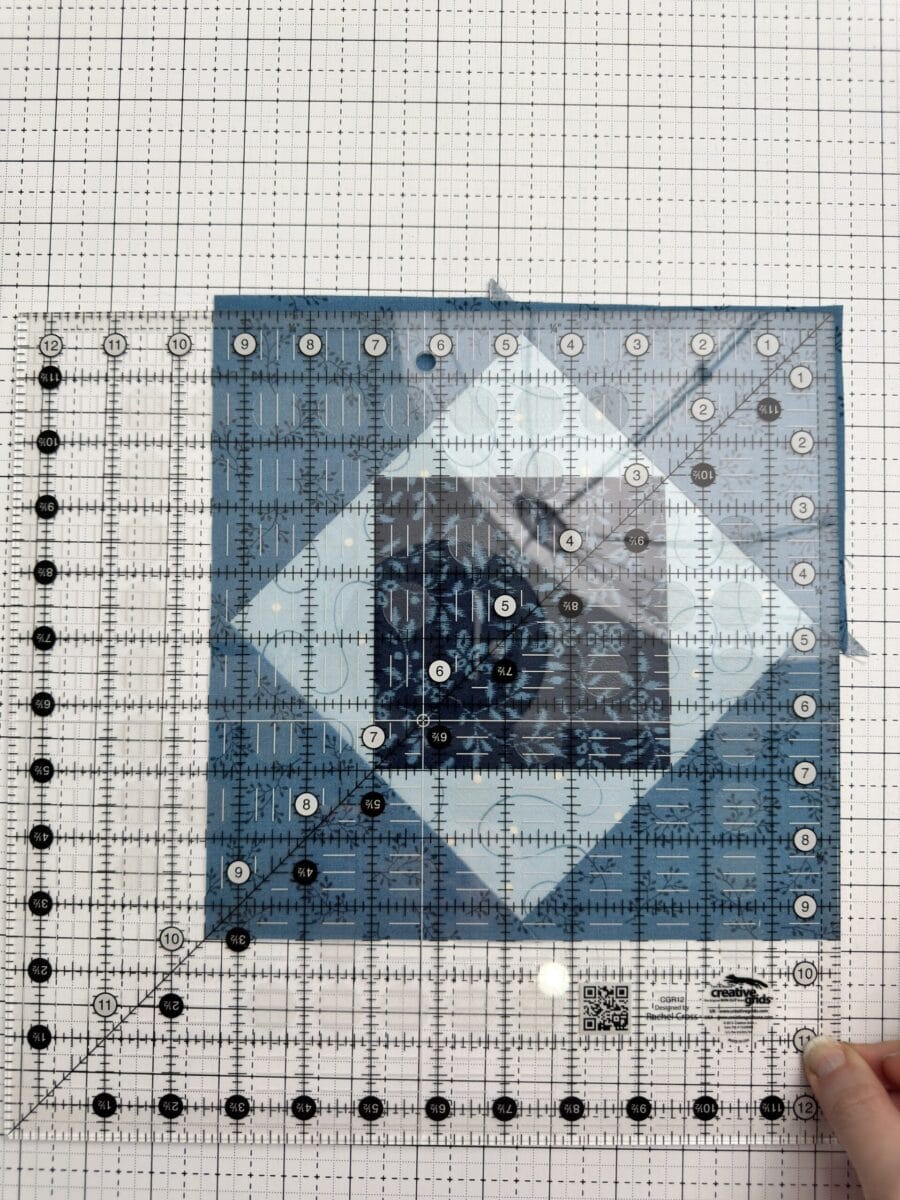
How I Trim Economy Blocks
The trimming process is really where the block comes together accurately.
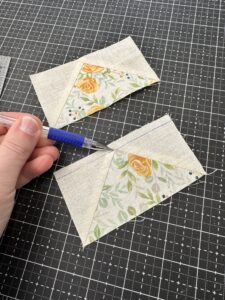
After sewing each round, I use the diagonal markings on my Creative Grids ruler to align the seams and preserve the points.
Creative Grids rulers have bisecting diagonal lines that cross exactly at the 1/4″ point, which makes trimming Economy blocks much easier. I place that intersection directly on the point of the center square so I can trim while preserving the seam allowance around the point.
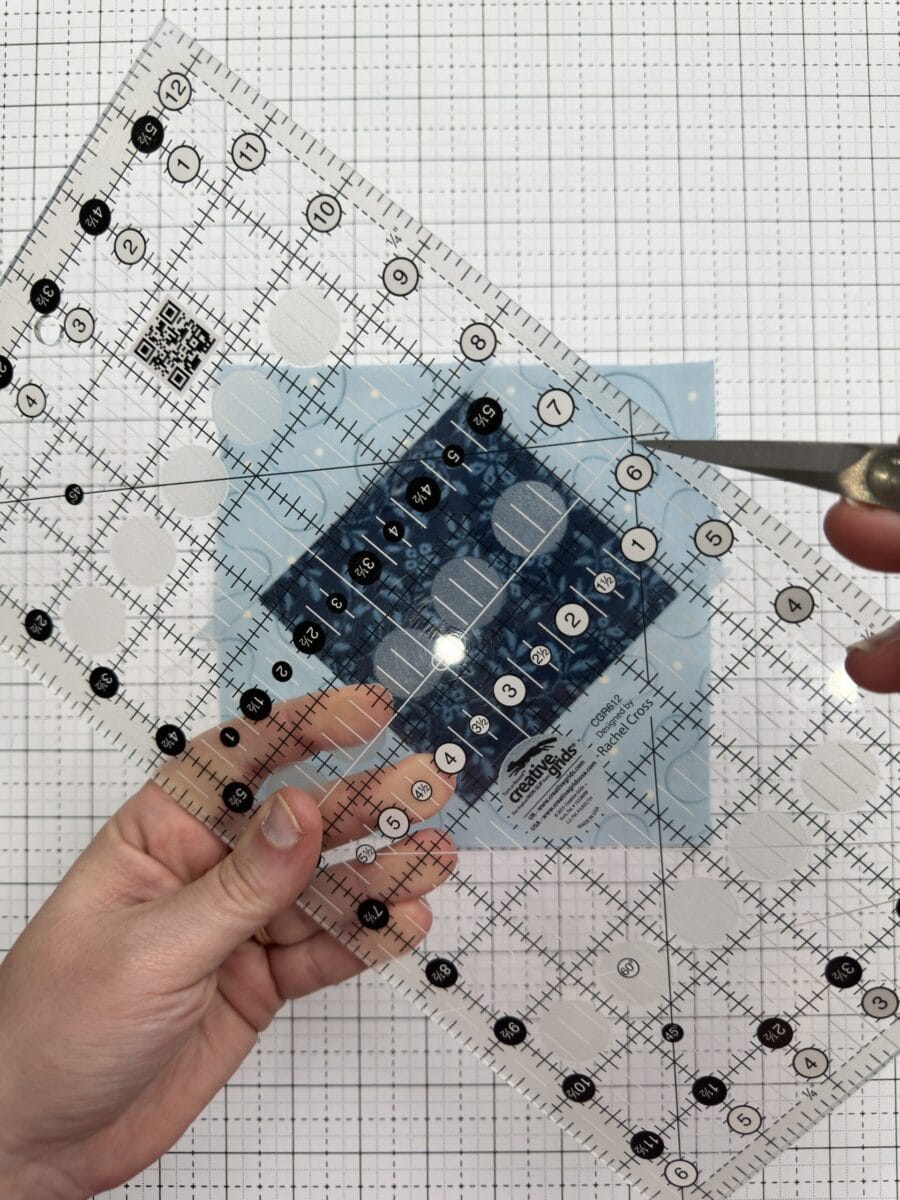
This is especially important because aggressive trimming can easily cut off the points in an Economy block.
Using a scant 1/4″ seam allowance also helps tremendously here. Even sewing slightly too wide can cause the points to disappear by the final trim.
Helpful Tip: When trimming an Economy block, focus on preserving the points first and achieving the exact unfinished size second. If your block is slightly oversized, you can usually trim it down accurately using the center point as your guide.
Bias Edges and Pressing
Because Economy blocks are built almost entirely from diagonal seams, bias edges are unavoidable.
That means careful handling matters a lot more than with simple patchwork blocks.
Instead of ironing back and forth, press the seams gently to avoid stretching the fabric. Excessive movement with the iron can distort the shape of the block surprisingly quickly.
I also recommend trimming between rounds rather than waiting until the very end. Cleaning up each round before adding the next one helps keep the block square and prevents distortion from compounding.
Why Economy Blocks Are So Great for Fussy Cutting
Economy blocks naturally draw your eye toward the center square, which makes them one of the best blocks for fussy cutting.
Cute novelty prints, florals, animals, directional fabrics, and holiday motifs all work beautifully framed inside the layered diamonds.
I like to leave a little extra space around the motif rather than cutting too tightly around the design. This helps prevent important details from disappearing into the seam allowance after trimming.
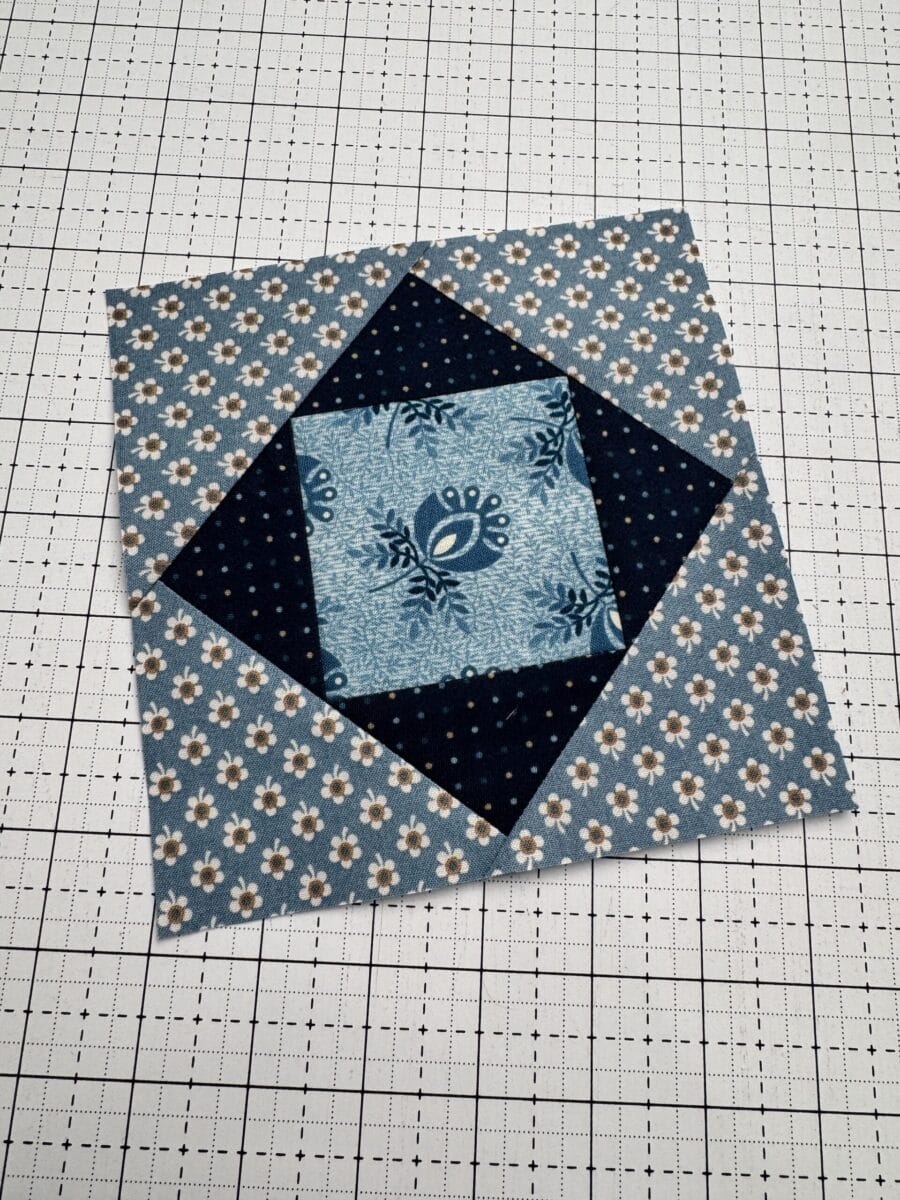
Step-By Step Economy Block Construction
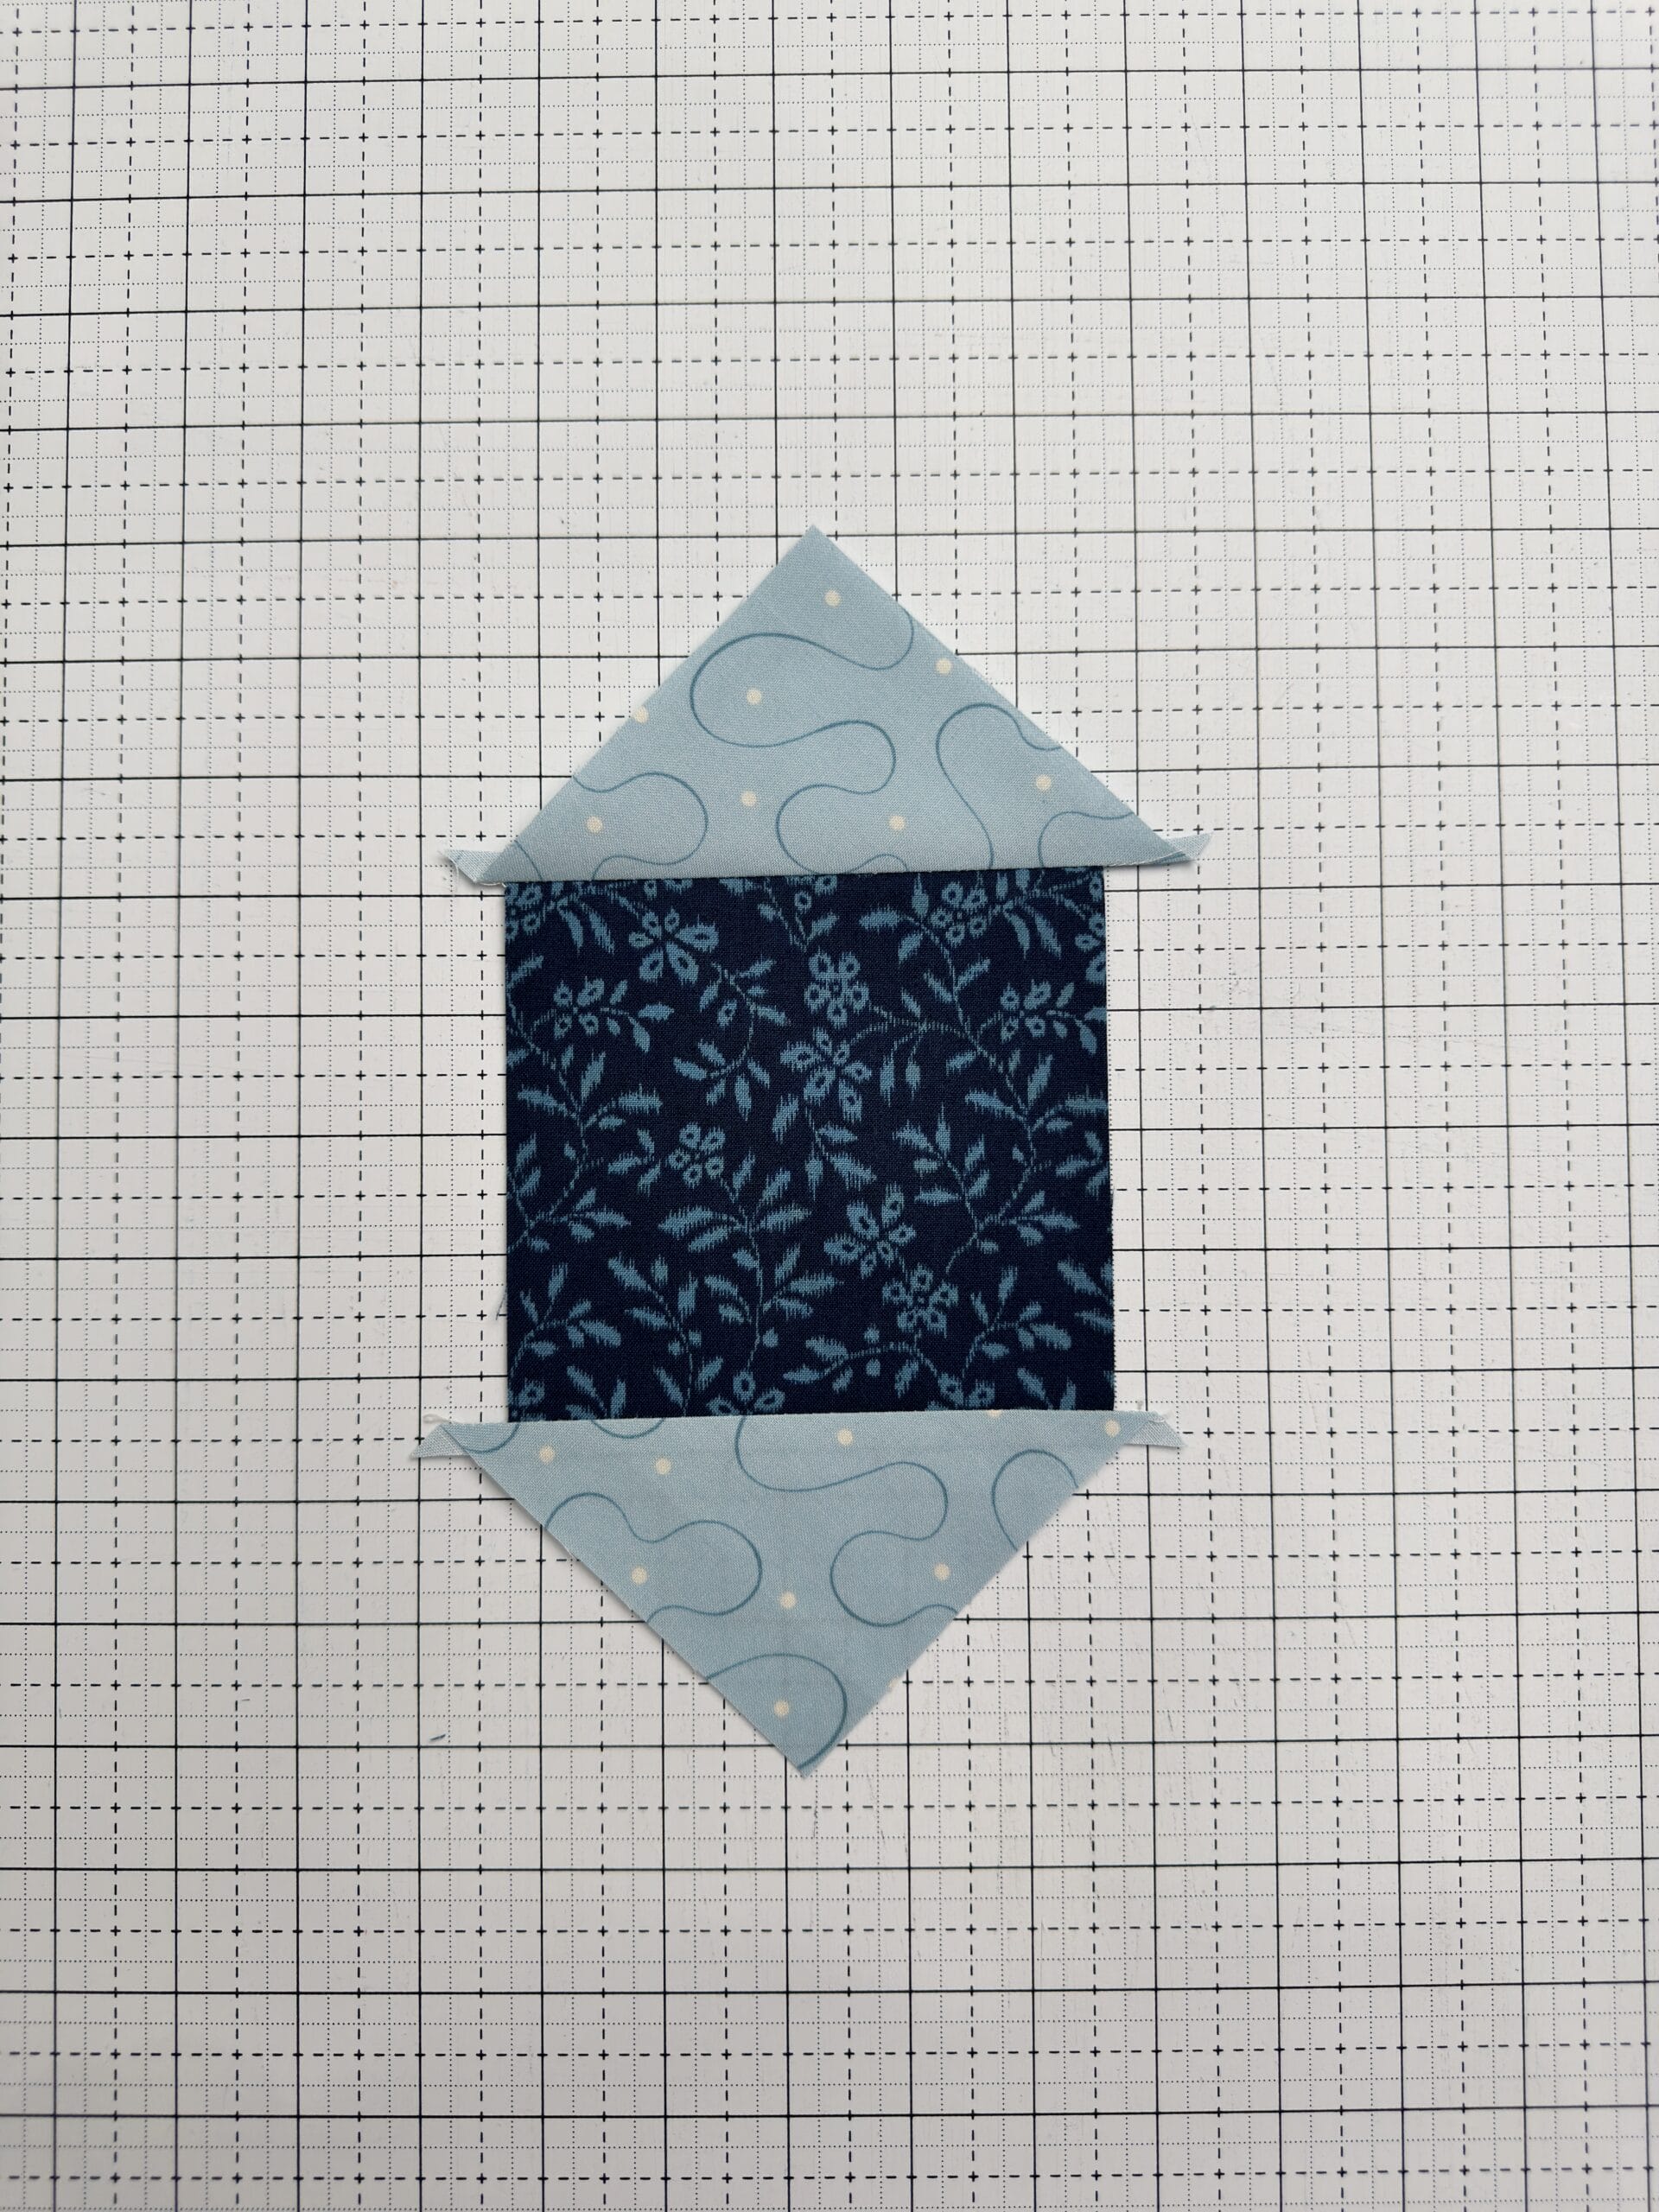
Sew the first set of triangles on opposite sides of the center square.
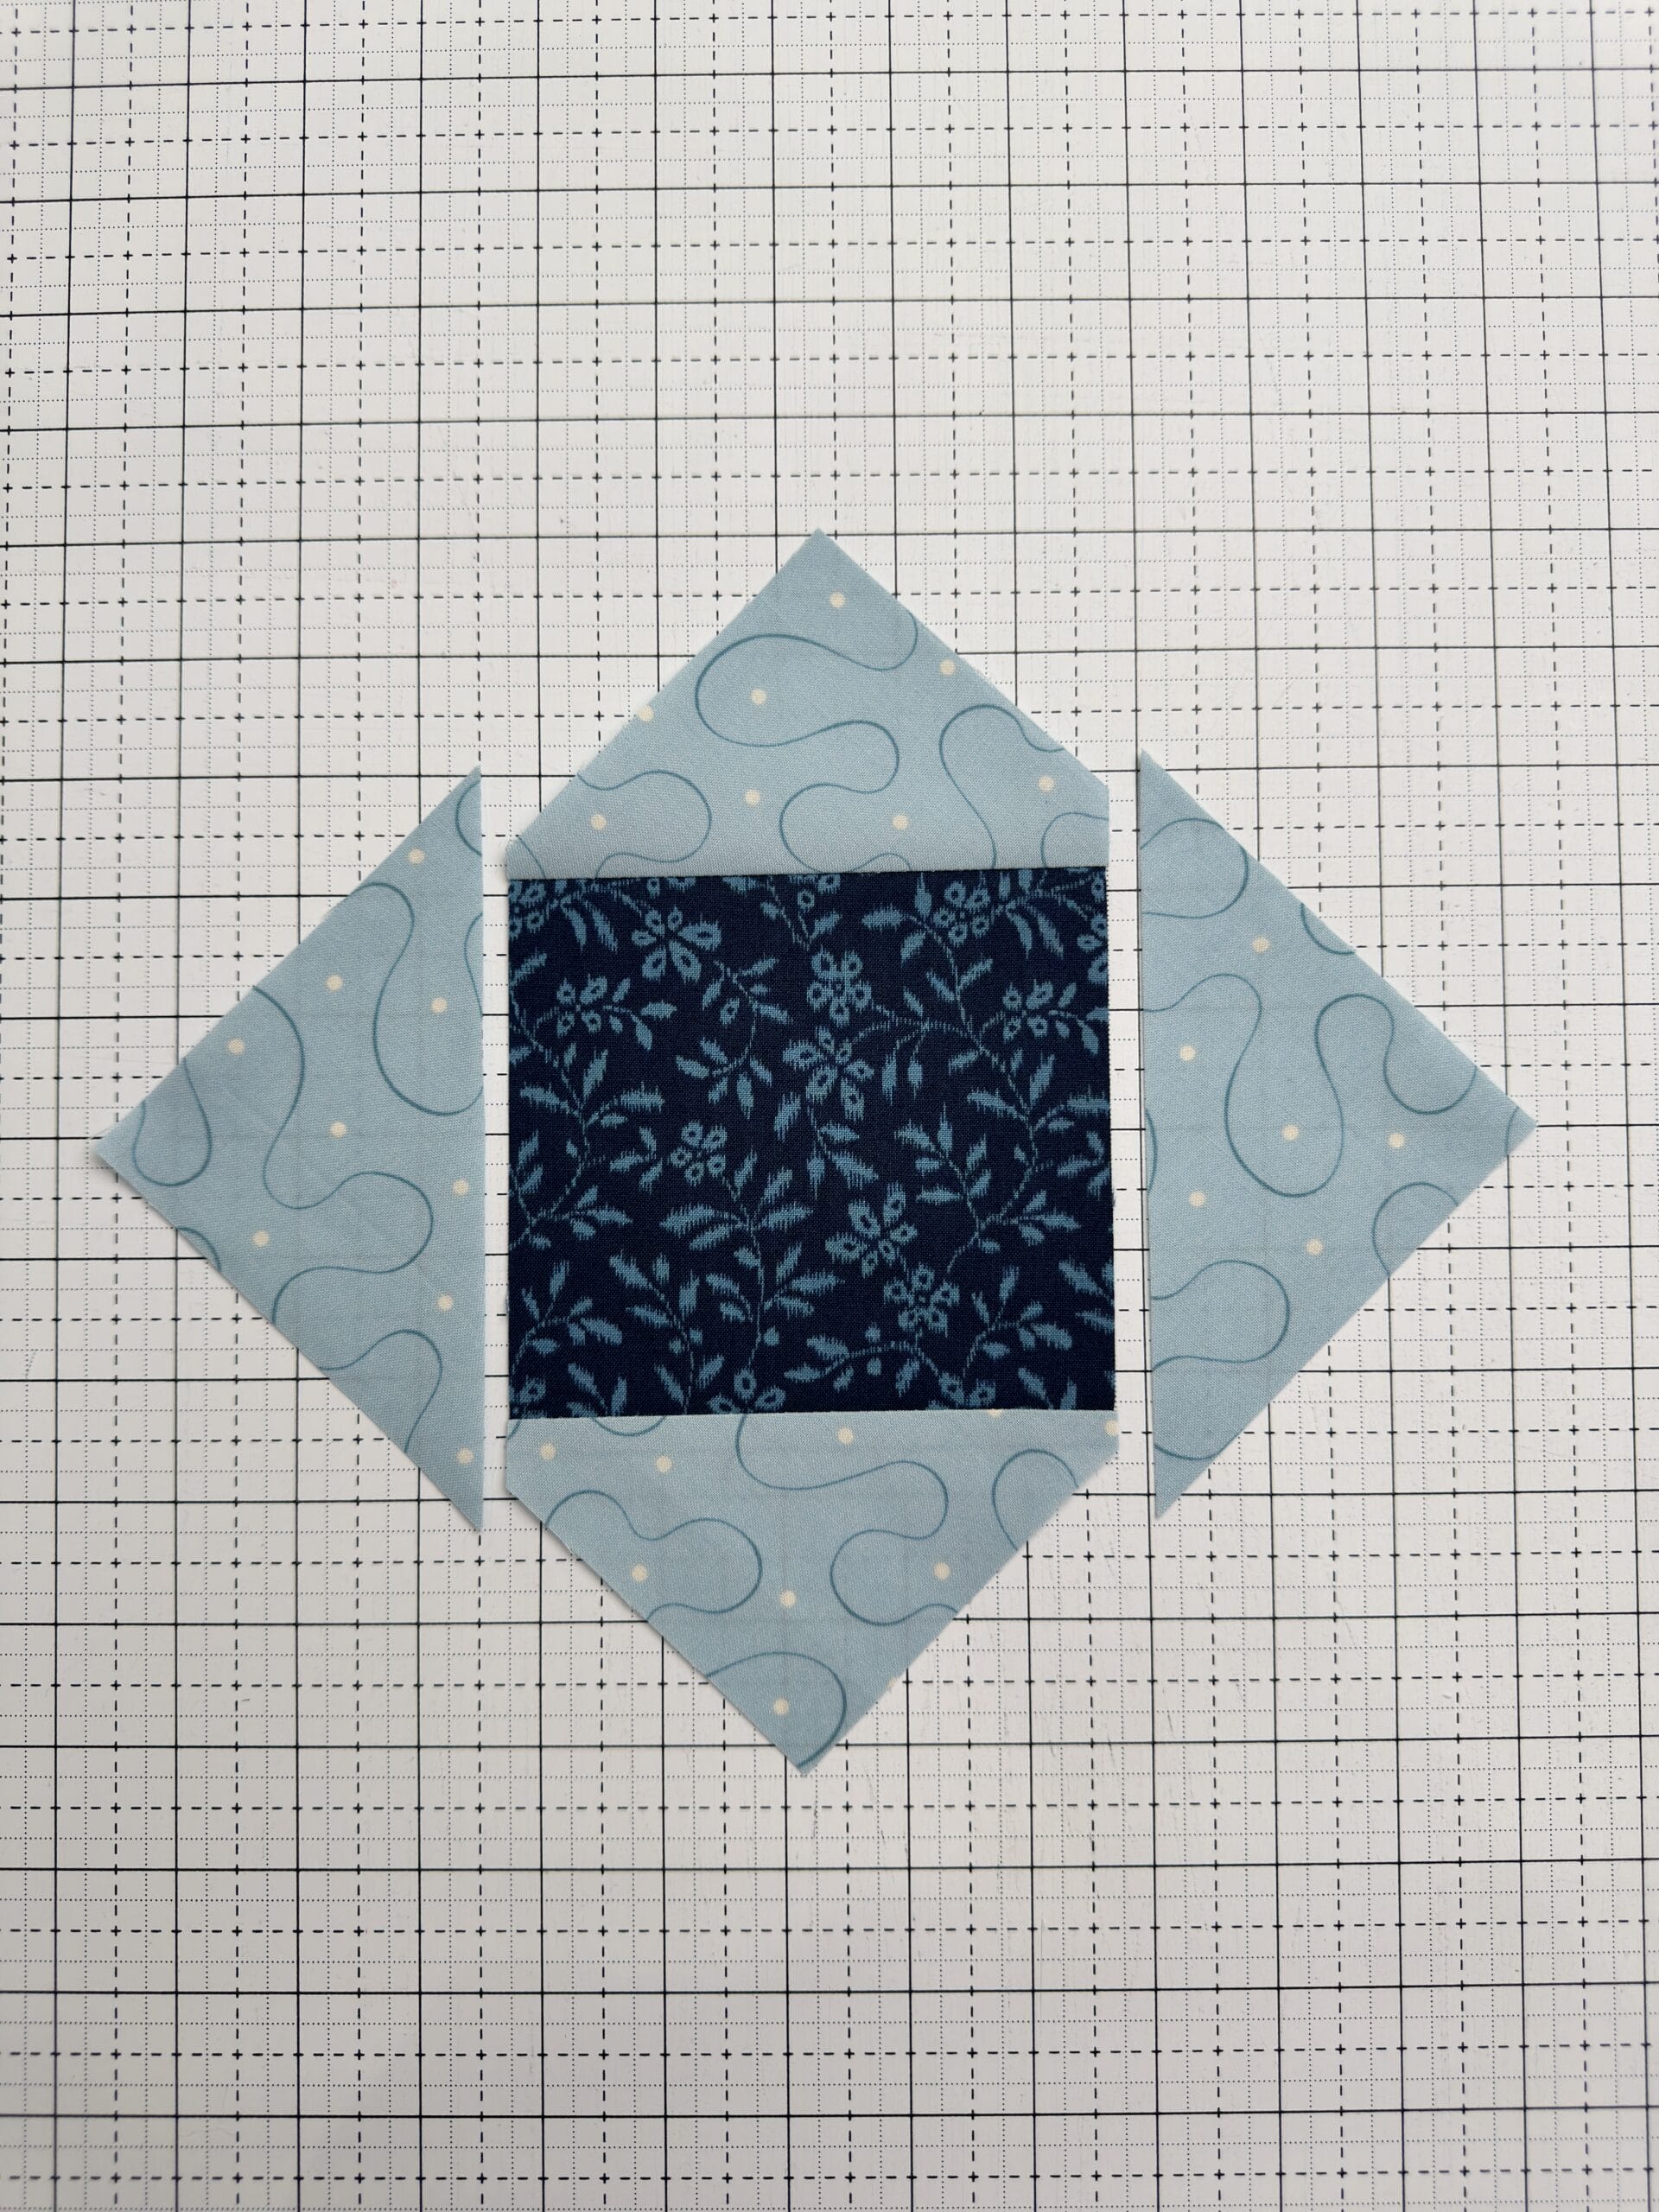
Sew 2 remaining triangles to the center square.
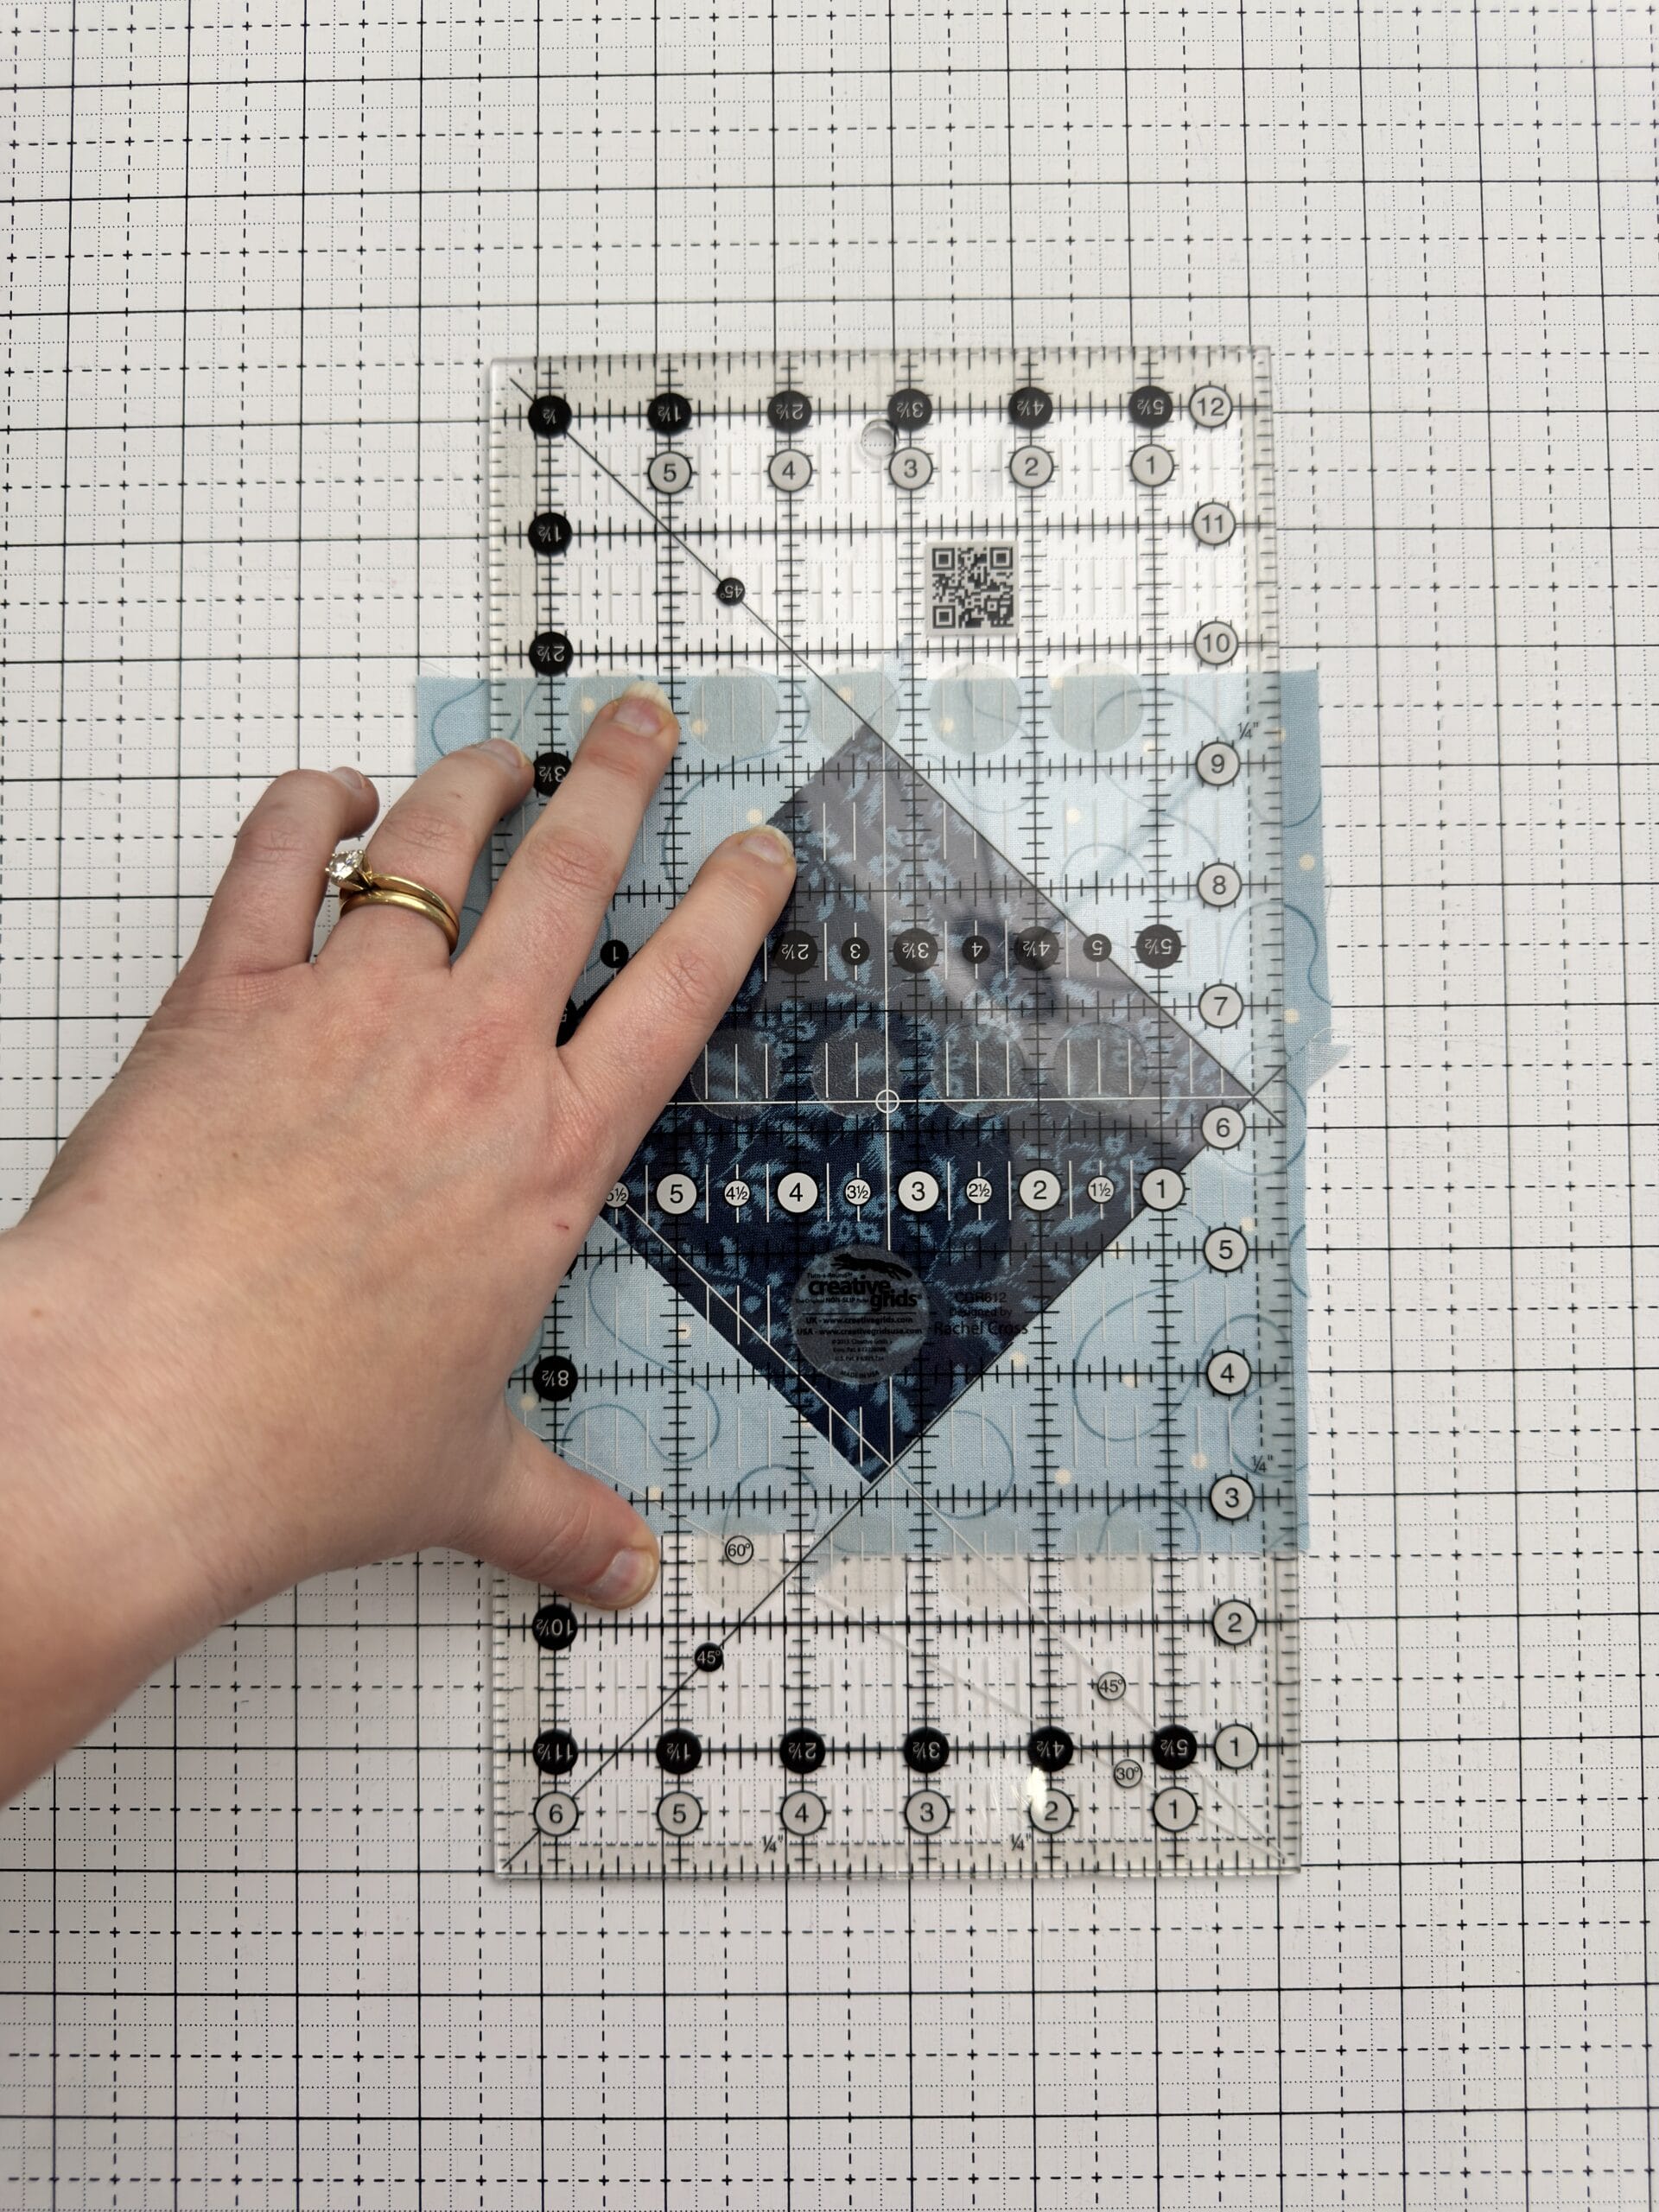
Trim the first round down to the proper size using the 45 degree markings and the 1/4″ seam allowance at each point.
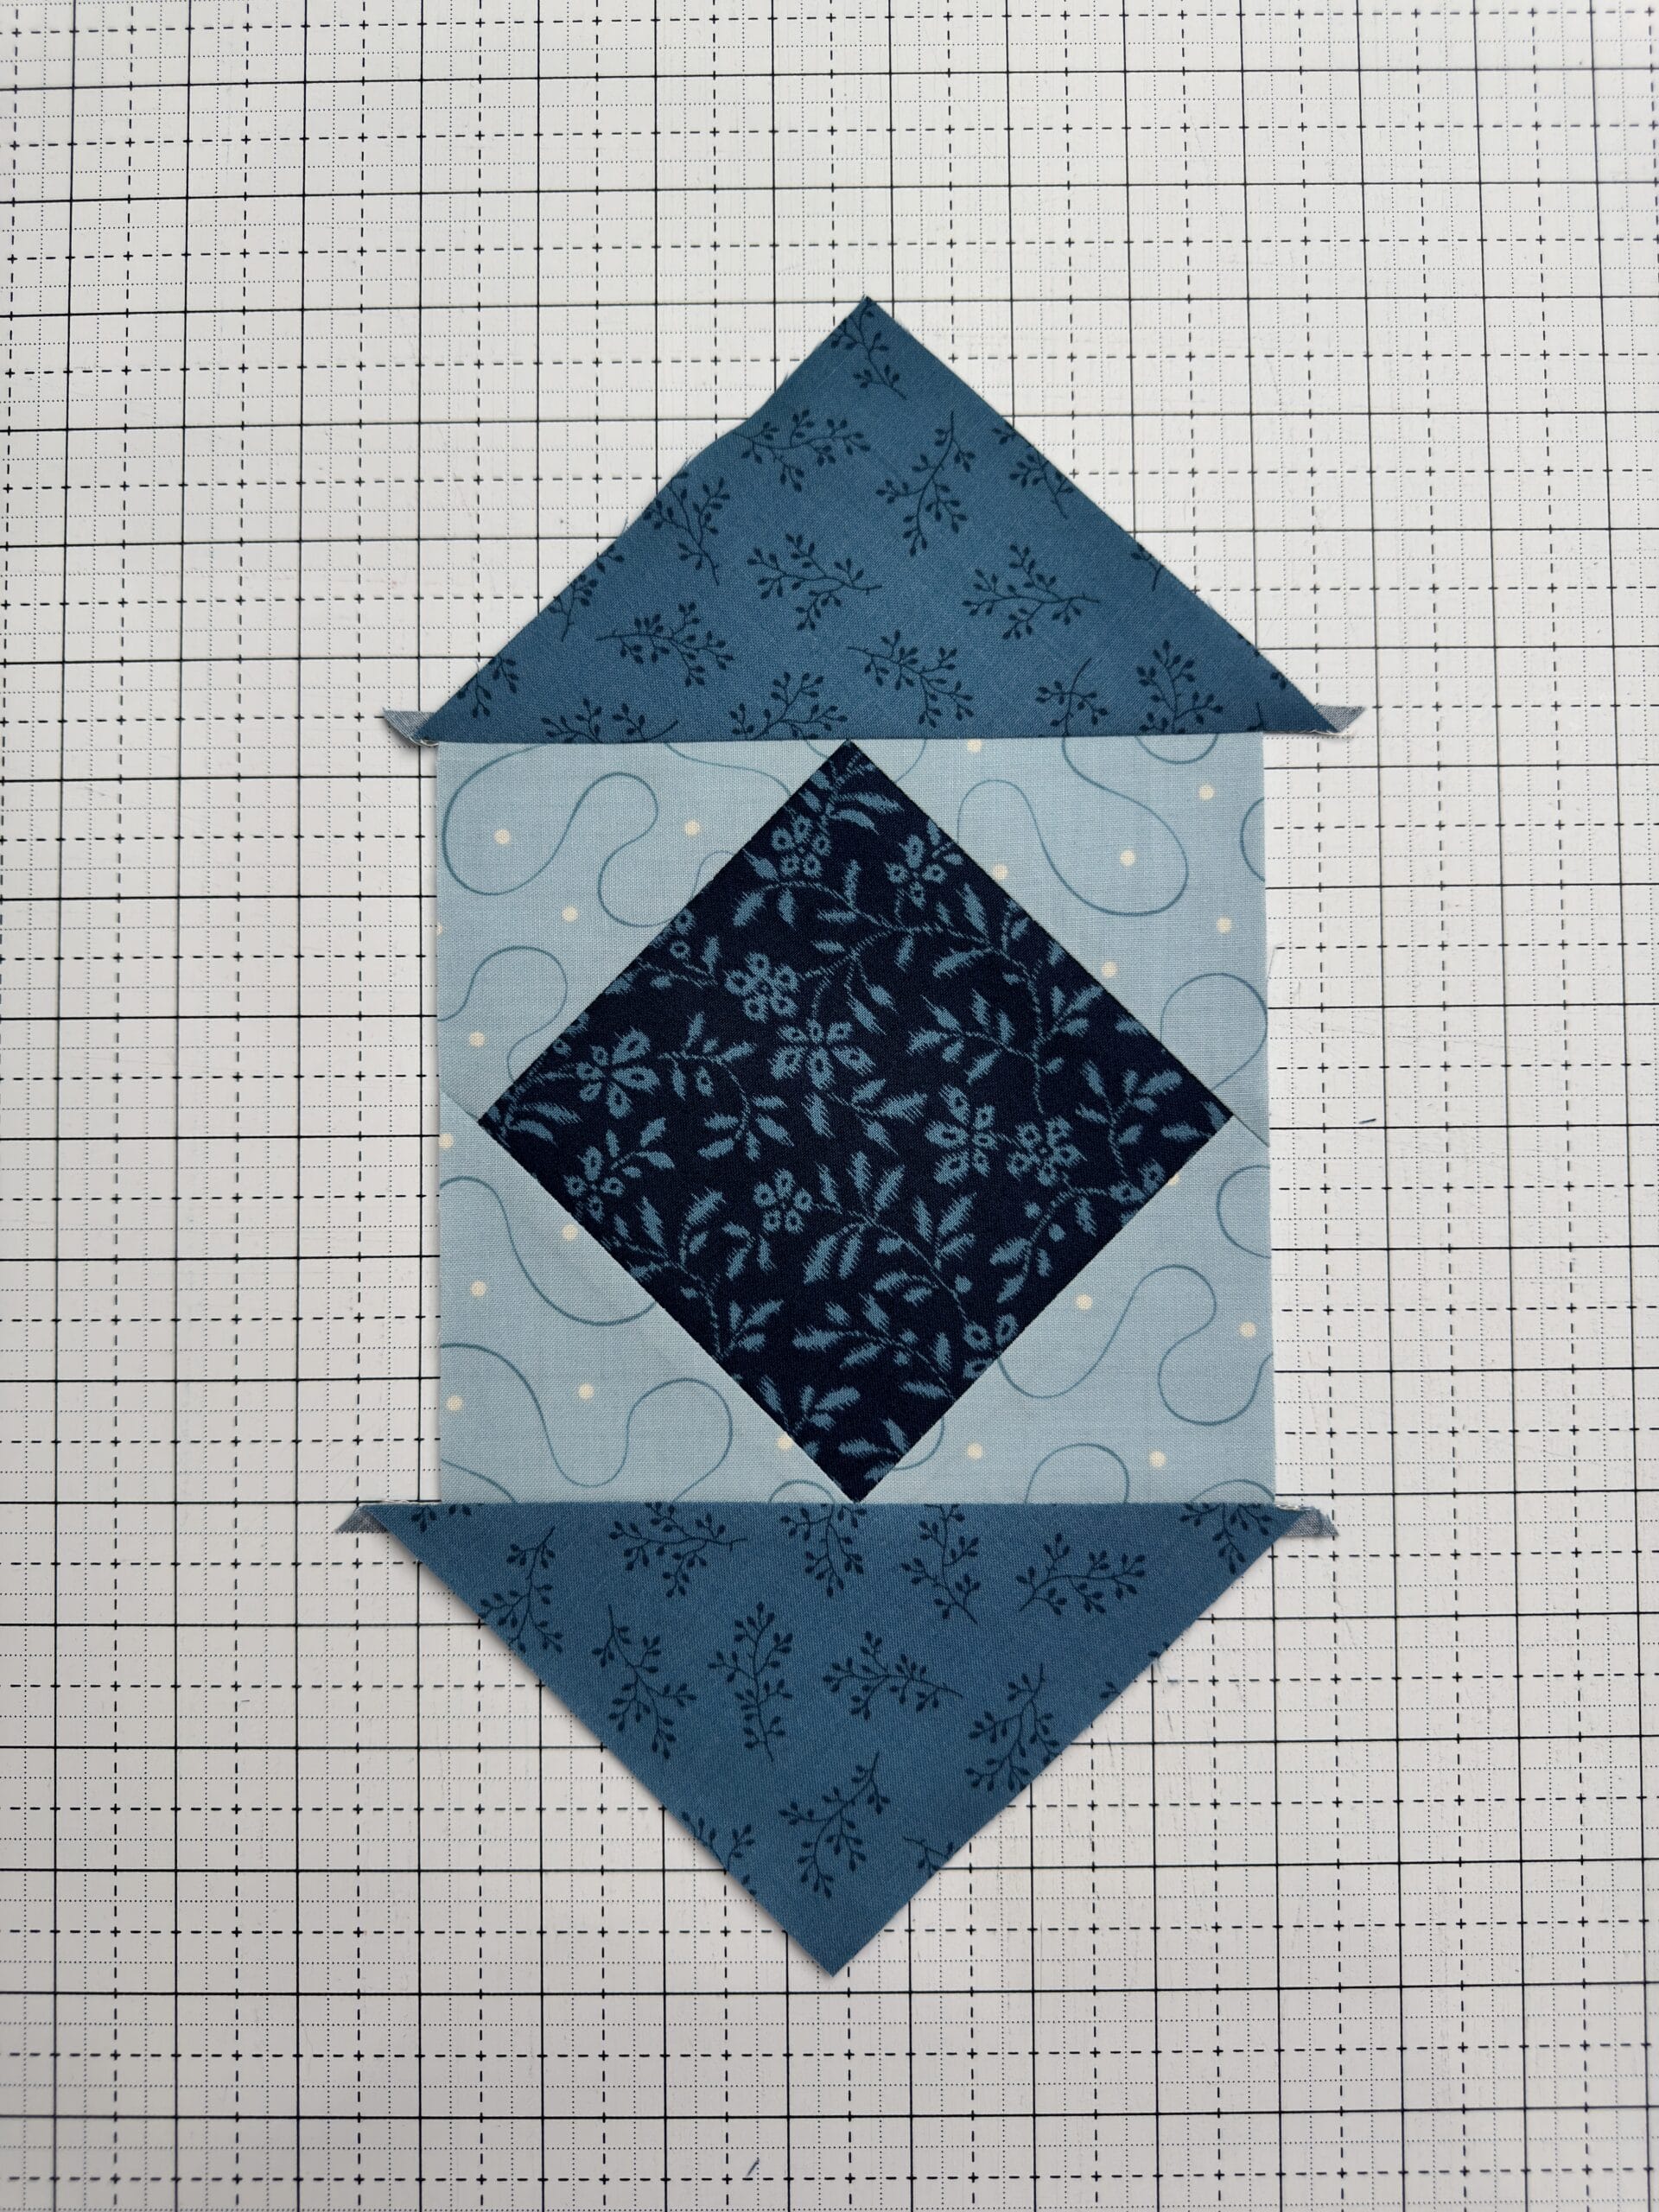
Sew two triangles of the final row on opposite sides of the unit.
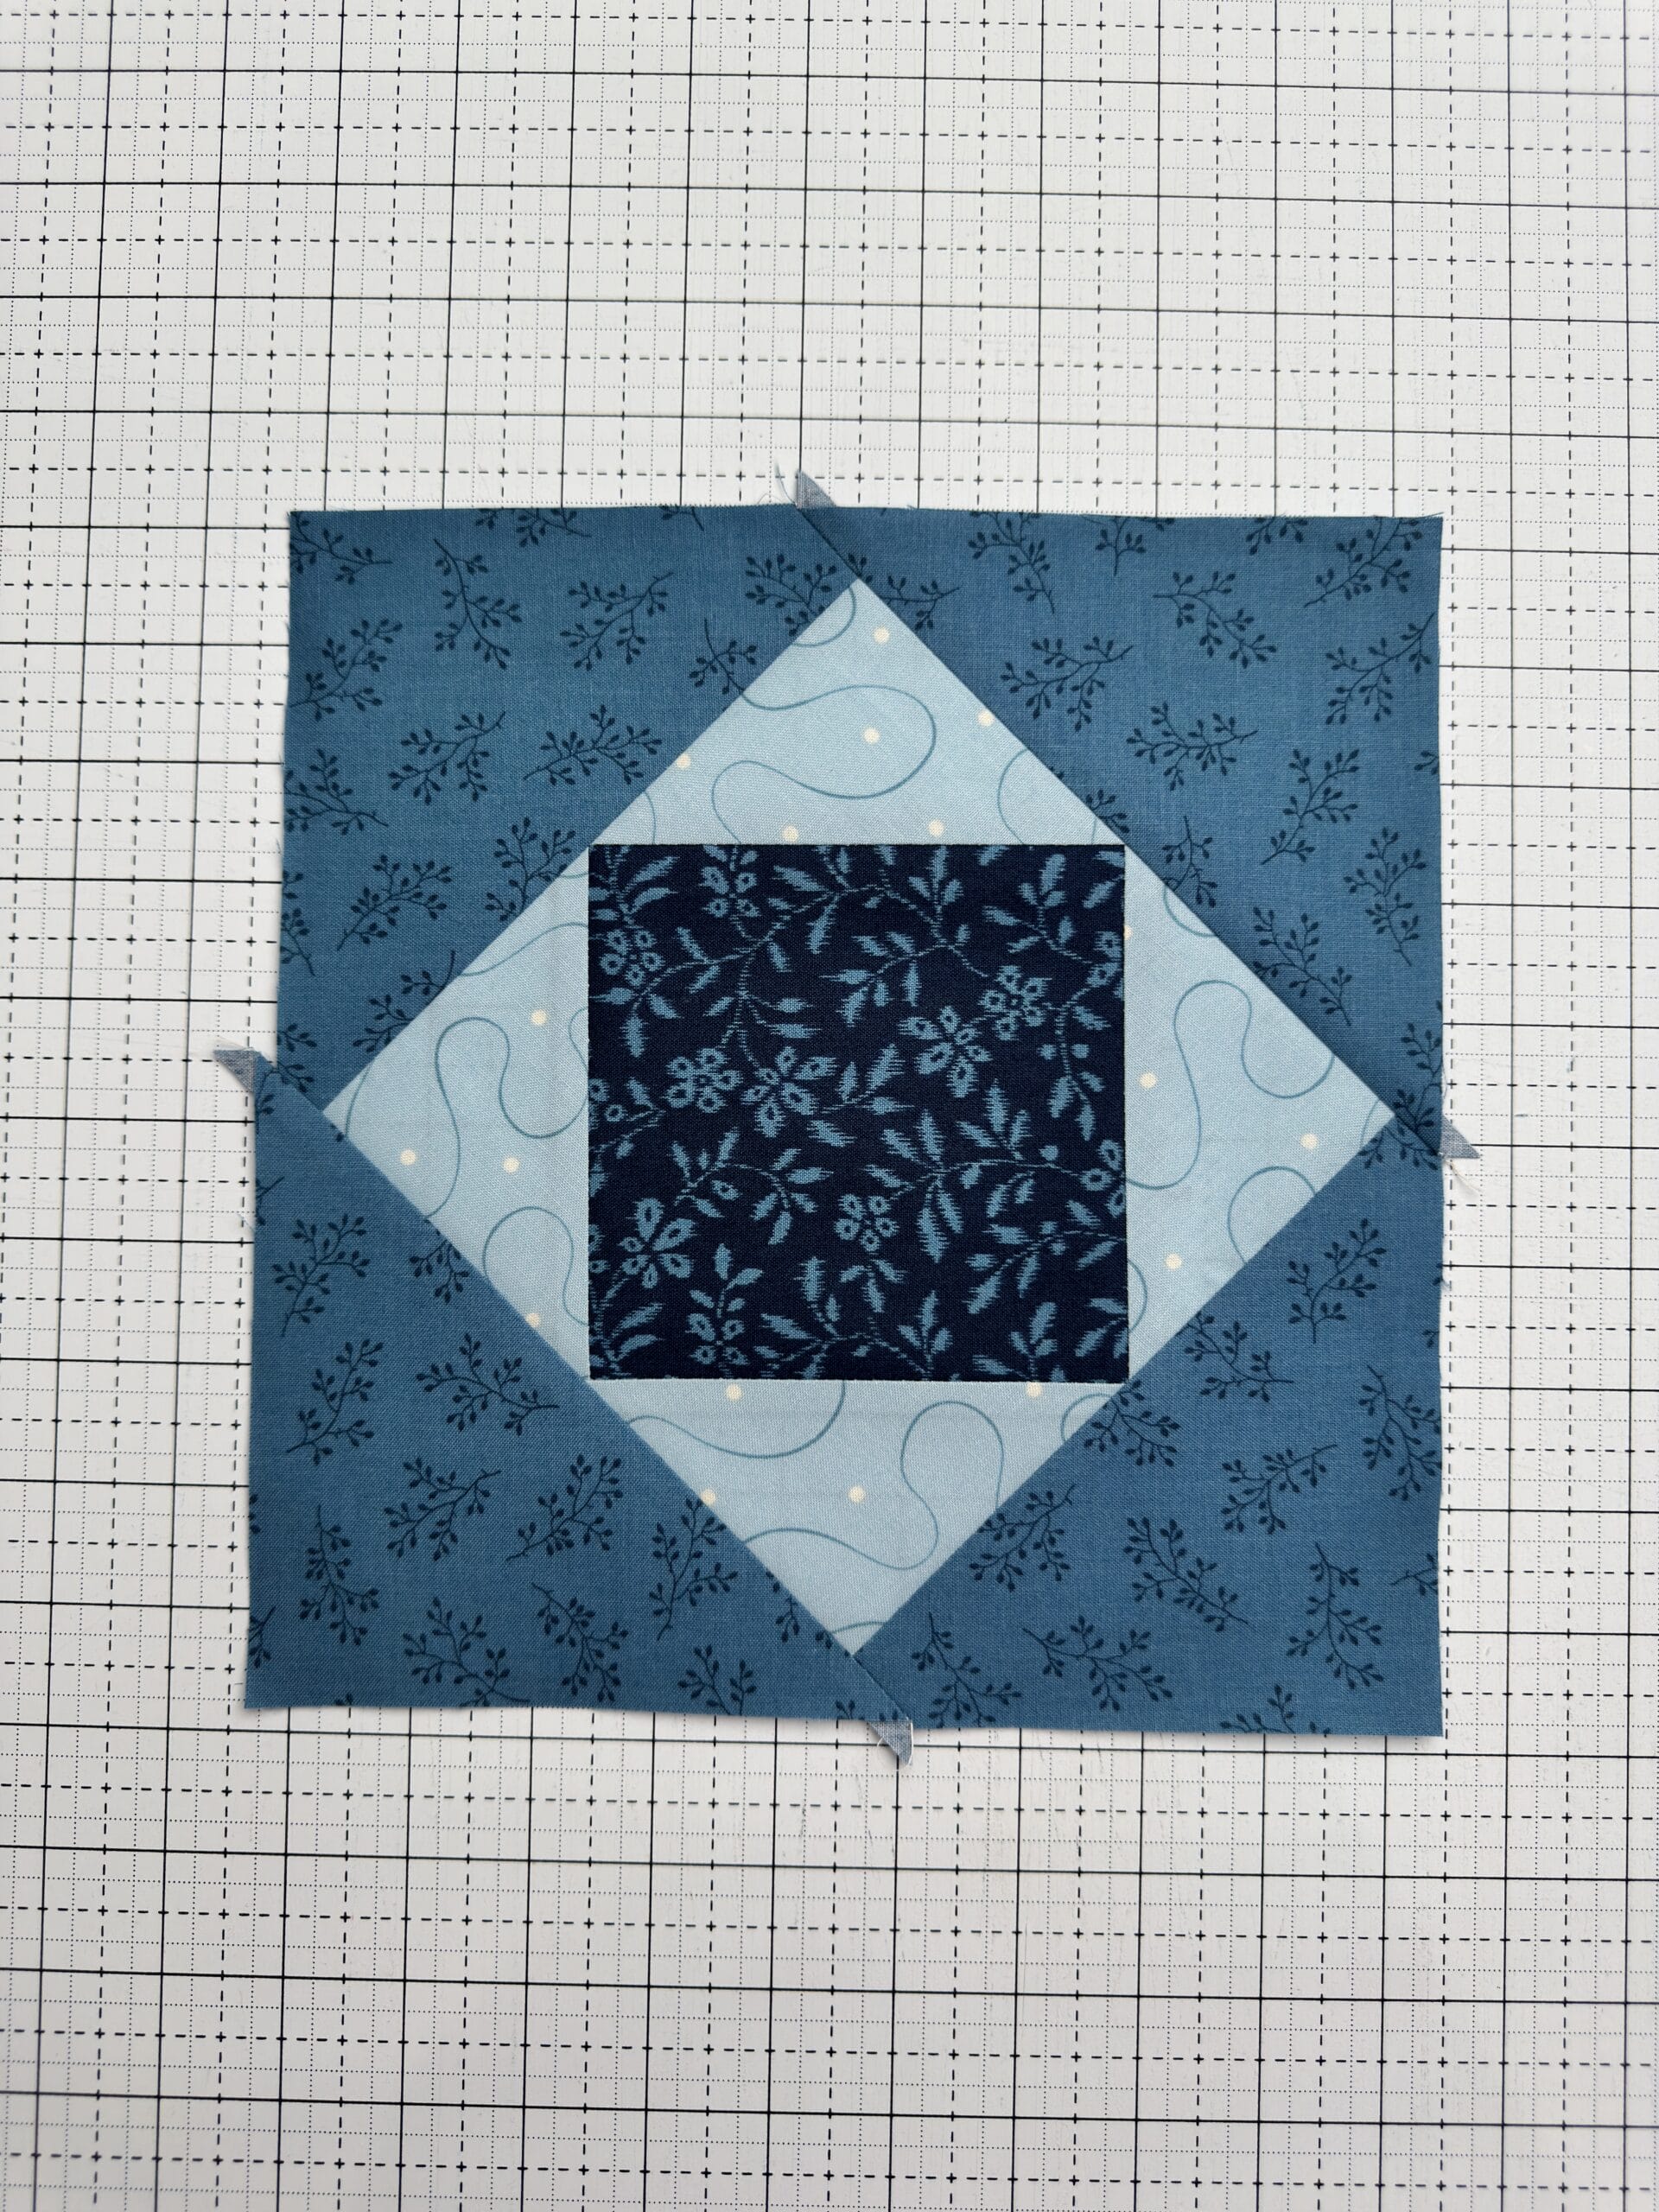
Sew the final two triangles to opposite sides of the unit.
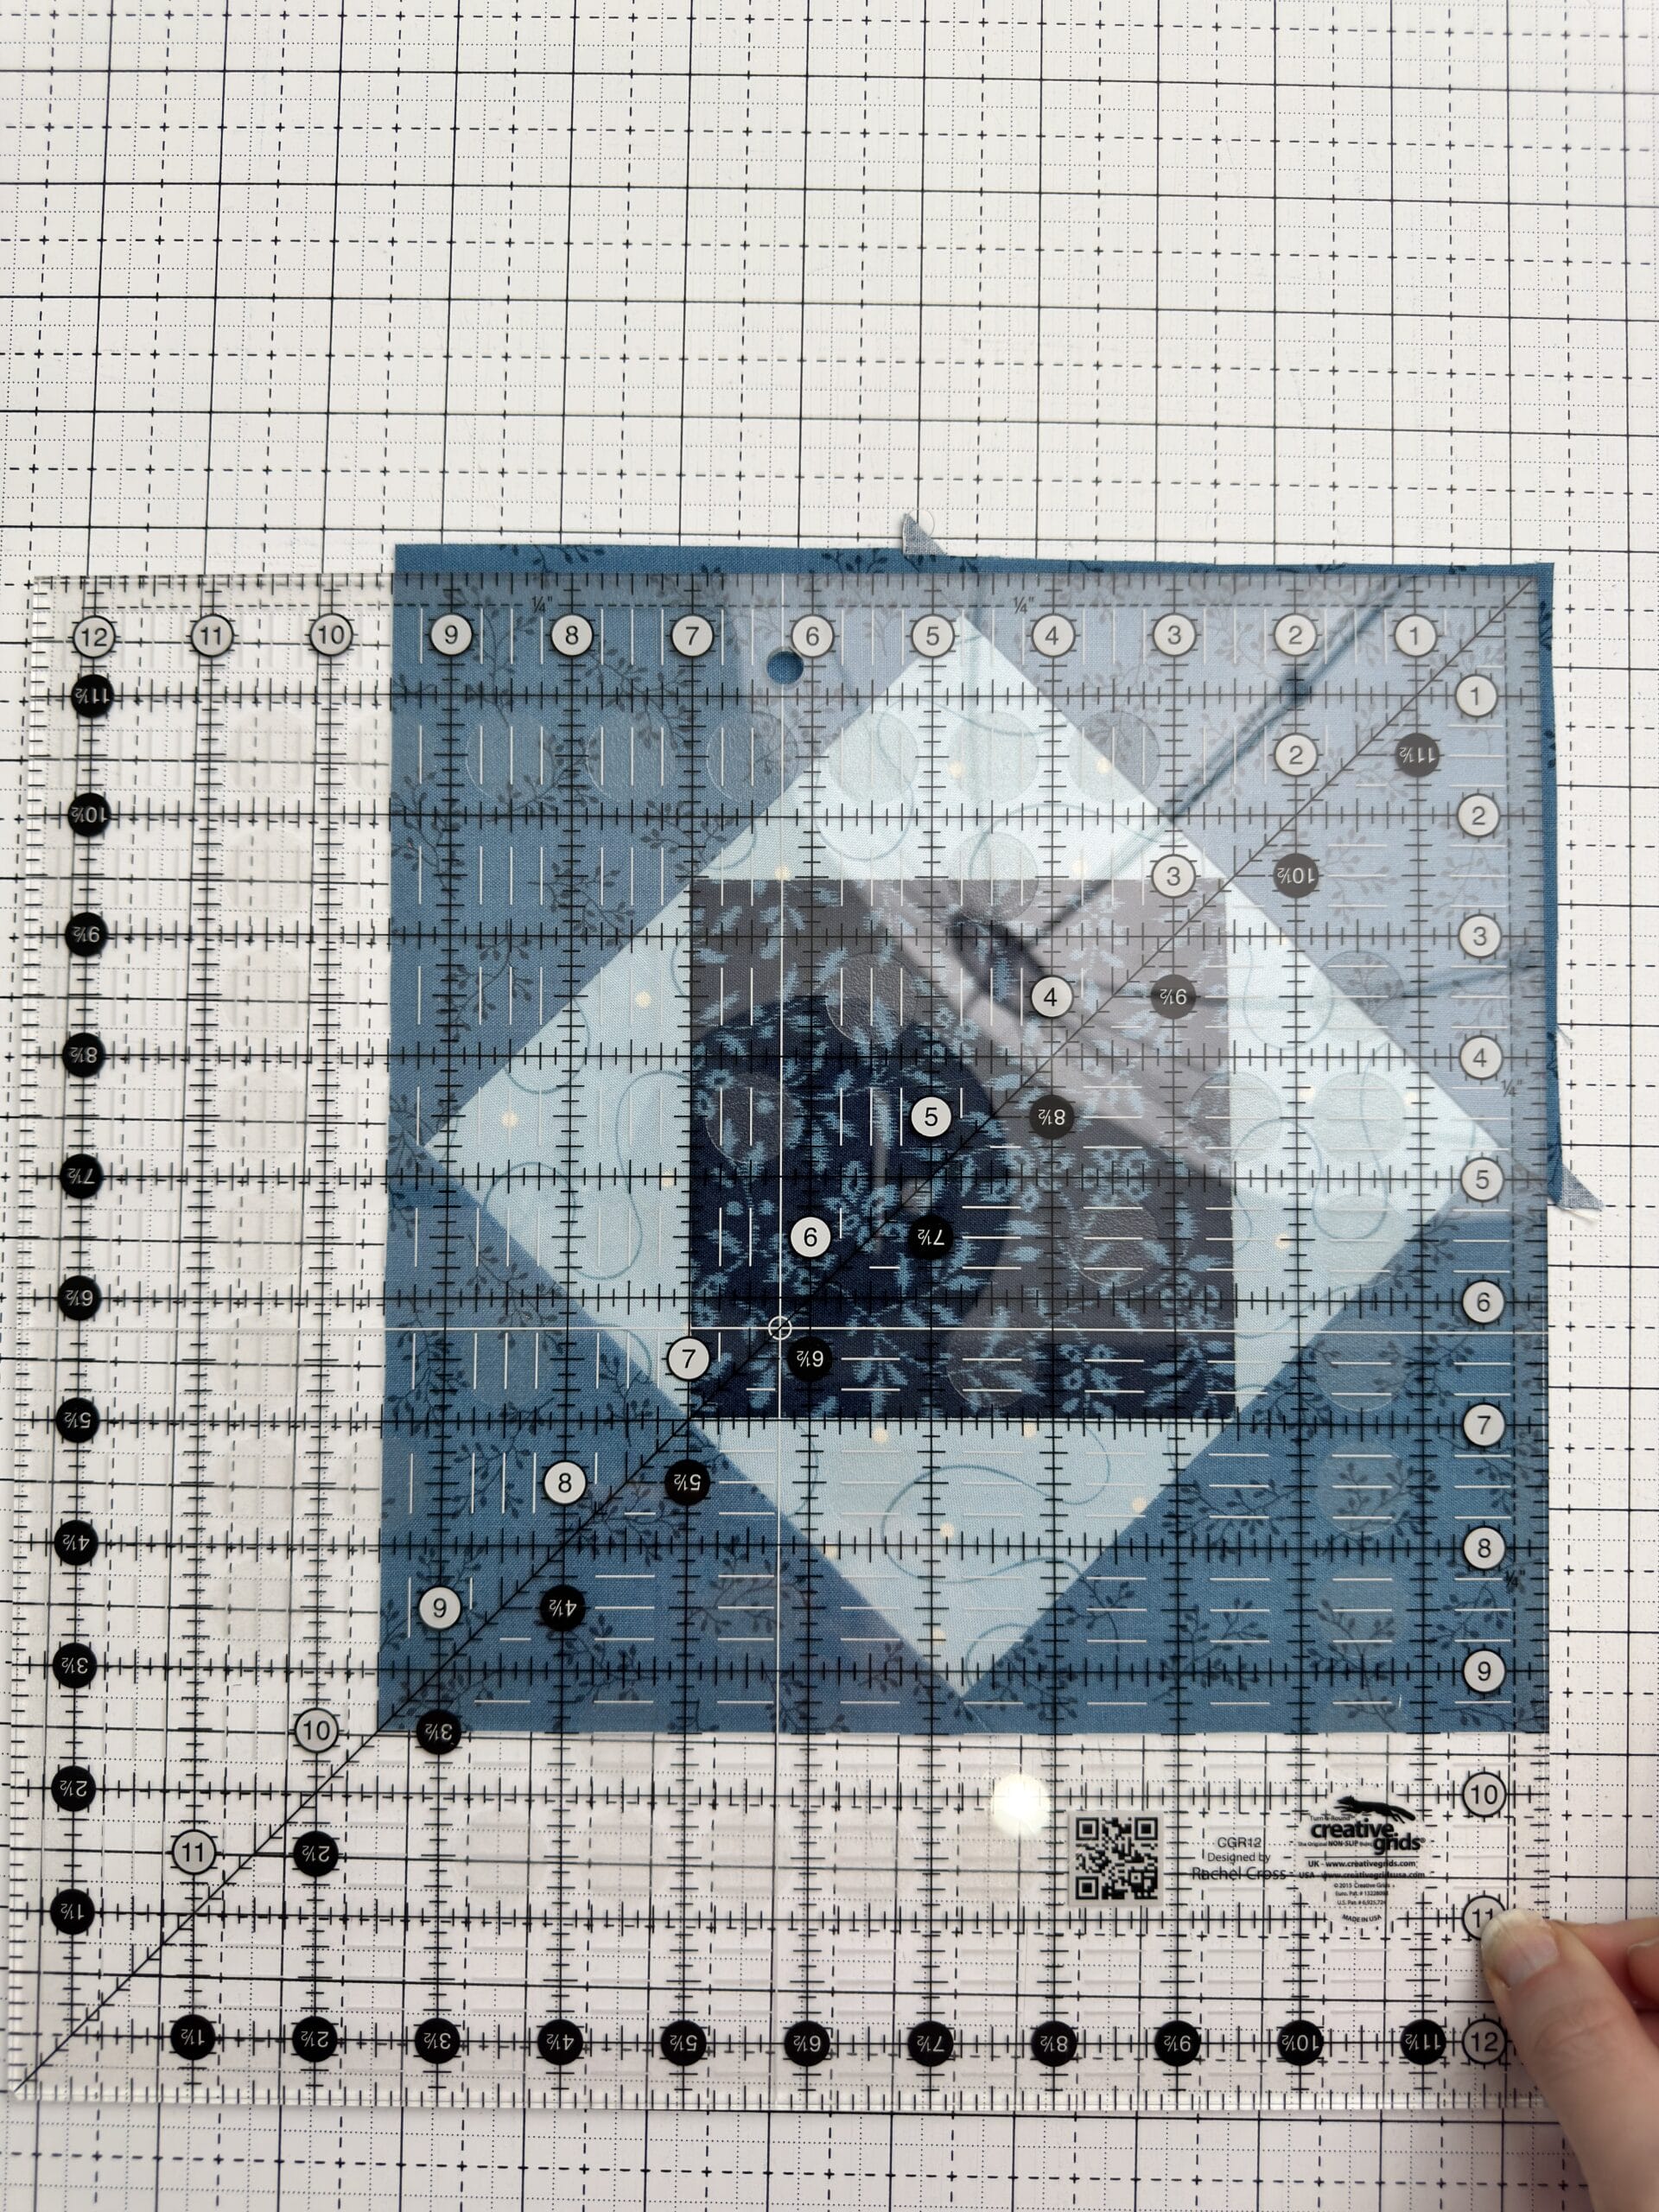
Trim the Economy quilt block to the final unfinished size ensuring there is 1/4″ seam allowance at each point.
Free Printable Chart
Want a quick reference guide for your sewing room? I created a free printable Economy Block Cutting Chart with cutting measurements, trimming notes, and construction guidance for 3″, 6″, 9″, and 12″ finished Economy blocks. It’s a handy reference to keep near your cutting table and perfect for future fussy cutting or scrap quilting projects. Enter your email below and I’ll send the printable straight to your inbox!
Final Thoughts on the Economy Quilt Block
The Economy quilt block is one of those timeless quilt blocks that works beautifully in almost any quilting style. It can look scrappy and vintage, clean and modern, playful and whimsical, or elegant and traditional depending entirely on fabric choice.
It’s also an excellent skill-building block because it teaches:
- trimming accuracy
- working with bias edges
- preserving points
- careful pressing
- and understanding quilt block proportions
Once you understand the structure behind the block and embrace oversized construction with trimming, Economy blocks become much less intimidating and much more enjoyable to sew.