Why Your Fabric Shifts While Sewing (And How to Stop It)
One of the most frustrating quilting problems is when your pieces look perfectly lined up before sewing… but somehow don’t match up once they come out of the machine.
When purchasing through links on this site, I may earn an affiliate commission at no cost to you.
You’re sewing straight.
You’re using a ruler when cutting.
You’re trying to be careful.
So why do things still shift?
The short answer: fabric naturally wants to move as it feeds through the machine. The good news is that a few small adjustments in how you sew can dramatically reduce shifting and help your pieces stay aligned.
This post is part of my Quilting Foundations series, where we’re building the skills that make quilting feel easier, more predictable, and more enjoyable.
What Is Fabric Shifting (or Fabric Creep)?
Fabric shifting, sometimes called fabric creep, happens when the top and bottom layers of fabric feed through the machine at slightly different speeds. When that happens, one piece ends up longer or shorter than the other.
Even tiny differences can add up, especially when you’re sewing many seams.
Common Signs Fabric Is Shifting
Why Fabric Shifts While Sewing
There are several reasons this happens:
- The feed dogs pull the bottom fabric faster than the top
- Fabric isn’t supported as it feeds into the machine
- Pieces aren’t held securely at the start of the seam
- Presser foot pressure is too high or too low
- Fabric is being pushed or pulled while sewing
None of these mean you’re “bad at sewing.” They’re simply technique and setup issues.
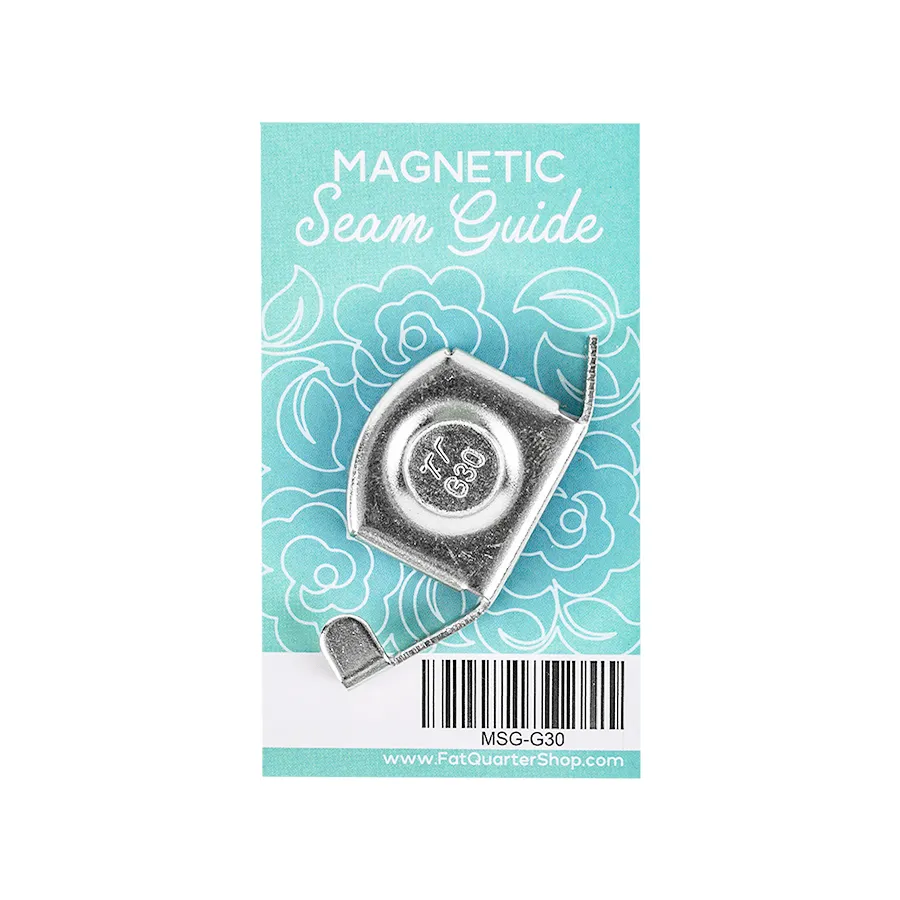
Use a Seam Guide (Not the Needle)
Instead of watching the needle, align the raw edge of your fabric with a seam guide or the markings on your machine bed.
Use a Seam Guide (not the needle)
Instead of watching the needle, align the raw edge of your fabric with a seam guide, a 1/4″ presser foot, or the markings on your machine bed.
This helps you:
- sew straighter seams
- maintain consistent seam allowance
- avoid subtle drifting
Once your fabric is aligned with the guide, focus on gently guiding — not steering — the fabric.
Start Seams Cleanly to Avoid Fabric Shifts
One small habit that makes a big difference is how you begin each seam.
Before you start sewing, take a moment to make sure both fabric layers are lined up evenly. I like to lightly hold the fabric behind the needle as I take the first few stitches. This keeps the pieces from shifting or getting pulled down into the machine before the seam is established.
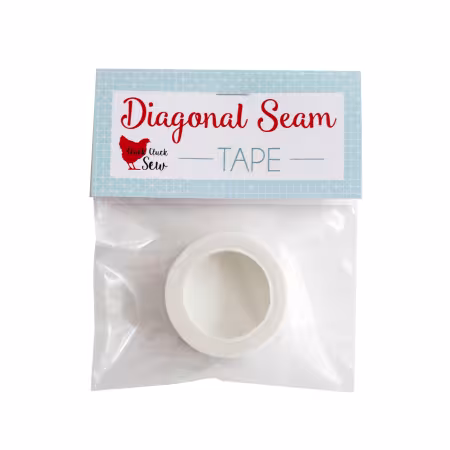
Leaders and enders can also be helpful here. Starting on a small scrap means your actual project pieces enter the machine smoothly and already under control.
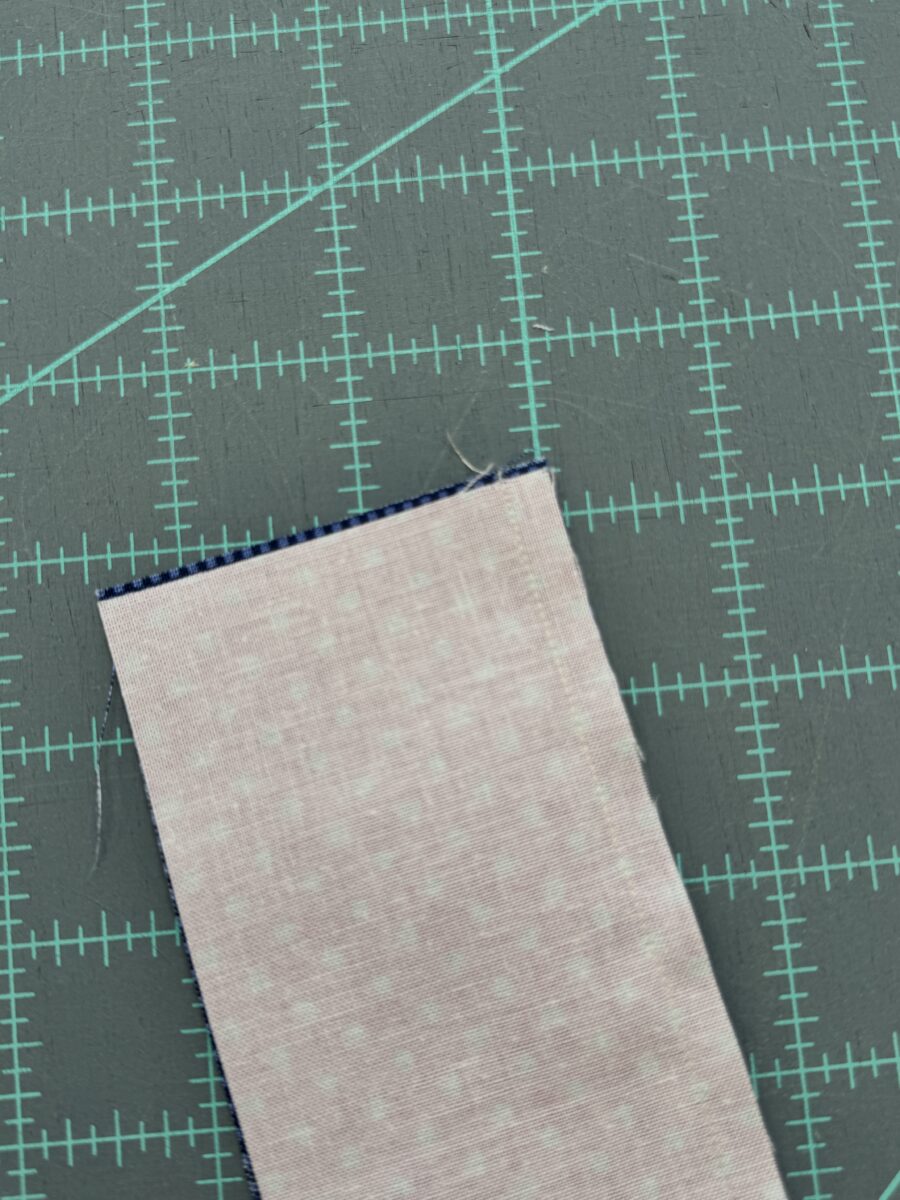
Clean seam starts help prevent fabric from shifting before sewing even begins
Let the Machine Do the Work
It’s very easy to accidentally push or pull fabric without realizing it. Most of us are just trying to “help,” but that extra pressure can cause layers to feed unevenly.
Think of your hands as guides, not drivers. Your job is to gently guide the fabric along the seam guide while the machine feeds it forward. If you notice yourself tugging from the front or pulling from the back, pause and reset.
Slowing down just a little can also make a noticeable difference, especially when you’re working with small pieces.
Support the Weight of Your Fabric
Another sneaky cause of shifting is gravity.
If part of your project is hanging off the front of the table, it can pull slightly as you sew. That tiny bit of tension is enough to make edges creep out of alignment.
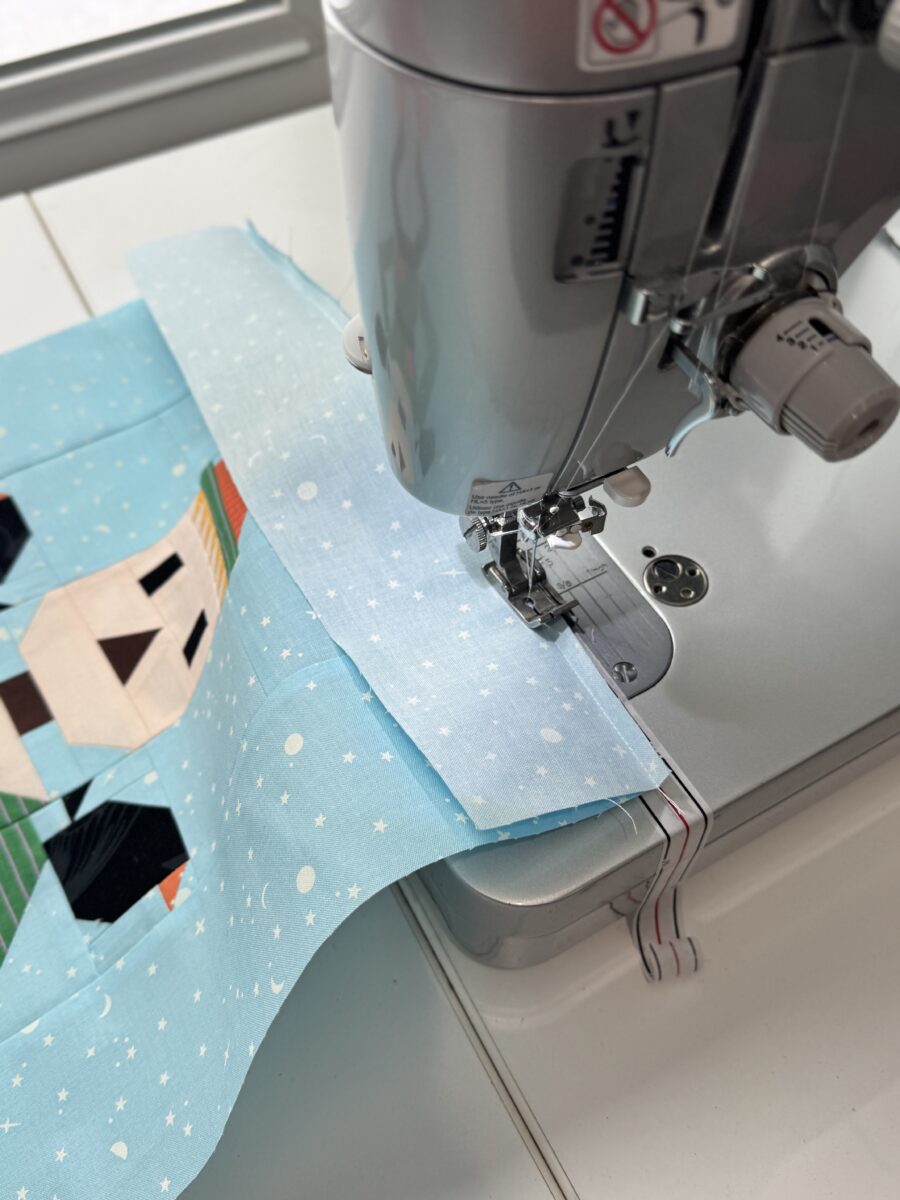
Whenever possible, keep your fabric supported on the table or use an extension surface. Even a small adjustment here can lead to straighter seams and better-matching edges.
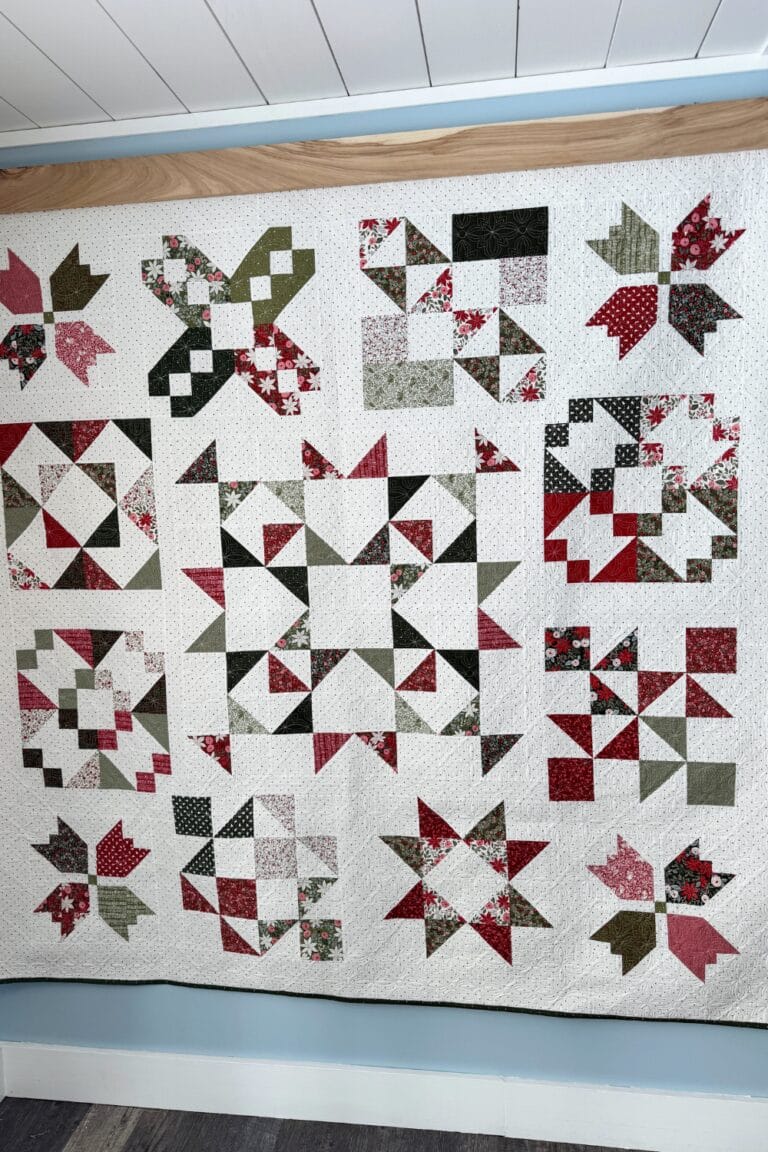
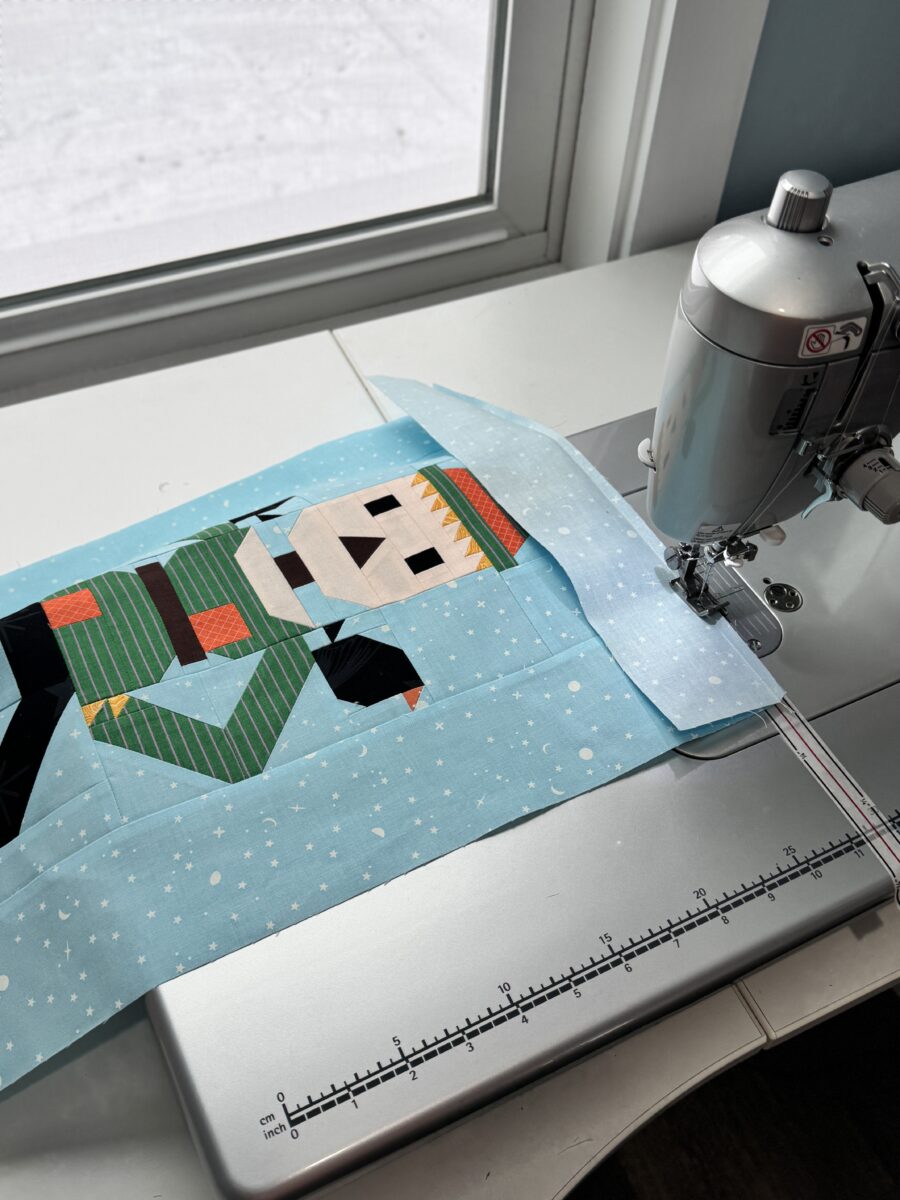
In the images below, I used an already sewn large quilt block to demonstrate how helpful an extension table can be to keep the block up on a flat surface without gravity pulling on the fabric.
Use Pins or Clips When You Need Them
You don’t have to pin every seam, but pins are very useful in certain situations — especially when sewing long seams, matching points, or working with slippery fabric.
Pins give your layers a little extra security so they stay lined up as they feed through the machine. If something feels like it wants to shift, adding a pin or two can save frustration later.
A Note About Presser Foot Pressure
If your machine allows you to adjust presser foot pressure, this is another area worth checking.
Too much pressure can cause the top fabric to drag slightly, while too little pressure can lead to uneven feeding. A small adjustment can sometimes make a big improvement. Your machine manual will show where this setting is located.
If everything else looks good, presser foot pressure may be worth checking.
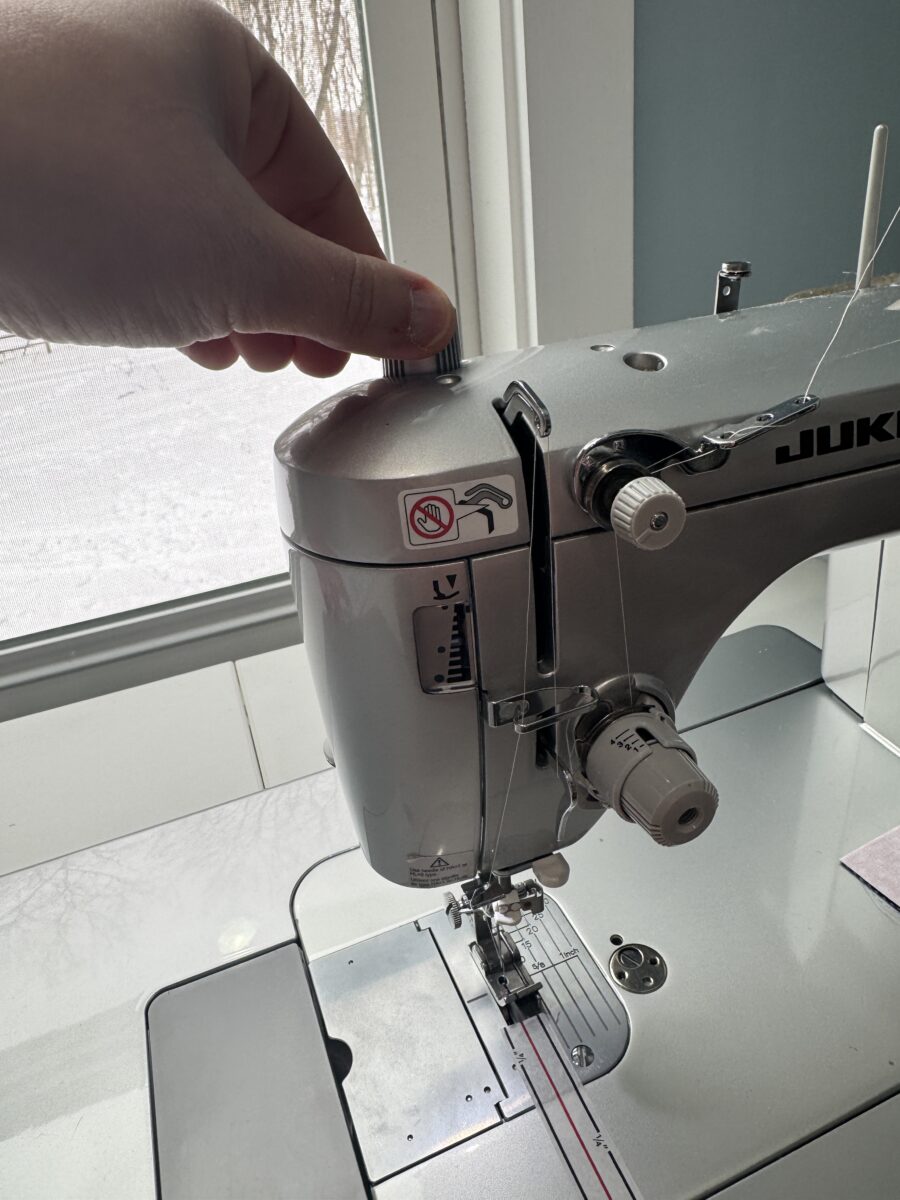
My Juki machine has a knob on top of the machine, and a gauge that shows how much downward pressure is being applied by the presser foot. Learning to adjust this has played a big part in me not having those tiny slide offs when stitching pieces together at the beginning and end of seams.
Pressing Plays a Bigger Role Than You Think
Fabric that isn’t pressed well before sewing can become fabric that shifts — which makes pressing fabrics smooth that much more important.
Before joining pieces together, take a moment to press seams flat and make sure everything lays smooth. Flat pieces feed through the machine more evenly than rumpled or bulky ones.
Test Before You Commit
When you start a new project, sew a quick test seam using scrap fabric or leftover pieces.
Take a look at the edges when you’re done. If they line up nicely, you’re good to go. If not, make a small adjustment and test again. Catching issues early saves a lot of unpicking later.
Final Thoughts
Fabric shifts are one of the most common quilting frustrations, and it doesn’t mean you’re doing anything wrong. It simply means your machine and your hands need a little teamwork.
With clean seam starts, gentle guiding, supported fabric, and well-pressed pieces, you’ll start seeing your seams line up more consistently and your blocks come together more smoothly.
Small habits add up — and this is one of those skills that quietly improves everything else in your quilting.