How to Sew Straight Seams Every Time
If your seams tend to wobble, slowly drift wider than 1/4″, or leave your blocks just slightly off, it’s easy to assume you’re “just not good at sewing straight.”
When purchasing through links on this site, I may earn an affiliate commission at no cost to you.
But straight seams aren’t about talent.
They’re about setup, awareness, and a little bit of control.
The good news? Every one of those things can be adjusted.
Stop Watching the Needle
One of the most common reasons seams drift is because we’re watching the needle instead of watching the fabric.
The needle will always look centered. It doesn’t tell you whether your seam allowance is accurate.
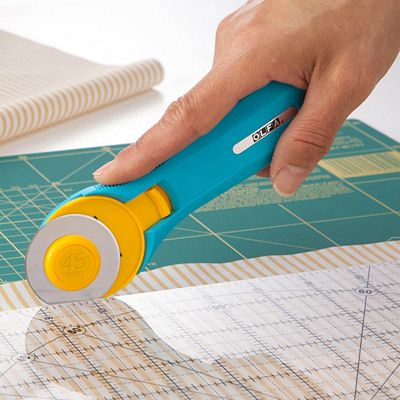
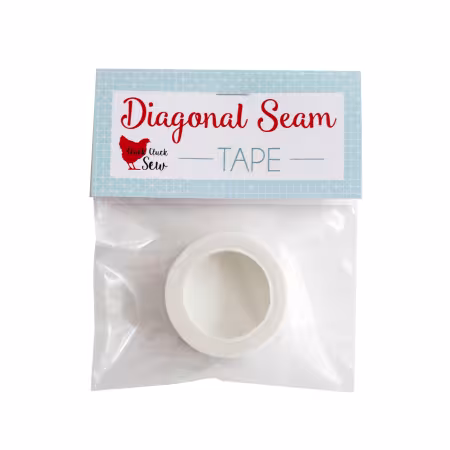
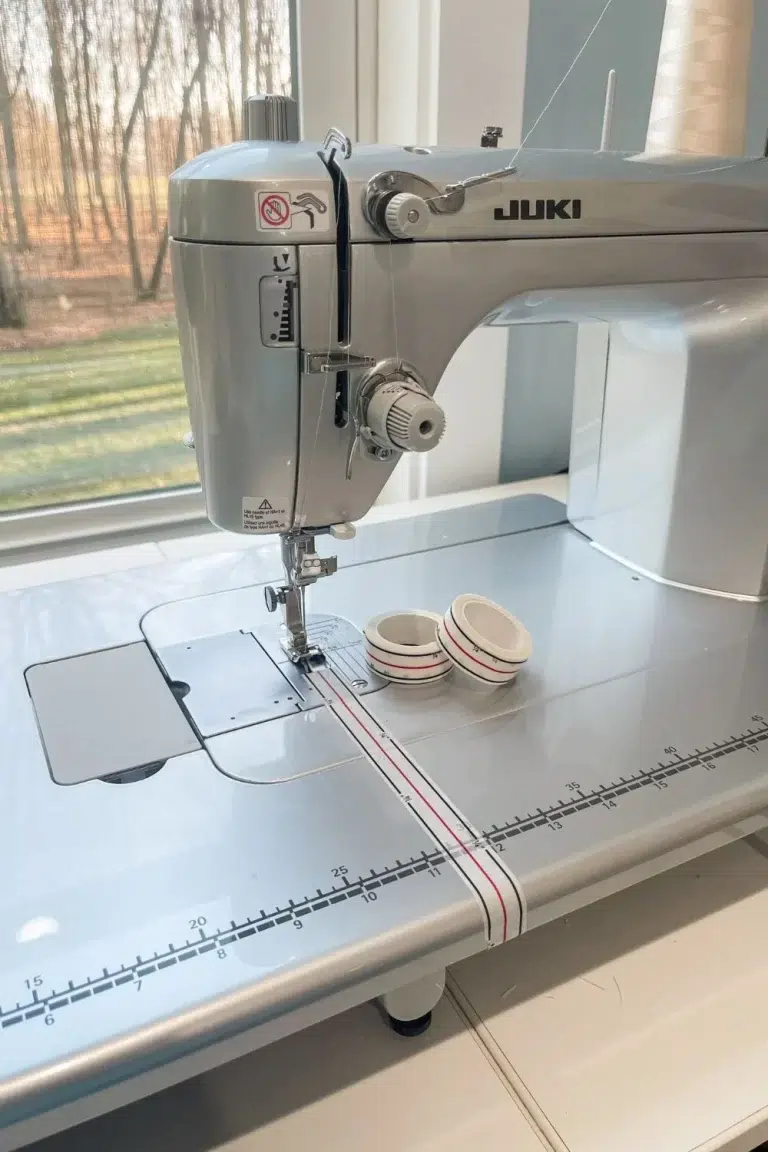
Instead, shift your focus slightly to the right and watch the raw edge of your fabric as it runs along your seam guide — whether that’s the edge of your presser foot, a 1/4″ foot, or a piece of tape marking your seam allowance.
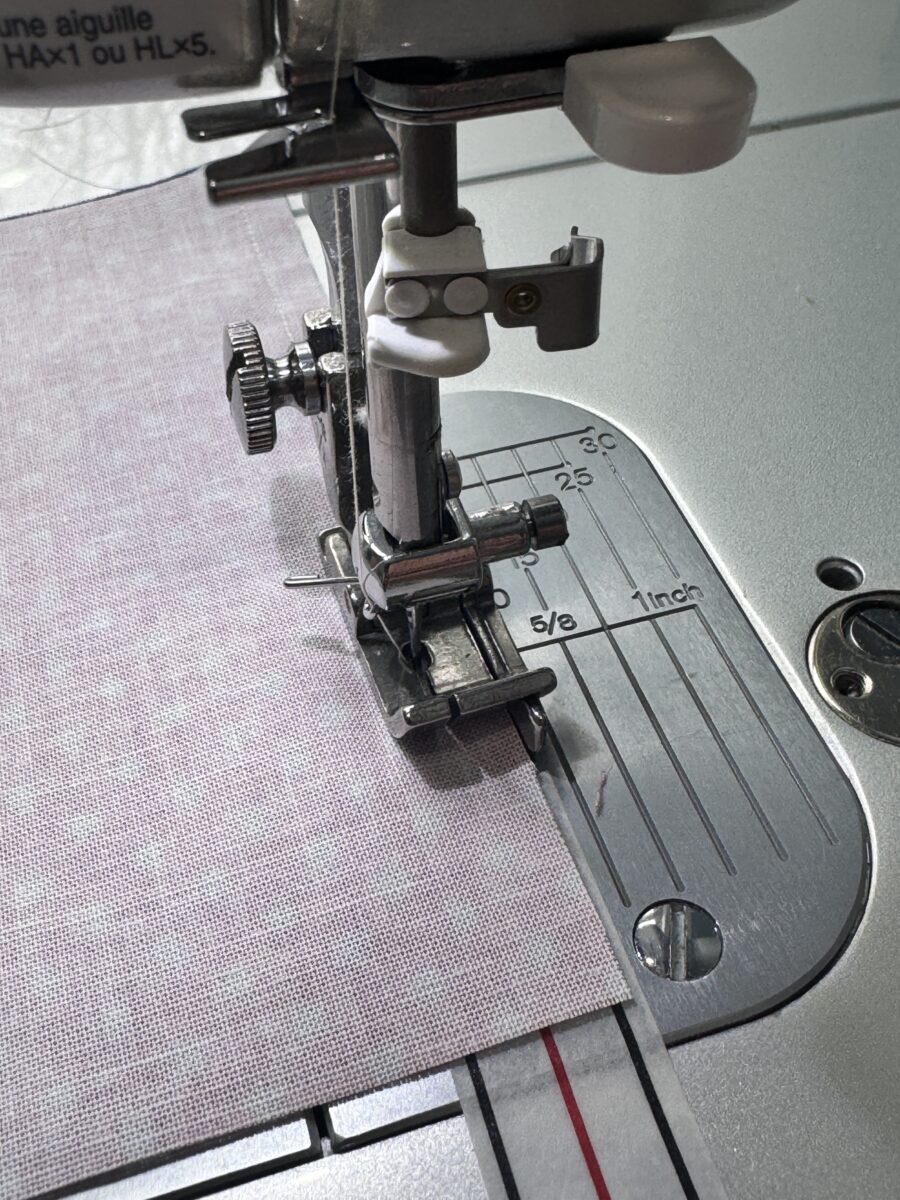
Your seam guide is what keeps you straight.
The needle just does the stitching.
Once you train your eyes to focus on the edge instead of the needle, you’ll notice a big improvement.
Check Your Machine Before Blaming Yourself
If your seams consistently measure too wide or too narrow, it may not be you at all.
Make sure your needle isn’t slightly bent. Confirm that your presser foot is securely attached. Double-check that your 1/4″ foot is actually giving you a true 1/4″ seam.
Even a tiny misalignment can cause gradual drifting.
It’s worth sewing a small test seam with scrap fabric and measuring the result. If it’s off, adjust your guide before moving forward. Accuracy is much easier to maintain when your setup is correct from the start. If it’s consistently off, and your machine has an adjustable needle position, you may find it helpful to move the needle a click or two to one side.
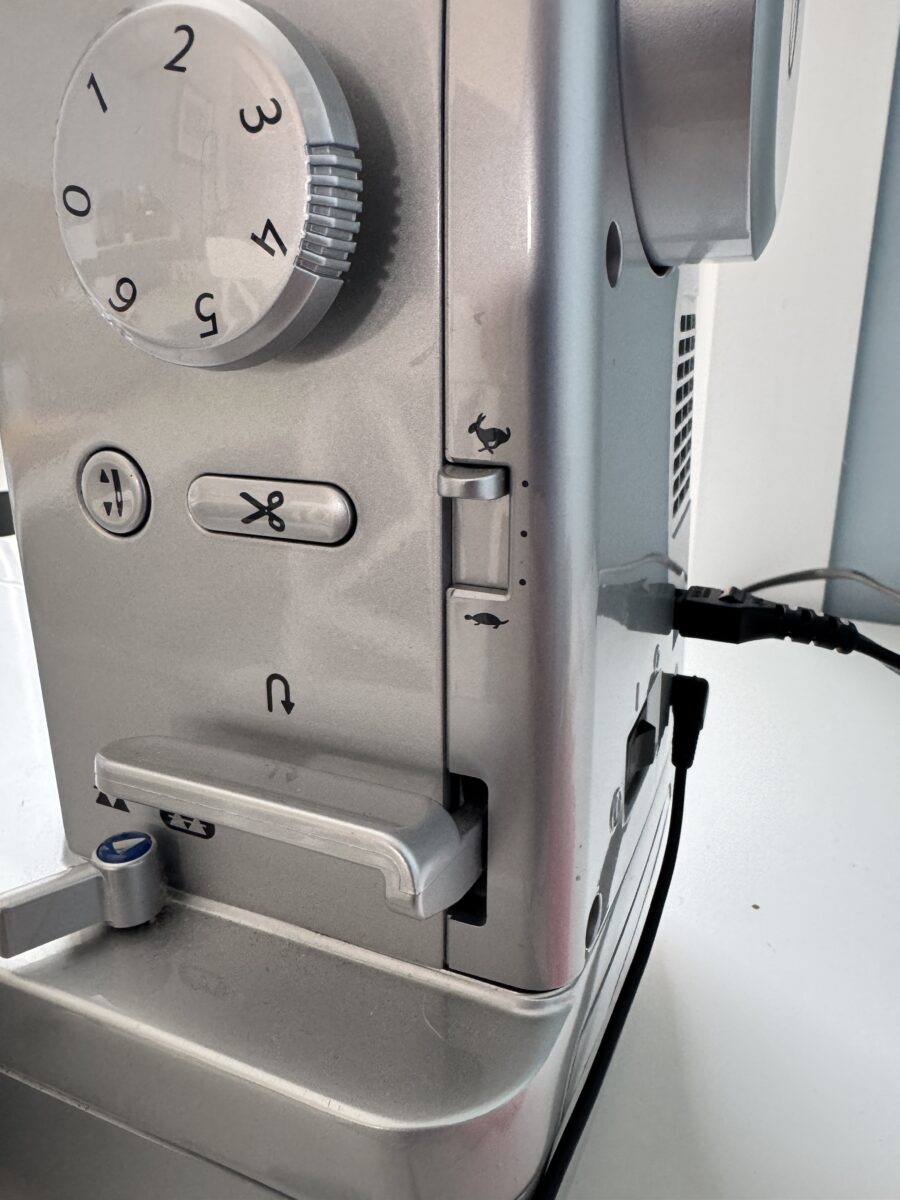
Control Your Speed
Speed absolutely affects accuracy — but not in the way people usually think.
Sewing too fast makes it hard to correct small drifts. The fabric can shift before you even realize it, and your seam allowance slowly widens or narrows.
But sewing too slow can also cause problems.
When the needle moves up and down very slowly, there is more time between each stitch. That extra time creates more opportunity for your hands to accidentally nudge the fabric slightly off track. Even tiny movements add up over the length of a seam.
If you’ve ever noticed a seam that looks slightly wobbly or uneven, overly slow stitching can be the culprit. The goal isn’t fast or slow. It’s steady.
A smooth, moderate speed allows the machine to feed the fabric evenly while giving you enough control to keep the raw edge aligned with your 1/4″ guide. When the machine runs consistently, your seam allowance tends to stay consistent too.
Think rhythm instead of speed.
Let the Machine Feed the Fabric
It’s very common to push the fabric from the front or pull it from the back without realizing it. When that happens, you’re fighting the feed dogs, and that tension can create subtle curves or stretched seams.
Instead, guide the fabric lightly.
Your hands are there to keep the fabric aligned with your seam guide — not to force it forward. The machine is designed to move the fabric at an even pace. Let it do its job.
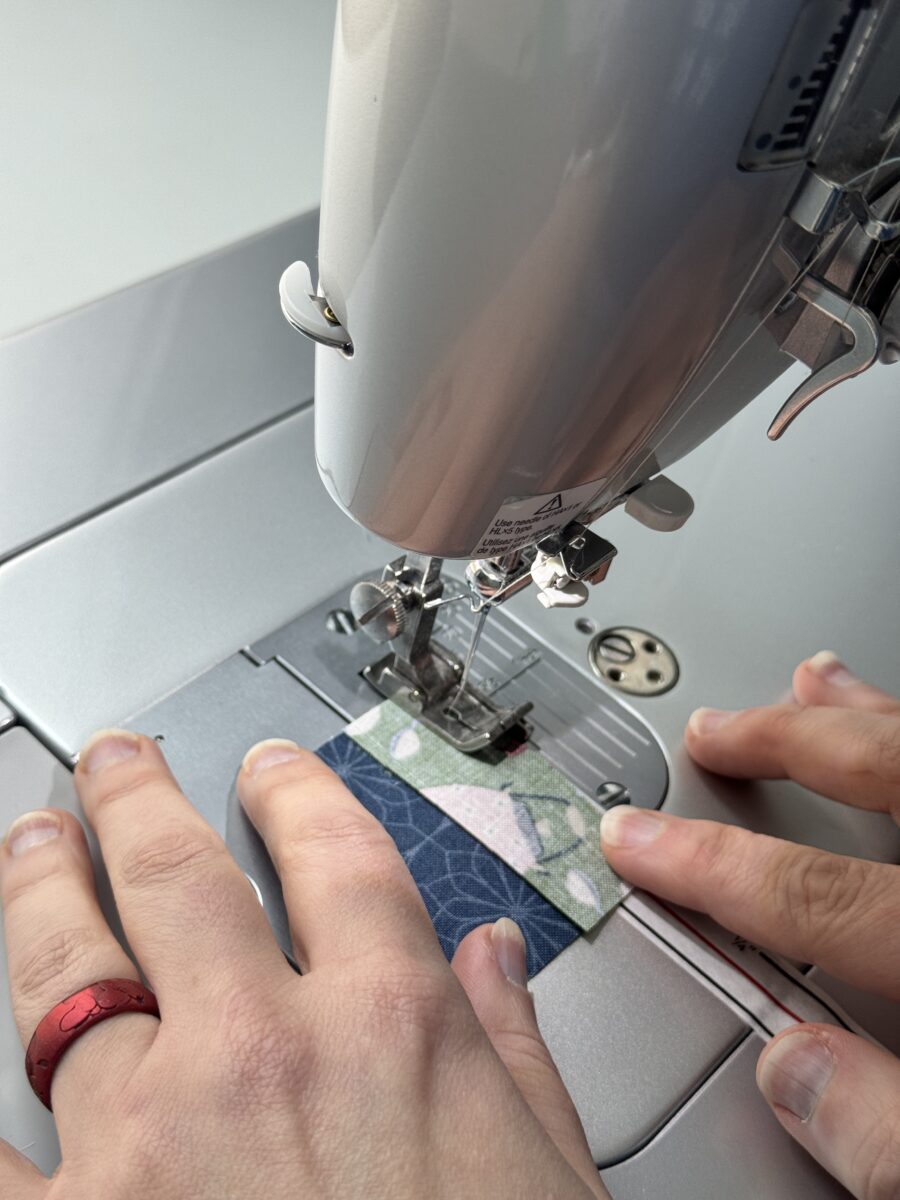
Use Both Hands Intentionally
Position one hand in front of the needle and one behind it.
The front hand gently keeps the raw edge aligned with your guide. The back hand helps keep the fabric flat and stable as it feeds through.
Try to keep your hands relaxed. If you feel yourself gripping tightly, pause and reset. Tension in your hands often translates into tension in your seams.
If Your Seams Are Slightly Curved
If you notice your seams bowing just a bit, check a few things.
Make sure you’re not unintentionally pushing the fabric sideways as it feeds. Confirm that your fabric edges were cut straight to begin with. And slow down slightly, especially on longer seams where drifting tends to happen gradually.
Often, a small adjustment in focus or speed fixes the problem quickly.
Practice With Purpose
If you really want to improve straight seams, take a few scrap strips and practice sewing long, steady lines while focusing only on keeping the fabric edge aligned with your seam guide.
Don’t multitask. Don’t rush.
Just practice consistency.
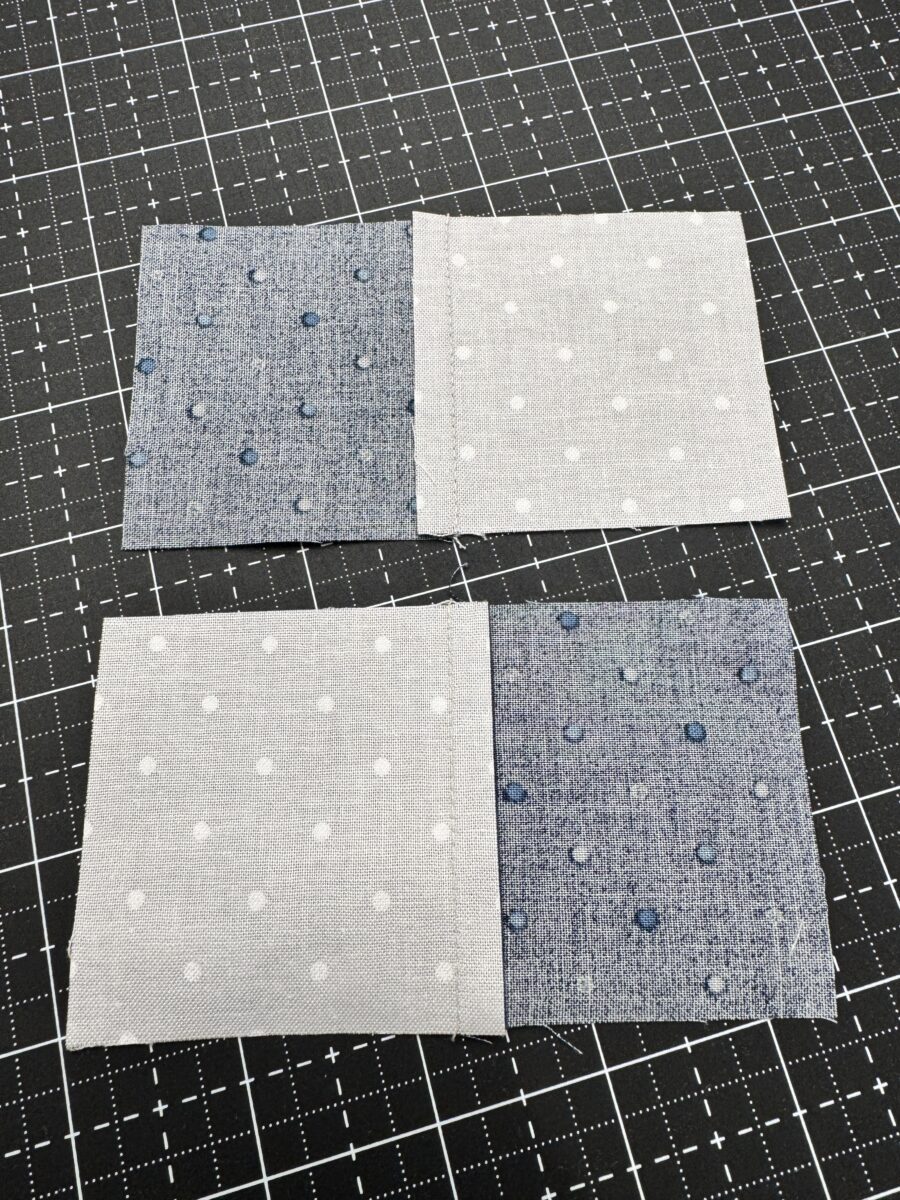
Straight seams aren’t about being perfect every single time. They’re about reducing variation. When your seam allowance stays consistent, your blocks measure consistently — and that’s what makes quilt assembly feel smooth instead of frustrating.
Final Thoughts
Sewing straight seams isn’t a natural gift some quilters have and others don’t. It’s a skill built on small habits:
Once those habits become automatic, straight seams stop feeling stressful. And accuracy becomes repeatable.