How to Match Seams When Joining Quilt Units
Matching seams is one of those things that can feel frustrating at first—but once it clicks, it makes a huge difference in how your quilt comes together.
When purchasing through links on this site, I may earn an affiliate commission at no cost to you.
And here’s the thing: matching seams isn’t just about how you press them. It’s about how you align and sew your units together in real time.
Even if everything was cut and pressed perfectly, your seams won’t match unless you handle the units correctly at the machine.

Focus on the Intersections—Not Just the Edges
One of the biggest mindset shifts that helps with matching seams is this:
Focus on where the seams intersect—not whether the raw edges line up perfectly.
The intersections are what create sharp points and clean lines on the front of your quilt. That’s what people actually see.
If the edges are slightly off but your points meet exactly where they should, your quilt is going to look far more accurate than the other way around.
You never see the back of the quilt—so I always prioritize what the front is going to look like.
Nesting Helps—but It’s Not the Whole Story
If your seams are pressed in opposite directions, they’ll naturally “lock” together when you align them. That’s called nesting seams, and it definitely helps.
But not every seam can be nested. That’s where you need to step in and control the alignment manually.
Seams That Don’t Nest
How I Align Seams Before Sewing
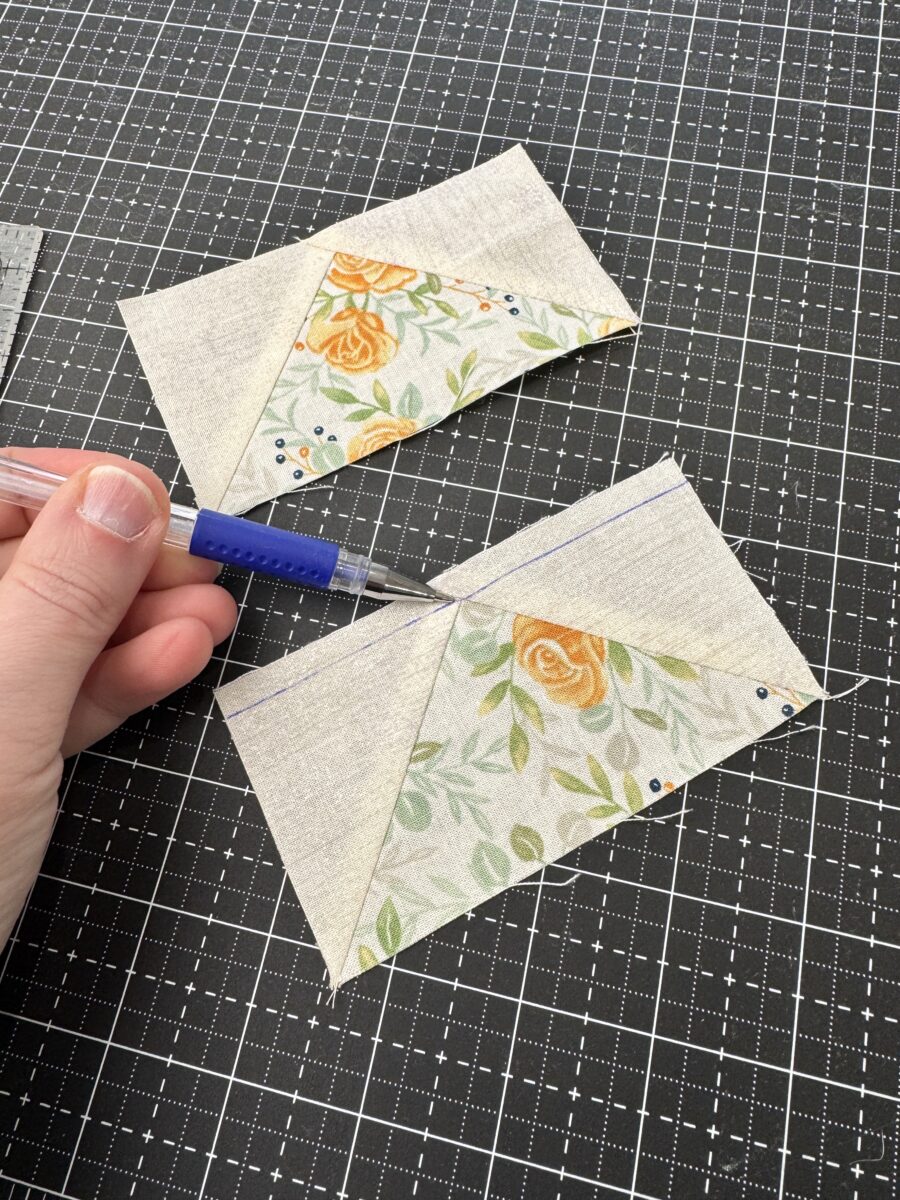
When I’m joining units, I start by lining up the most important intersection first.
That’s always my priority.
If the seams don’t naturally lock together, I’ll use a pin right at that intersection to hold it in place. Then I’ll pin the ends of the unit.
If I need to slightly pull or ease one piece to get things to line up, that’s completely fine. Usually we’re talking less than 1/8″, and that’s well within what fabric can handle.
If possible, I’ll also place the slightly longer unit on the bottom so the feed dogs can help ease in that extra fabric as I sew.
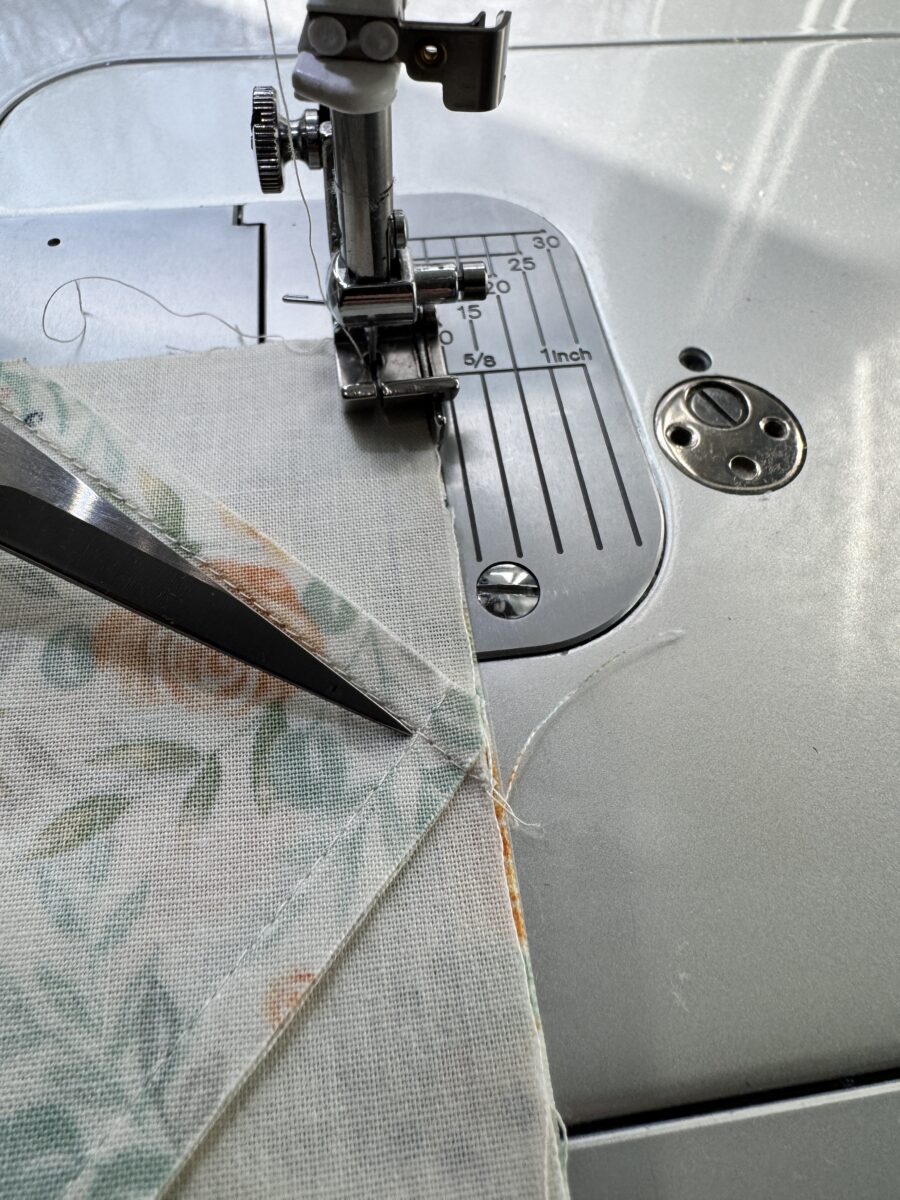
Sewing Through the Intersection
Once everything is aligned, the goal is to sew directly through the point where those seams meet.
This is where a lot of people get just slightly off—and that’s all it takes for points to not match up.
It’s not about sewing slower or being overly cautious. It’s about being intentional with where your needle lands as you cross that intersection.
Sometimes I’ll even open the unit slightly as I go to make sure everything is staying aligned right where it matters most.
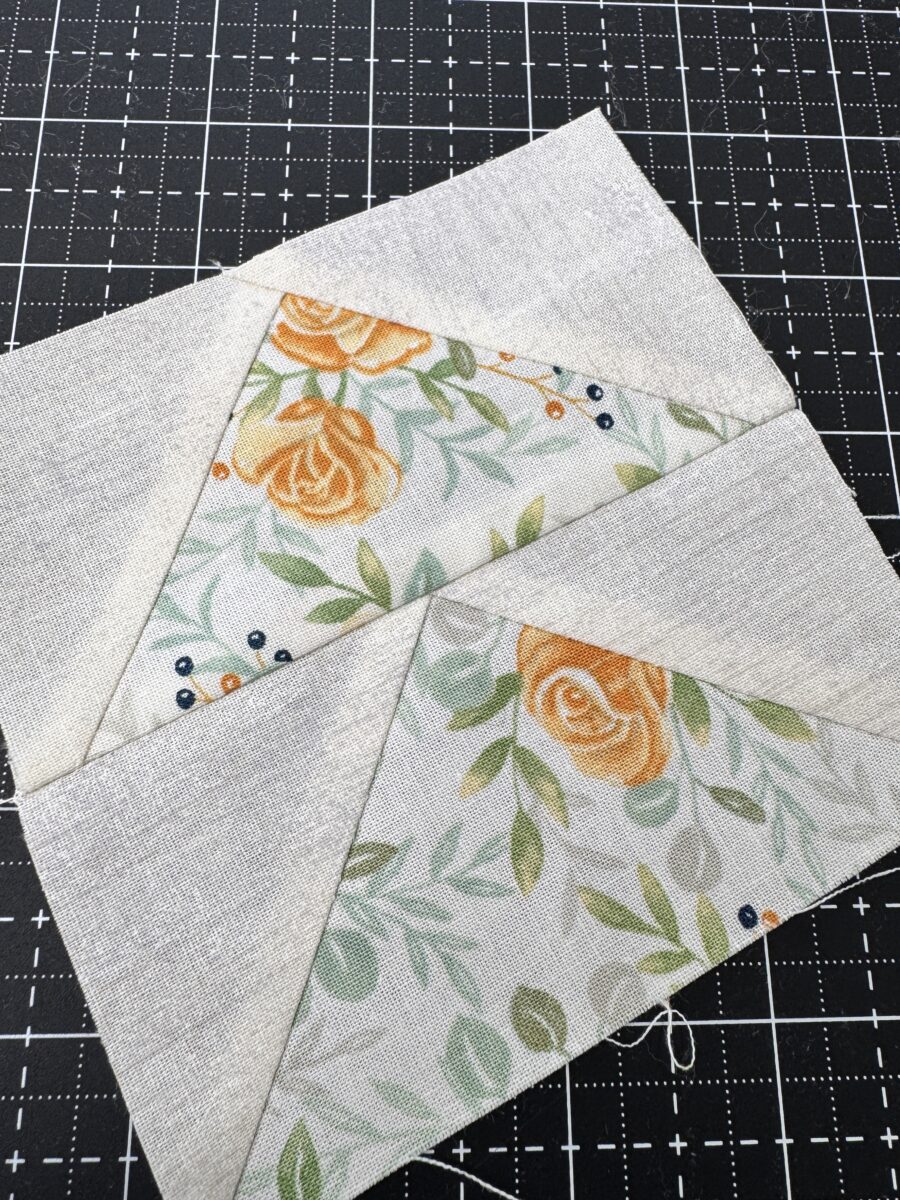
Check Before You Press
One thing I always do is open the unit before pressing to check how the seams came together.
If something is off, it’s much easier to fix it before pressing a crease into the fabric.
This gives you the option to quickly seam rip and adjust if needed—without fighting against a pressed seam.
When the Edges Don’t Line Up Perfectly
This is where experience really comes into play.
If the edges don’t align perfectly, I don’t worry about forcing them to match. Instead, I focus on how the pieces should align once sewn.
That might mean your seam allowance is a true 1/4″ on one piece and slightly less on the other—and that’s okay.
The goal isn’t perfection at the raw edge. The goal is that everything lines up correctly in the finished block.
When to Fix It—and When to Let It Go
I’ll usually give a seam one or two attempts if I know I can improve it.
But after that, I move on.
At some point, it becomes less about whether it’s perfect and more about whether it’s good enough for you.
Ask yourself:
- Can I see it from a normal viewing distance?
- Does it actually take away from the quilt?
If the answer is no, it’s probably not worth the frustration.
Even very experienced quilters have seams that are slightly off or points that don’t match perfectly.
You get better with every quilt—but you don’t need perfection to make something beautiful.
Final Thoughts
Learning how to match seams is less about perfection and more about understanding what actually matters.
Focus on your intersections.
Use pins when you need them.
Let the machine help you—not fight you.
And most importantly—make choices based on what you are happy with.
Because at the end of the day, that’s what matters most.