
Cherry Tree Lane Quilt Along – Week 5 Quilt Top Assembly and Sashing
Week 5 of the Cherry Tree Lane Quilt Along is where everything finally comes together.
When purchasing through links on this site, I may earn an affiliate commission at no cost to you.
This week, we’re trimming the center panel, adding sashing, and assembling all of the blocks into the finished quilt top. It’s always exciting to reach this stage and start seeing the full design come to life.
That said… this week did come with a couple of challenges along the way.

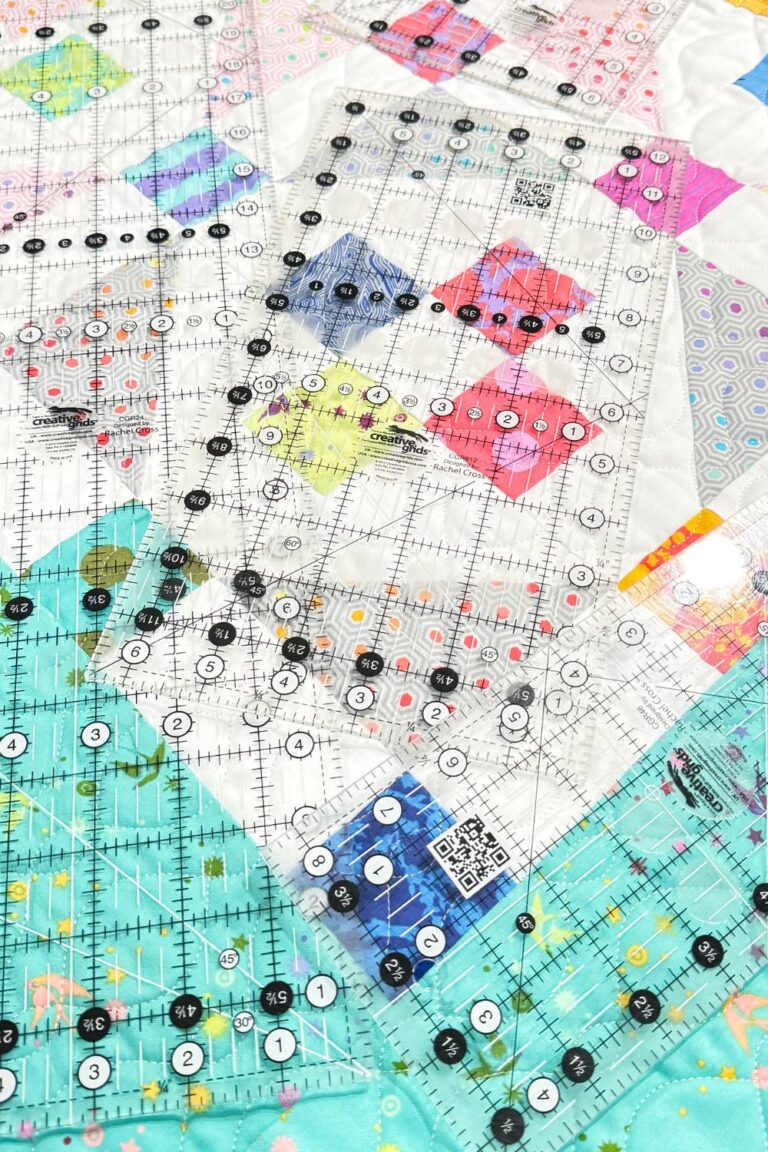
Trimming the Center Panel
The pattern instructs you to trim the center panel to 36″ x 43″, but when I went to trim mine, I realized that cutting it to 42″ would have required keeping the selvedge in place, which would not look great in the finished quilt.
Instead, I trimmed my panel to 36″ x 42.5″ and adjusted from there.
To make up the difference, I used the apricot plaid fabric to add back the missing inch.
In order to do this:
- I added 1/2″ to the top and bottom of the panel
- I cut my filler strips at 3/4″ wide to account for seam allowance
- This gave me the full additional inch I needed once sewn
This small adjustment allowed me to keep the panel clean without the selvedge while still maintaining the correct overall size.

A Second Pattern Correction
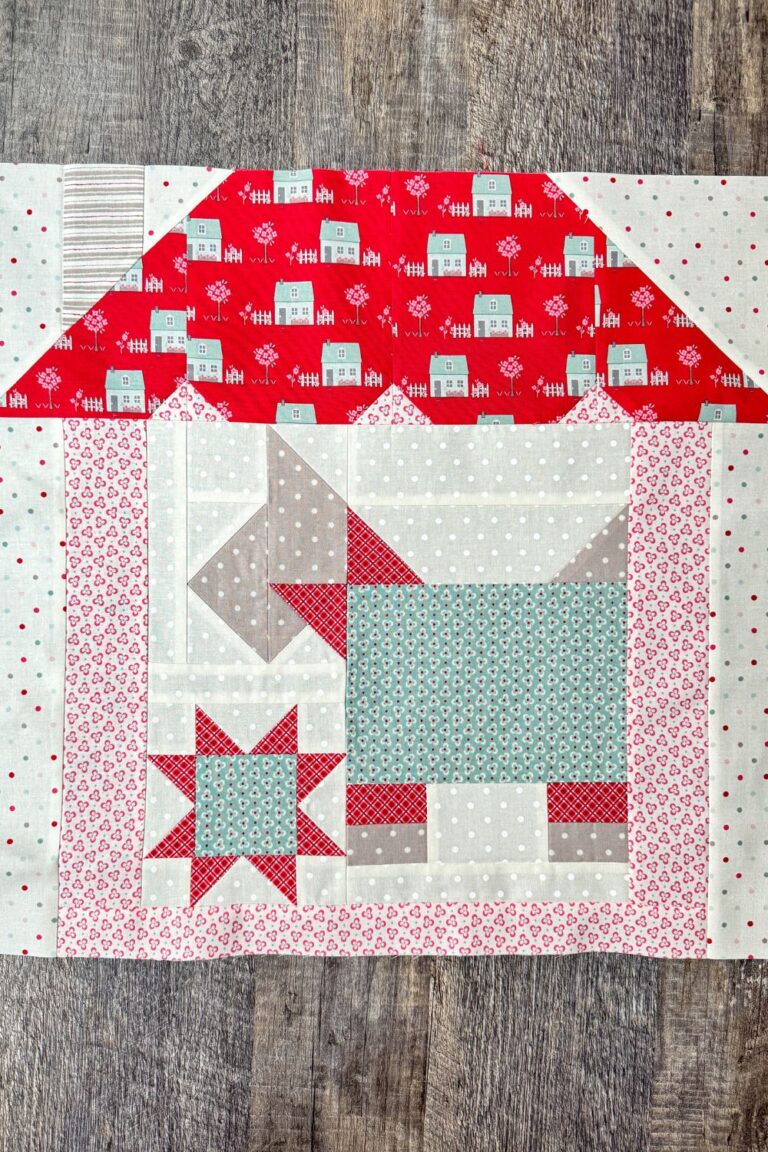
As I moved into assembling the quilt top, I ran into another issue — this time with Piece K in the House 2 blocks.
I had already noted a correction in a previous post where the pattern lists Piece K at 15.5″ wide, but it should actually be 14.5″ wide.
When I started assembling the rows, I realized there was also an issue with the height of this piece.
It wasn’t tall enough to properly align with the lamppost blocks.
To fix this, I:
- Used my seam ripper to remove Piece K
- Recut the pieces to 6″ tall
- Reassembled the blocks so everything aligned correctly
Mistakes in patterns do happen, and I understand that — but it can definitely be frustrating, especially in a quilt that is intended to be beginner friendly.
I had already shared a correction sheet with customers who purchased kits, and this is another adjustment to be aware of as you work through the quilt.
Assembling the Quilt Top
Once those adjustments were made, the rest of the assembly process came together smoothly.
I added all of the sashing pieces to the blocks and assembled the quilt top row by row. This is the point where all of the individual elements — lampposts, houses, and kites — finally come together into the full Cherry Tree Lane layout.
It’s always one of my favorite moments in a quilt project.

Measuring for Borders
The final step for this week is adding the borders.
I’ll be honest — this is probably my least favorite part of quilting. Measuring a large quilt top accurately can feel a little clunky, and it’s tempting to just cut the borders based on what the pattern says.
But this is one step you really don’t want to skip.
Always measure your quilt top before cutting your borders.
Do not rely solely on the pattern measurements.
Small differences in block sizes can add up across the quilt, and if your borders are even slightly off, it can cause issues later — especially when quilting.
When longarming a quilt, the outer borders are the most common place for fullness and puckering if they haven’t been measured correctly.
Taking the time to measure now will save you a lot of frustration later.

Week 5 Progress
With the panel adjusted, corrections made, and all of the blocks assembled with sashing, the quilt top is now complete.
Seeing everything come together at this stage really brings the Cherry Tree Lane scene to life.
Coming Up Next
Next week, we’ll move on to quilting and binding to finish the quilt.
We’re almost there!