
Sawtooth Star Quilt Block: A Quilting Classic
The Sawtooth Star is one of the most recognizable quilt blocks in quilting. It has been a favorite for generations because it combines simple units into a bold star design that works beautifully in both traditional and modern quilts.
When purchasing through links on this site, I may earn an affiliate commission at no cost to you.
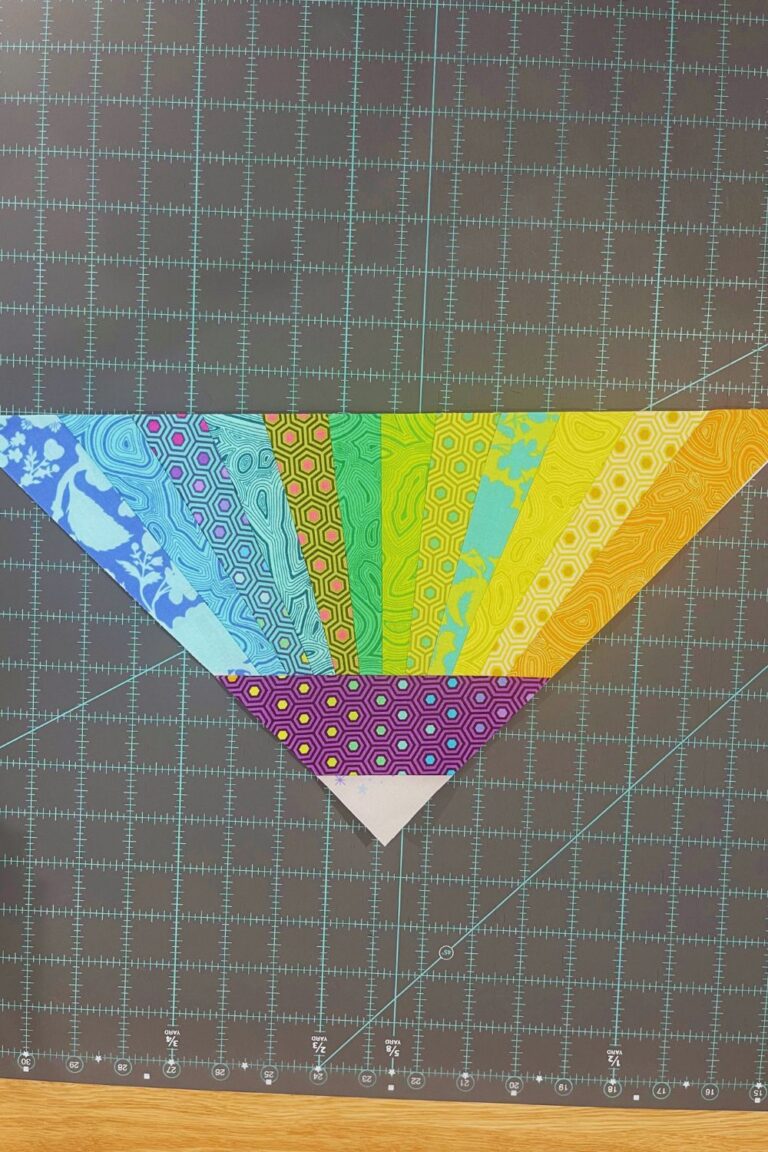
If you’ve already learned how to make Flying Geese units, you’re well on your way to making a Sawtooth Star. This block is a great example of how a few basic units can come together to create something much more complex-looking.
What Is a Sawtooth Star?
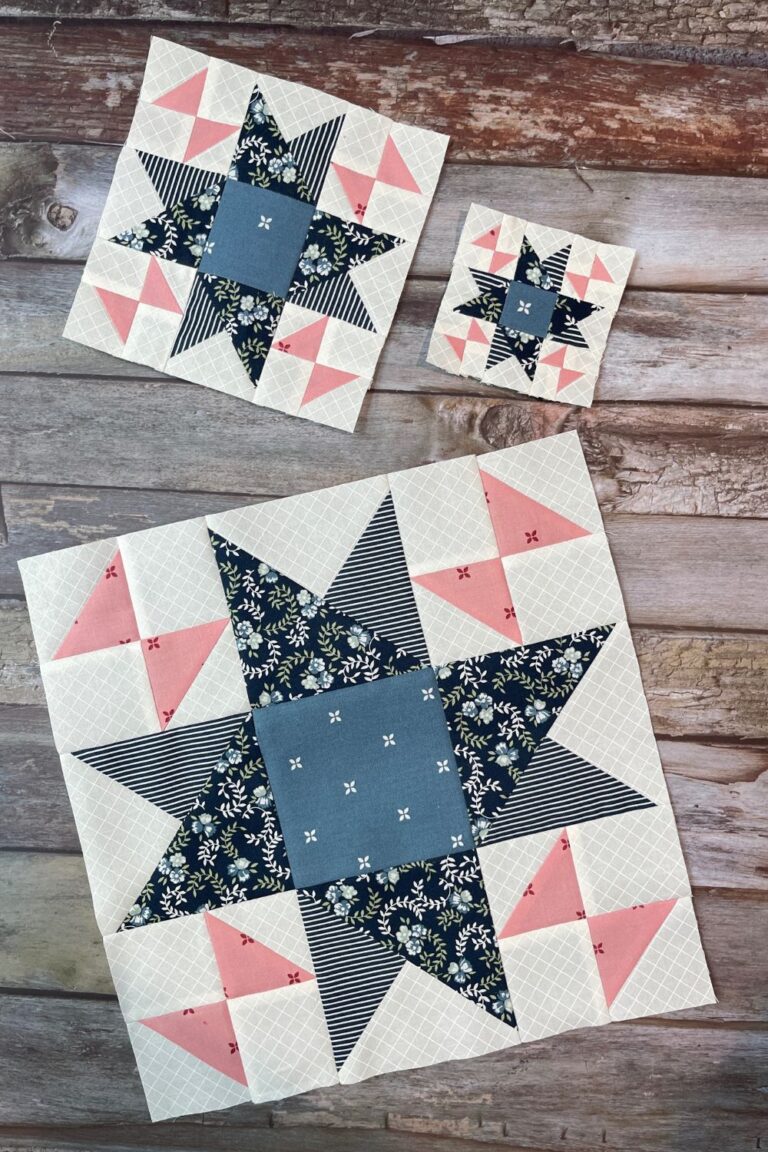
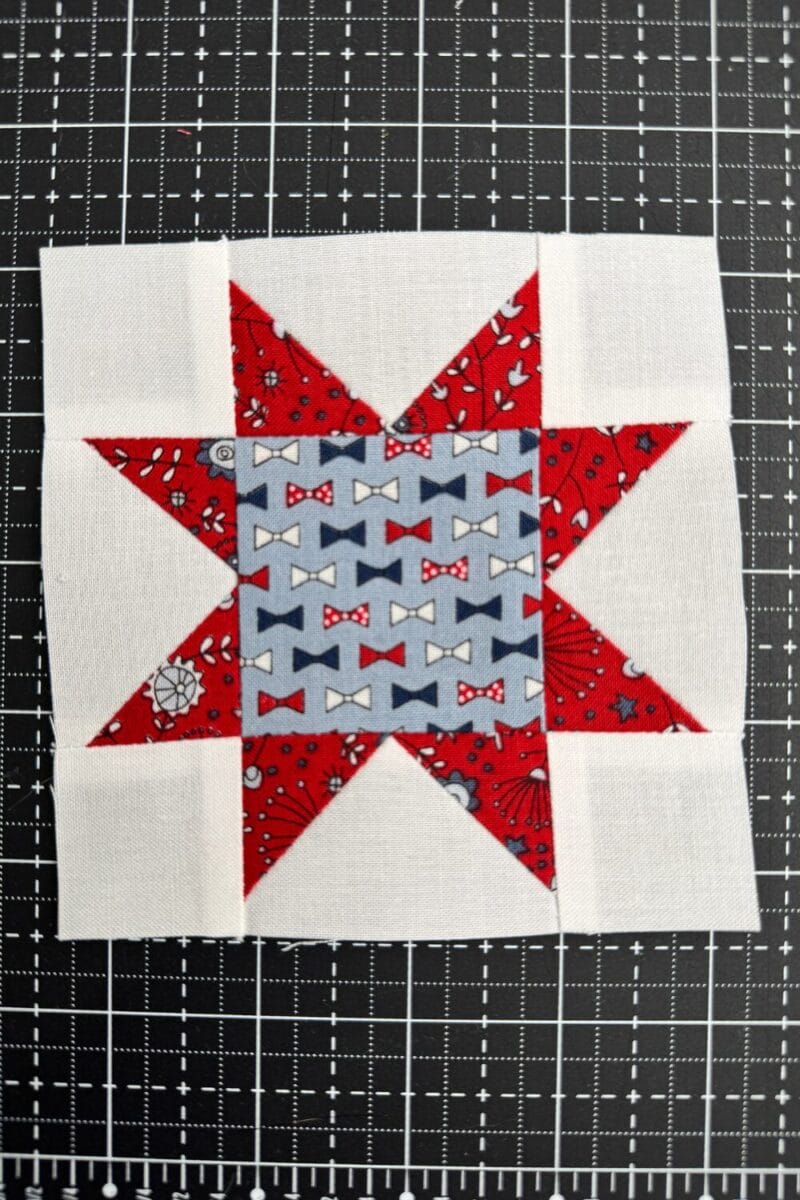
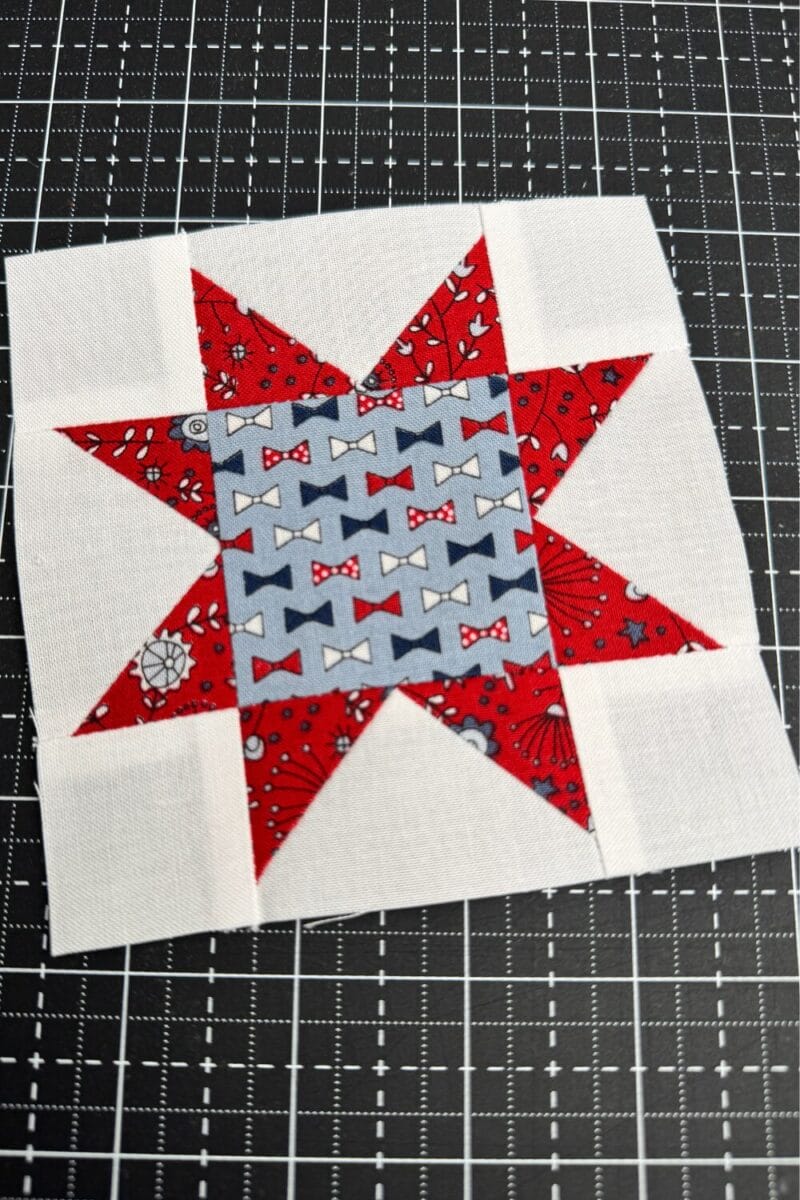
A Sawtooth Star consists of a center square surrounded by four Flying Geese units. The corners are filled with smaller squares, creating the points of the star.
The block gets its name from the sharp points that resemble the teeth of a saw.
One of the reasons the Sawtooth Star remains so popular is its versatility. The center square can be used to showcase a favorite print, fussy-cut motif, embroidery design, or simply a contrasting fabric.
Materials You’ll Need
To make a Sawtooth Star block, you’ll need:
The exact cutting sizes will depend on the finished block size you want to make.
Building the Block
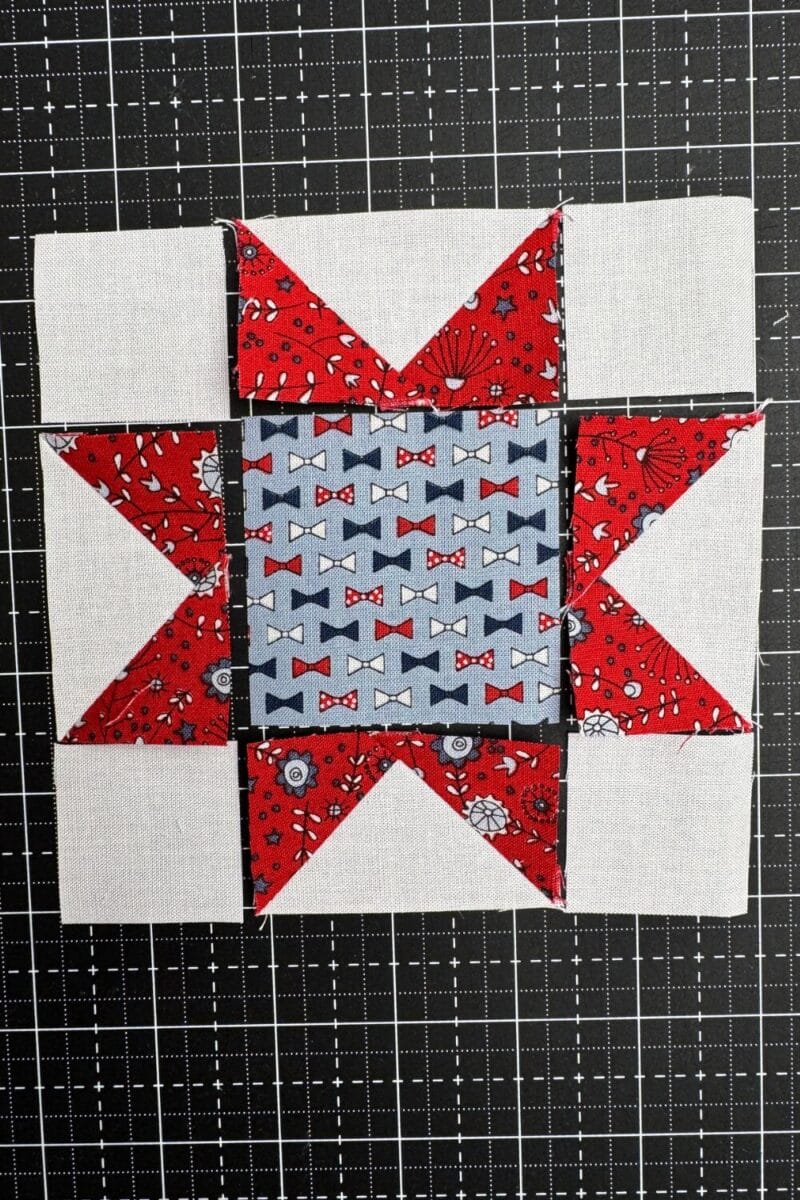
The Sawtooth Star is assembled similar to a nine-patch layout.
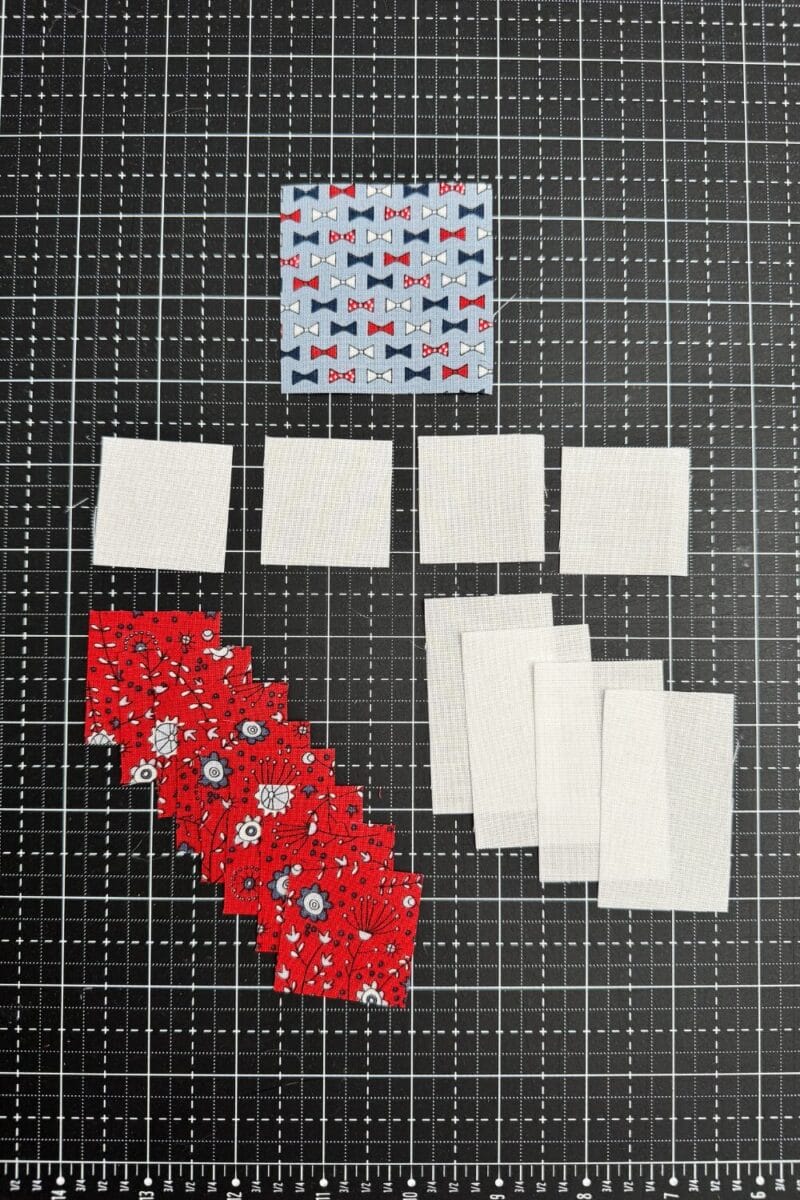
The center square sits in the middle of the block. The Flying Geese units are placed on all four sides with their points facing toward the center. The remaining four corners are filled with squares.
Before sewing anything together, lay out all the pieces and double-check the direction of the Flying Geese units.
It’s easy to accidentally rotate one unit and change the appearance of the star.
Sewing the Rows
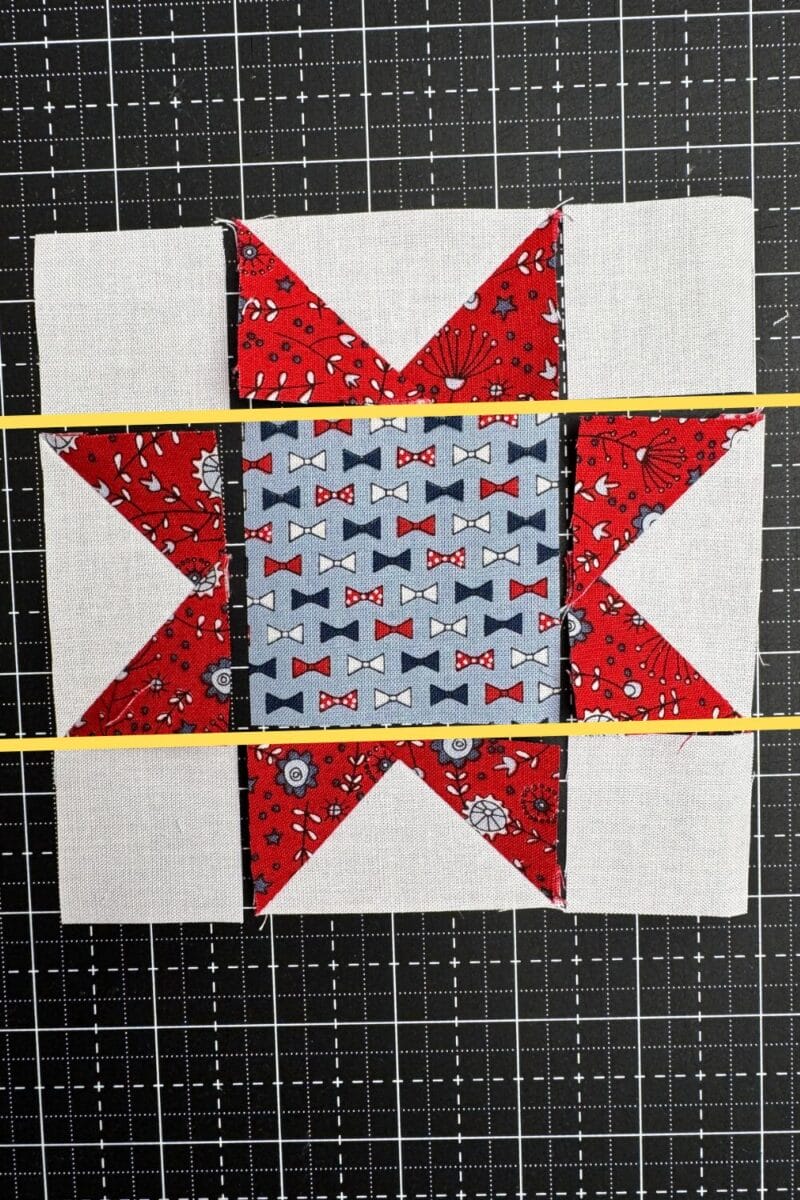
Begin by sewing the units into three rows.
The top row consists of a corner square, a Flying Geese unit, and another corner square.
The center row contains a Flying Geese unit, the center square, and another Flying Geese unit.
The bottom row mirrors the top row.
Press the row seams according to your preferred method or follow your pattern’s pressing instructions.
Joining the Rows
Once the rows are complete, sew them together to finish the block.
Take your time matching the points where the Flying Geese units meet the center square. These intersections draw the eye and help define the star shape.
If you’ve pressed your seams to nest, you’ll find these intersections come together much more easily.
Keeping Sharp Star Points
One of the most common challenges with Sawtooth Stars is losing the tips of the star points in the seam allowance.
When making your Flying Geese units, be sure to leave enough fabric above the point so the tip remains visible after the block is assembled.
Accurate seam allowances and careful trimming make a big difference here.
Why Quilters Love the Sawtooth Star
The Sawtooth Star is a block that works well in almost any style of quilt.
It can be made scrappy, traditional, modern, patriotic, seasonal, or even entirely from solids. The center square provides an opportunity to highlight a special fabric while the Flying Geese create strong visual movement around it.
Because the construction is straightforward, it’s also a great introduction to star blocks for newer quilters.
Ways to Use Sawtooth Stars
Sawtooth Stars work beautifully in:
- Sampler quilts
- Baby quilts
- Seasonal projects
- Table runners
- Wall hangings
- Full-size quilts
Changing the size of the center square or adjusting fabric placement can dramatically change the overall look of the block.
Why This Block Belongs in Your Quilt Library
The Sawtooth Star combines several foundational quilting skills into a single block. It reinforces Flying Geese construction, seam matching, and block assembly while creating a timeless design that never seems to go out of style.
Once you’ve made one, you’ll quickly understand why this block has remained a quilting favorite for generations.